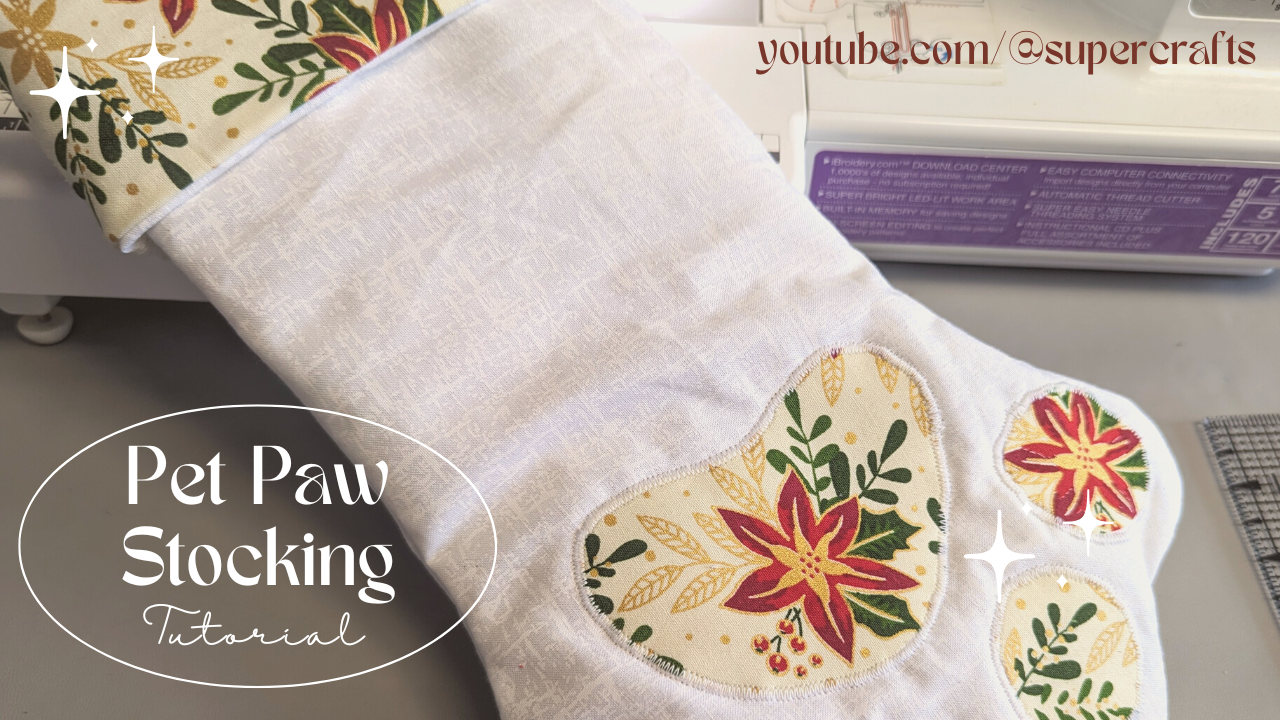
I made paw shaped stockings last year for two gorgeous cat furiends, Clawde and Pawsha. Unfortunately Pawsha, like our Smudge, passed over the rainbow bridge this year. Both taken too soon and both missed so very much.
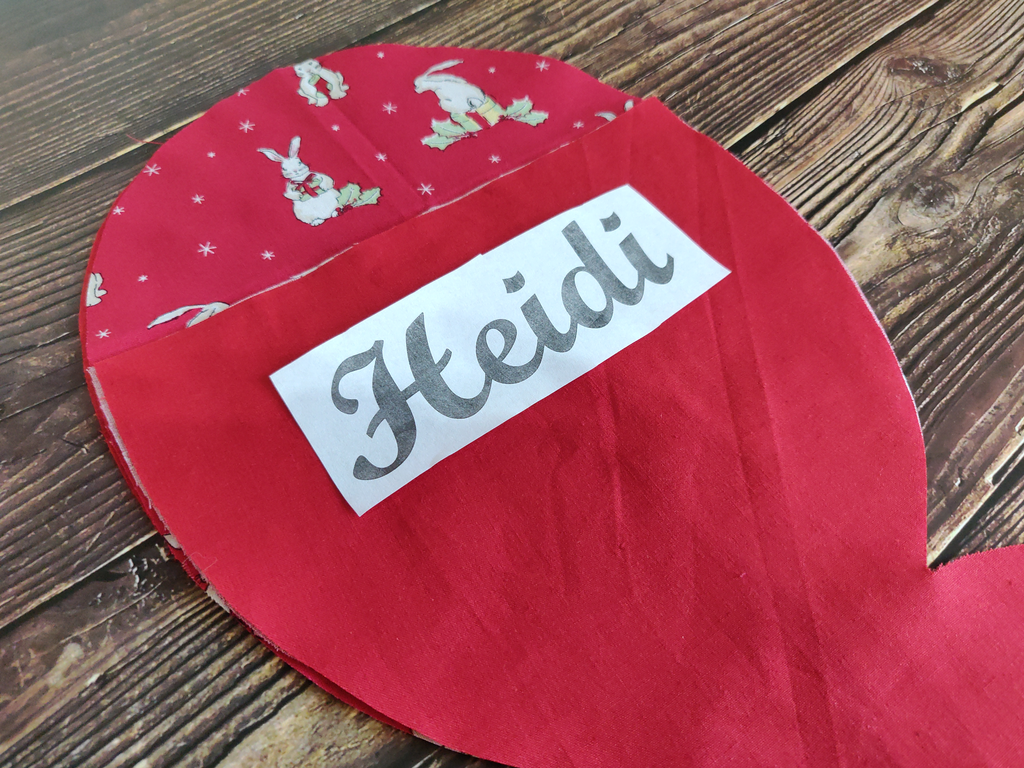
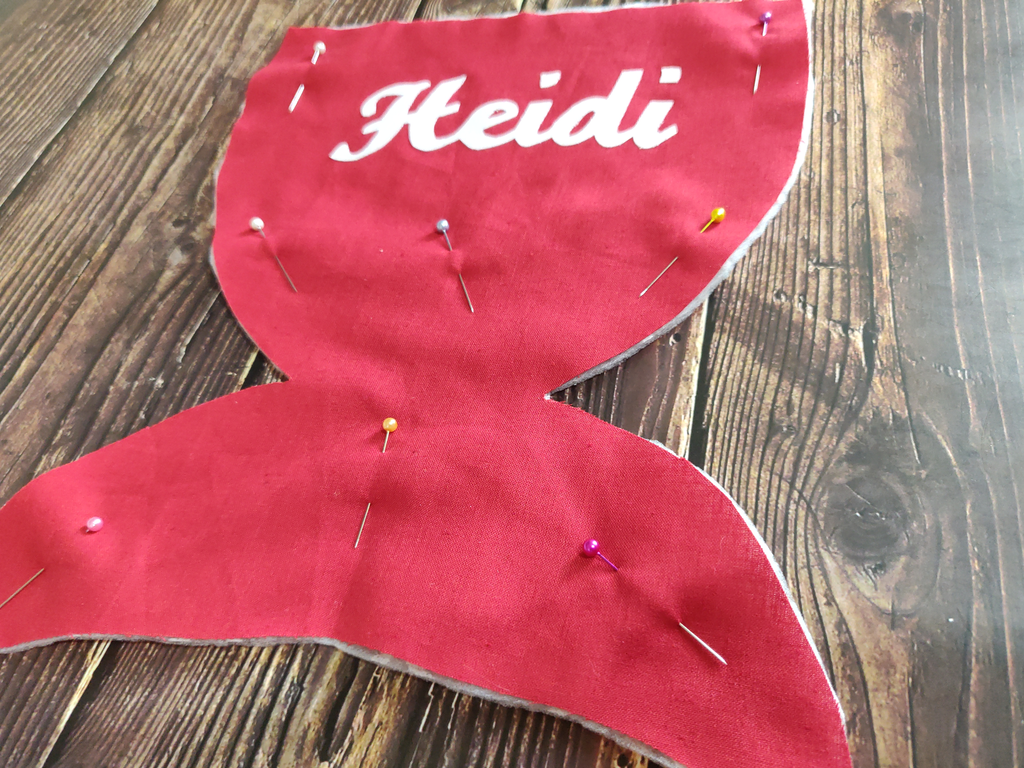
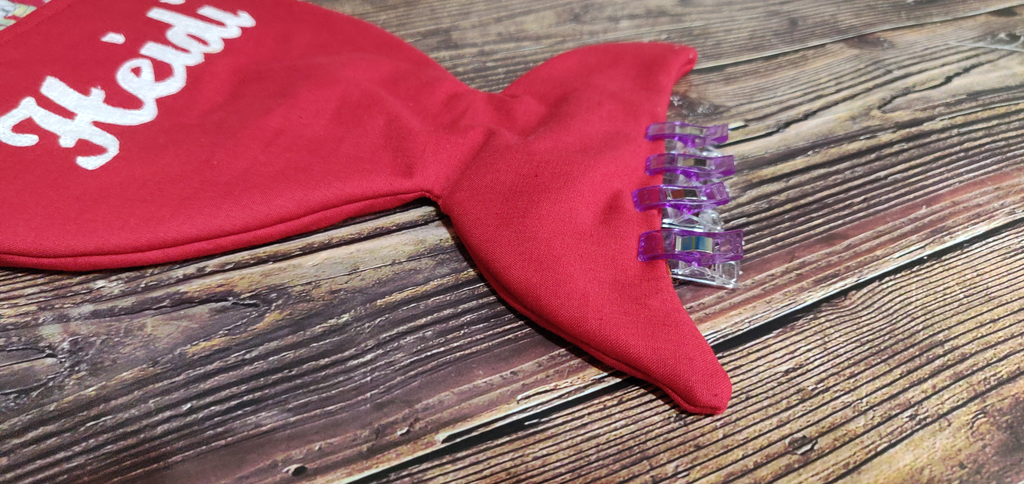
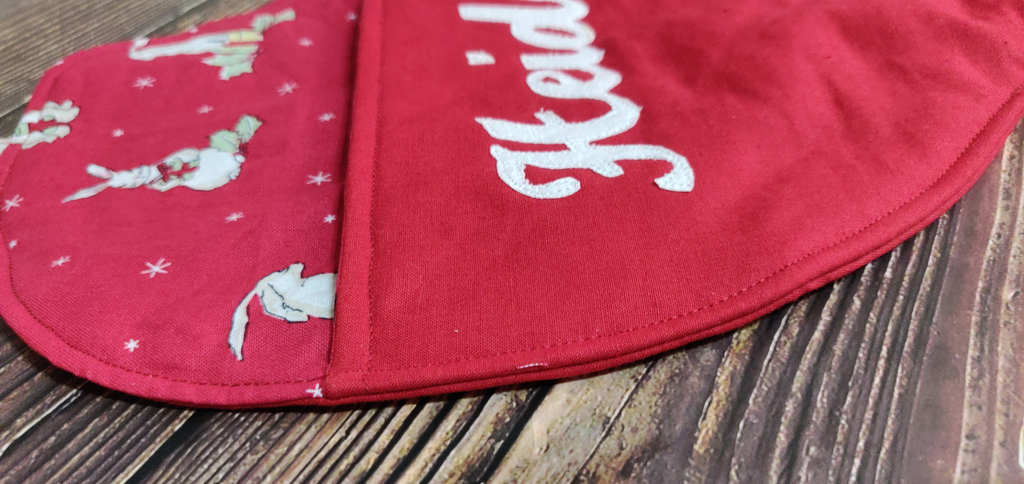
There are now two additions to Clawde’s family, and one to ours, and it wouldn’t be right for them not to have their very own stocking, would it! Furgal, an absolute loony who seems to want to terrorise poor Uncle Clawde, the beautiful Felixity, who has quickly put Furgal in his place, and our very own Heidi, who got her name due to her hiding from us for two days when she first came home. That name has stuck, despite the fact that she’s constantly by our side these days (should have called her Shadow). I do want Heidi and Sooty to have the same stocking I’ve made 5 new ones this year (because Clawde’s needs to match too) 😊
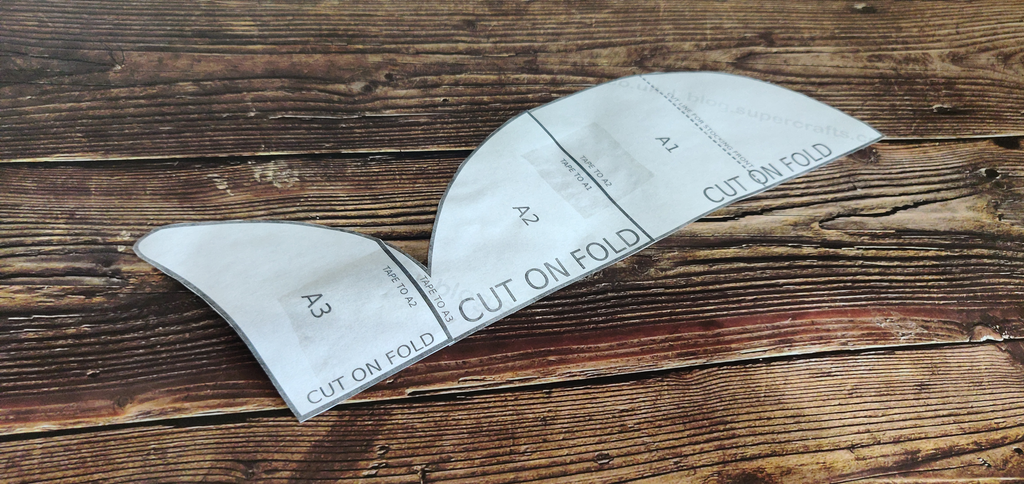
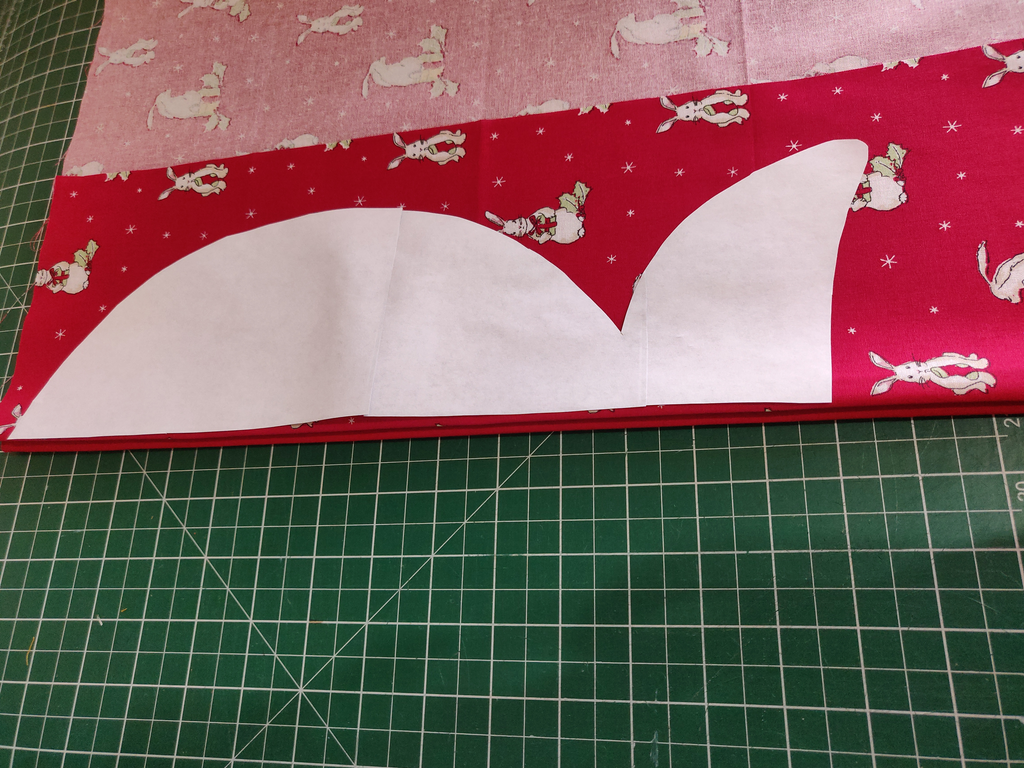
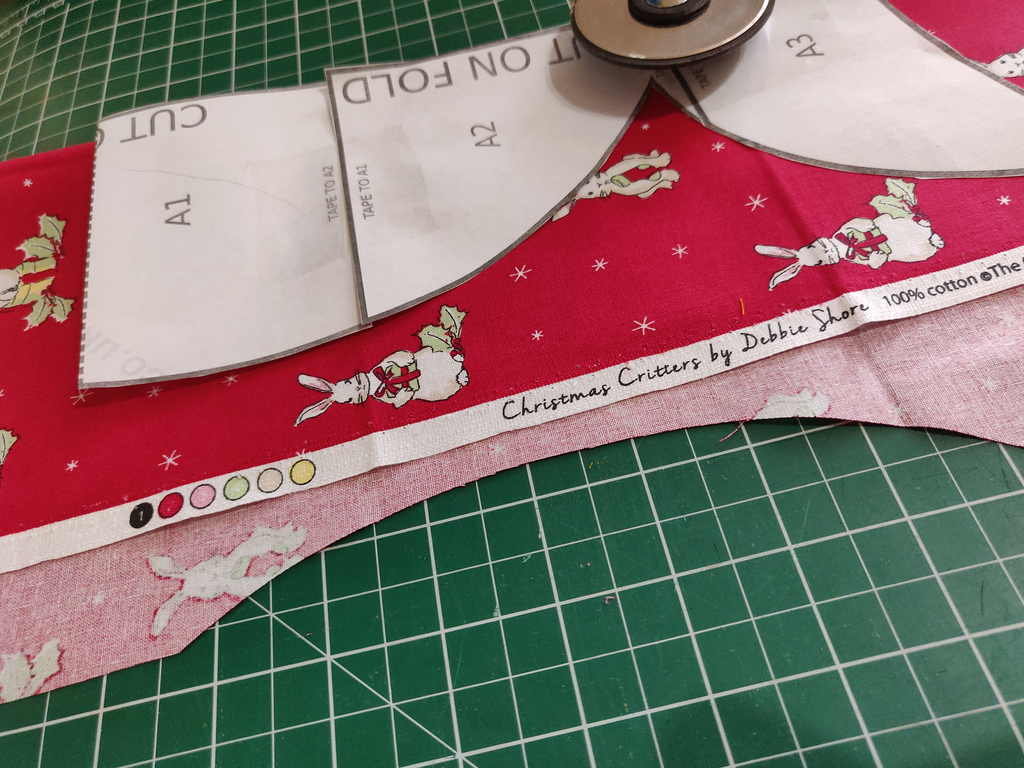
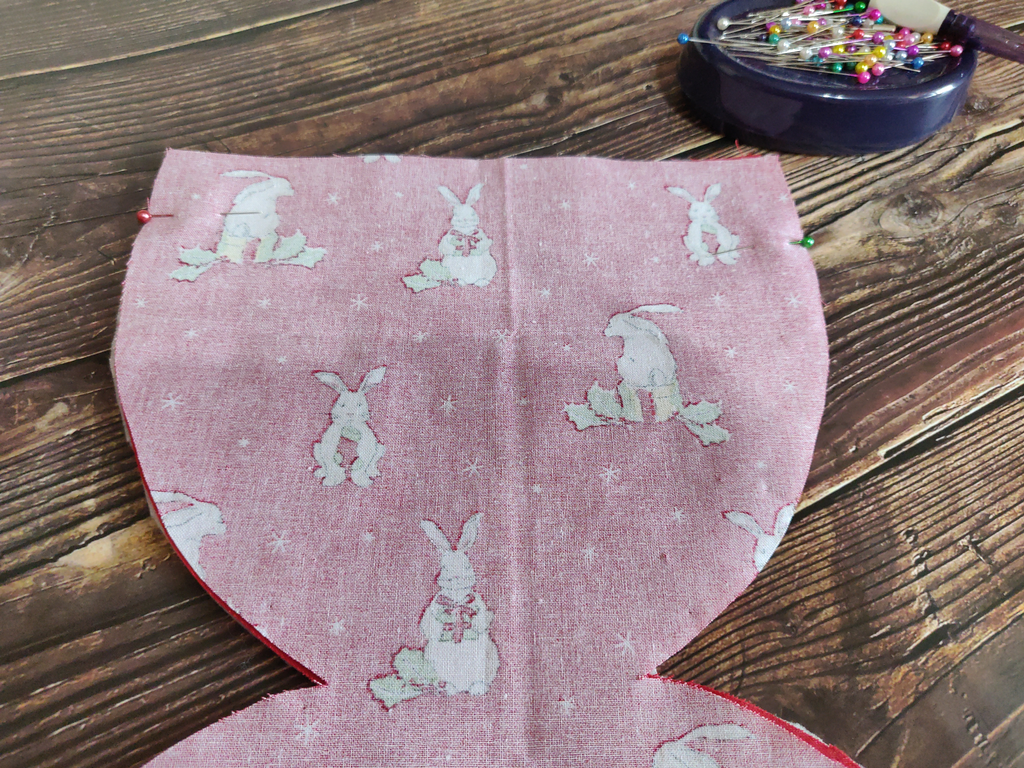
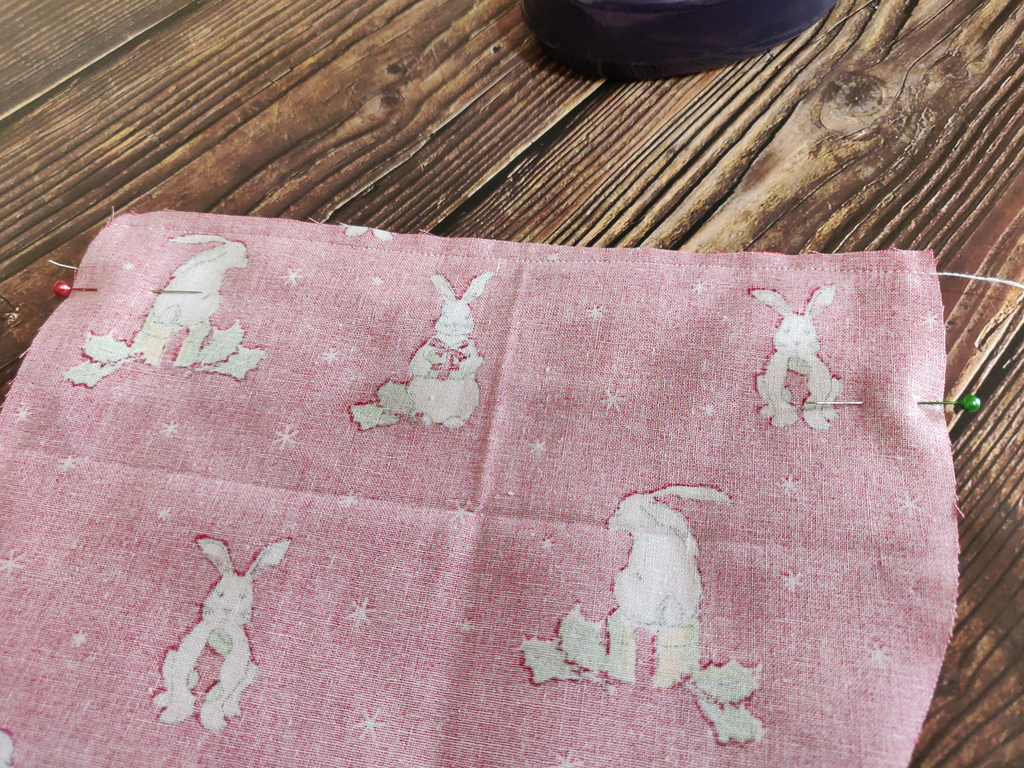
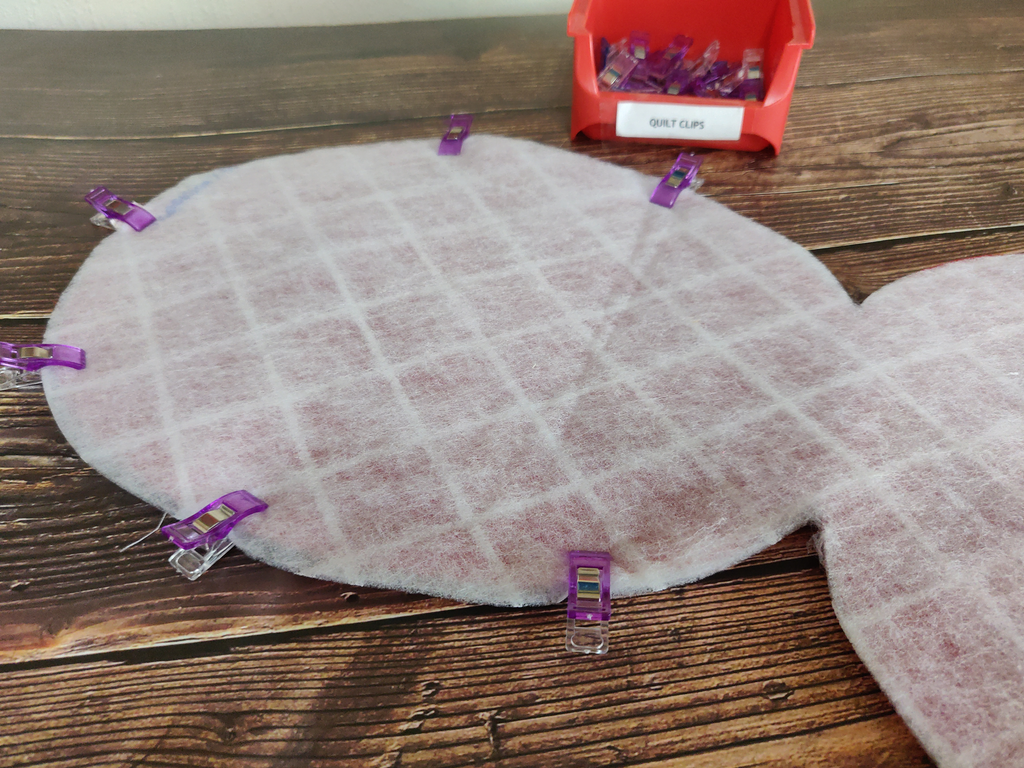
The template provided is printed in sections. You will need to cut them out and tape the sections together. This creates half a pattern, so you need to cut your fabrics on the fold where indicated. For the front section, you’ll be cutting the pieces using the dotted line indicated on the pattern. You can do this by simply folding the template at that line. Fold your fabrics down one side and place them on top of one another with the fold on the same side as shown. Draw around the template and pin all the layers together, then cut them out. Alternatively, you can use a rotary cutter and mat to do this. Fold the template where indicated and repeat the process to cut out the front fabrics.
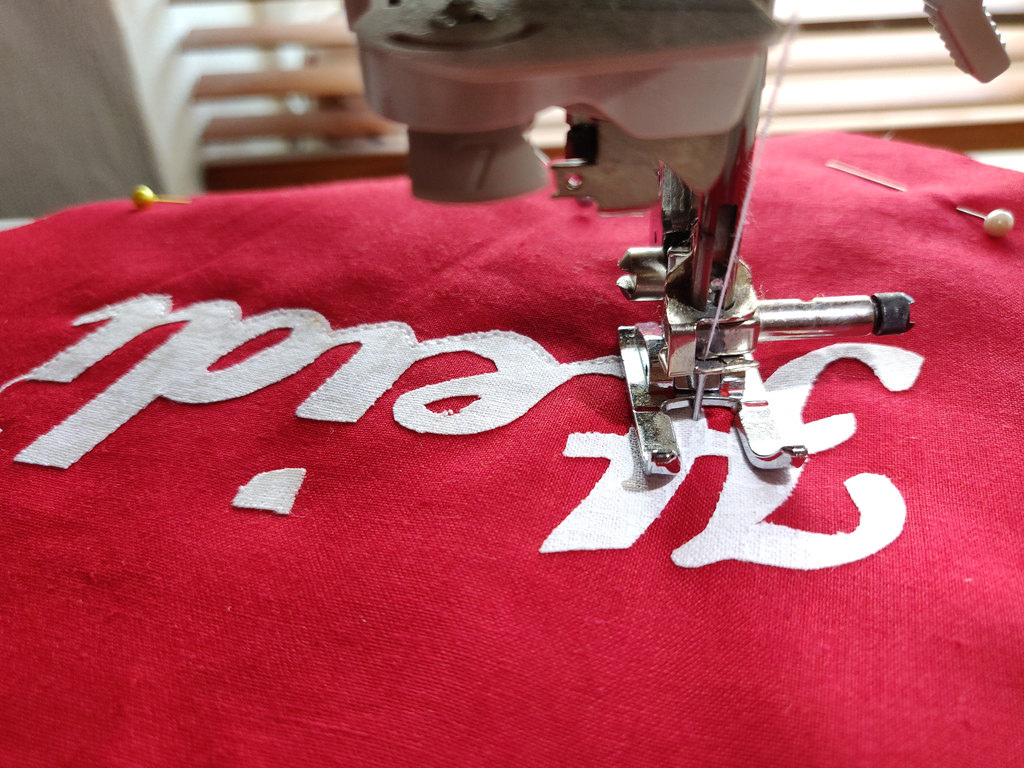
NOTE: I made the first stocking using the instructions on this page. However, as I’m short on time, I opted to stitch the names using a satin stitch instead (so remade Heidi’s to match). If you prefer the stitched name, simply write the name on the stocking at the next step using a heat erasable marker. Then set your stitch length to 1.6 and stitch over the marked lines.
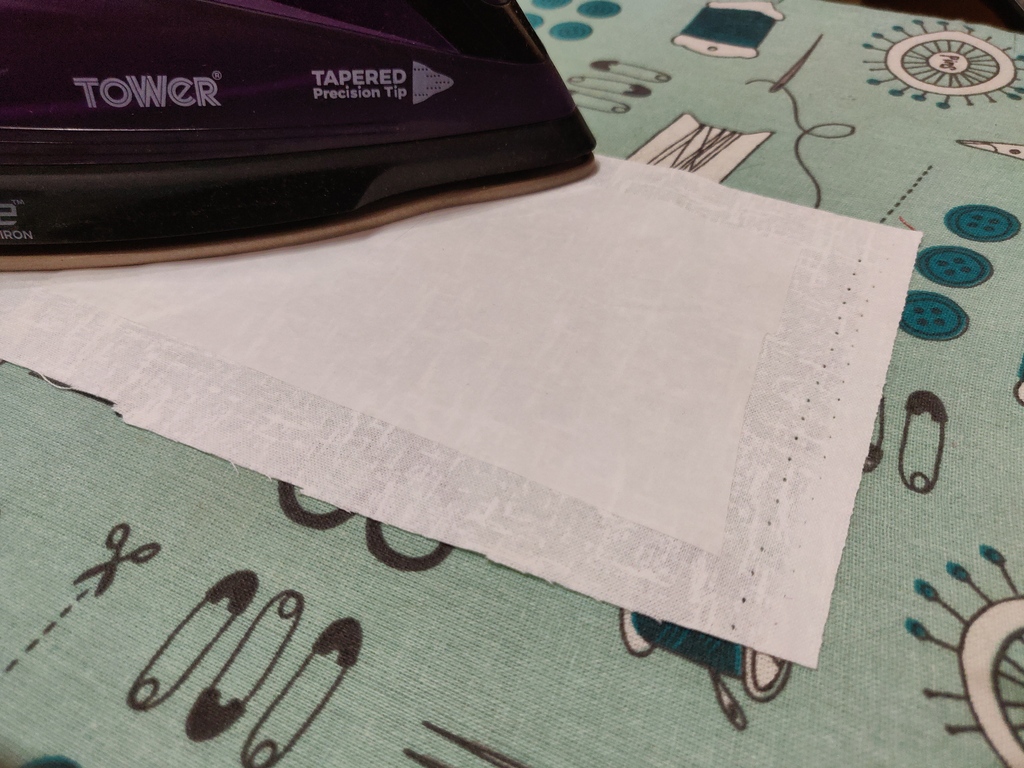
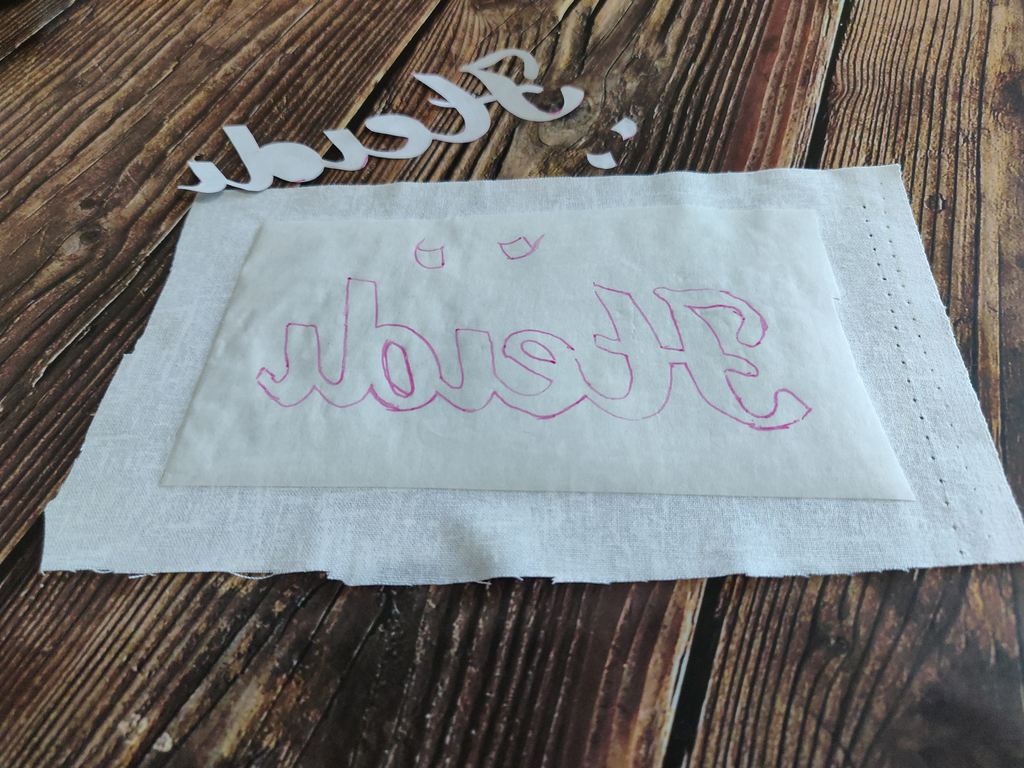
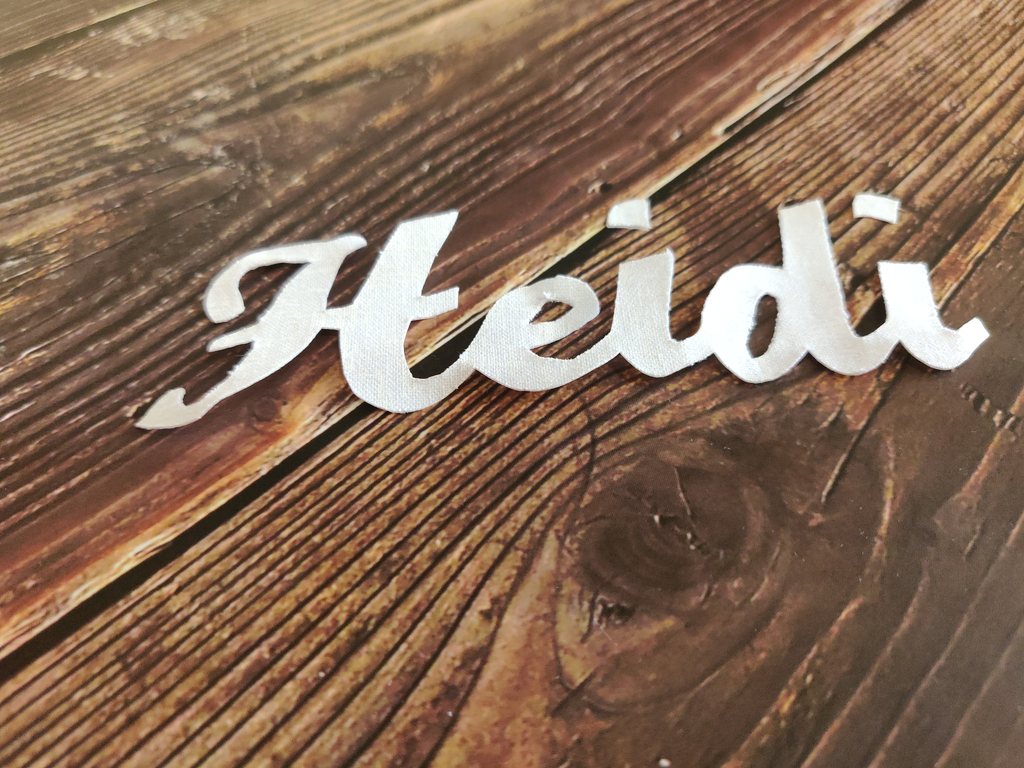
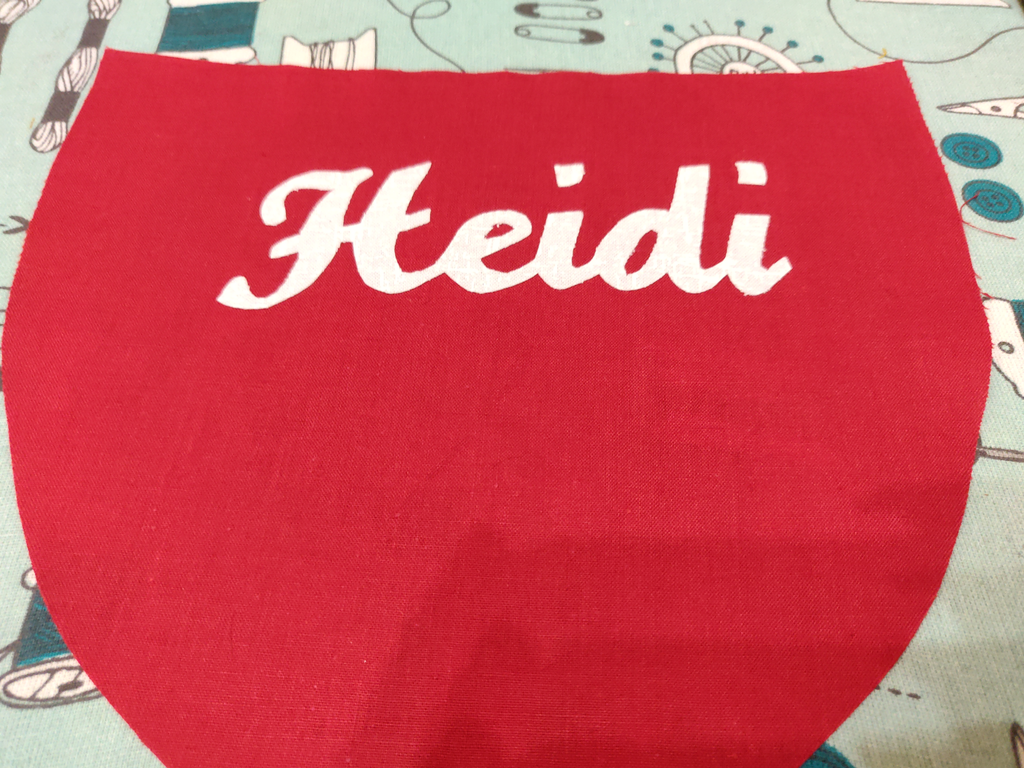
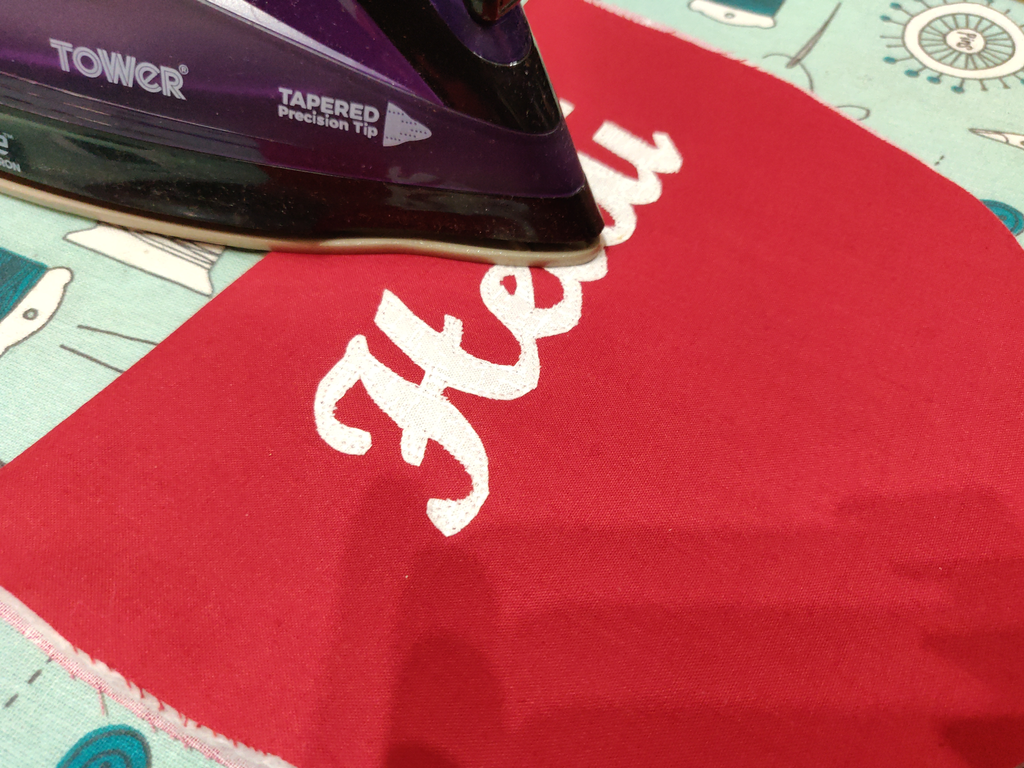
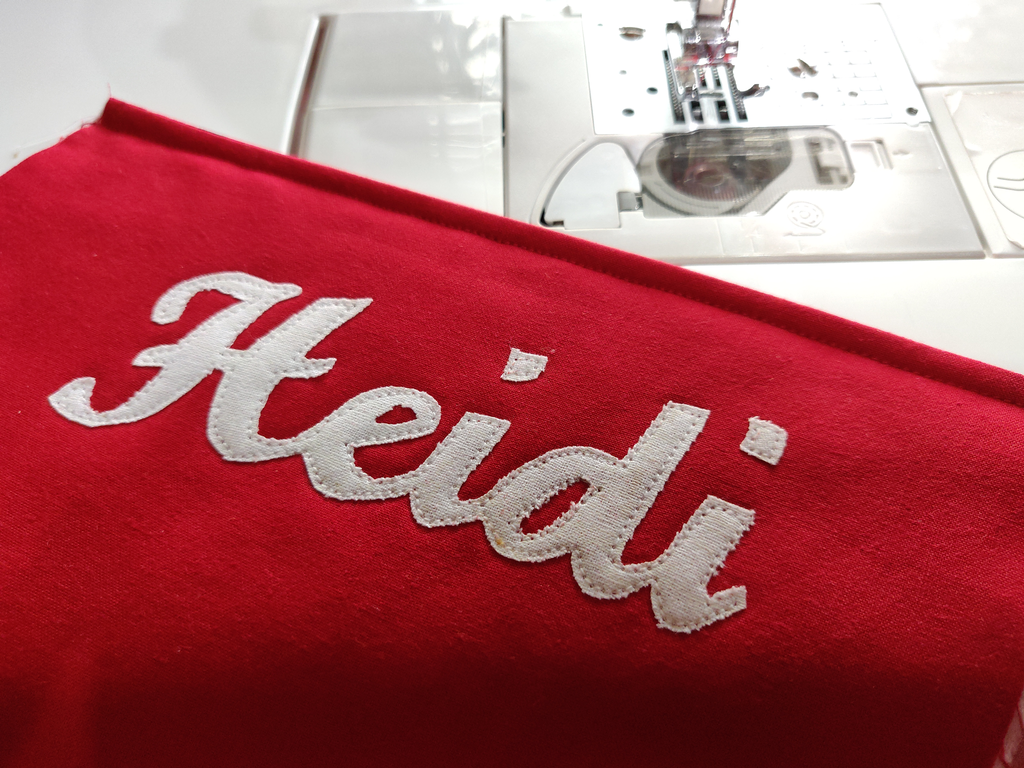
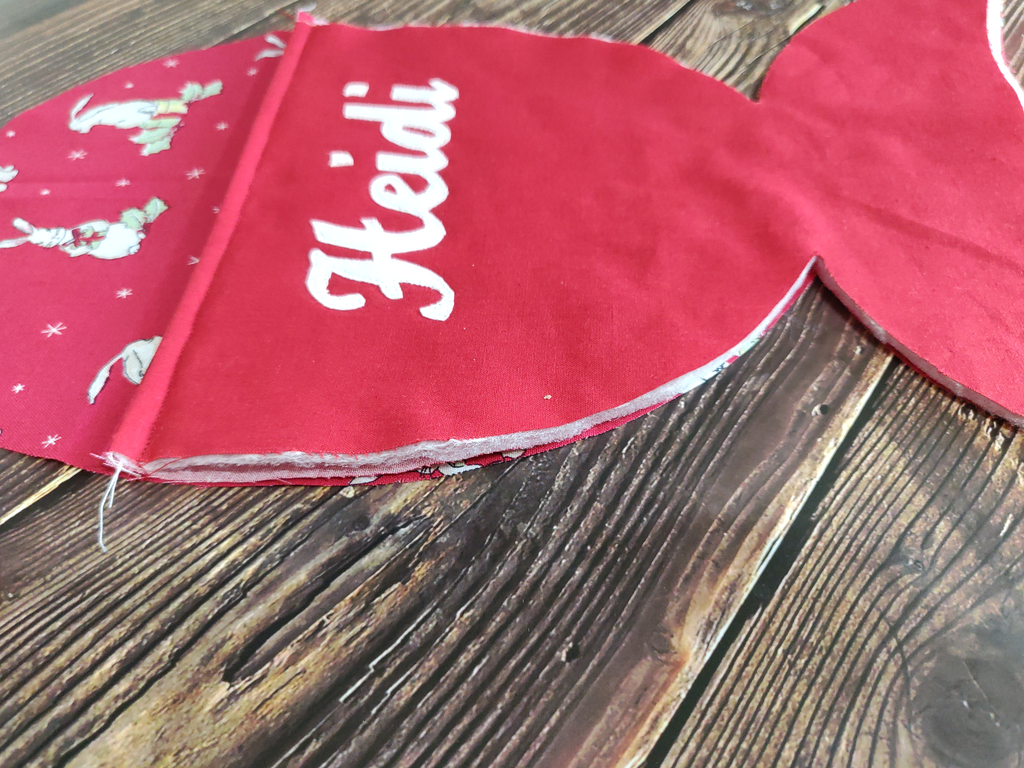
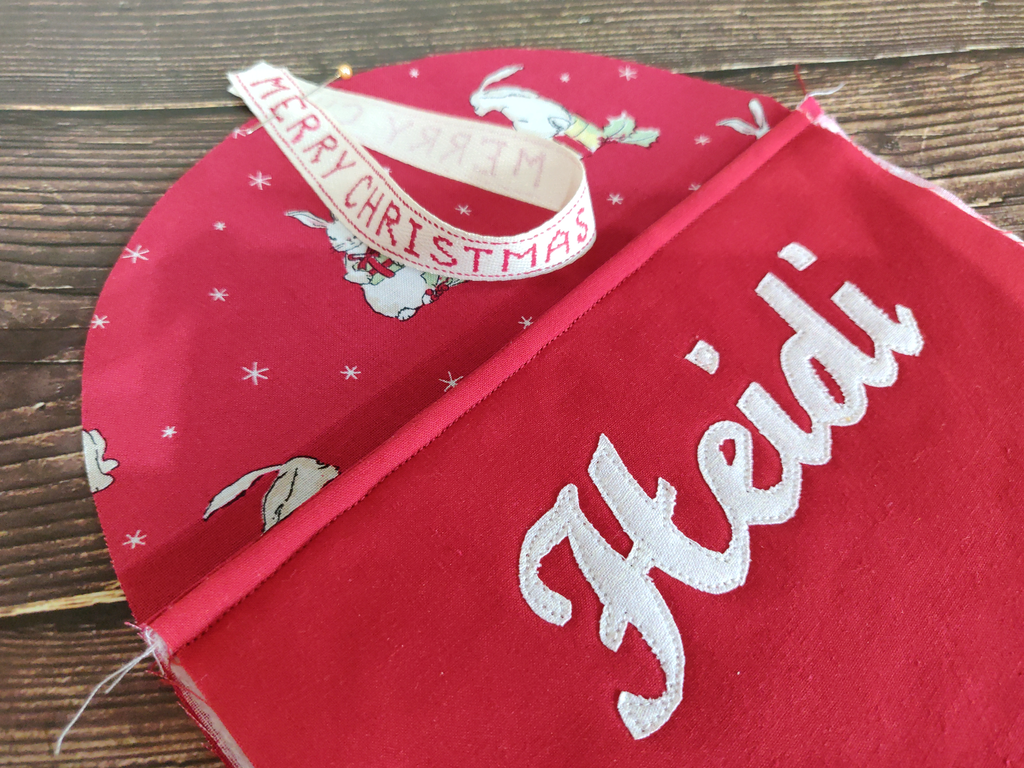
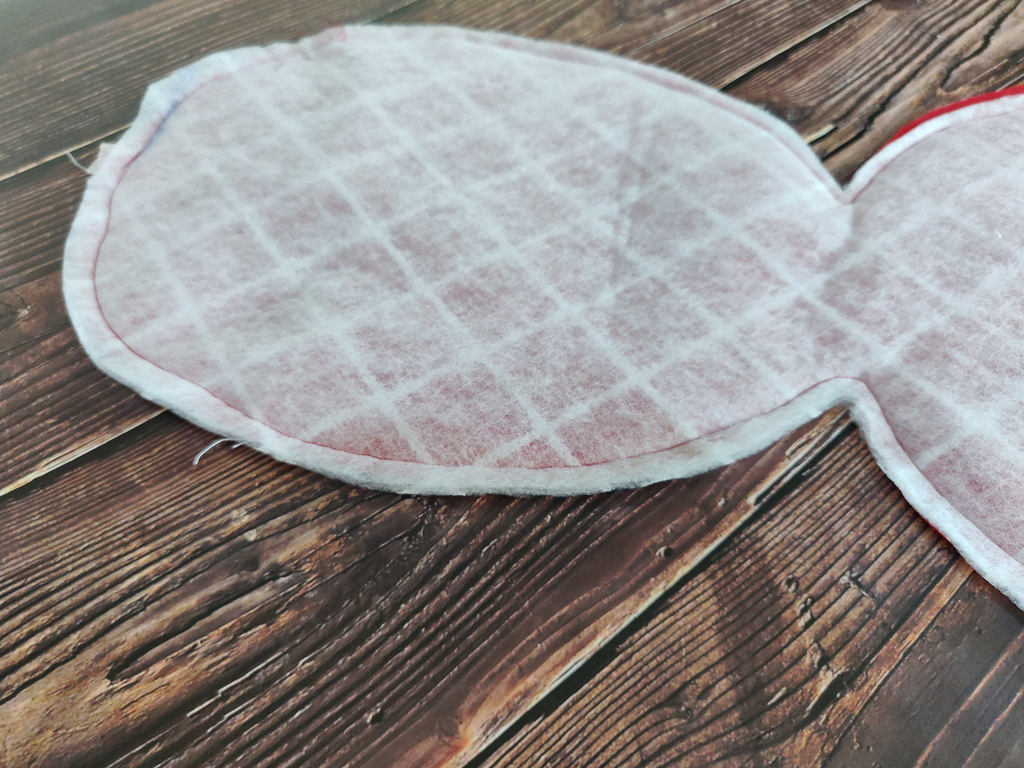
You may want to try out the satin stitch (zig zag) on some scrap fabric first to figure out which setting gives the look you like the best. Open your word processing program and type out the name you wish to add to the stocking. Then select it all and scroll through fonts until you find one you like (and that itsn’t so fussy it will be a pain to stitch!) I used Script MT Bold and set the size to 155. When you’re happy with the font choice, print out the name. To be sure the name will fit in your chosen size, hold the print out on the front piece of fabric and make sure there is at least 1″ clearance on each side. Take the fabric you plan to use for the letters and iron it flat. Then place the fuse a web paper side UP on the BACK of the fabric and iron in place using a warm iron. With your letters cut out, place them face down on top of the fuse-a-web paper (this means they should be back to front). Trace around them. Carefully cut each letter (or word in the case of this font) out. Place your letters 1.5″ from the top edge until you’re happy with how they look – Try to keep them at least 1″ away from the left and right edges. Once happy, peel off the backing paper and place them back on the fabric. Press with a warm iron to adhere the fabrics. To sew the letters down, you can either choose a fancy stitch, a zig zag, a blanket stitch, a satin stitch or… a straight stitch. As these won’t be used that often, I decided to go for straight stitch. Place your matching wadding piece behind the fabric and pin in place. Carefully sew close to the edge of all the letters to stitch them down. Take your front piece and your front lining piece and pin them right sides together. Sew across the top straight edge at a 1/4″. Fold over so the right sides are out and press. Top-stitch that straight top edge at 1/4″. Lay your back lining face up and add the front panel you created, aligning all edges, also facing up. Take your ribbon and form a loop as shown. Place the ribbon in the centre of the stocking top as shown. Leave a little overhang so you’re sure to see where the ribbon is when sewing. This will allow you to backstitch over it a few times to give the hanger a little more strength. Pin or clip. Now add your backing fabric, wrong side UP on top of the stack, followed by the matching wadding piece and clip (or pin) all the layers together. Sew around the entire project using a 1/2″ seam allowance, leaving a 5″ gap along one side or in the tail section for turning. Clip all of the seams. This will help to retain the shape and it will all lay flatter. This is especially important around the fish tail. Turn through the gap you left and give the stocking a light press. Turn under the fabric where you left the opening and clip or pin (if you still have the iron out, you can press that section again). Now top stitch around the entire project, this will close up the gap you left and give a nice edge to the entire stocking.

")