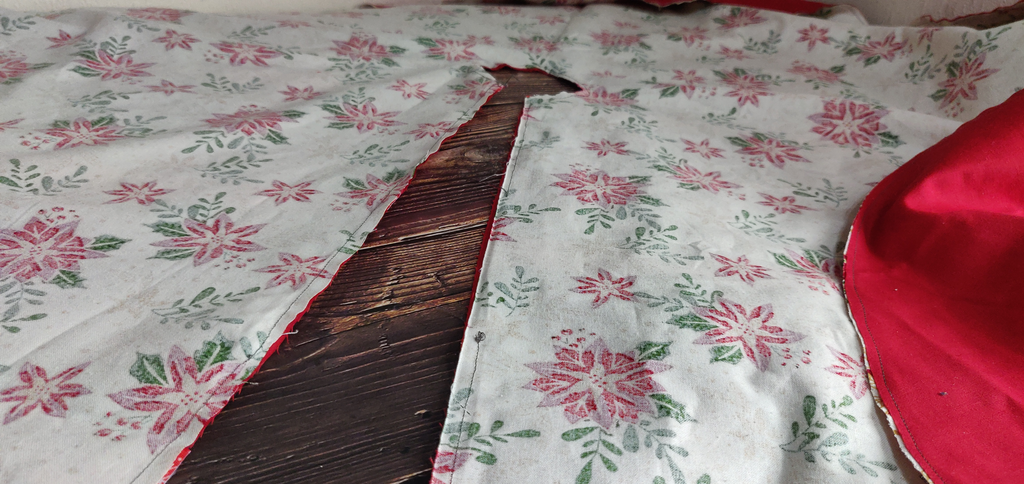
I’ve been meaning to sew up a Christmas tree skirt for the last few years, but never get around to it! By the time I’ve enough spare time to do anything new the presents are all exchanged and we’re left with a full tree base! We’re so spoilt by our lovely friends and family. But then Christmas day passes and the tree sits there looking empty. So I figure if I make the creation a work thing, I can get a new blog post written while also creating the tree skirt I’ve been putting off!
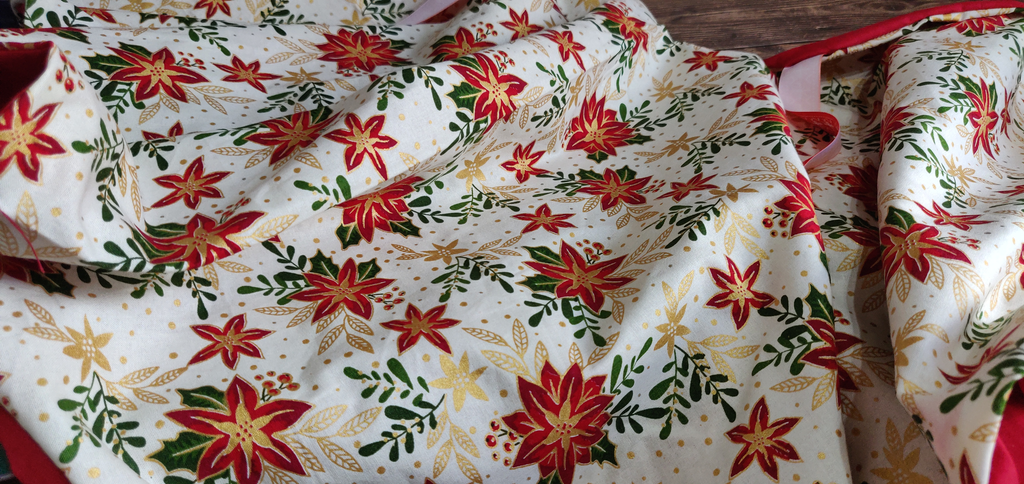
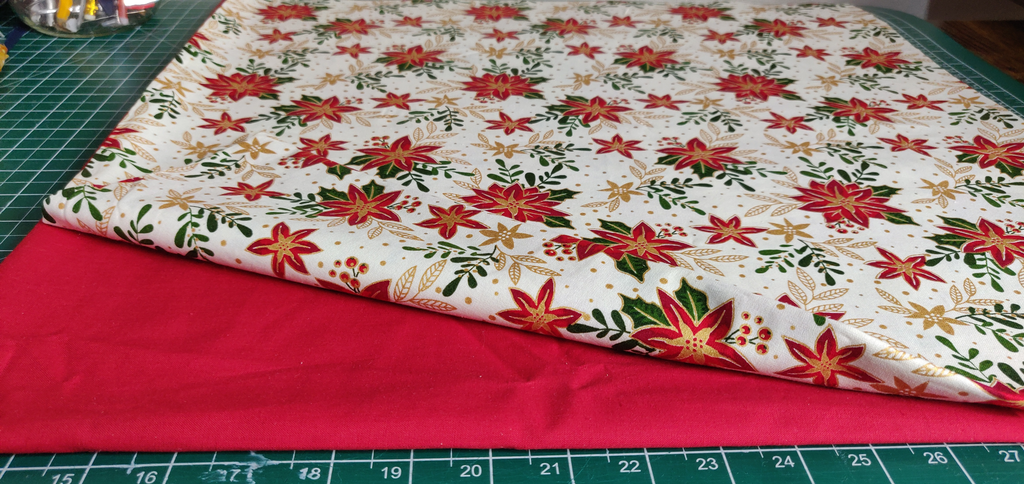
- 1m Pretty Christmas Fabric
- 1m Lining Fabric
- 6 pieces of ribbon (8″ long each)
- Thread
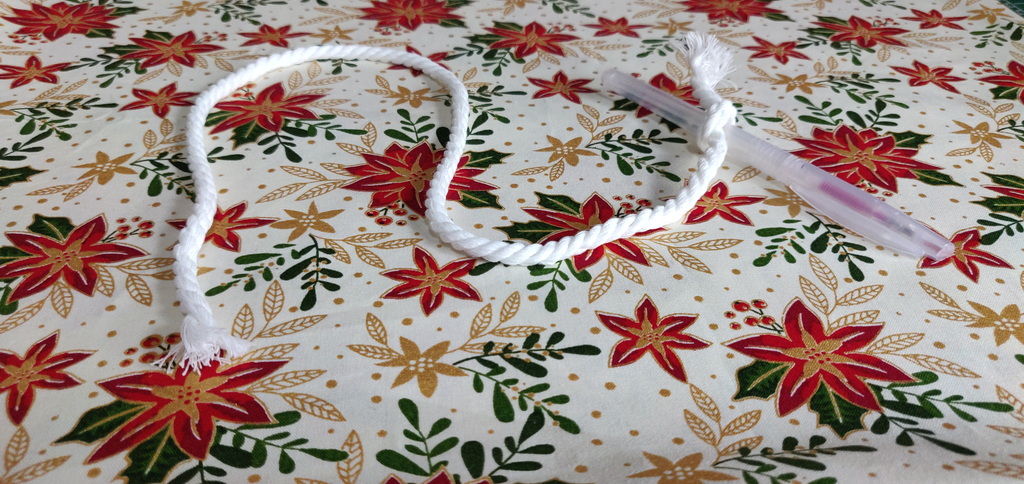
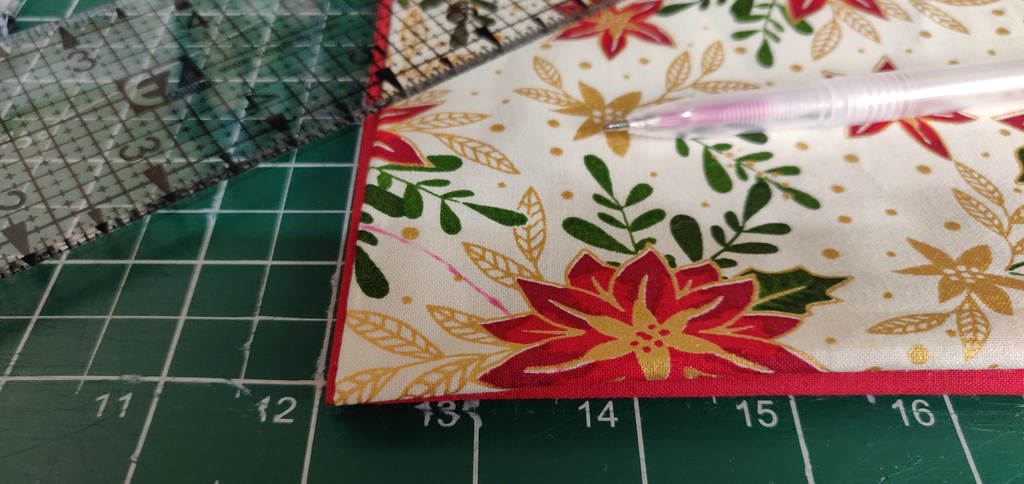
- String & a Marker
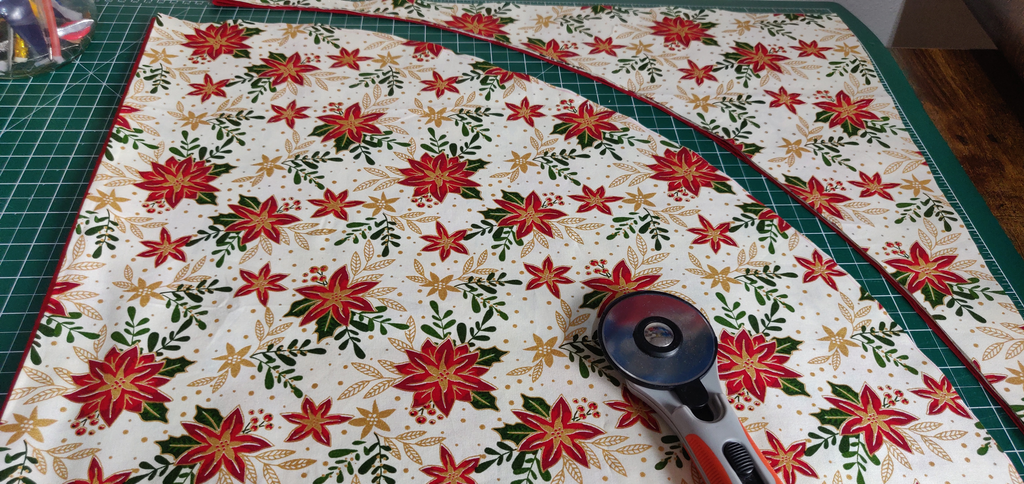
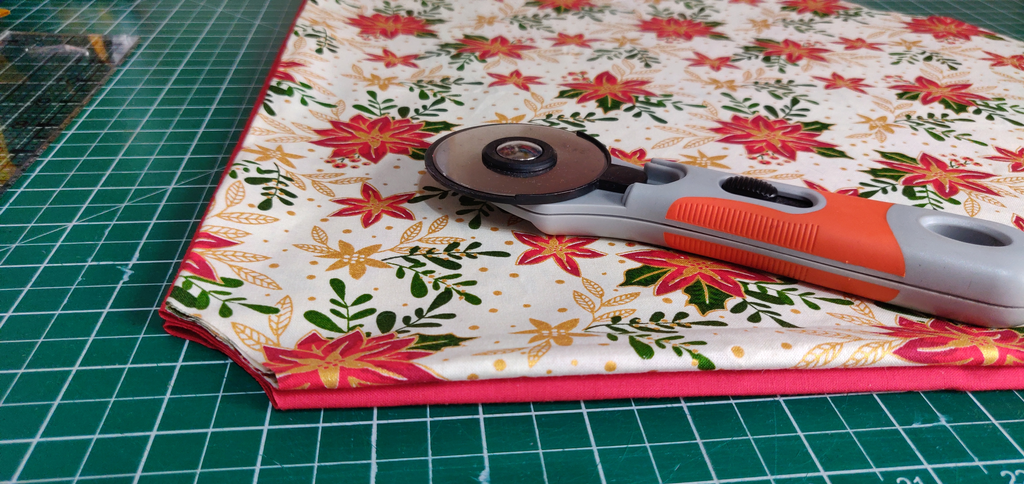
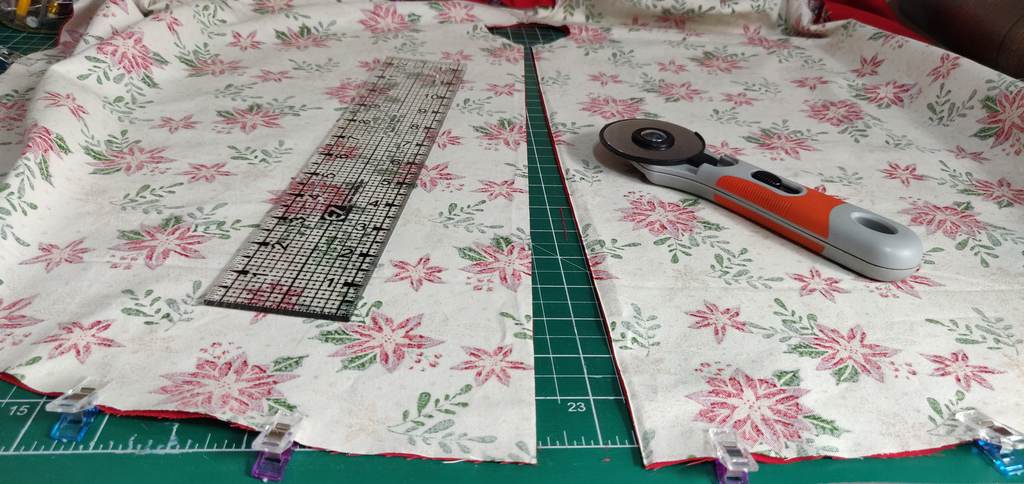
- Rotary cutter & Mat
- Sewing Machine
Most fabrics come in 44 inch width. You will need to trim this down to 100cm (around 39″) so that you’re left with a piece of fabric measuring 1m x 1m. Repeat this with your choice of lining fabric.
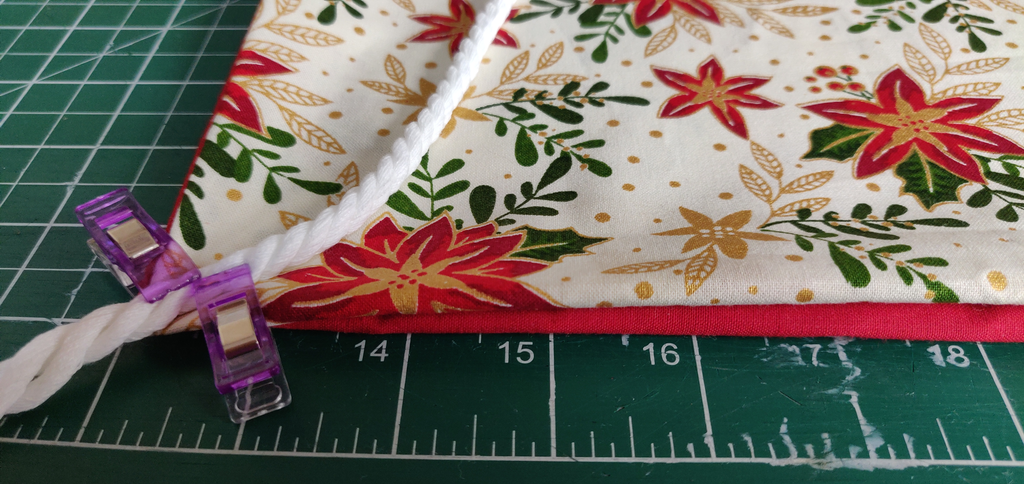

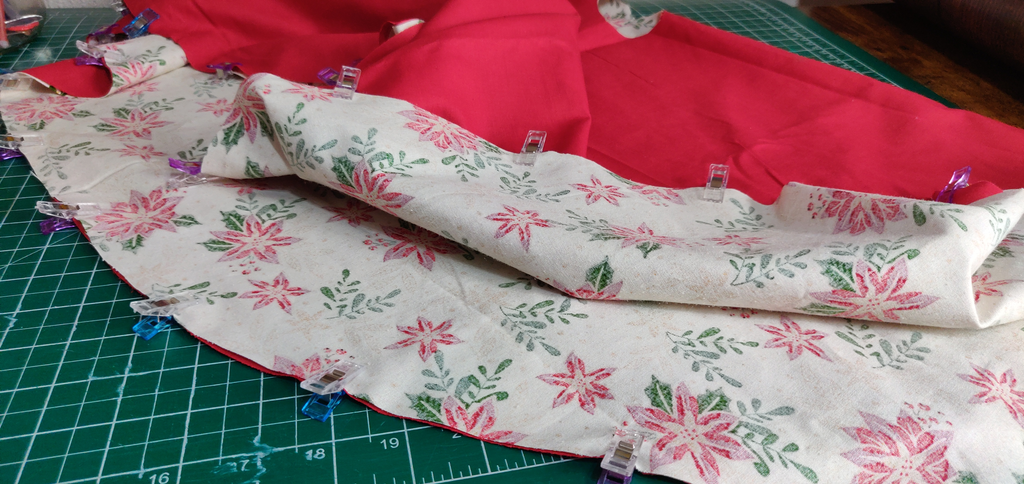
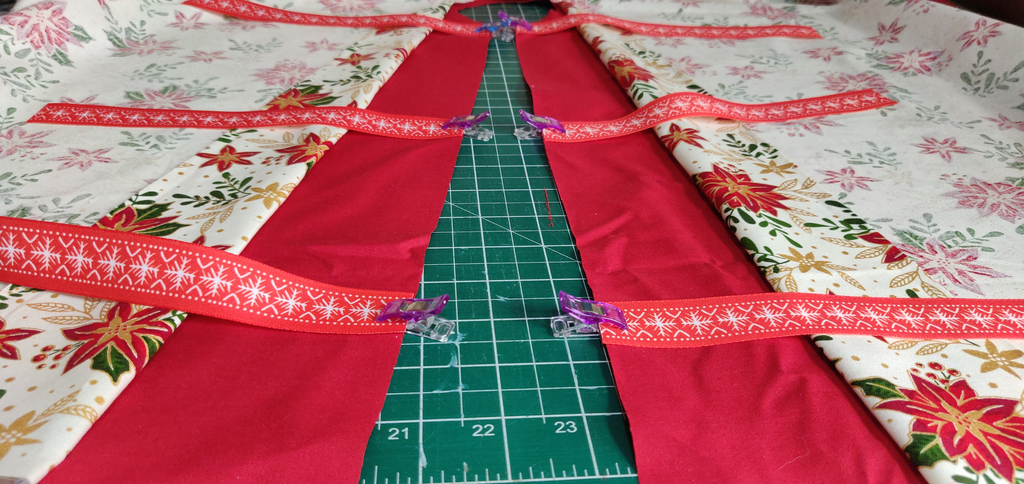
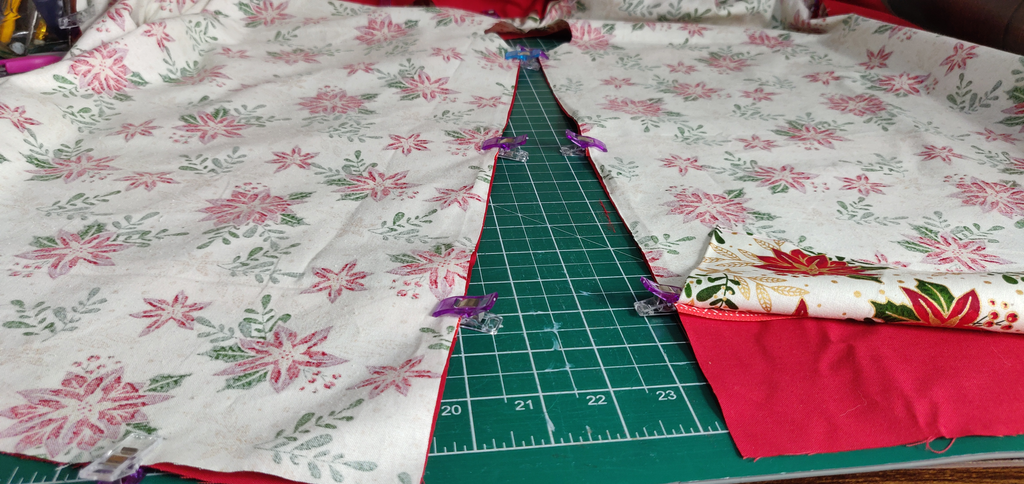
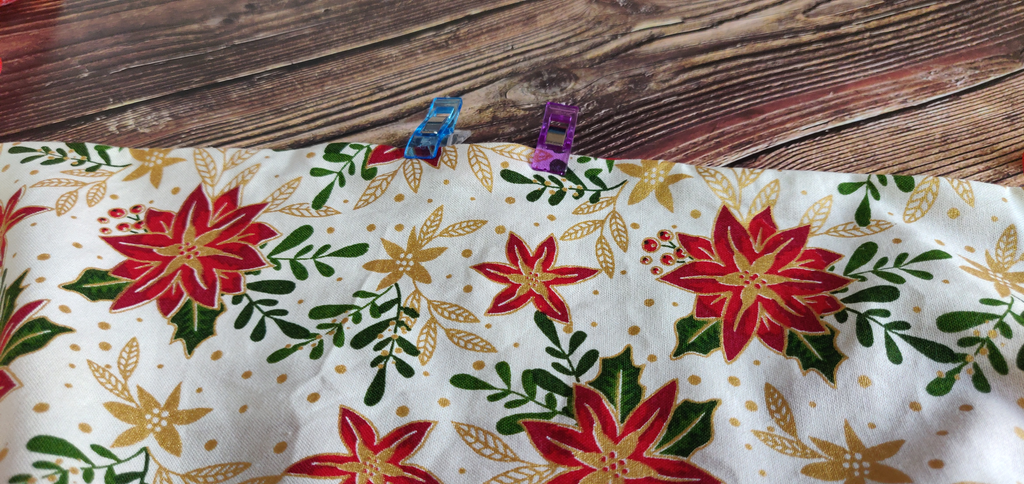
Pin or clip around the entire inner and outer circles.