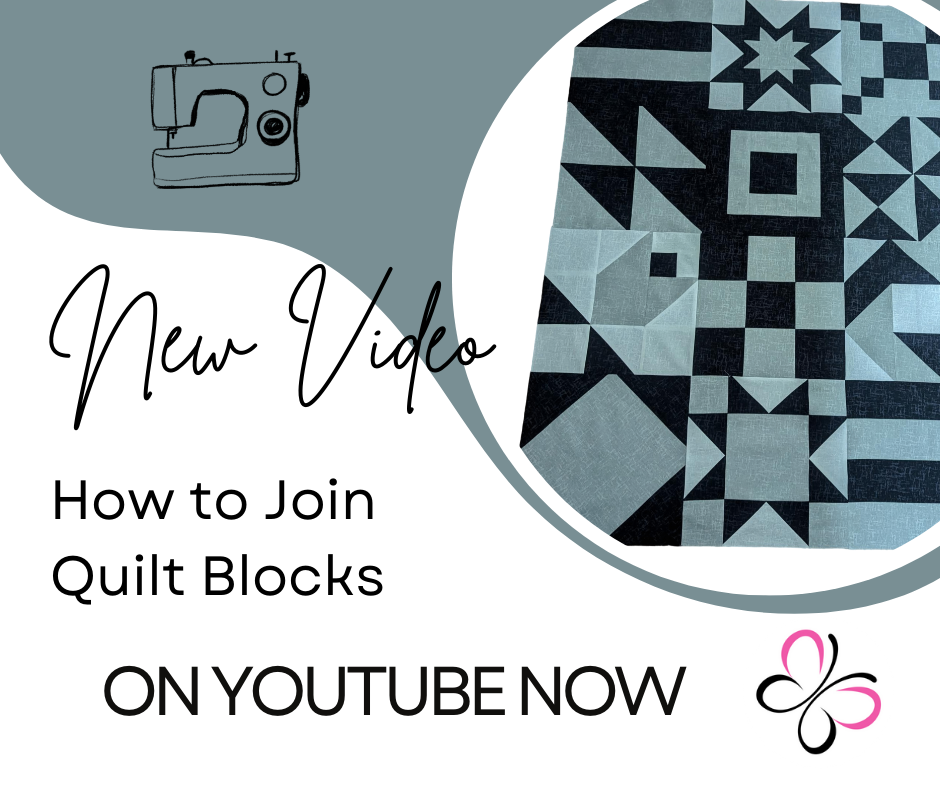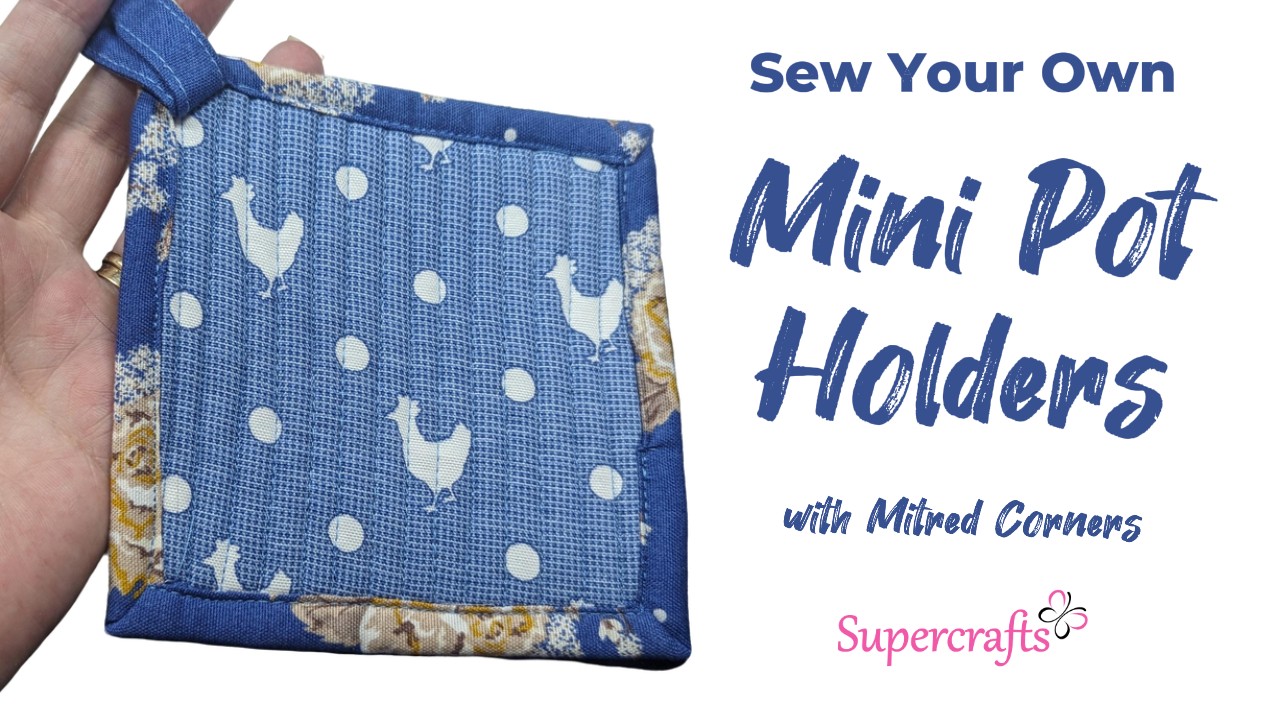
Do you hate binding pot holders? Well, this is the tutorial for you! Learn how to quickly make a quilted self-binding pot-holder without the hassle of cutting and attaching binding. Watch this quick and easy tutorial and create your own quilted pot holders quickly. This is a mini version of last weeks video – and uses mitred corners for a better finish!
You’ll Need
- 7 x 7 Backing fabric
- 5 x 5 Front Fabric
- 5×2 for loop
- Bosal (2) 5 x 5
This weeks video has no sound – apologies. However, here’s a quick step-by-step rundown of the video.
- Work through the list to cut your fabrics to size.
- Take your hanging loop piece (5×2) and fold it in half. Press.
- Open up and fold each side in to the centre fold line. Press both.
- Fold one side over onto the other. Press one last time.
- Sew down either side, close to the edge.
- Set aside for later.
- Lay a piece of bosal shiny side down on the table.
- Add a second piece, this time shiny side up (so it faces you).
- dinally, add your front fabric (5×5) on top of those with the right side facing you.
- Pin those layers together.
- Quilt as desired. I just used the presser foot to quilt straight lines across the entire thing.
- Trim the edges so they’re neat and the bosal isn’t visible too far in (it needs to be coverable by the self-binding)
- Place your backing fabric right side facing down in front of you.
- Add the pad you created previously to the middle of this and pin together (or pin in place).
- Fold each edge in by half an inch, this is up to the edge of the centre pad. Press.
- Now fold over one edge so it’s on top of the pad. Use clips to secure temporarily as you work.
- In that first corner where two edges meet, fold over the very corner to create a point.
- Now fold the edge over onto the pad and you’ll see it creates a mitre. We need to do that on the other corners too.
- Sew around the entire pad close to the inner edge to secure that self-binding.
- I forgot – but figure out which is the top corner (if your fabric is directional) and pop your hanging loop in there between the pad and binding before you start to sew.
- Give the pad a quick run over with yor iron and that’s it.
PRODUCTS USED IN THIS VIDEO
Stuart Hillard’s Blue Skies and Nutmeg Fat Quarter Bundle Available in blues, which I used, and mustard, which is available here.
Rotary Cutter: https://supercrafts.co.uk/tools/638-60mm-dafa-rotary-cutter.html
Multi-mat: https://supercrafts.co.uk/home/1210-quilters-4-in-1-multi-mat-ironcutlayout.html