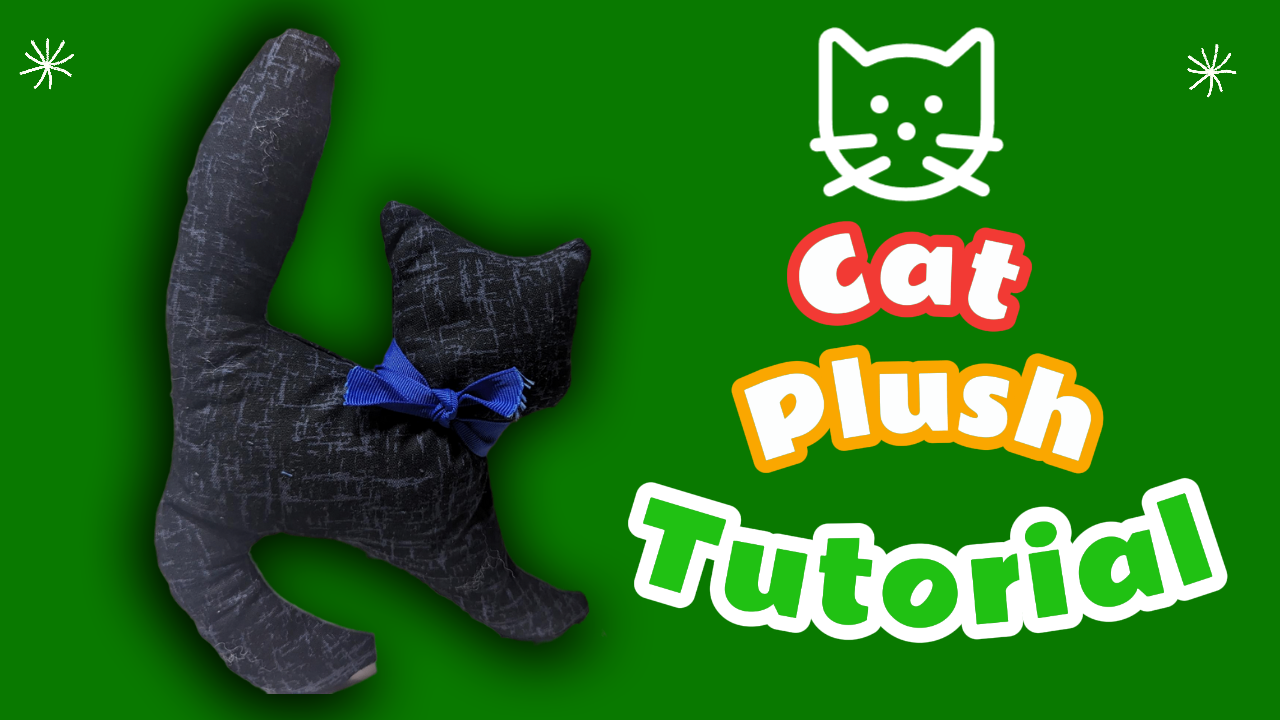
This week I’m making a cat plush toy – As with most of the posts these days, there are no images, but there is a Youtube video. This one requires a template, which you can find below for free. Also below is the transcript of the video for those who don’t speak English in the hope they can translate the text and go ahead with the make.
I’m using a couple of off-cuts of textured blender in black for this one, and that’s the only fabric needed. You don’t need a lot, but toy stuffing is also required.
Youtube Transcript
Hi everyone. This week we’re having a little fun making a lovely little cat plush toy. You’ll need two pieces of fabric, some stuffing and a little bit of ribbon. You’ll also need the template, which you can download from our blog. I’ve added a link in the description for that and it’s completely free. I’m undecided right now as to which ribbon to go for but we shall see later. You’ll also need a hand needle and thread to close up the opening later.
You need two pieces of fabric, each measuring 8.5 by 11 inches. Place the two pieces right sides together.
You have options here. And I’m going to show you parts of this using the different options then you can decide which you prefer… Pop in pins to keep the layers of fabric and template together.
First of the marking options – chalk pencil… you can kind of see it… but it isn’t really ideal, especially if your eyesight isn’t great! You could literally just use the template and carefully cut around the entire thing without marking up at all.
The other marking option is a heat erasable pen… remove the pins and take away the template… then simply use the marked lines to cut. The upside to this is that the fabric is more flexible without the paper attached, making it easier to get around some of those curves.
Either way you decide to go, just ensure your two pieces say together.
With the two pieces of fabric still pinned, sew around the project using a ¼ inch seam allowance. Leave the back of the cats front leg open for turning. Remember to backstitch at the beginning and end.
I popped in a couple of pins to remind me where to stat and stop sewing.
Oops! Sorry – Let’s move the camera up so you can see!
Now we need to notch all the curves, and gives the bulk of this is made up of curves, the best idea is to simply go around the entire thing. Cut about a centimetre apart and make sure you don’t cut into your stitches.
Turn the project right way out. Poke out the corners, curves, tail, ears etcetera really well.
Now add toy stuffing, being sure to push it into all the crevices.
Use a ladder stitch to close up the opening we left for turning. If you’ve never used a ladder stitch before, let’s close up on this and see if we can make it clearer.
Tug the opening to force the fabric inside and if you’ve the iron handy, give the edge a quick press to make the edges crisp. Unfortunately I’ve already turned it off and put it away. So I’m just going to pop in a pin to keep the fabrics together while I sew.
Use double thread for strength. You’ll need a knot in the end of the thread.
From this area here where we stopped sewing on the machine we’re going to push the needle upwards from the inside of the project.
Now go back down into the fabric but don’t pull it through yet, instead, push the needle forward another 3mm and then pull out.
Now put your needle through the opposite side of the opening on that fold line. Again, over 3mm and pull through.
Pull lightly to bring the two halves together.
Continue in the same way until you get to the end.
So, in, down 3mm, out. In at the other side, down 3mm, out… and repeat and repeat. Just to point out, you can go smaller than 3mm, but don’t go longer than 3mm else you’ll risk the fabric bunching up as it’s pulled taught. It takes a little while, but the finish is worth it I assure you.
If the cats tail gets in the way – just pin it out of the way.
When you get to the end, pop the needle into the fabric close to your last stitch and out on the other side of it. Do this a few times, this will secure the stitches.
Once you’ve repeated that a few times, pull the thread out and snip off close to the fabric. When you snip it, it will disappear inside your project.
And as you can see, the stitch is basically invisible.
Tie a little piece of ribbon around the cats neck as a collar…you could also add a little bell, but don’t do that if this is being given to a child. Hmm, yeah, I think either a larger piece of ribbon, or maybe put the tie to the back? Thinking about it a lovely little crocheted scarf would be really pretty here!
And that’s it. How adorable is this!
Thanks for watching, and if you haven’t already, please consider liking this video and subscribing to our channel!
Until next time, Happy Sewing!
Youtube Video