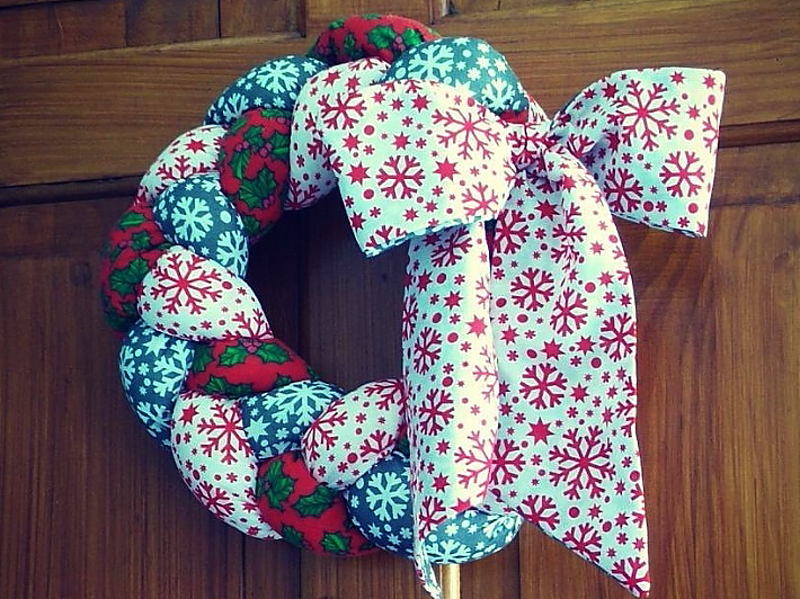
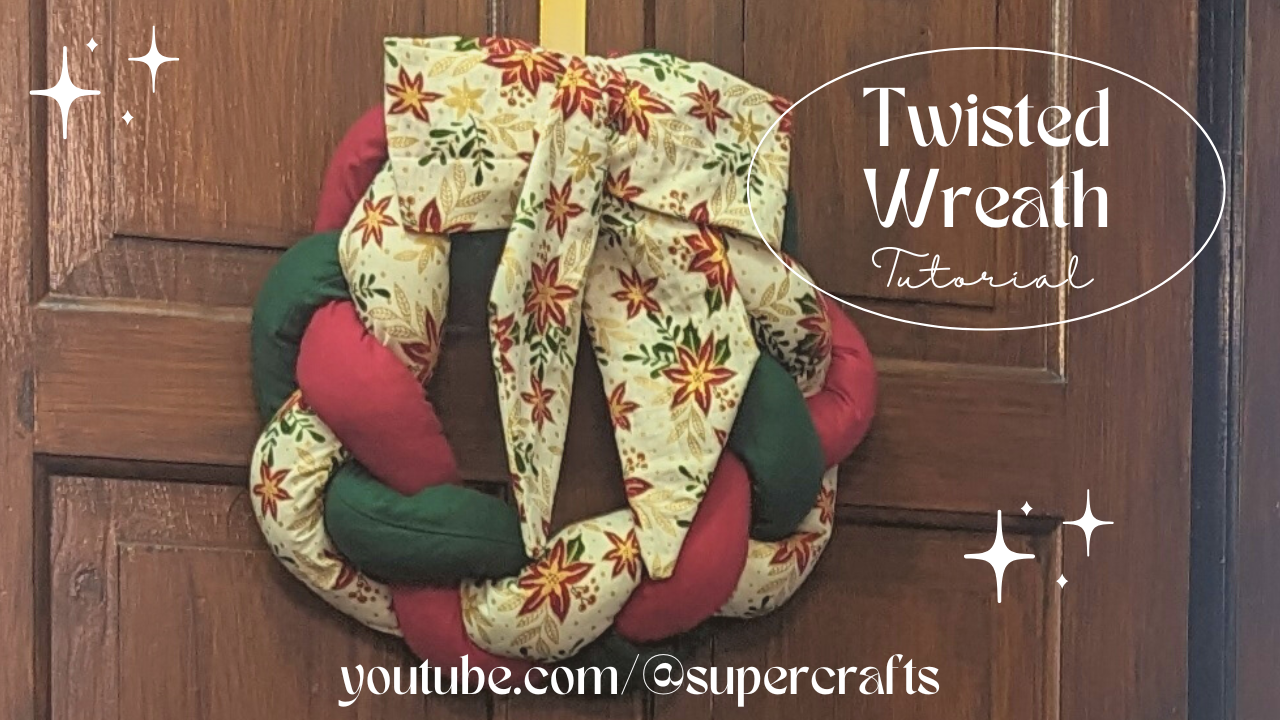
I saw one of these hanging in a shop last Christmas and decided I’d attempt to make one instead of buying it as theirs was made out of hessian and at that time I’d have preferred a more colourful fabric – I never got around to it! However, now I’m starting the Christmas craft tutorials for this year and thought what better place to start! The width of fabric is as it came. If your fabric is wider, the wreath will be larger.
Turner (or whatever you normally use to turn fabric)
Safety pins or strong clips
Needle and thread for closing up to create the wreath shape
First gather all of your materials.If you’ve not done so already from the dimensions above, now is the time to cut your fabric strips. Using the list above, cut out all your fabric pieces.Fold each strip along it’s long side so that the right sides are facing.Sew across one of the shorter sides starting at the fold. Pivot at the end and sew down the long side. Seam allowance is 1/4”. Do this on all three strips. Once sewn, snip all the corners to reduce the bulk.Turn the correct way out using your turner of choice.Now fill the tube with stuffing. Make sure to put plenty in there, but remember you need to be able to twist and bend the stuffed tube. Do this with all three and fix the three together with a safety pin or strong clip and practice braiding the three together to check the amount of stuffing looks right.Now we’re going to close up the open ends. Place a finger in either side of the opening and pull apart a little. The fabric should want to automatically fold in on itself, creating better edges.Place two of the tubes slightly overlapping the third and stitch them together. I found this was a little difficult under the sewing machine, but it was possible. If you can’t get them to sit under the machine foot, just sew them together by hand.Now braid the three together tightly. They need to be relatively tight as you’ll be left with odd looking gaps otherwise. To check this, one you get about half way bend the entire thing a little to see if it looks tight enough – if there are unruly gaps between the tubes, just unbraid and try again a little tighter.Pin the three together and shape the three braided tubes into a circle. Remember, it’s likely only one side will be visible, so try to turn the tubes so that all the seams are on the back out of view. One you have the seams out of the way and are happy with the finished shape, sew the ends together and remove the pins.Now to create the bow. Take the two 3×44” pieces of fabric and lay them right sides together. Read the next few steps before sewing so you know how all the edges need to be sewn together. Sew around the rectangle using a 1/4” seam allowance, leaving about a 1.5” gap on one of the longer sides to allow you to turn the fabric right side out.Sew the smaller ends at opposite angles to one another.Now cut off the excess fabric from the ends and clip all corners. Turn right side out. Sew up the opening you used for turning the fabric right side out.Press the bow.Lay the ribbon piece as shown here and transfer it to the wreath.The centre should be placed over the section where you stitched the wreath together.
Now, apologies for the lack of images here – Whilst editing the images I realised I never took photographs of the making of the centre for the bow. Simply fold the fabric in hald across it’s longest side, right sides facing. Sew across one shorter side and then up the long side, leaving the other short side open for turning. Turn it the right way out. Fold the open end over and top-stitch closed. It won’t be seen so top-stitching this part is fine. You’re left with one long band.
Take the band and place it over the centre. Tie up on the back of the wreath and tuck the ends into the wreath itself. Be sure you can’t see this from the front.
As you can see, the image above differs from the main image on this post. That’s because I hung it to photograph it and realised I actually preferred the bow to hang down one side (so you can see more of the beautiful wreath). To do this, I simply loosened the bow centre piece, twisted the bow so it was angled down the side, and tied it all up again once I had it looking perfect (for my taste).

")