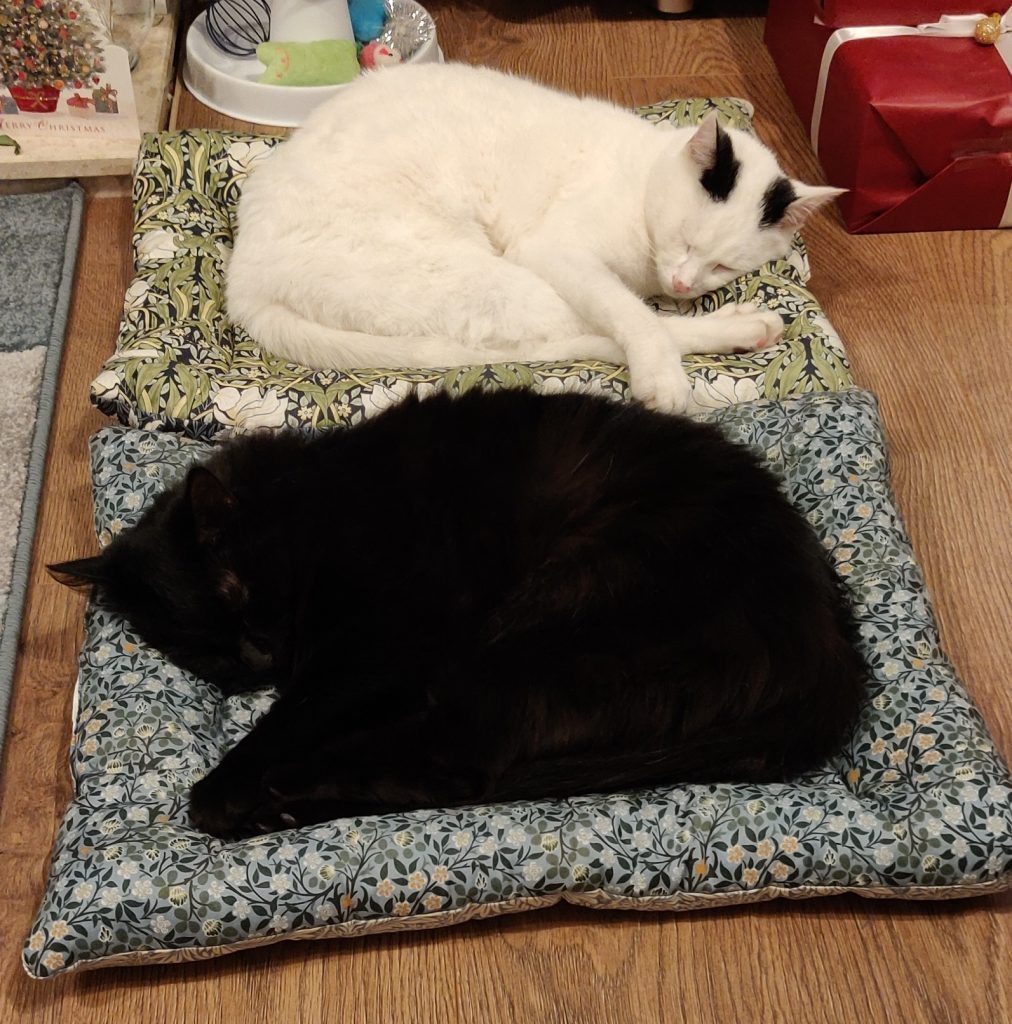
Just before Christmas I’d finished all the gifts I planned to make and was looking for something to do. I have limited time for sewing so was really frustrated that I just couldn’t seem to come up with anything. The cats appeared and wouldn’t leave me alone… Ah! Cat beds!
We have four cat beds (only two cats), which we purchased over the last two years to try to get them to use at least one. No luck. Realising that they’re happier to lay on quilts I’m working on, I figured I’d try to cobble together a couple of beds, just on the off chance.
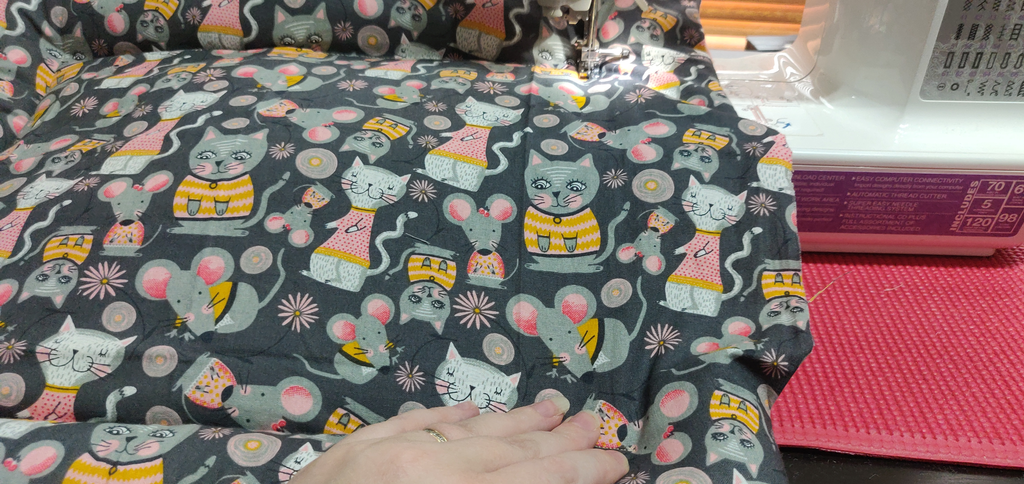
No pattern, and not really a plan either, just a quick scout around for something to fill them with.
I already knew which fabric I wanted to use as we’d taken delivery of the gorgeous William Morris fat quarters literally days before Christmas.
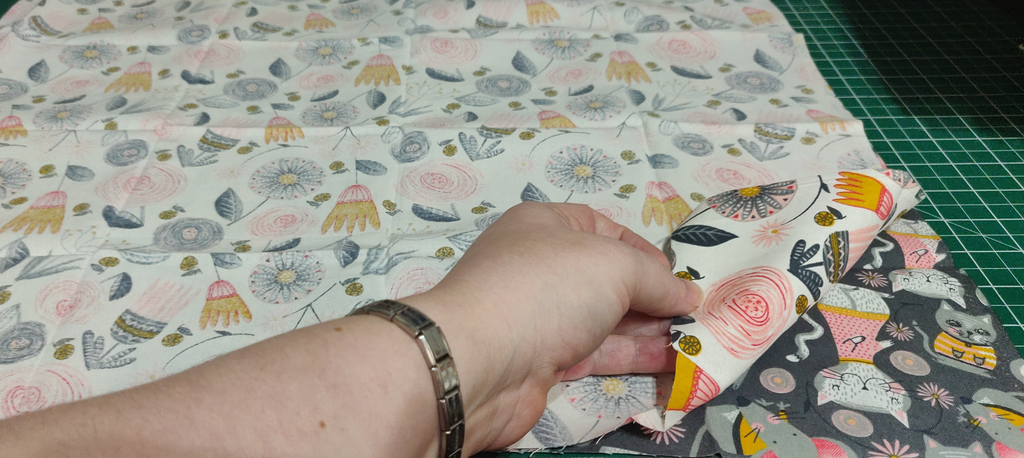
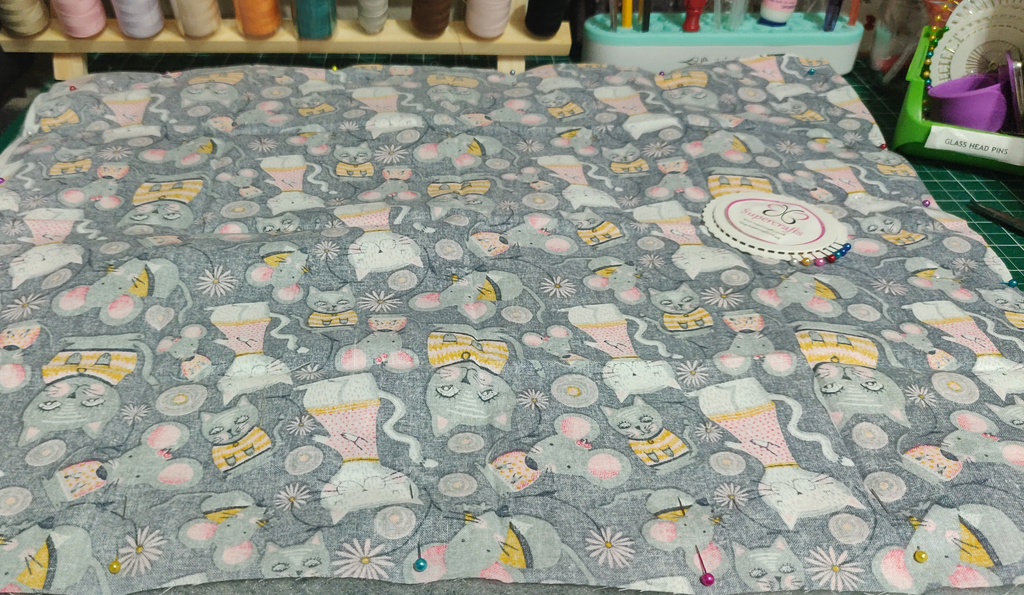
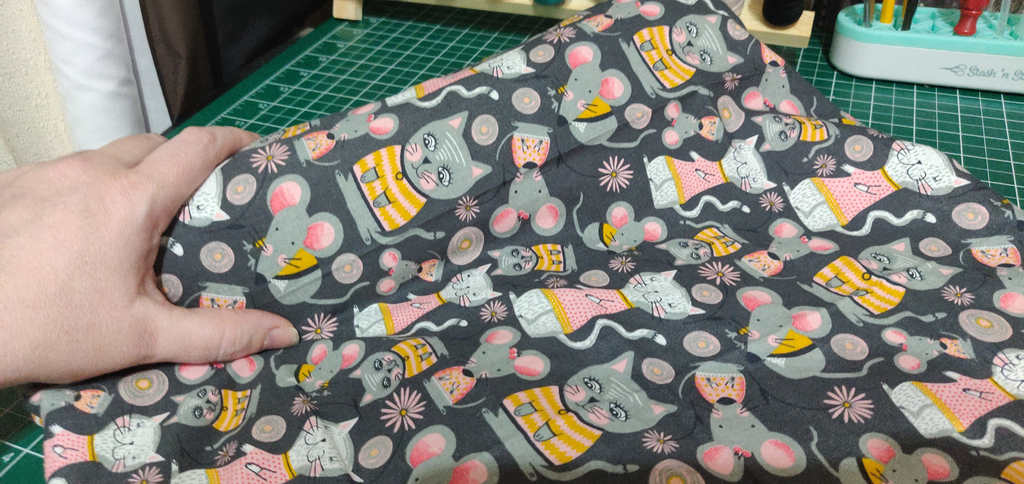
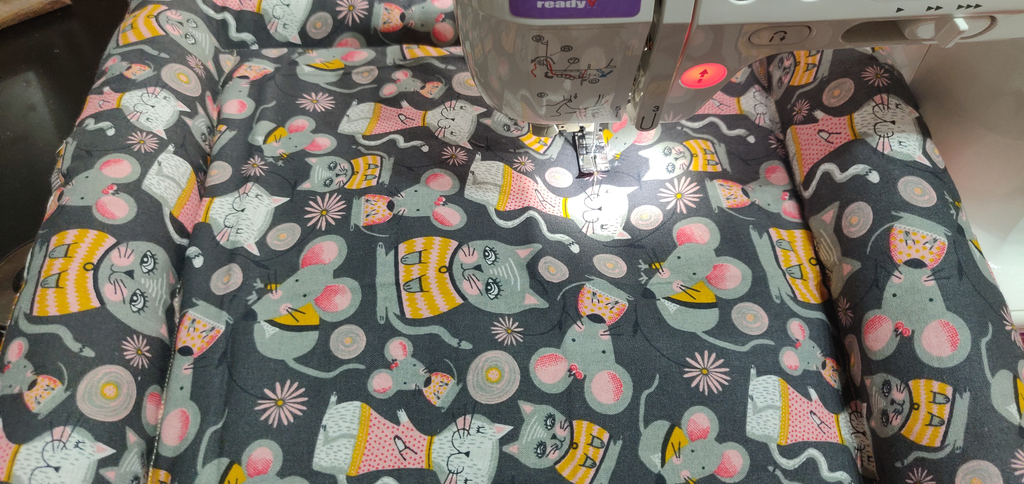
For the purpose of this tutorial however, I used the Kitty Garden fat quarter bundle as I didn’t document the making of the William Morris ones.
What You’ll Need
- 2 Fat quarters (Kitty Garden Fat Quarter Bundle)
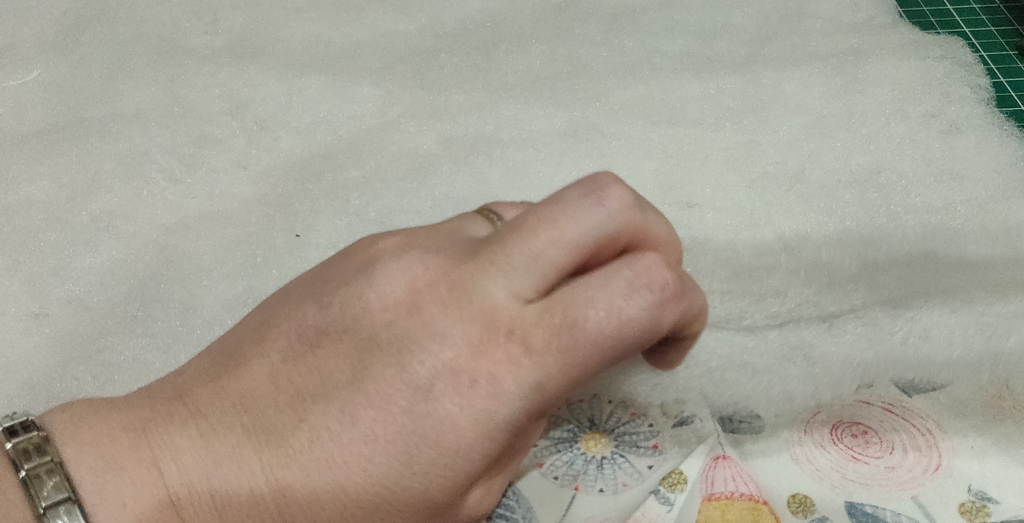
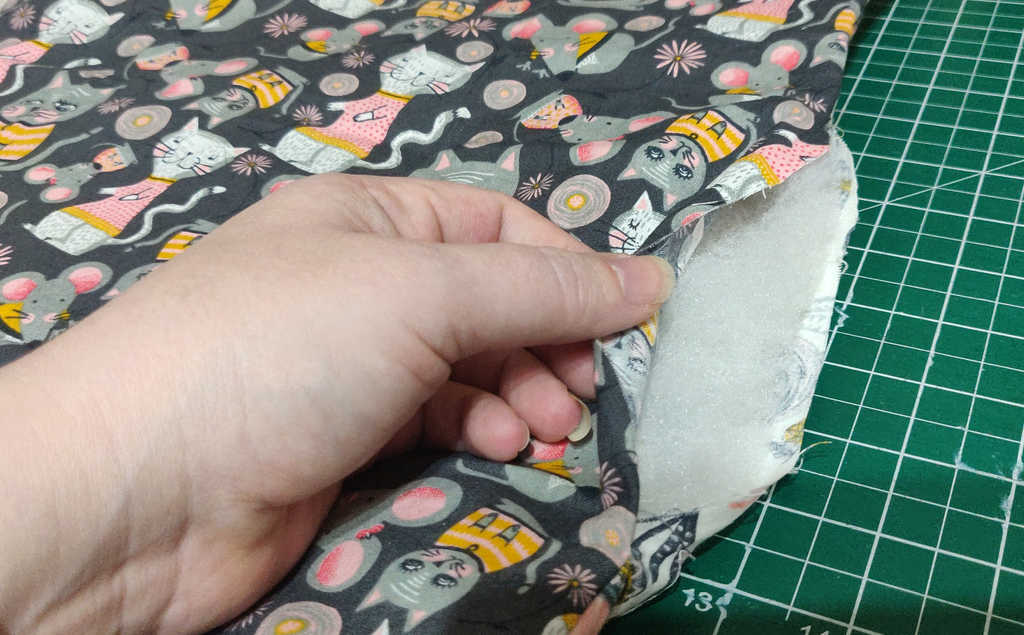
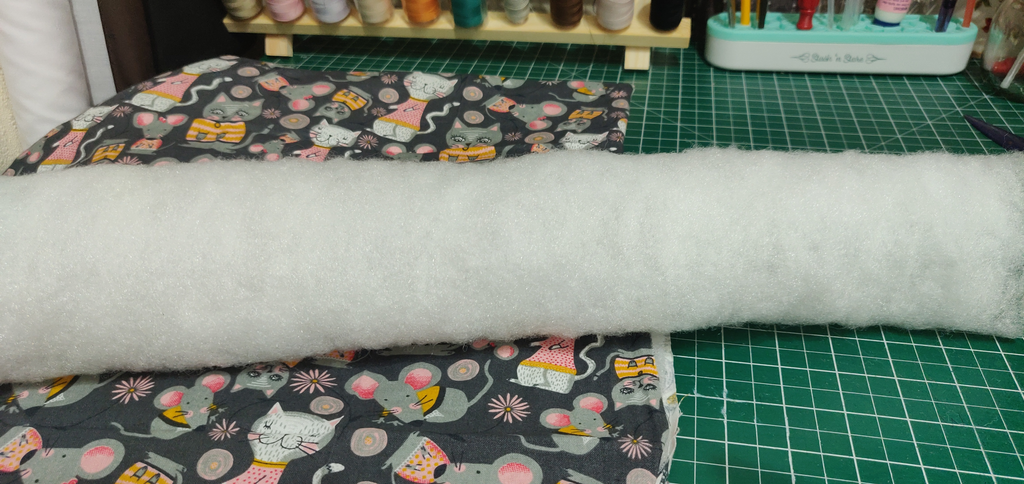
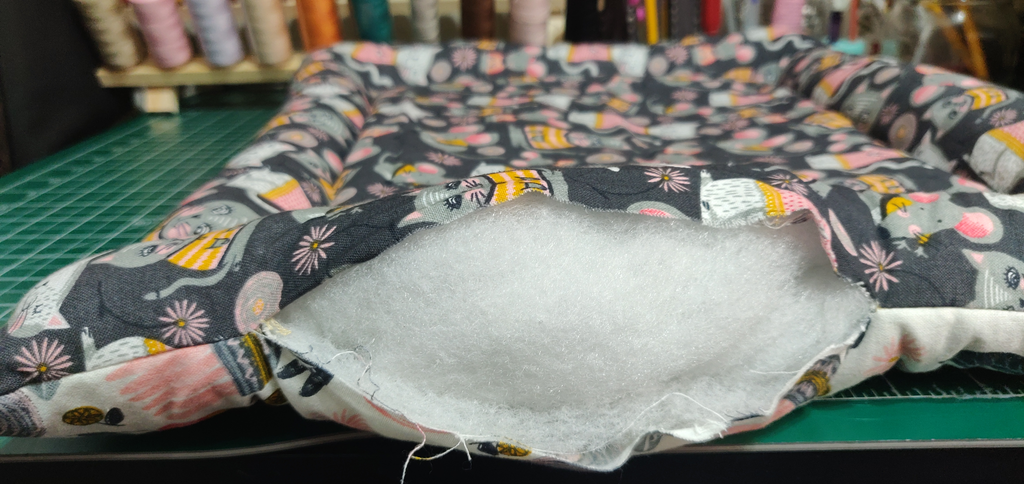
- Two pieces of 2oz wadding measuring the same as your fat quarters
- Four pieces of wadding to fill the top, bottom and sides
- Thread
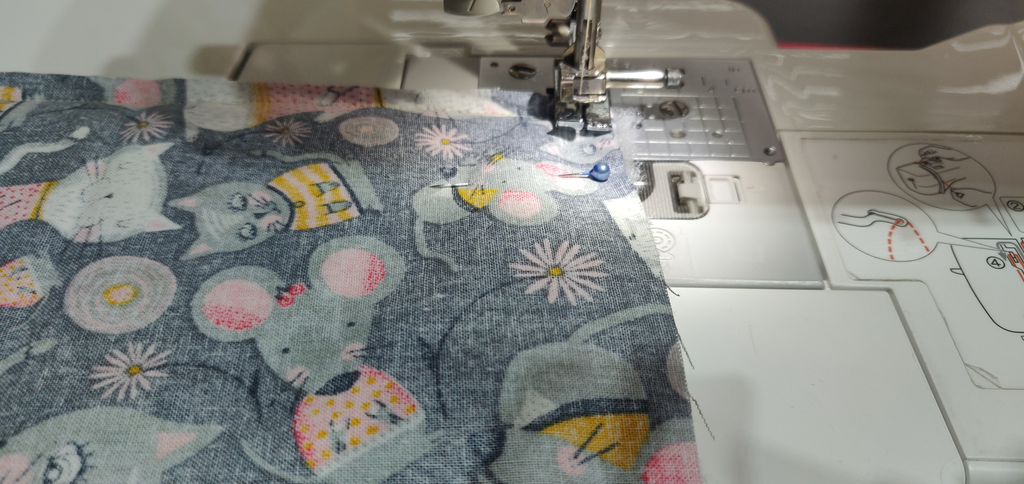
- Sewing Machine
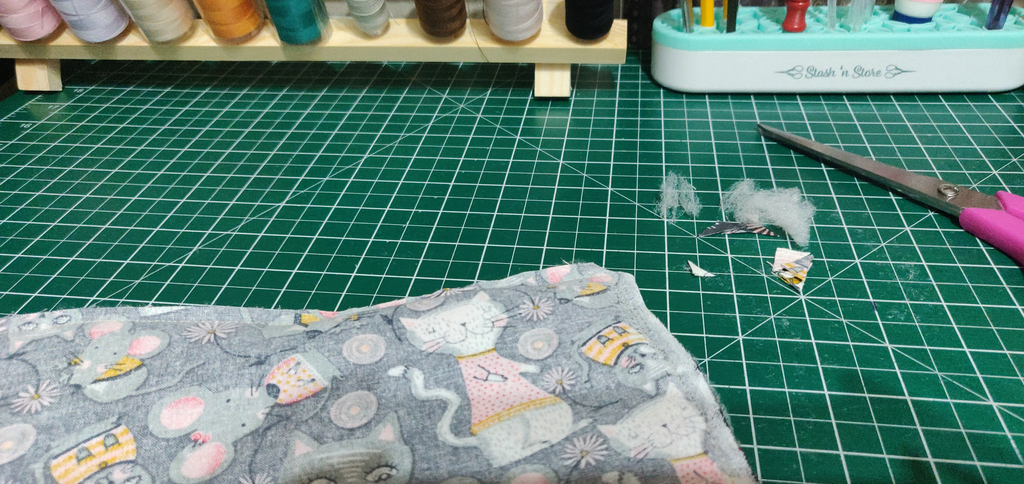
- Scissors
- Needle and thread to close
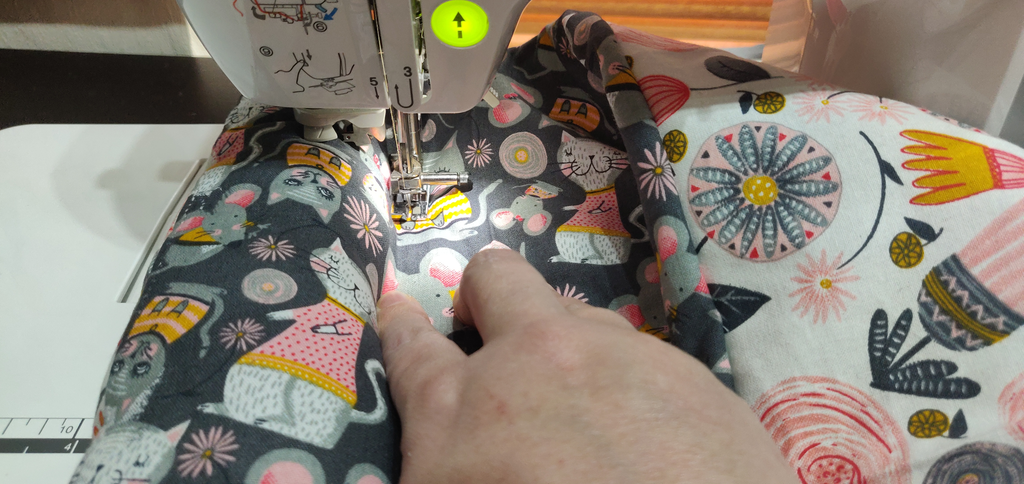
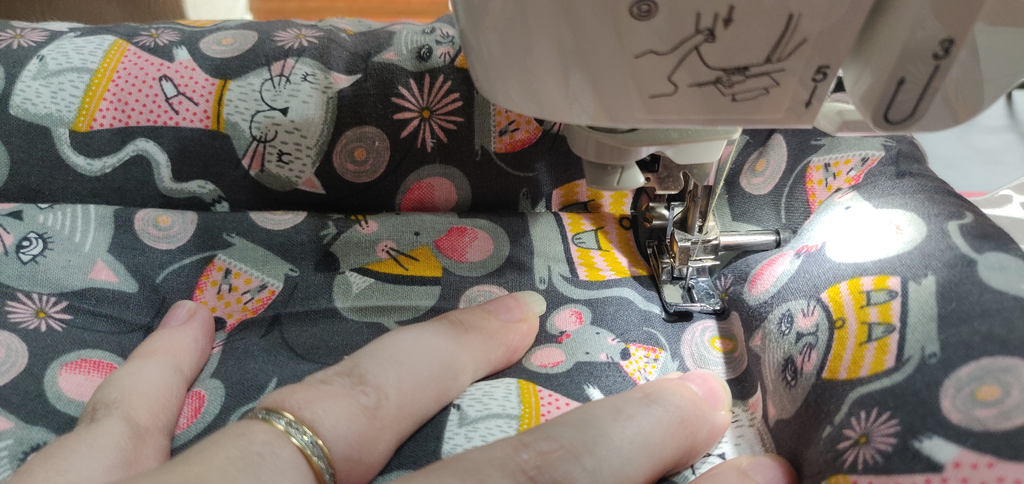
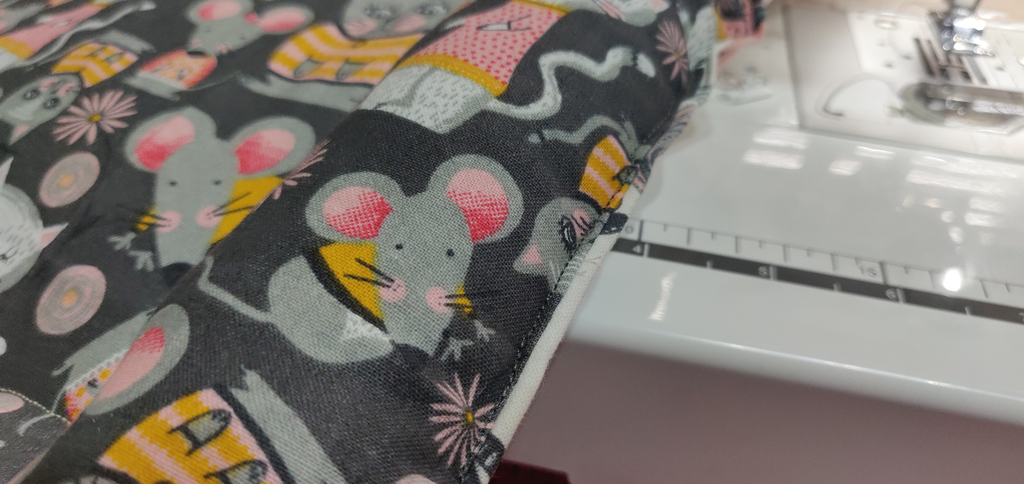
NOTES: I used 2oz wadding as that’s what I had to hand. If your wadding is thicker you may get away with one layer. The wadding for the sides of the bed is simply rolled and slid into place. So each will need to fit the length or width of the FQ. If you don’t have the correct size for the sides of the bed, you can always use more than one piece, but it may be a little bit fiddly to hold them in place. Additionally, if your cat or dog is larger, this is easy to upscale. Just use a metre of fabric and cut two pieces to your desired size. If you want the bolstered edged to be larger, just sew further in and add more wadding.
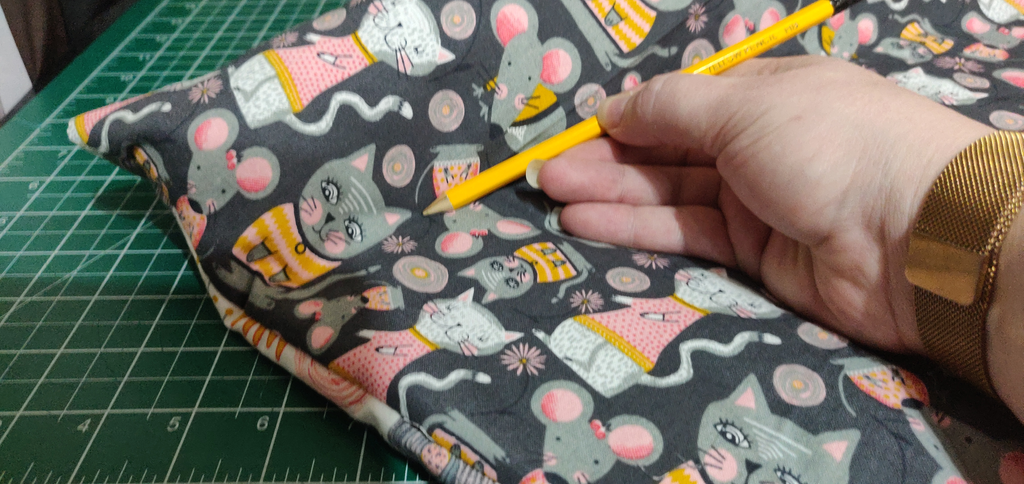
Hope your cats love them as much as ours do!! This of course, made my day! They refused all four of the beds we had bought for them, but quickly started using the ones I made! I call that a win 🙂
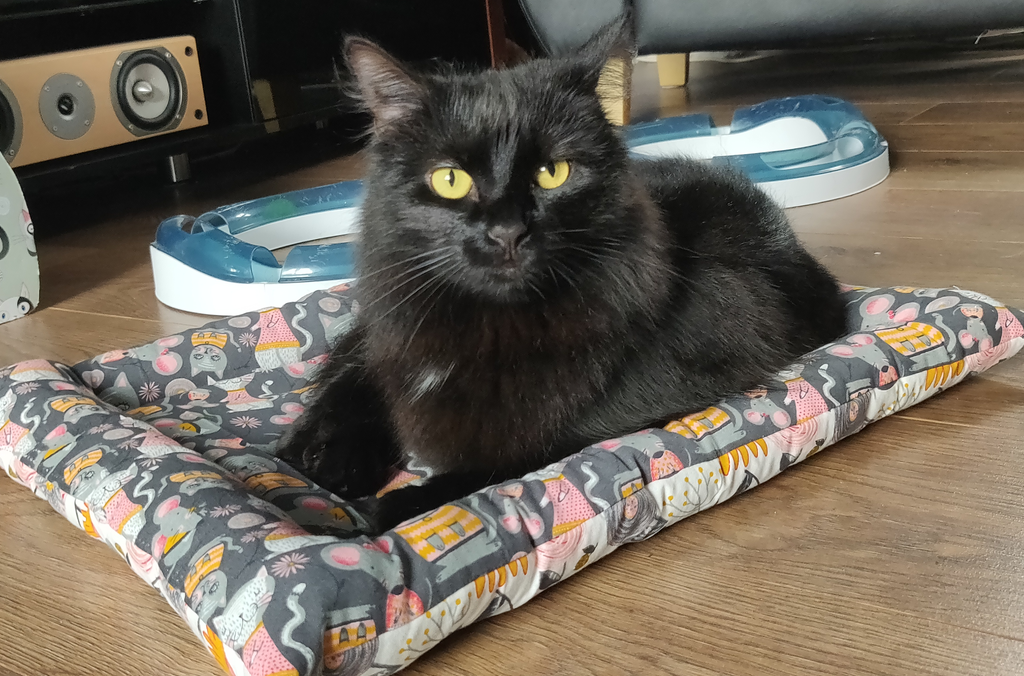
If you use these instructions to make your own furbaby a new bed, please feel free to post a photograph! We’d love to see them (preferrably with the furbaby in it… because, let’s face it, who doesn’t love a good pet pic?