Whoop! Whoop! New candle mat tutorial is finally online! I’ve bene wanting to revisit this since I completed my first Youtube video two years ago! Also, I can’t believe the Youtube channel is almost 3! Crazy.
Fabrics and Tools Used
- Textured Blender in White
- Bauble & Sprig Fat Quarter Bundle (2 pieces)
- 12 Buttons
- Thread
- Ironing Pad (Hoot)
- Corner and Edge Shaper
- Rotary Cutter & Mat
- Small pair of scissors
- Ruler
Free Template
Print on A4 paper at “100%”.
Transcript
I provide the video transcripts so that anyone watching the video has a way of easily translating what’s being said.
Hey everyone. I hope you’re all welll? This week I’m revisiting the very first video I released on the channel. That video has been viewed thousands of times and it’s haunted me since I realised there was an error in it! I’ve been wanting to redo it since, but have only just found the time! The very first one of these I made was 6, maybe 7 years ago.
So let’s get started. You’ll need 24 squares of fabric measuring 6 inch by 6 inch. I’m using a textured blender in white.
And for the accent fabric, I’m using a couple of fat quarters. Quick thanks to Nancy9478 as I’d not used directional fabric in the previous video it never entered my head to mention that if you do, there’s a slightly different cutting process, as directional fabrics need to be cut on the bias so the pattern runs correctly. Thanks for that.
So from this you’ll need 12 squares measuring 4×4 inches. Right now, these are 5×5, but when I was adding them onto the project at the end, I realised they looked better being smaller. For the accent fabrics you’ll need to apply fusible webbing to the back.
OK, so one of the two fabrics I’m using for the accent fabric is indeed directional this time. For the ones cut from this, I’ll be cutting on the diagonal because as you can see, if I don’t the trees will all sit at a strange angle in the project. Again, I cut these at 5×5 and later ended up trimming. I suggest you cut at 4×4 as it looks significantly better with more of a border showing on the finished mat.
Using the line on my ruler, I placed the ruler so the trees were lined up with that line instead of the squares… hoping that makes sense.
As you can see this left the trees pointing perfectly for each petal of the mat.
Now apply fusible webbing to the back of all the accent fabrics. Just place it on the back and add heat from a warm iron.. You can leave the paper attached for now. I’ll go off and get the rest of these applied off-camera.
All sorted.
Now we’ll prepare the white squares. Take two and place them right sides together. So pretty side to pretty side. You can pin them if you want to. I didn’t bother.
Sew around the entire square using a ¼ inch seam allowance. No need to leave a turning gap in this project.
Clip the corners to reduce bulk, I didn’t do it on this first one as I forgot, and it was obvious once I’d turned it out. I did fix this off camera. Just clip all four corners and you’ll be fine.
Pull the two apart and cut one side of the fabric in the middle. Don’t cut through both layers, just one. Just enough to pull the fabric right way out. Turn out through that hole. Then give the square a good run over with an iron. Now as you an see, this is where I noticed the 5×5 squares were too large. There was an edge, but it wasn’t much of one. So I trimmed the accent fabrics down by 1 inch and they look so much better… Peel off the paper, place in the middle of the white square on the side of the fabric where your cut is, then iron in place.
You need to repeat that another 11 times so you end up with 12 squares.
I now have my 12 finished. As much as I’d like to leave it there, fusible webbing isn’t a suitable substitution for actual stitches. So, I’m using stitch 44 on my machine, which isn’t helpful, I know! Let me pop it on screen…
It’s basically a hemming stitch but works extremely nicely for appliqué. It stitches off to the left and to the right in intervals. Using that, I’m going to sew around this accent fabric on all the squares. Let me do this one and show you… As you can see, it adds a little something, while securing your fabrics. So now all I need to do is repeat that on all 12 squares. Again, I’ll go do that off camera.
There we go! All 12 looking pretty with that stitched edge. Now we can start the process of joining up all the pieces to form the mat.
Using the provided template, mark the lines either side of the template. You can either mark them all up, or follow on with how I’m doing it…
Take one of each design, and place them back to back.
Sew down the right hand mark, on the line itself.
Open that up, and place your next piece back to back again.
Mark the line on the top one, which should be the one you already stitched to block one…
Sew down the line again.
And repeat, adding all the remaining blocks, remember if you’re using more than one fabric, alternate the accent fabrics, and be sure to orient any directional fabrics correctly. The “bottom” of any directional fabrics should be on the wider end of the template.
The ends should now be close enough to one another to touch – so again, place the same fabrics together and sew one last line.
Trim all those rogue threads.
We’re going to bring these top petals together using buttons. Of course, you can use anything… or nothing. But a little embellishment never hurts!
Bring the two together, and sew through both layers as you stitch on the button.
Continue all the way around… I’m going to do this off camera as it takes a little time to complete and I’ll bring you back once they’re sewn.
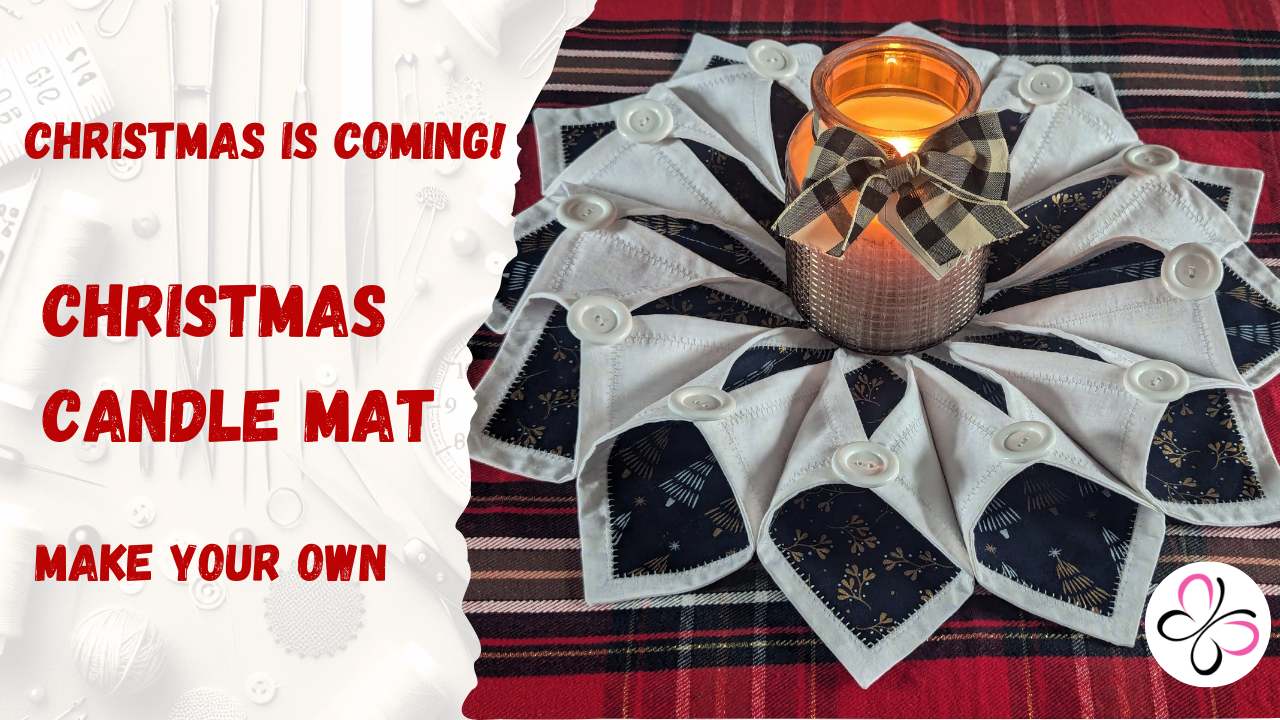
And there we go! Pop in your candle and you’re set.
These make wonderful gifts.
I hope you liked this one as much as the original! And hopefully I’ve managed to take you through the process without messing up.
Please consider liking the video and subscribing to our channel. Also! If you make anything from the videos, please do tag us on facebook and instagram! Details for the accounts can be found in the description.
Until next time. Happy Sewing!





Hello from Australia…
I just love this idea & really want to make one,
but am confused with the actual sizes you cut the squares,
Is it 4×4 for the contrast …fabric…
Is it then 5×5 for the border fabric
So then what size do I cut the fusible webbing..
Sorry to be a bother ….Thank you ….