")


Appliqué is the act of stitching layers of fabric on top of one another to create a textured finished product. There are several ways to appliqué, but the most common is with the use of iron-on webbing and a satin stitch. The satin stitch can be achieved on any machine that has an adjustable zig zag stitch. Because the stitches are so close together, there is no need to turn under the edges of the fabric to stop them fraying.
I’m not a huge fan of the satin stitch – I simply don’t have the patience for it. So this tutorial will walk you through the steps upto the stitching part, and then will give you some pointers for different, what can be fidley, areas to work.
If you want to sew along as you learn, download the file below and print it out so that you’re able to follow along. Learning works much better when you’re physically doing what you’re trying to learn.
Make a choice
There are two ways you can get the pattern onto the backside of the fuse-a-web.
Option 1: Place the fuse-a-web on top of the pattern sheet and trace around the parts, then cut them out.
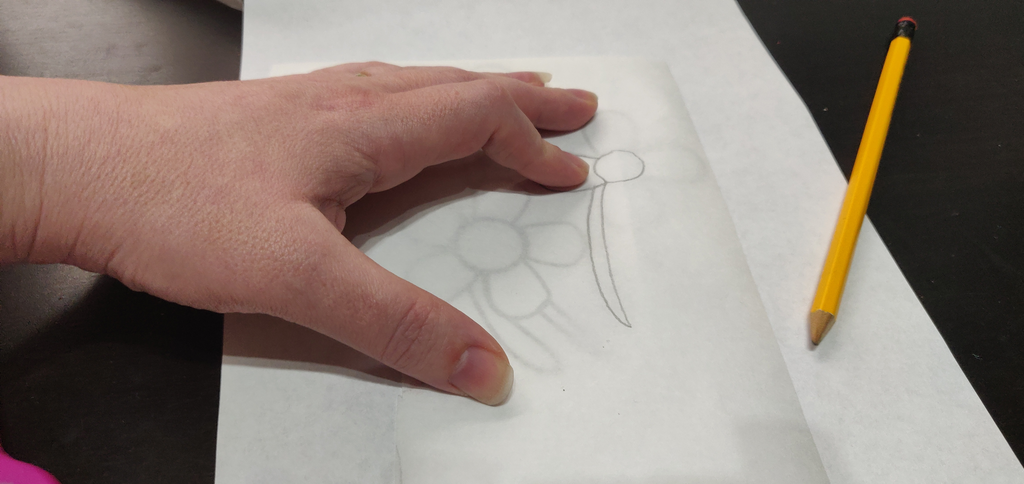
Option 2: Is my personal preference, as it means that you can reuse the pattern pieces over and over without having to do all that pesky cutting out again! Method 2 also allows you to iron on the interfacing to a block of fabric rather than each individual piece. Also, In my opinion it allows for a more accurate transfer of the pieces. One thing to note if you’re using your own pattern, is that the image needs to be reversed when you draw around it. This is because the fuse-a-web will be added to the backside of the image. For the purpose of this post, we’ll run with option 2.
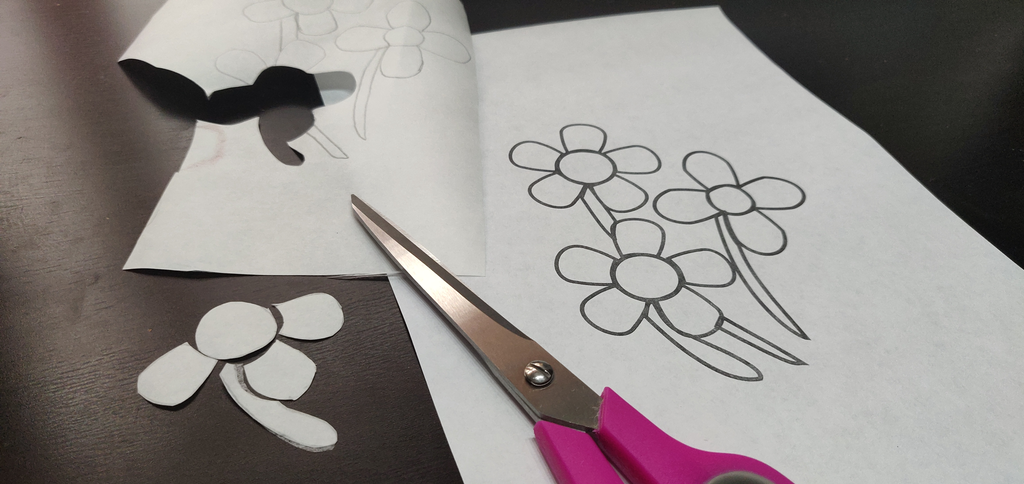
Print out two copies of the template and cut the pieces out of one of them. The other copy will be used as a placement guide later.
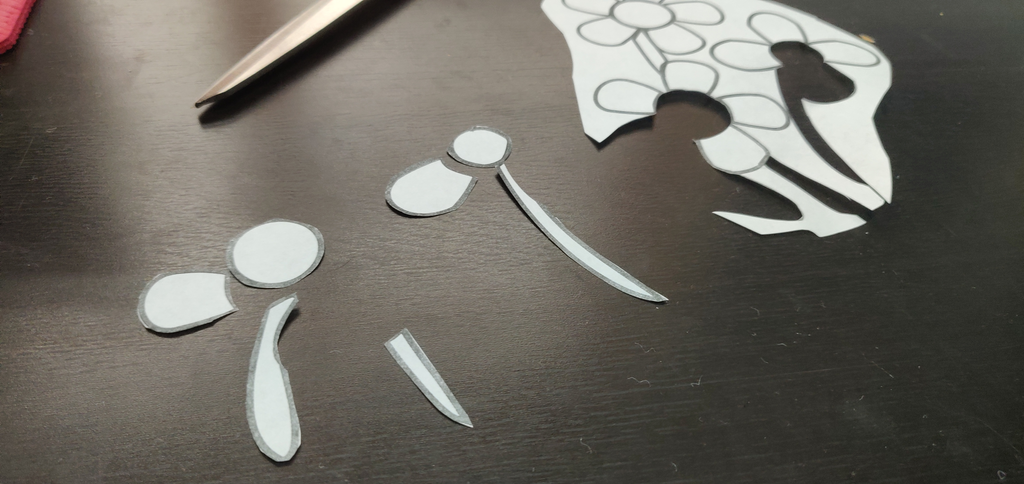
For this image, the flower on the right has the same sized petals all the way around, you only need to cut out one. The other two flowers have the same size petal, again, you only need to cut out one. The two inner circles on the RIGHT are the same size, save yourself time and only cut out one.
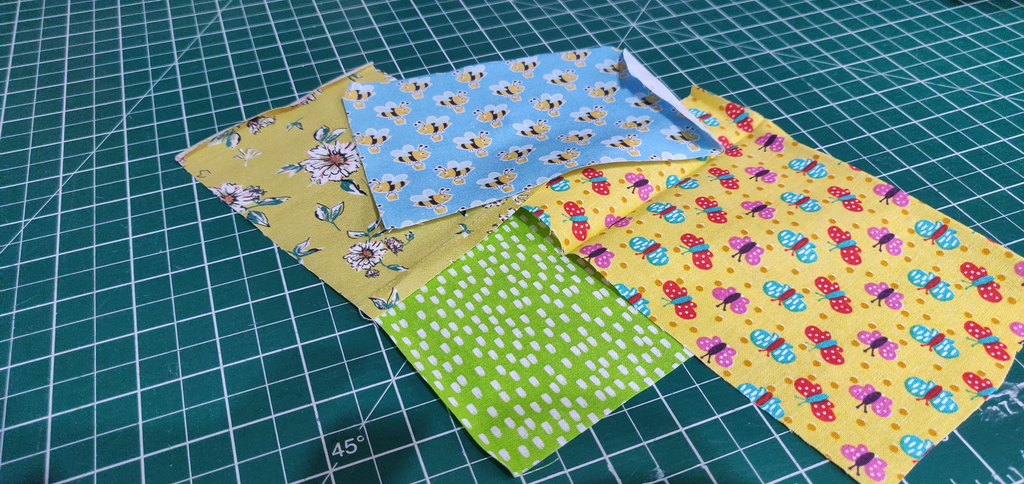
Now choose your fabrics. We went with some scraps we had laying around. You can use as many different fabrics as you like. As long as they’re big enough to fit the template pieces on, they’re useable! This is a fab way to use up those bits of fabric you just didn’t want to throw away!
Applying the fuse-a-web
There are many different variations of webbing you can choose, we use fuse-a-web lite as it works really well (and we stock it, which helps!) on the cotton fabrics we tend to use for appliqué. Whatever you buy, there should be instructions on how to use it. However, I’ve yet to come across any that doesn’t work the same way fuse-a-web does, so…
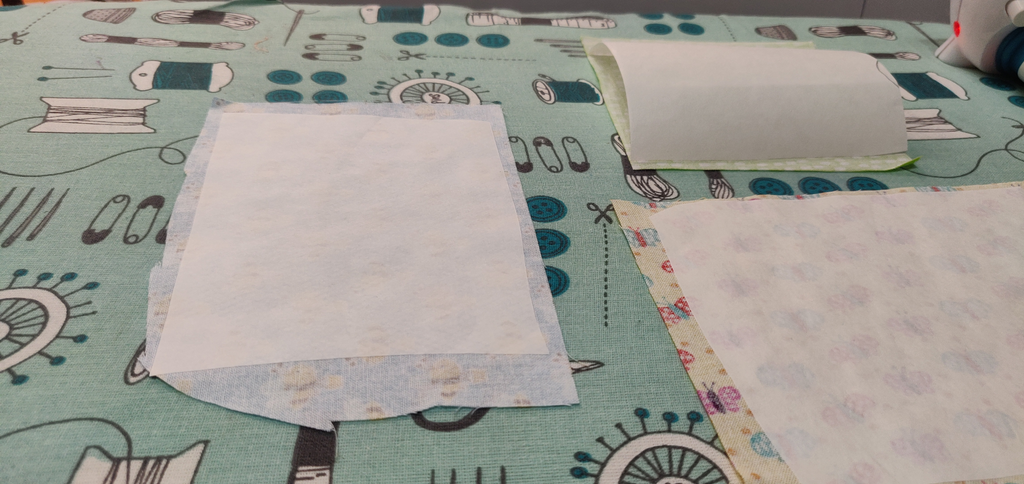
Cut a piece of fuse-a-web slightly smaller than each piece of fabric.

Lay your fabric right side DOWN on your ironing board. Place the webbing on top of that, paper side UP. Apply firm pressure with an iron.
With the fuse-a-web attached, you now need to transfer your templates onto the paper side. Remember, you need to place your templates right side DOWN on the paper. Draw around all your pieces.
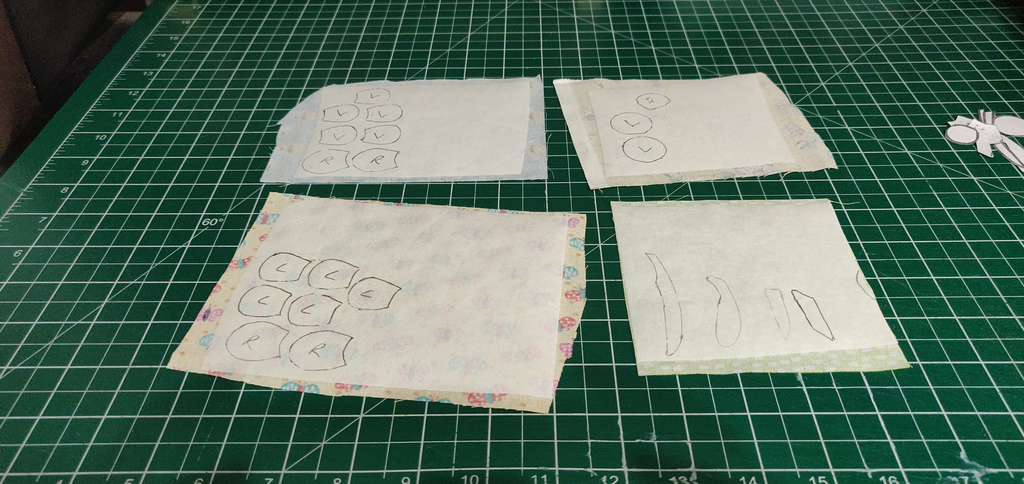
Now carefully cut around the pieces being as neat as you can, but don’t stress out if you cut something slightly off. Remember, we’re all learning.

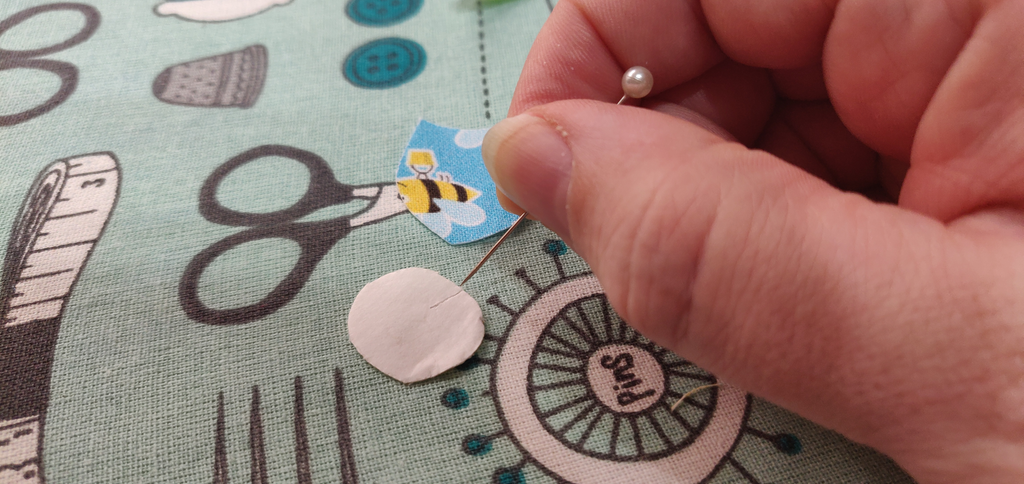
Once all of your pieces have fuse-a-web attached and have been cut, carefully peel away the backing paper. If you struggle to get the paper off any of the pieces, score a small line close to one edge and peel from there. If the fuse isn’t quite right, pop your iron back on it and try again.
Back to Front
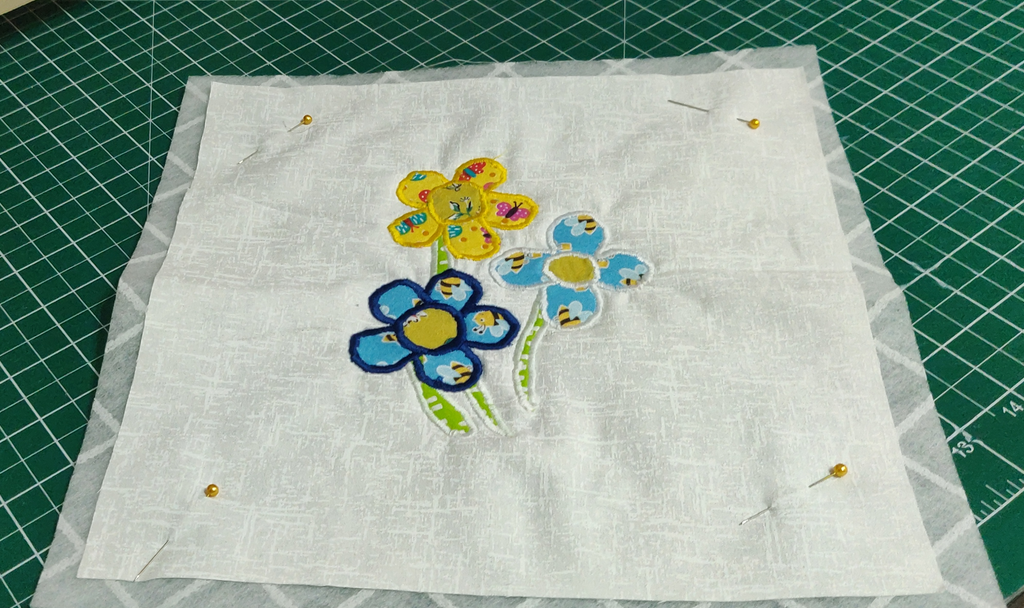
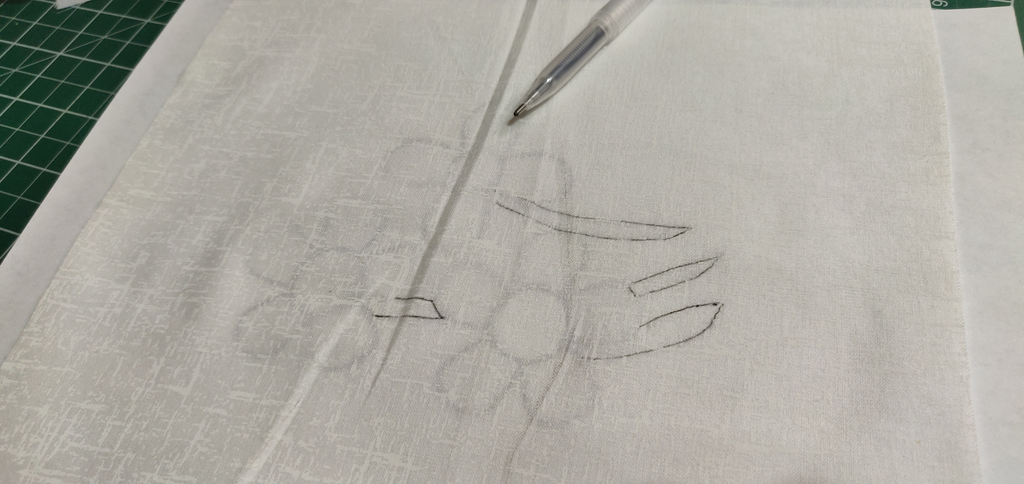
Firstly – prep your backing fabric – I cut a 10×10” piece of cotton. Give it a quick iron. I managed to put some odd mark on mine as I did this, but the beauty of appliqué is that the pattern will cover it 🙂 When adding the pieces to what will be your finished product, you’ll need to work back to front. So for this pattern, the stalks need to be placed behind all the petals. Refer back to the copy of the template. Once you have the first few pieces in, the rest will be obvious. I tend to place the template underneath the backing fabric and use a heat erasable marker to mark the first few pieces.
Carefully lay down the stalk sections on top of your backing fabric and press them into place with a warm iron.
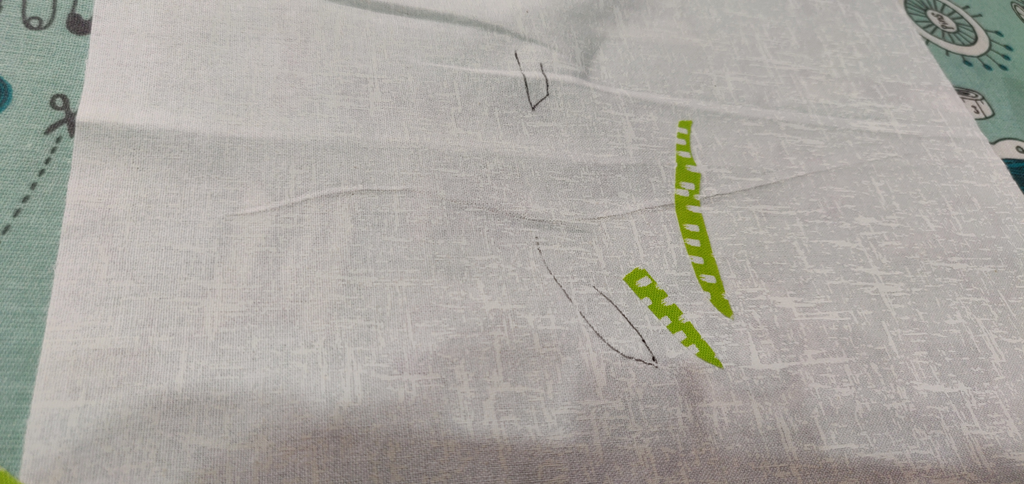
Of course, if you feel the need, you can stop and remark the next set of pieces. Don’t mark everything – these pen marks will disappear very quickly under the iron, so better to do this in steps.
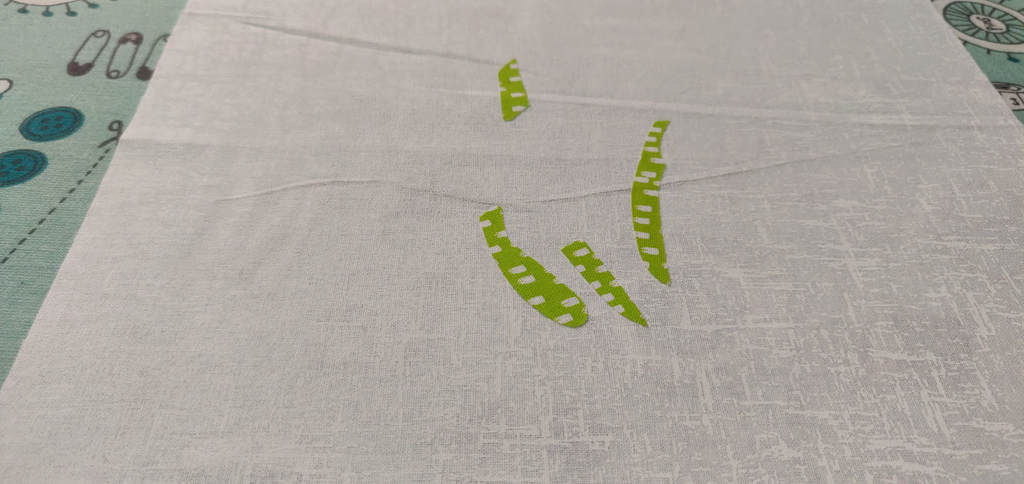
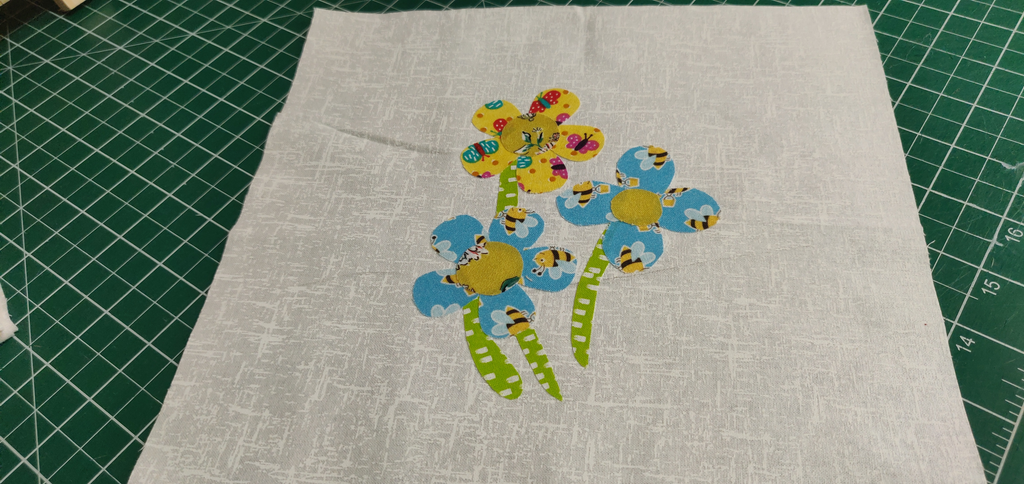
Next level will be the petals, again, carefully place them and press. Lastly for this pattern, add the centre of the flowers, press. At this point you can see how the finished project will look.

Machine Set up
Needle
I find the best needle for attaching appliqués is a size 75 (or 11 if you’re following American sizing).
Thread
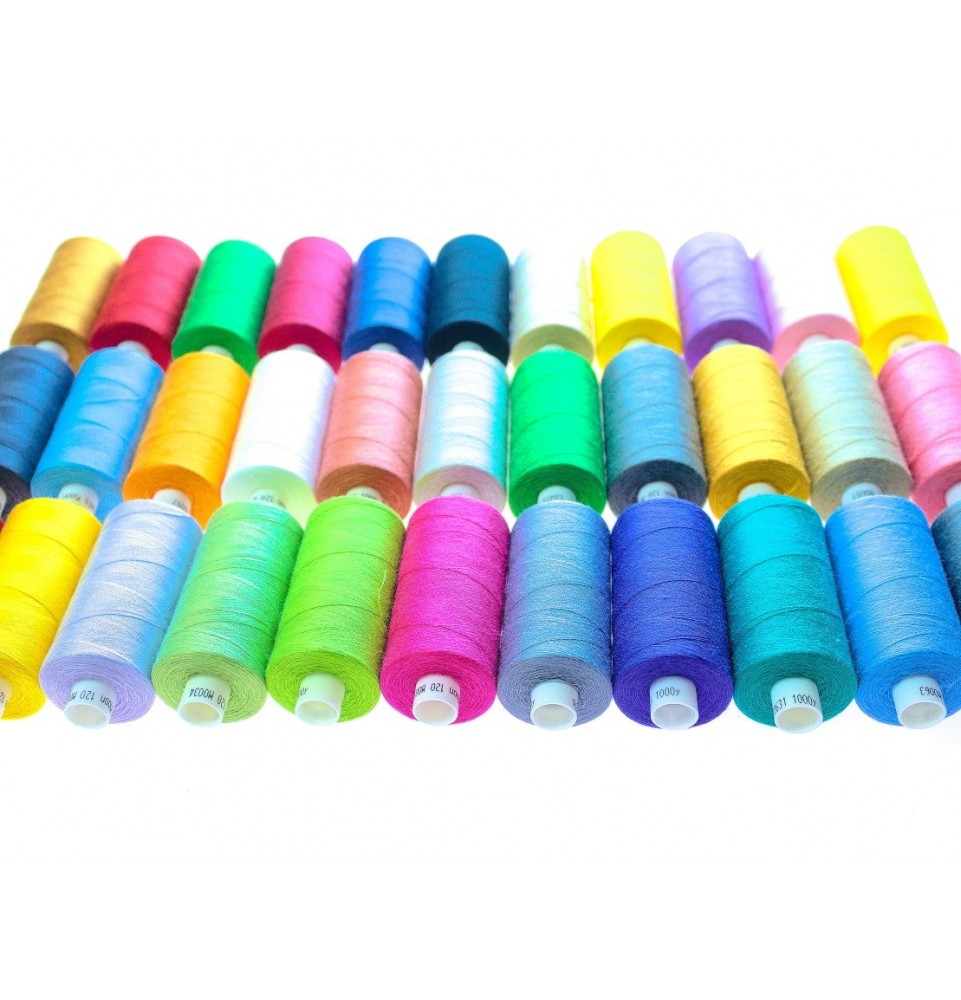
Some people will have you buying all sorts of different threads for appliqué, but standard cotton or polyester thread will do the job perfectly well. Having done a fair bit of appliqué now, I have no complaints when using standard thread. But, it’s personal preference. I would suggest if you’re just starting out, that you use what you have. For the purpose of this post, the thread I’m using is Coats Moon Thread, which is spun polyester. I use this stuff for EVERYTHING! We have it in a large range of colours and with 1000m on each reel, it’s an amazing price. Sorry! Bit of self promotion there!! Back to it.
Bobbin
I always use the same colour thread in my bobbin. It gives a better finish, and if your tension isn’t quite right on the bottom, causing the bottom thread to show a little on the top, it’s not an issue. If you are going to use a different colour in the bobbin, you may need to adjust your tension a couple of notches DOWN to stop it showing in the top thread.
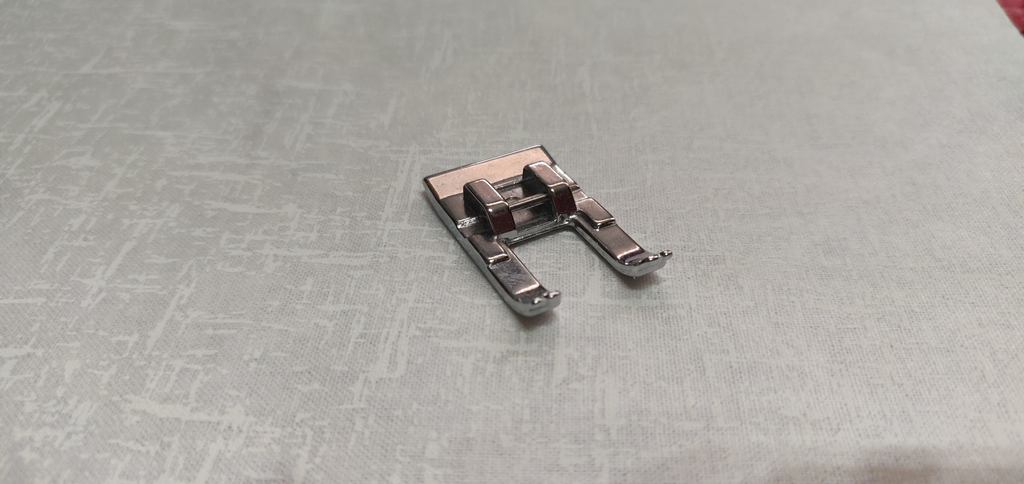
Machine Foot
A lot of machines these days come with a small set of different feet. For appliqué, you’ll want an open toe foot. They’re great as you can see where you’re sewing, which is important.
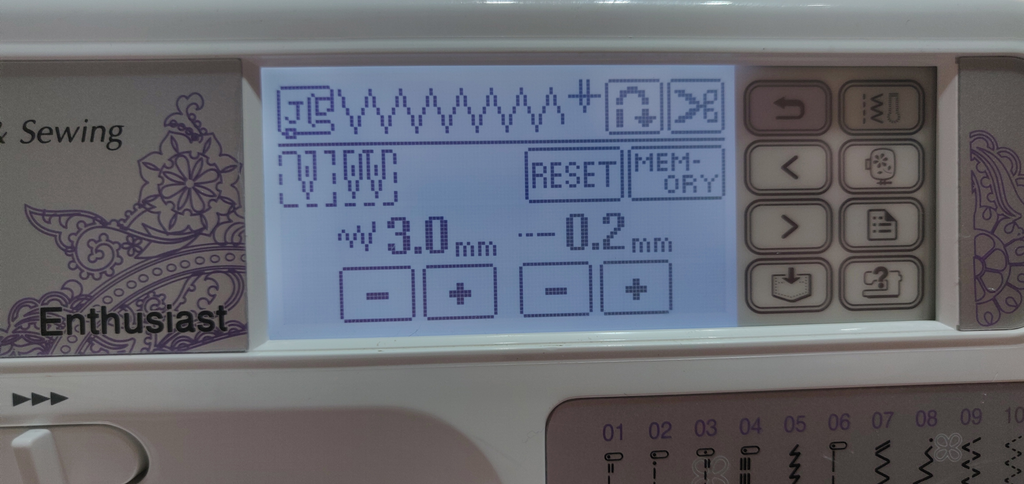
Stitch Selection, Width and Length
Select a zig zag stitch on your machine. Set the width to around 3.0 and the length somewhere between 0.2 and 0.8. Feed dogs should be raised for appliqué, as they are for standard sewing. See “Test, Test, Test!” below.
Stabilise
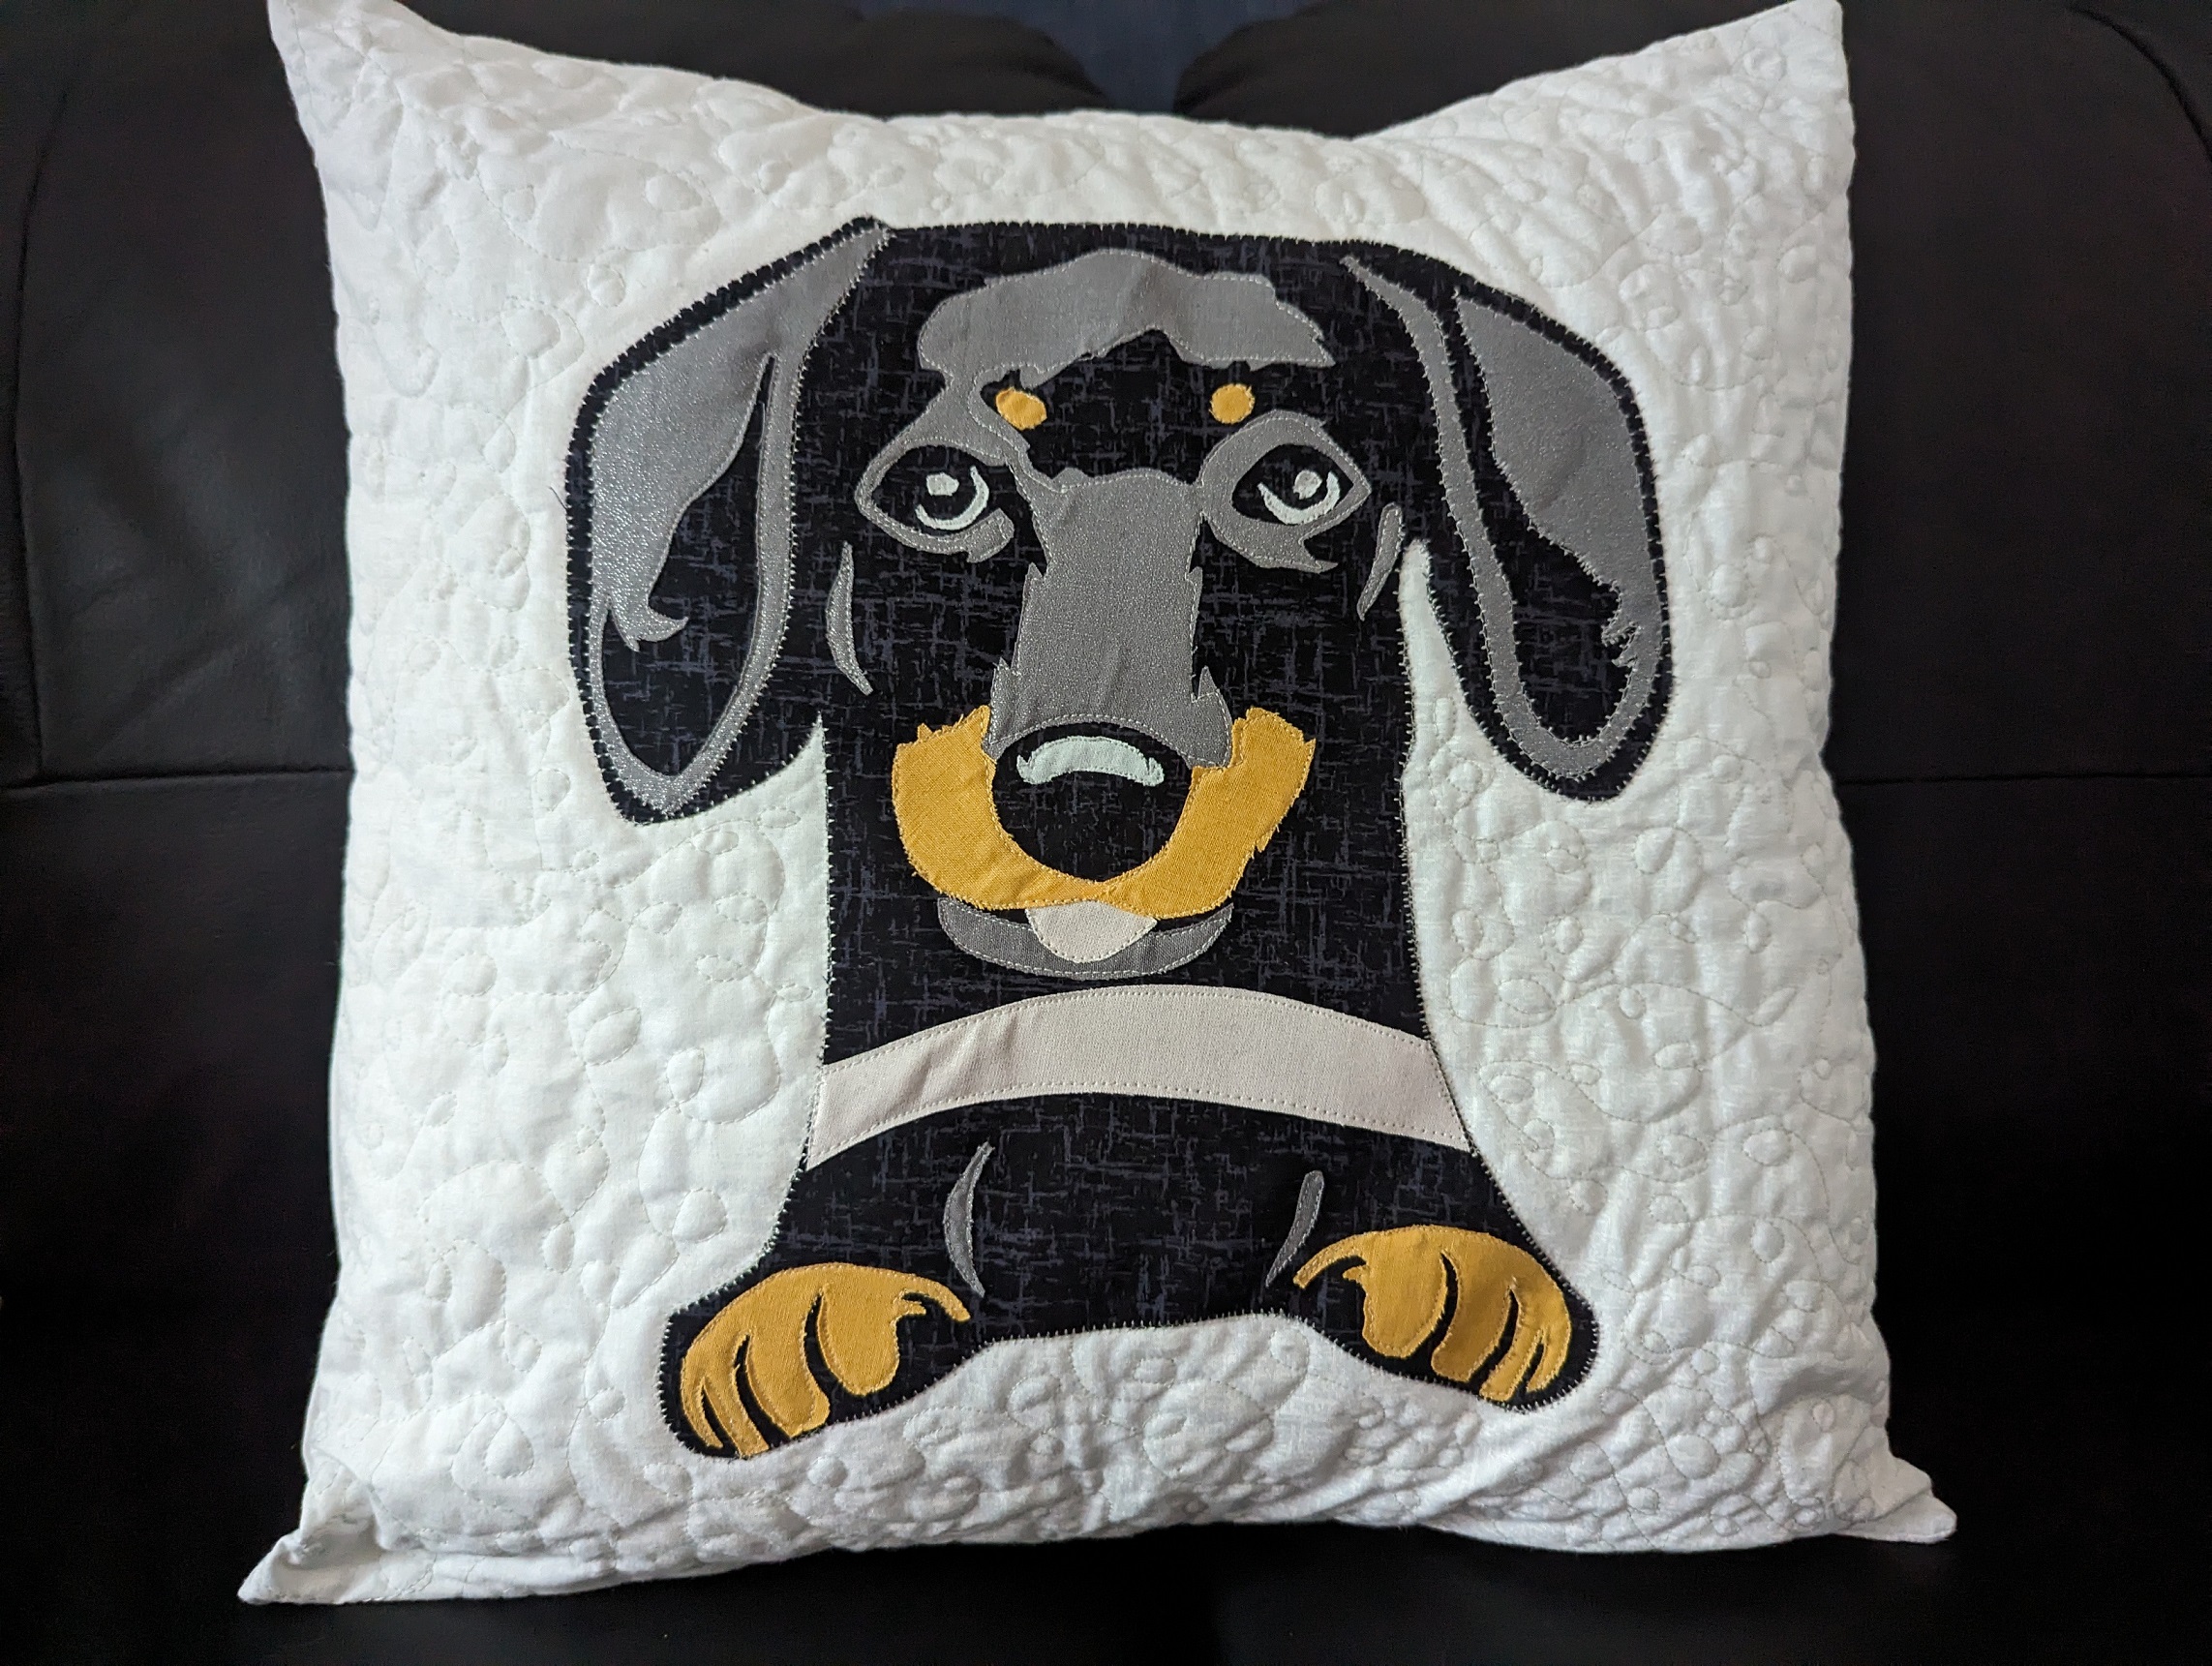
This is THE most overlooked part of appliqué, but it’s important! Stabiliser will help to give a more professional look to your project. It’s important because it stops the stitches from tunnelling into the fabric. Here’s a couple of pictures to show with and without – no comparison really! You can either use a stitch and tear stabiliser, or, as we’re creating a cushion top, pop a piece of wadding (slightly larger than your entire front panel) underneath. Either way, pin the stabiliser to the back of the panel.
Test, Test, Test!
Before you start sewing on your actual appliqué, it’s always a good idea to test the set up! Take a scrap piece of fabric and, with the setting as described above, sew a line of stitches. If you don’t like the outcome, change the width or length, remembering to make a note of each change. Once you have the stitches looking just how you want them, write down the required settings and keep them somewhere safe! It’ll save you having to test for every piece you’re adding. If you change the fabric, you’ll need to test again as stitches can sit differently in different fabrics. All machines are different, so testing is really important to get the correct settings for your own machine. Anyway! I digress. Let’s get back to creating!
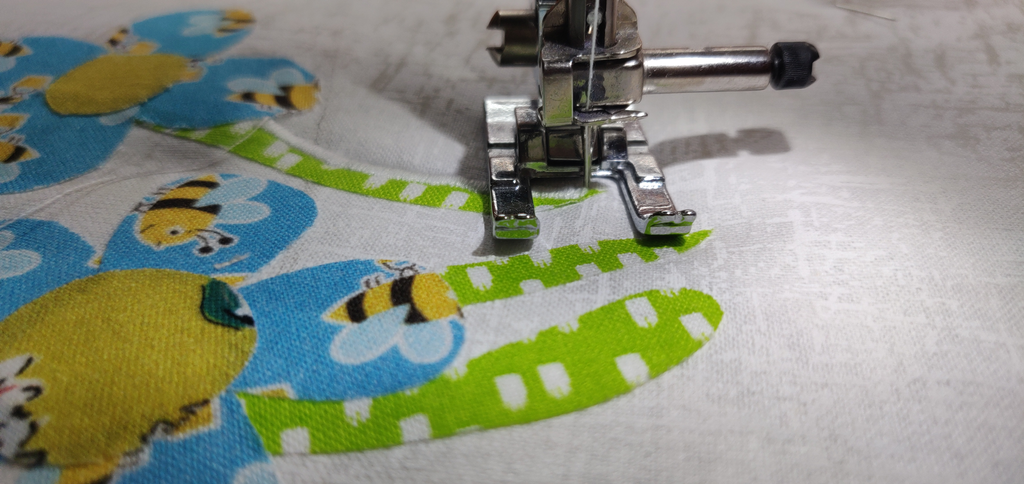
Your machine is set up, you’ve tested the stitch settings and are happy. Now. Start with the back pattern piece. You’ll stitch them all down in the same order you ironed them down. In this case, the stalks, then the petals, then the centre of the flower. Below are some tips on stitching different areas that can be a pain if you’re not sure.
The most important tip – Sew slow – and this is why I don’t like the satin stitch. I don’t get much time to actually sew, so when I do, I prefer stitches that are much quicker. Blanket stitch is my favourite, but then, straight stitch works for applique too, if you don’t mind a little fraying, and it’s so much quicker!
Curves
Use your left hand to hold the fabric and gently turn it as you sew. If the curve is sharp, you may need to stop, reposition, and restart. When stitching curves, you’ll need to stop with the needle down in the RIGHT position for outward curves (like on the petals).
For inward curves, if you need to stop, do so with the needle in the LEFT position.

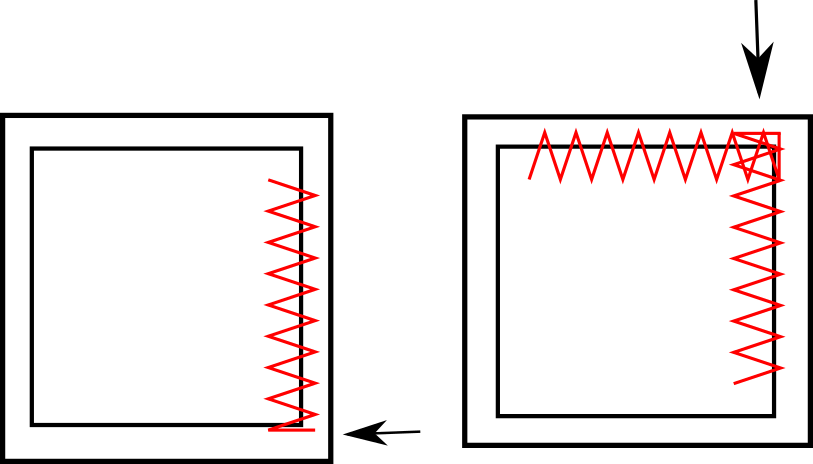
Outer Corners
Sew all the way to the corner, stopping with your needle to the RIGHT (on the backing fabric). Raise your presser foot and pivot the fabric so that the next stitch will run over the top of the corner stitch as shown below.
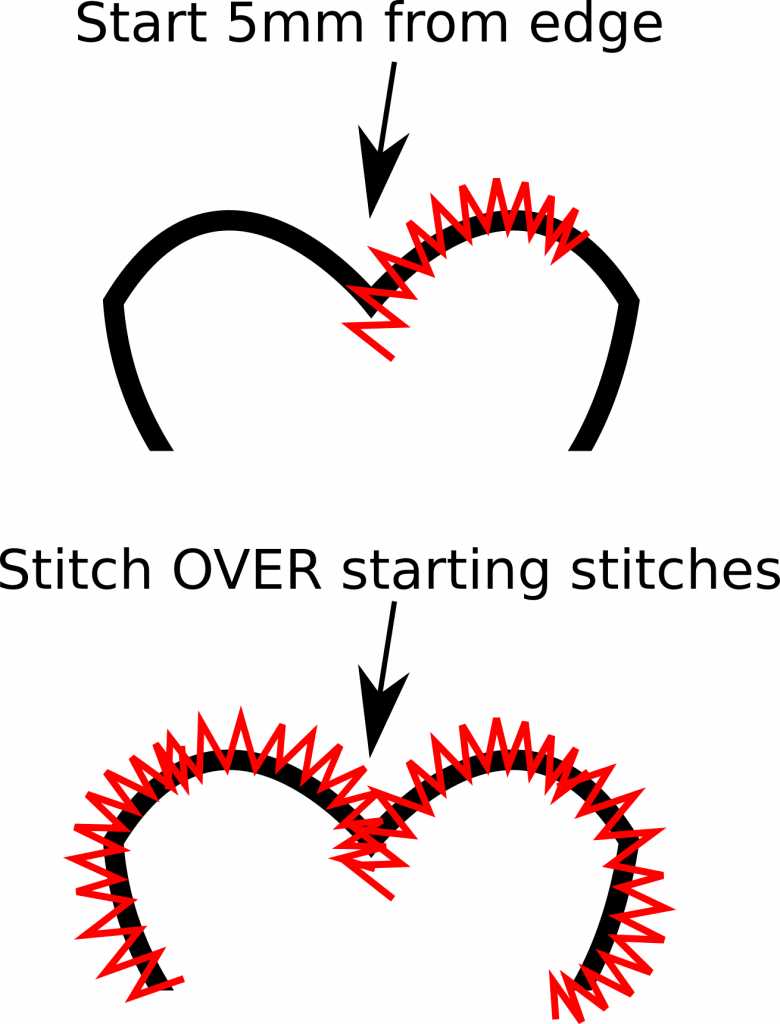
Inner corners
Where possible, always start inside the inner corners, a few millimetres in. Sew all the way around, and when you reach the end (or the beginning depending on your view), simply stitch over the starting stitches.
Regular Corners
Stitch as normal, until you reach the corner, then stitch another 3-4 stitches PAST the corner. Stop with your needle in the LEFT position, presser foot up, pivot, presser foot down, and continue.
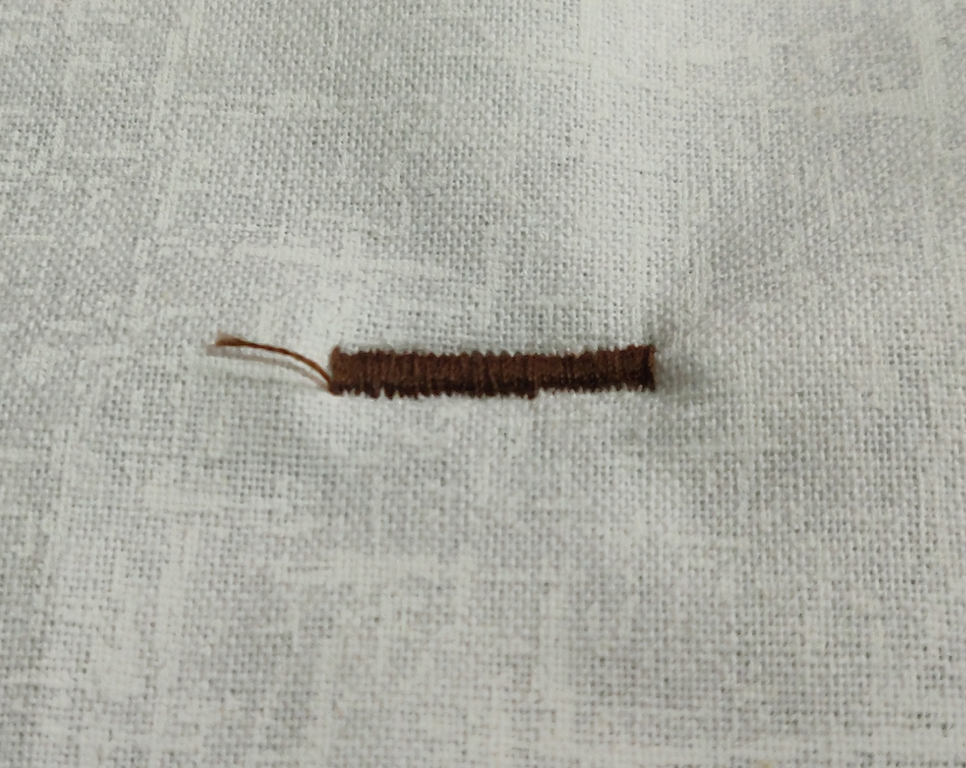
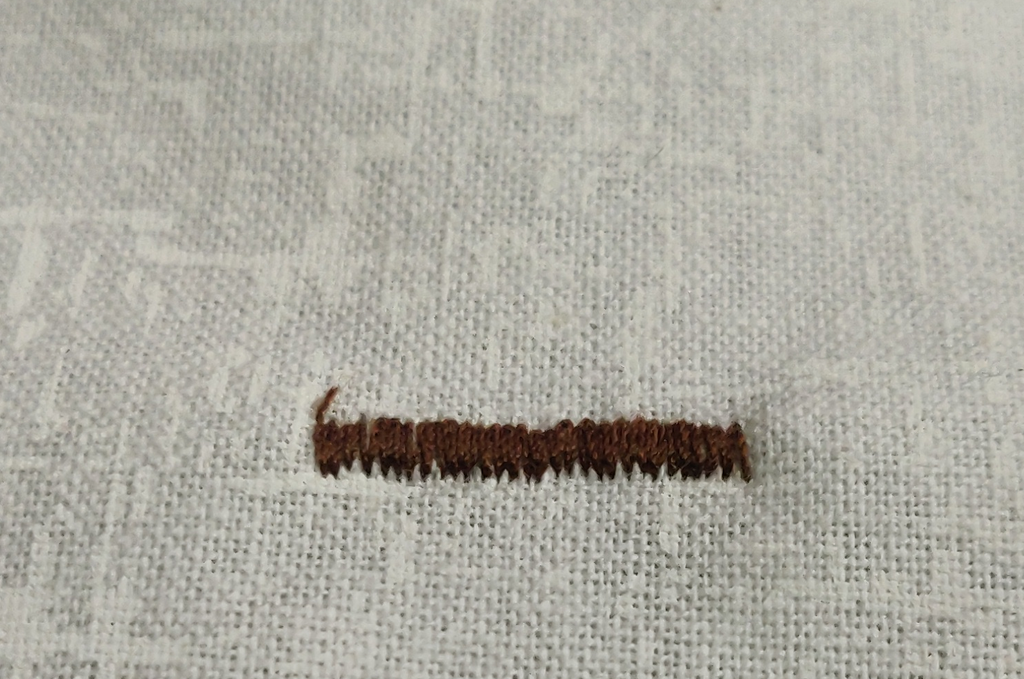
The next image is to show you what happens when you try to stitch satin stitch too quickly! Anyway – I hope this helps someone, if only to speed up the process of getting your fabrics prepared 🙂