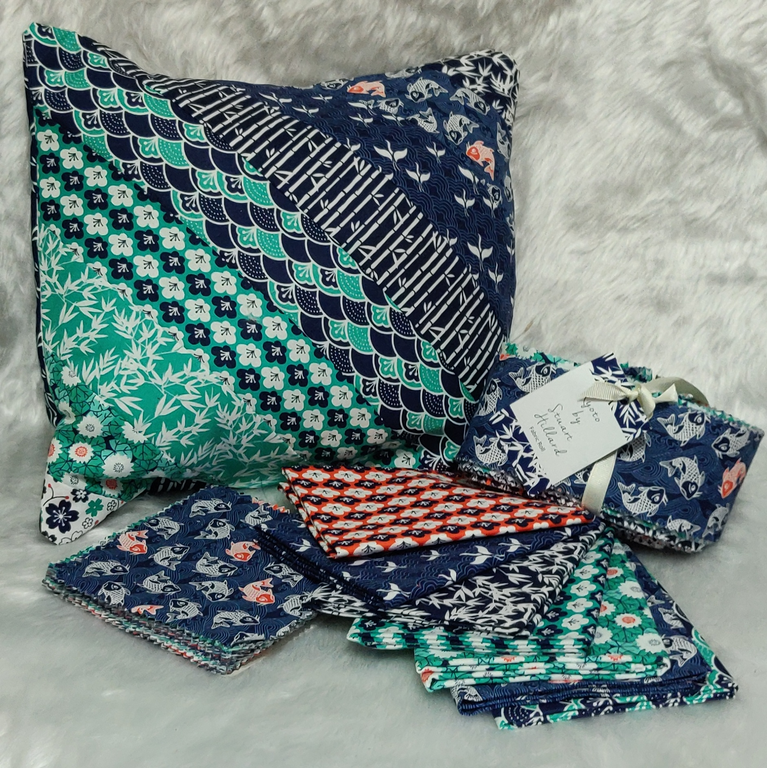
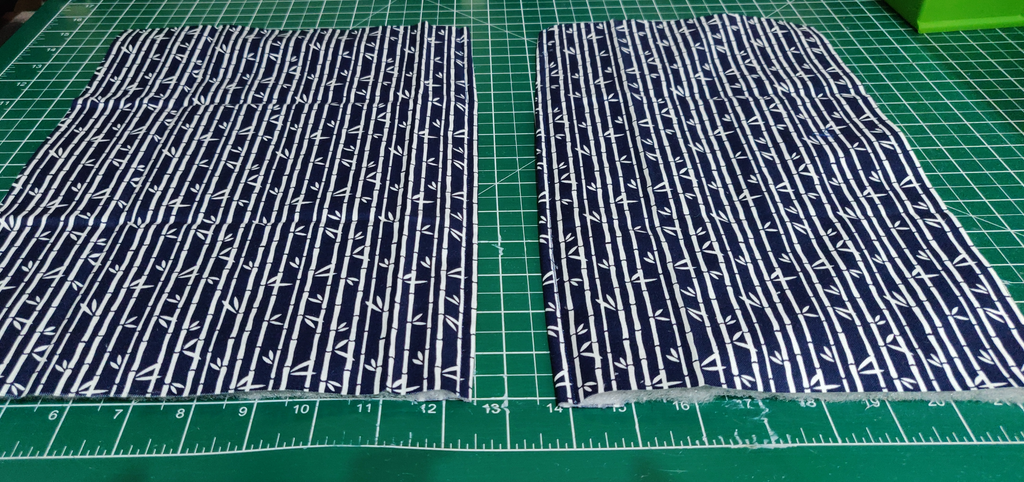
We’ve been selling the Kyoto range by designer Stuart Hillard for a couple of weeks now and it’s been driving me crazy not having time to try out this design. Then we sold out, so I had to wait again before I could liberate a roll!
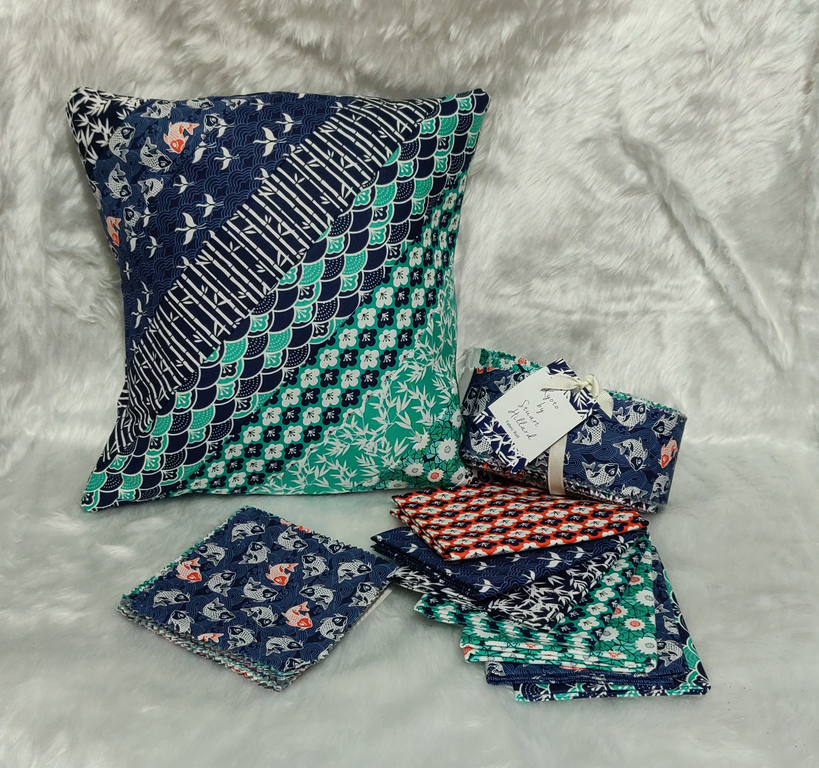
Super simple, the cushion cover uses barely any fabric from the jelly roll, so you could (if you wanted to) make numerous cushions from one roll, or even create a cushion and a quilt. We’re in the process of designing a quilt for this fabric and will add that as soon as we’re able. Time is quite limited at the moment!
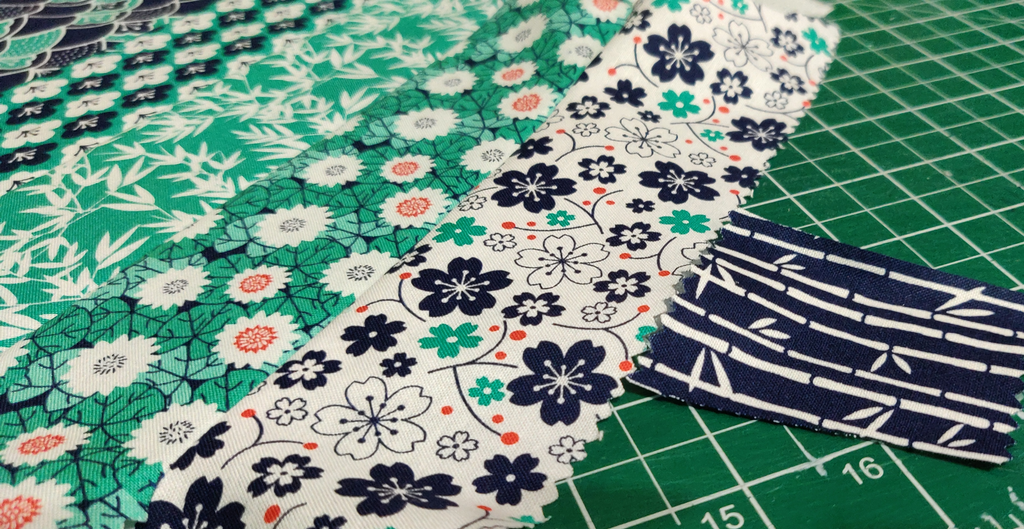
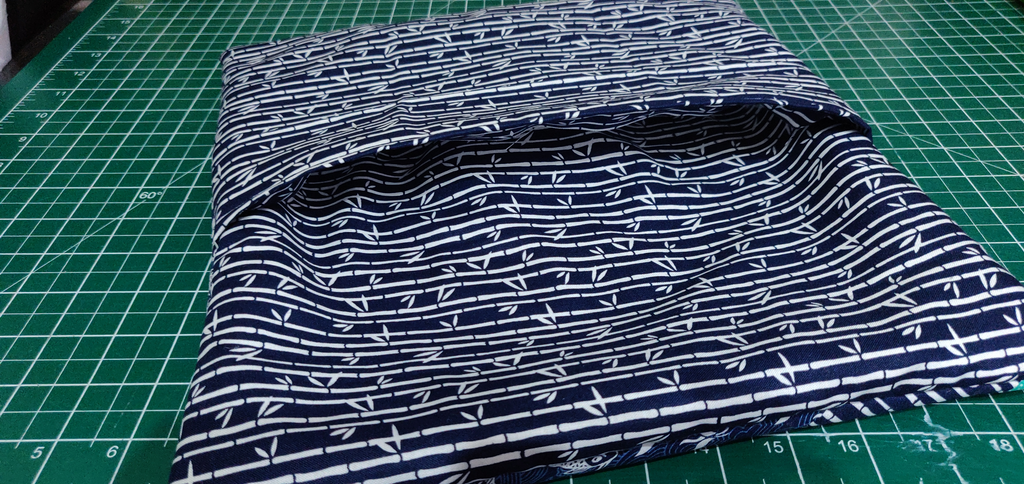
We used the blue bamboo fabric for the backing as we also sell the range of fat quarters, but you can use any fabric for the back that you think compliments the jelly roll.
NOTE: Dimensions were changed after completing the cushion as I found the 12″ insert didn’t quite fill it out. The dimensions given below have all been altered to reflect this change.
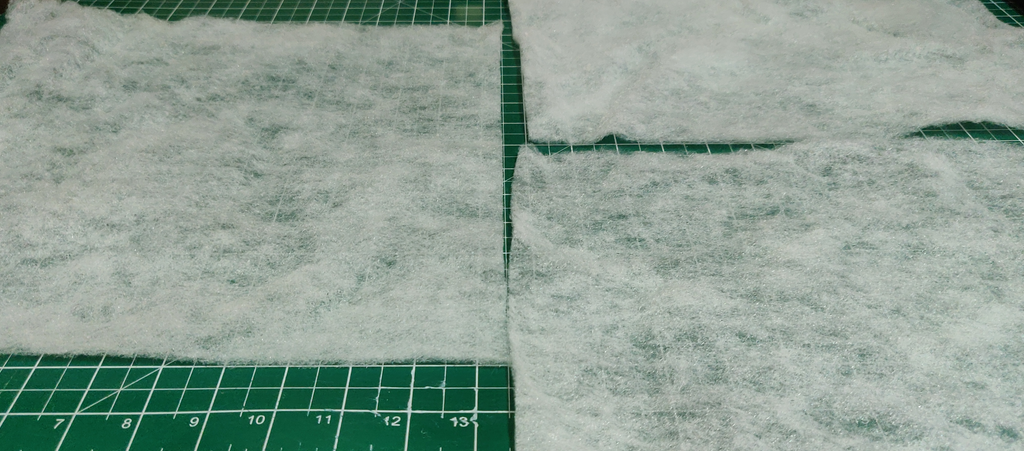
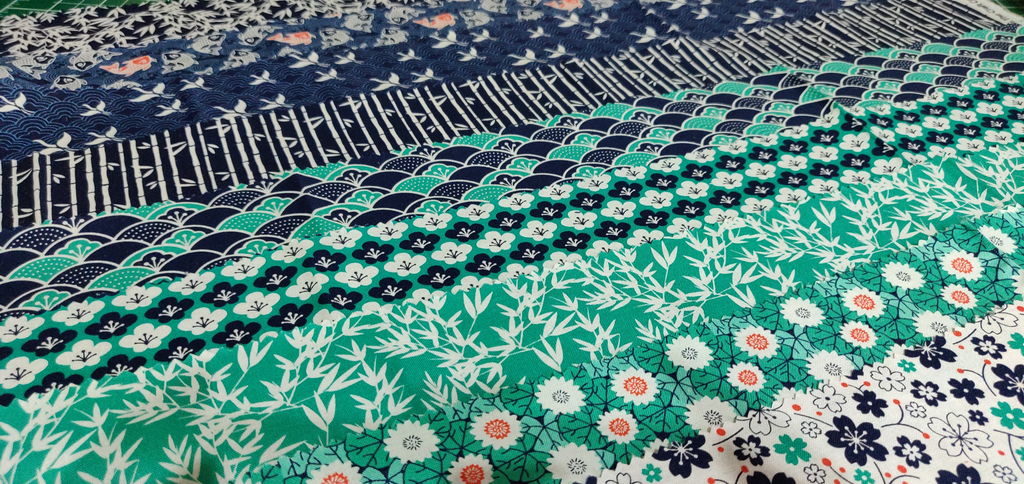
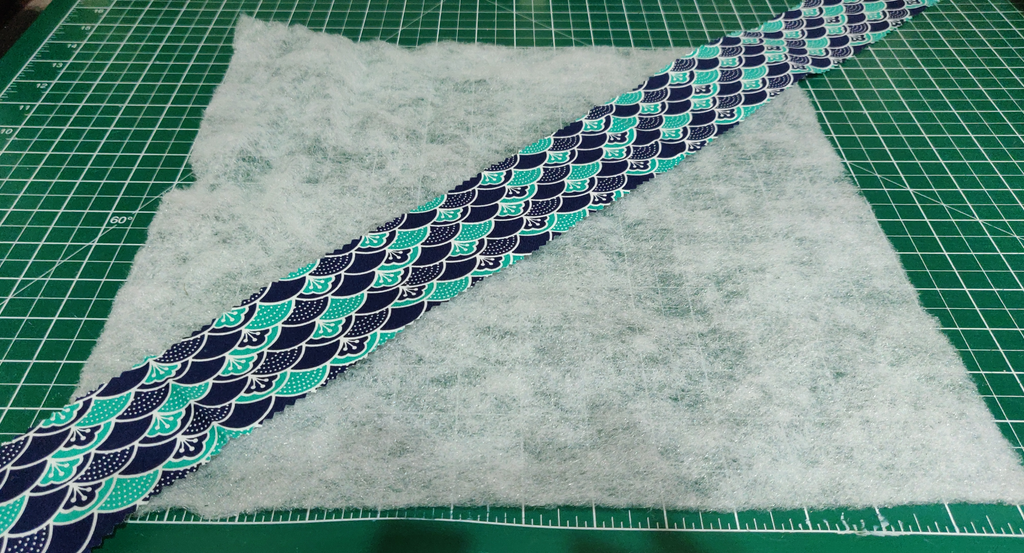
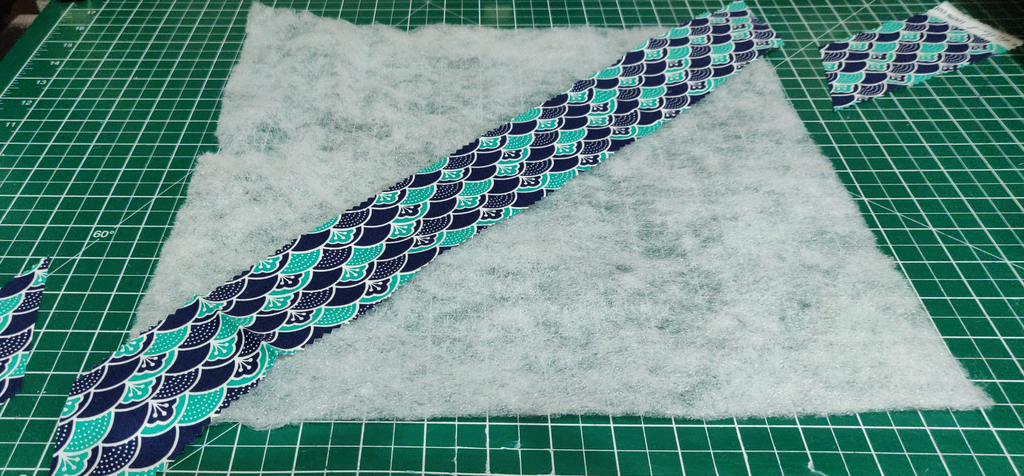
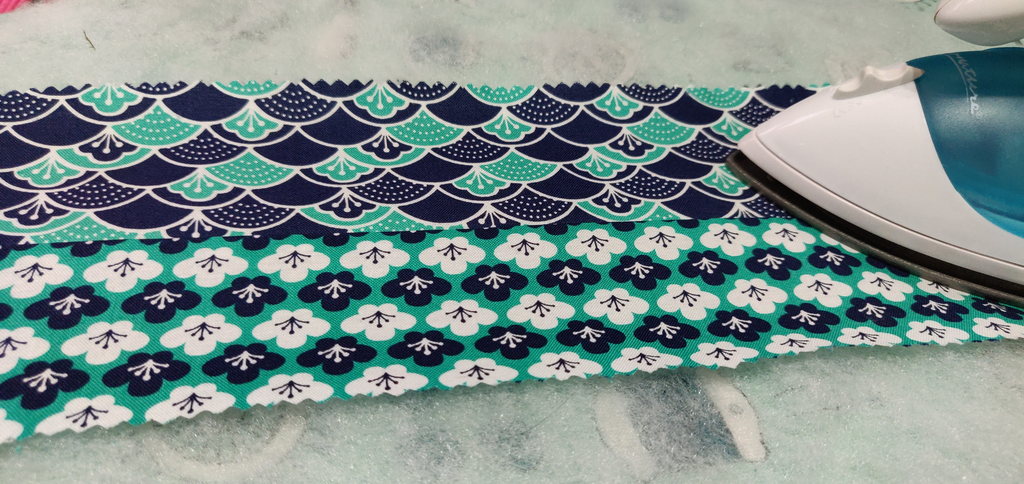
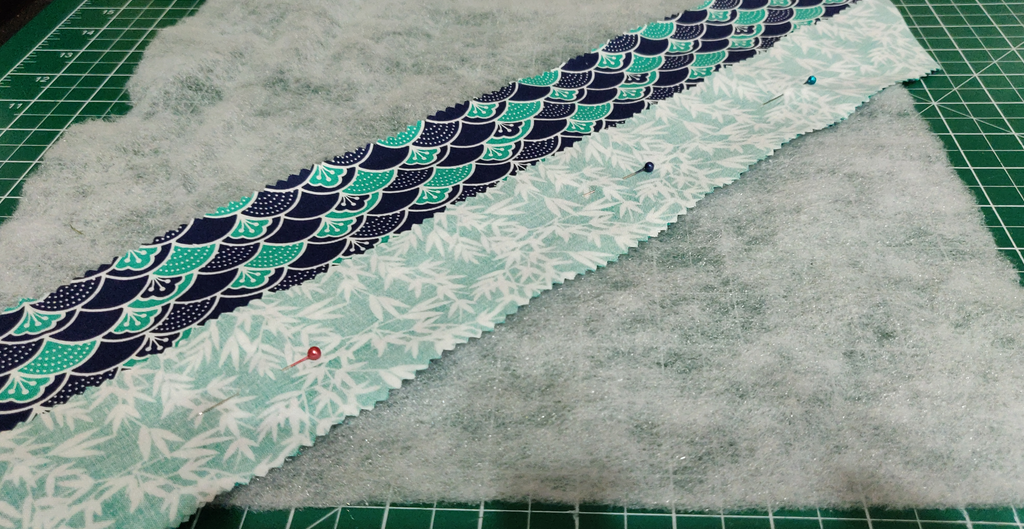
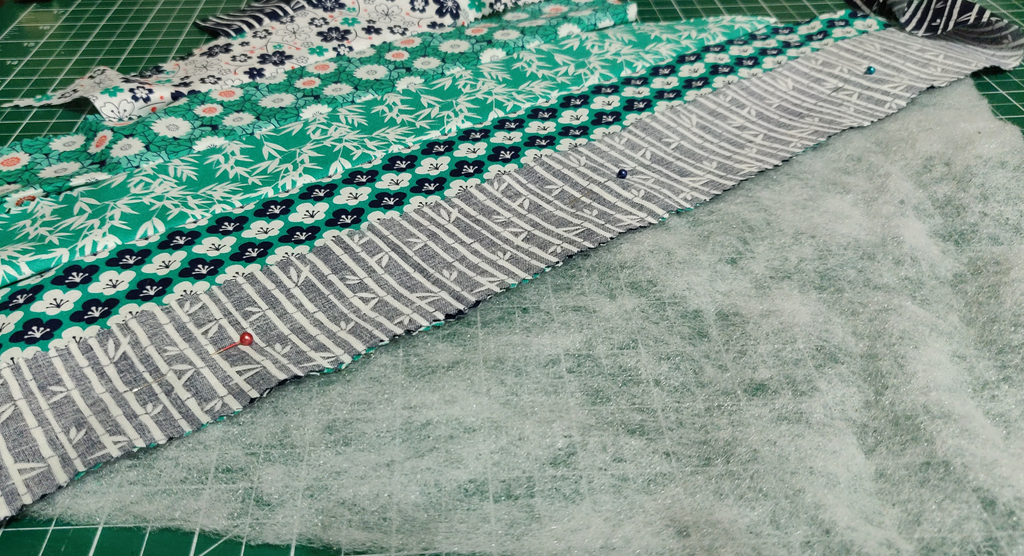
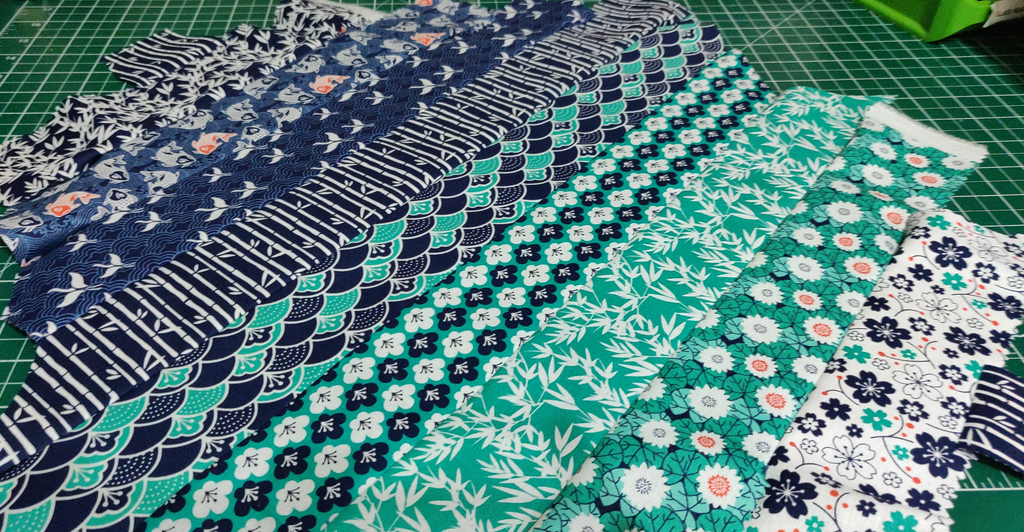
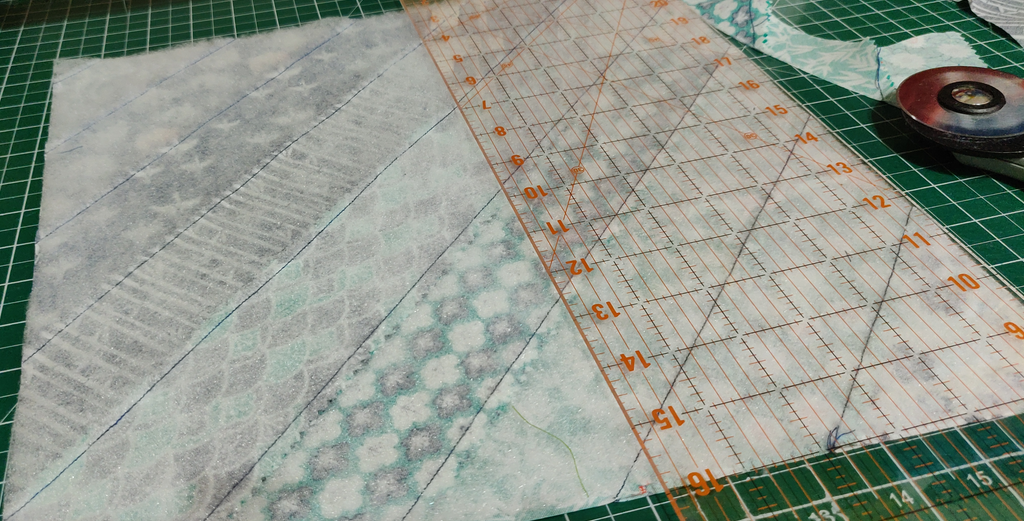
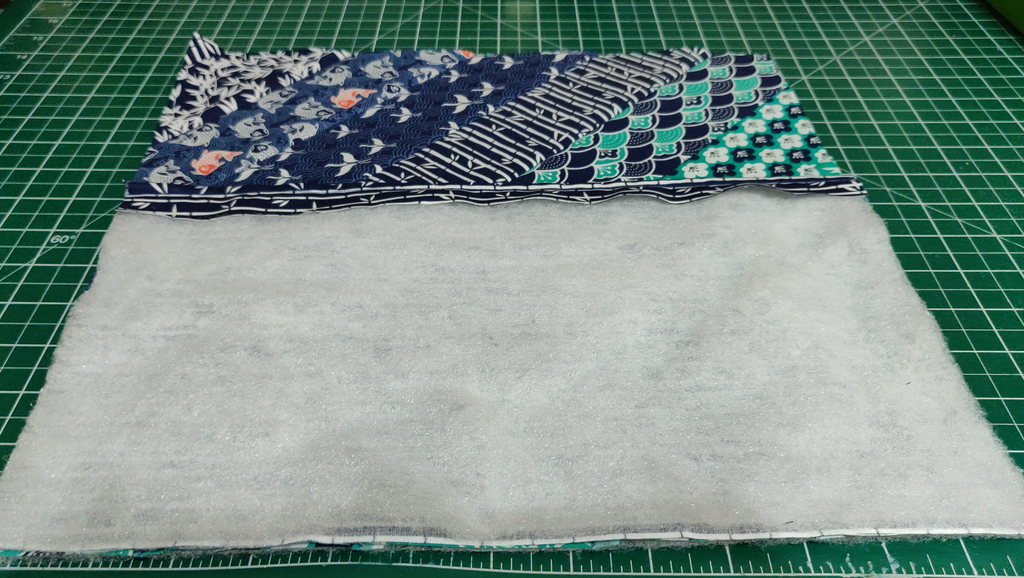
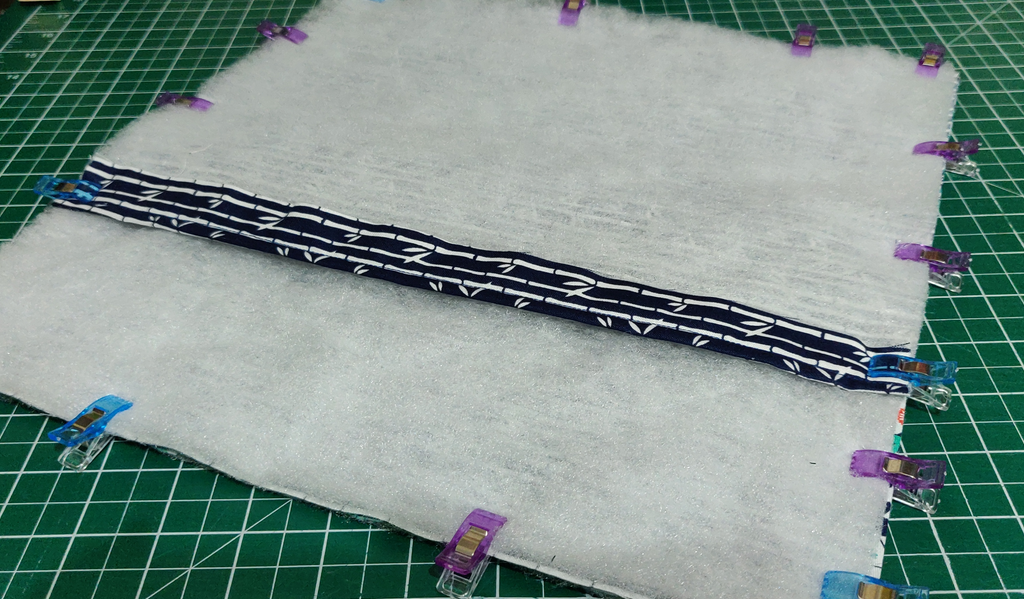
First we need to cut the wadding to the correct size. If you’ve not already done so, cut three pieces. The first measuring 12 x 12″. The second measuring 12 x 8″. And finally a third piece measuring 12 x 10″. With the wadding ready to go, take your jelly roll strips and lay them out in a way that YOU find pleasing. Now you know the order in which you want the strips, take the middle one and place it on the diagonal across the cushion from one corner to the other. You can go ahead and cut the extra strip away – just be sure your strip goes OVER the edges of the wadding. Now take the next strip and place it right sides together (RST) on top of that first strip. Pin through all three layers (yes, wadding included). Again, you can cut the strip down at this point. Sew using a 1/4 inch seam allowance down the bottom edge as shown. Open up the fabric and press it nice and flat.
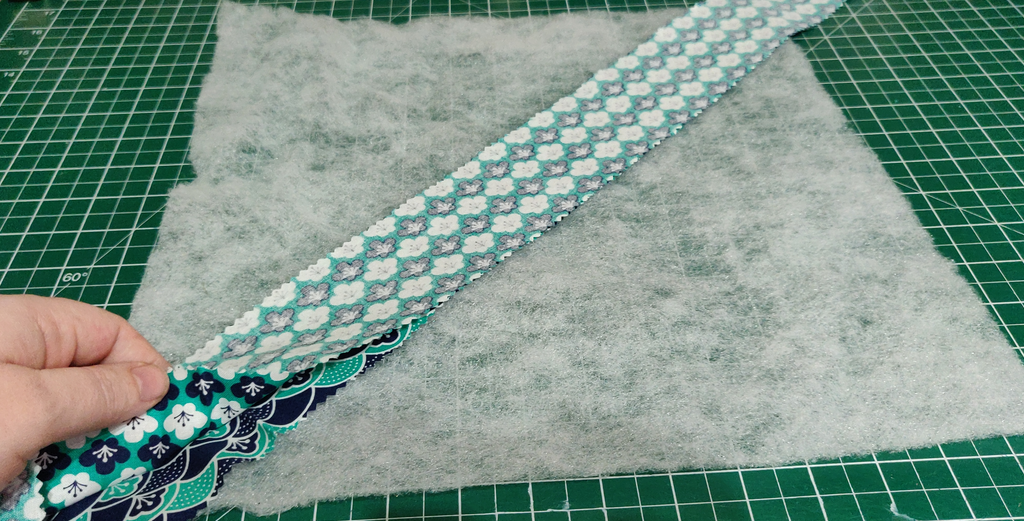
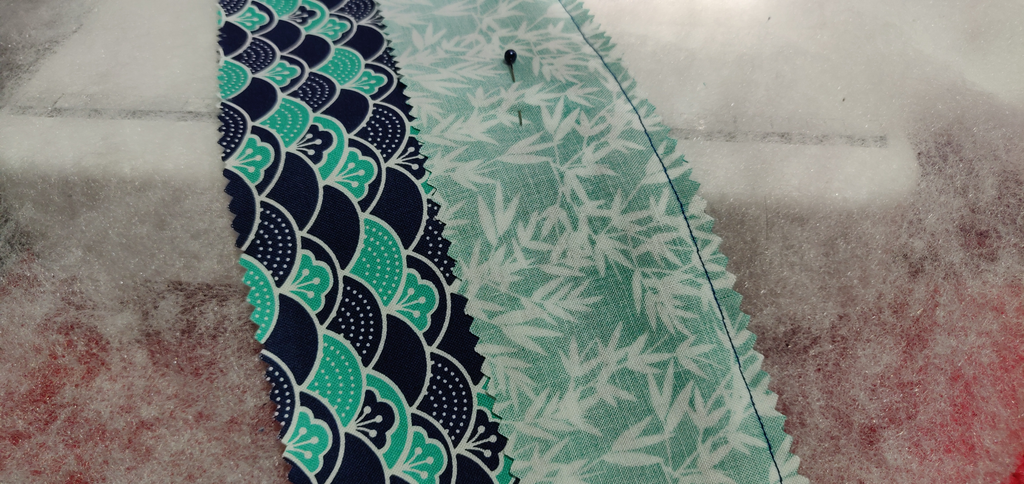
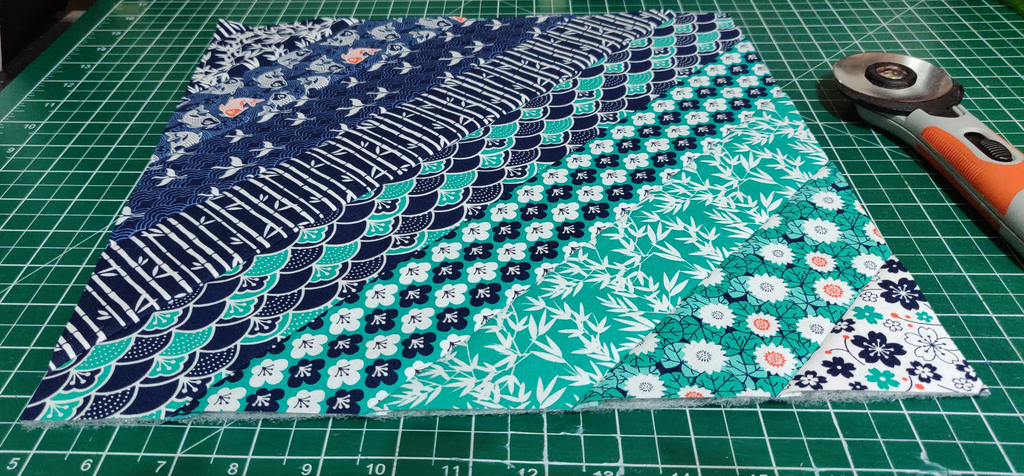
Take your third strip and lay it right sides together (RST) on top of that second strip… stitch, fold out, press… repeat.
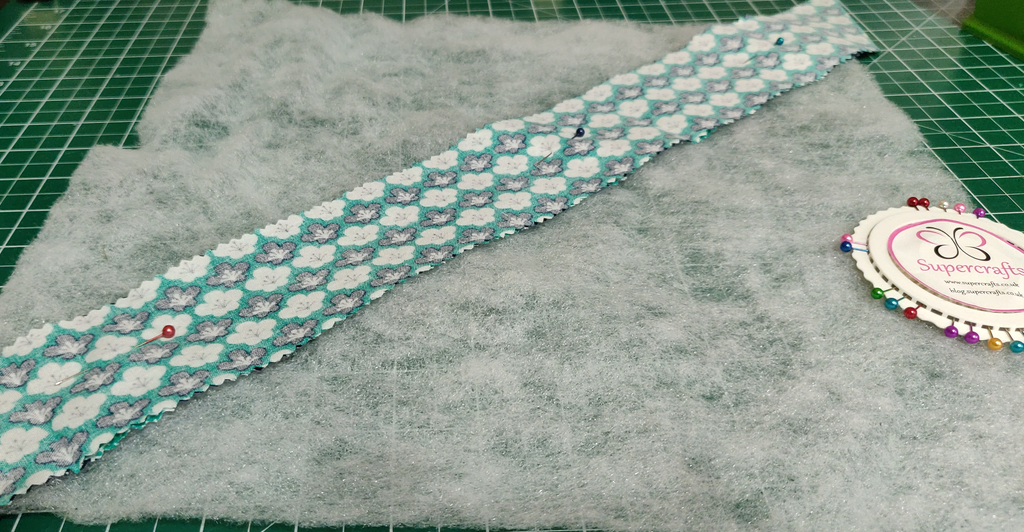
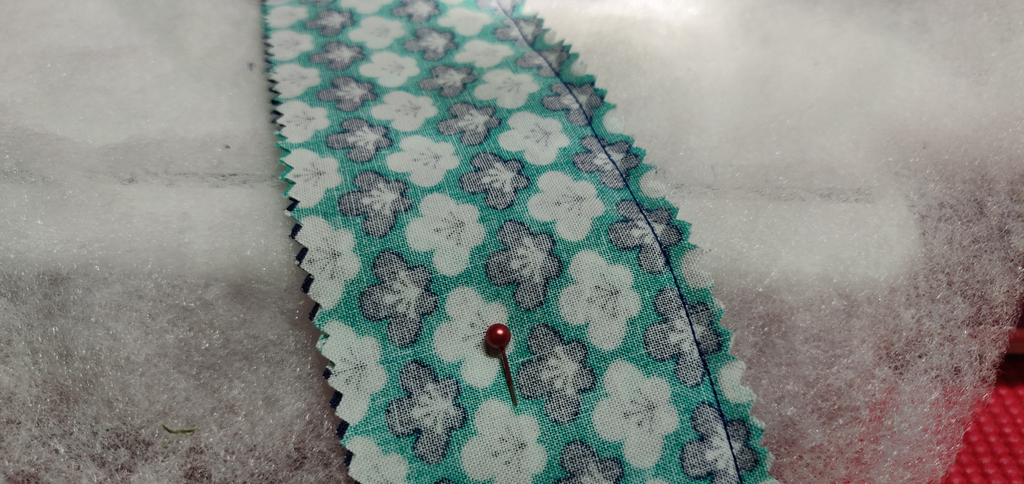
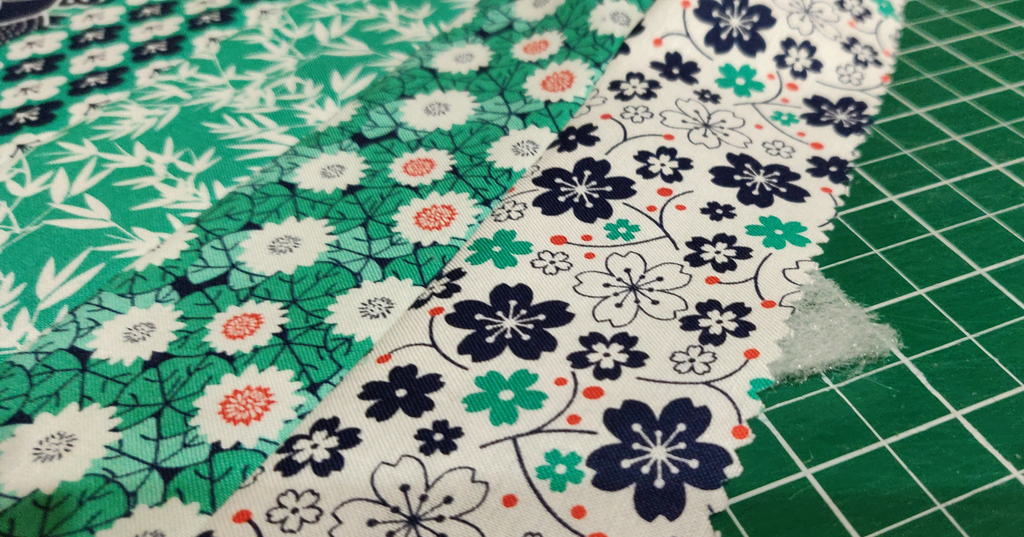
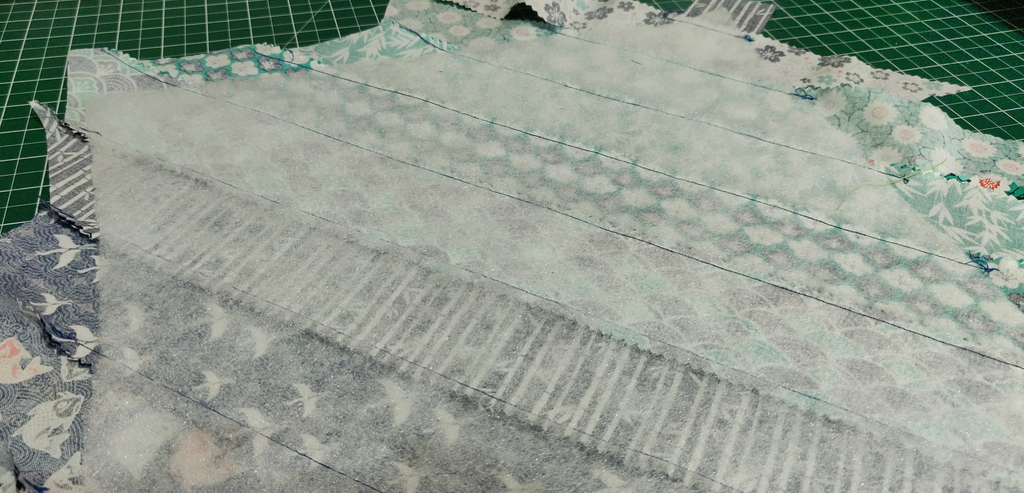
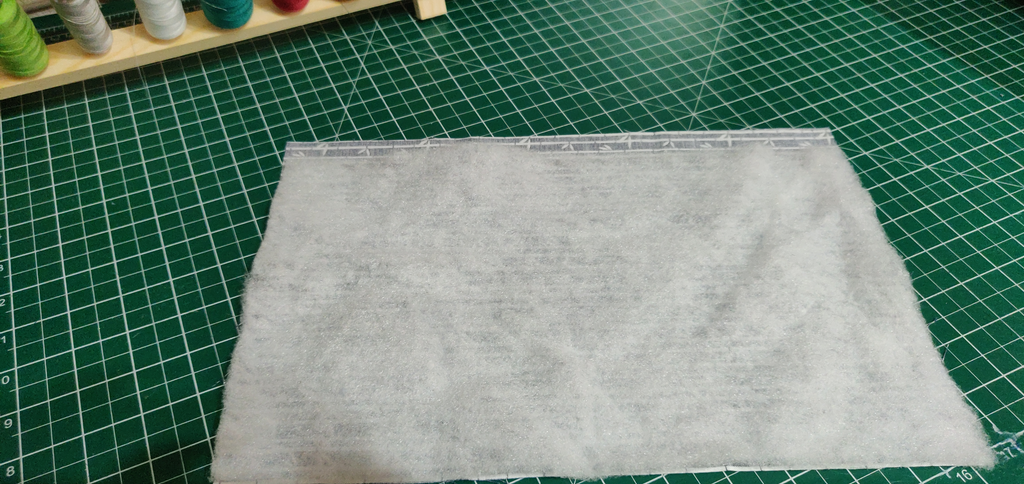
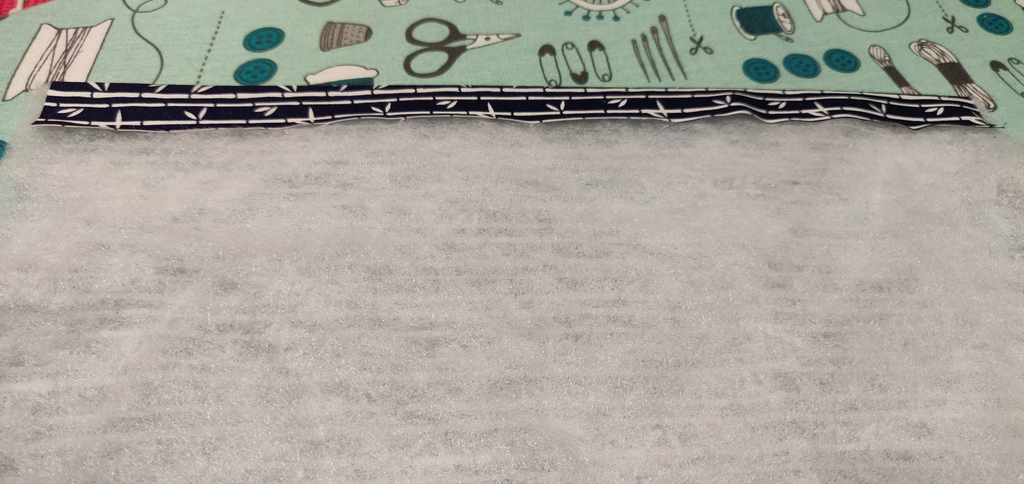
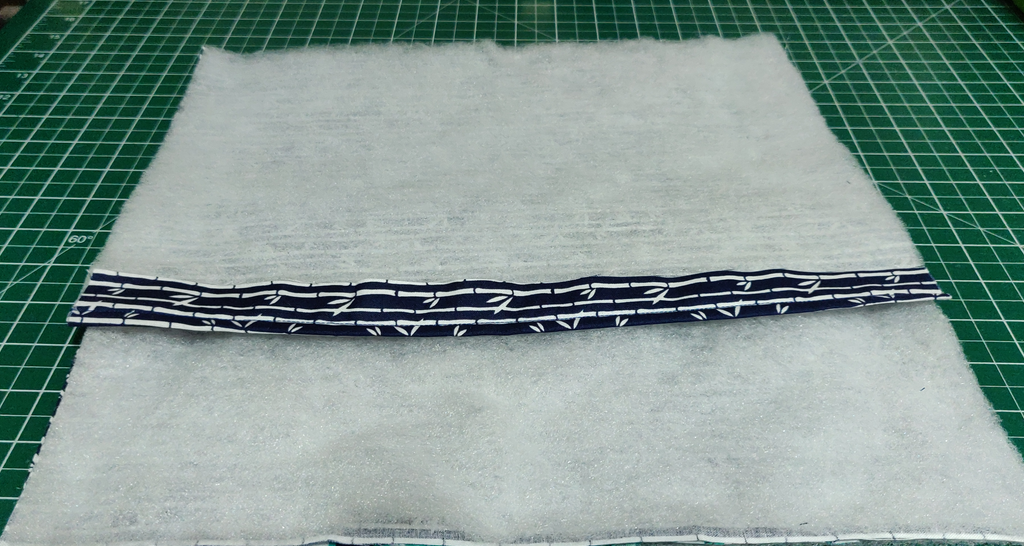
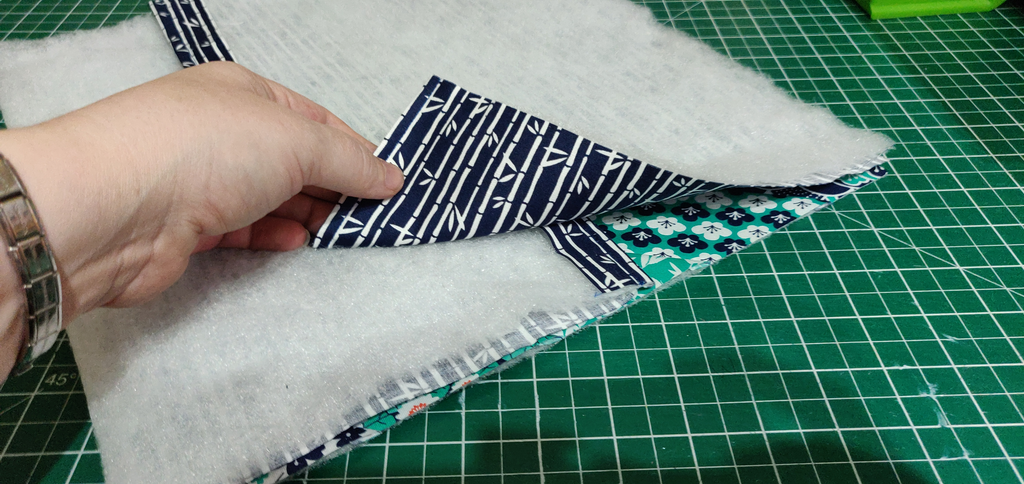
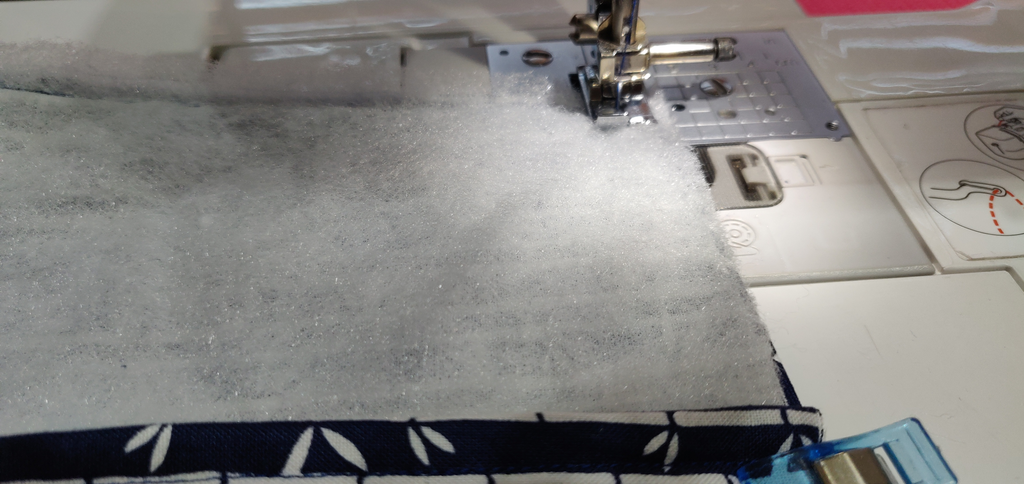
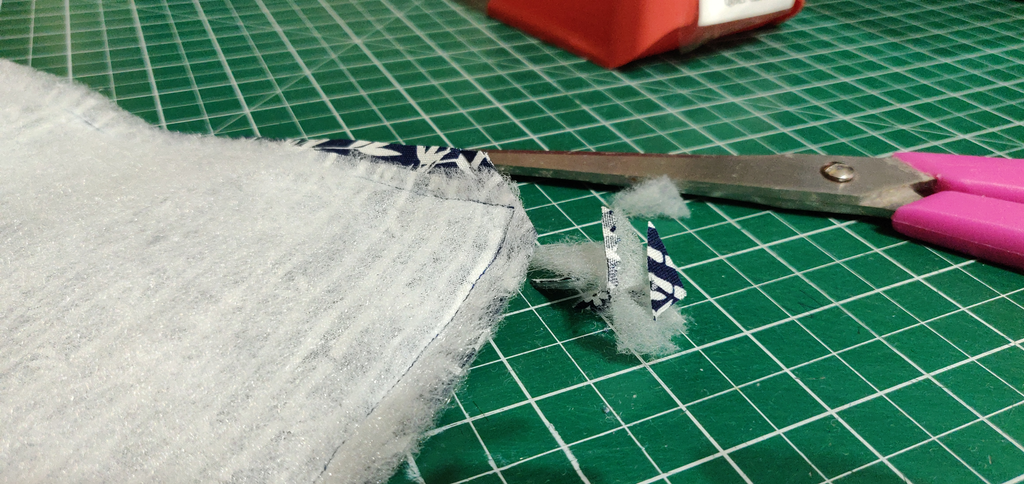
When you get to the corner there may be a little piece of wadding showing due to the placement of the first strip.Just snip a little from one of your strips and sew with RST as you did with all the other strips. Once you have the bottom half all sewn up, rotate the panel and repeat the process on the other side until you can’t see the batting any longer. Looks a little crazy across all th edges at this point. Turn the panel over. This will allow you to see the excess left on the strips. Using a ruler and rotary cutter, trim down to the size of your wadding. Looks so much better now! Now take your 12 x 9 inch piece of backing fabric and lay it on a flat surface right side down. Place your 12 x 8 inch piece of wadding on top of this, matching up the bottom of the fabric. Fold over the top by 1 inch and iron flat. Repeat this with your last remaining piece of wadding and backing fabric. Then top sew at a 1/4 inch down the folded edge of both pieces. With your front panel laid flat in front of you face up, lay your shorter backing piece right side down on top of it, lining up the bottom edge. Add your longer backing piece to this, lining up the top edge with your front panel. The two should sit on top of one another towards the centre by about 2 inches. Pin or clip all the sides together to stop it from moving. Sew a 1/4 inch seam around the entire cushion cover. Reinforce the areas where the two backing panels meet by backstitching a little. Clip all four corners to reduce bulk. Turn the cushion cover right side out through the hole in the back. Pop in your cushion insert and Voila!

")