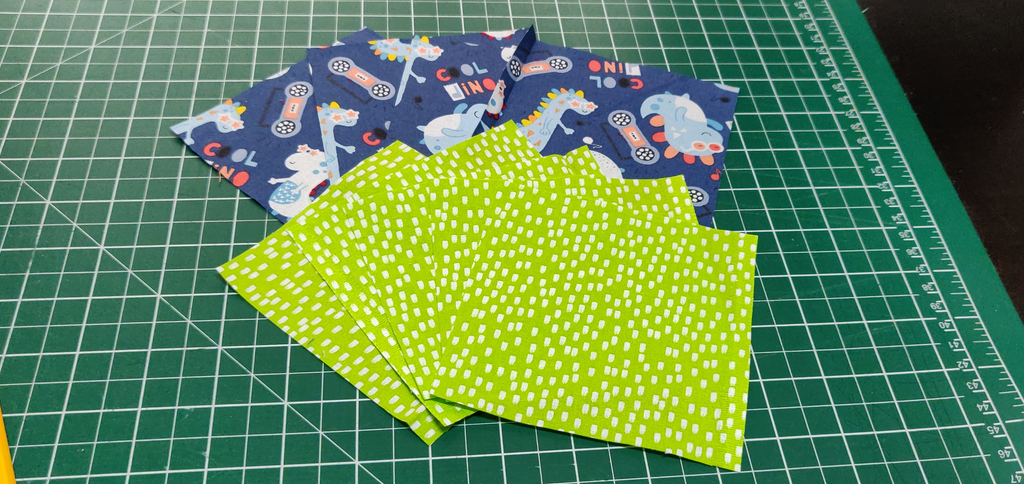
Want to have a go at quilting, but don’t know where to start? This 9 patch block is perfect for beginners as it will show the importance of accurate cutting and sewing seams at the correct width. In this post, we’ll cover creating the quilt block, but will add other posts showing you how to quilt it. For this tutorial I used these marvelous Little Dino fat quarters.
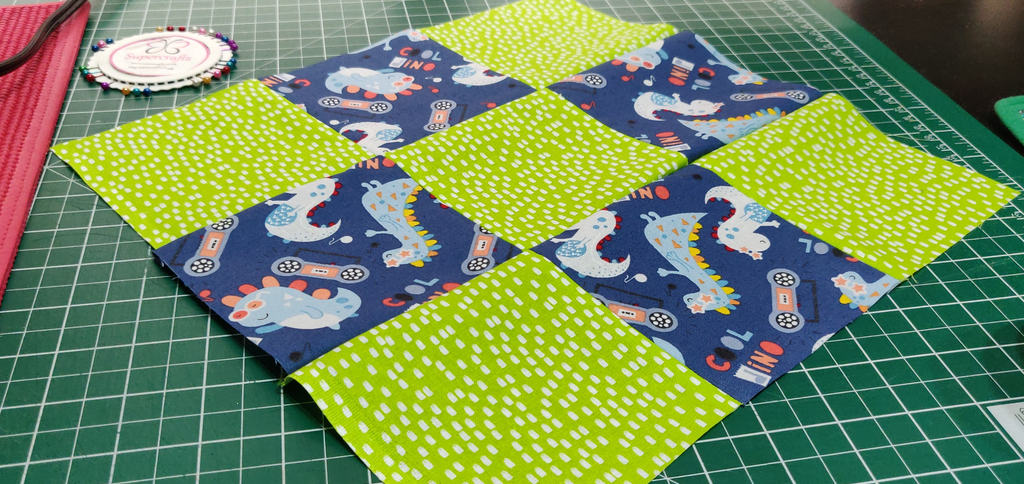
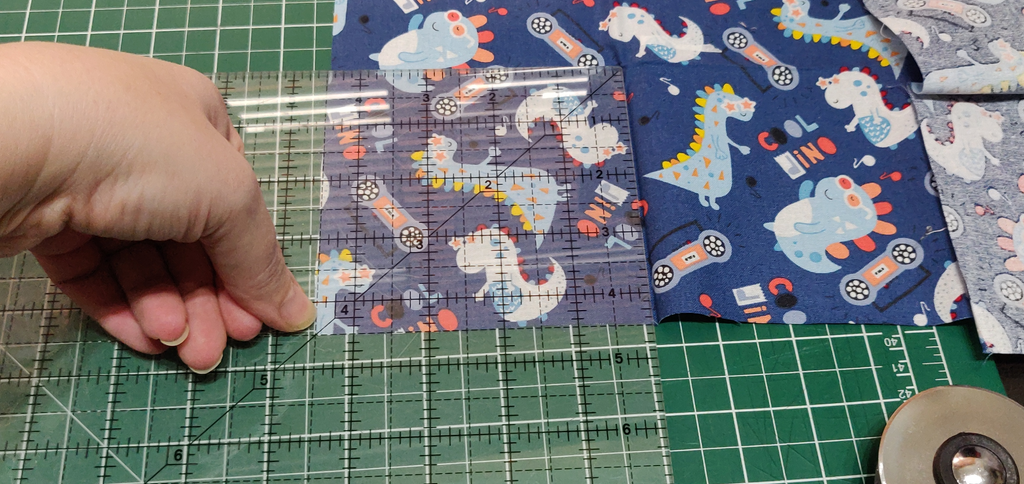
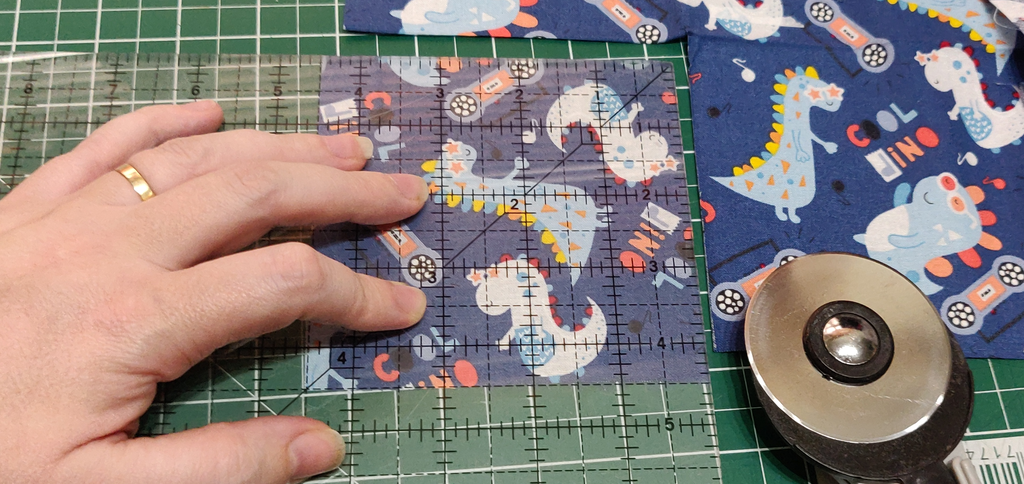
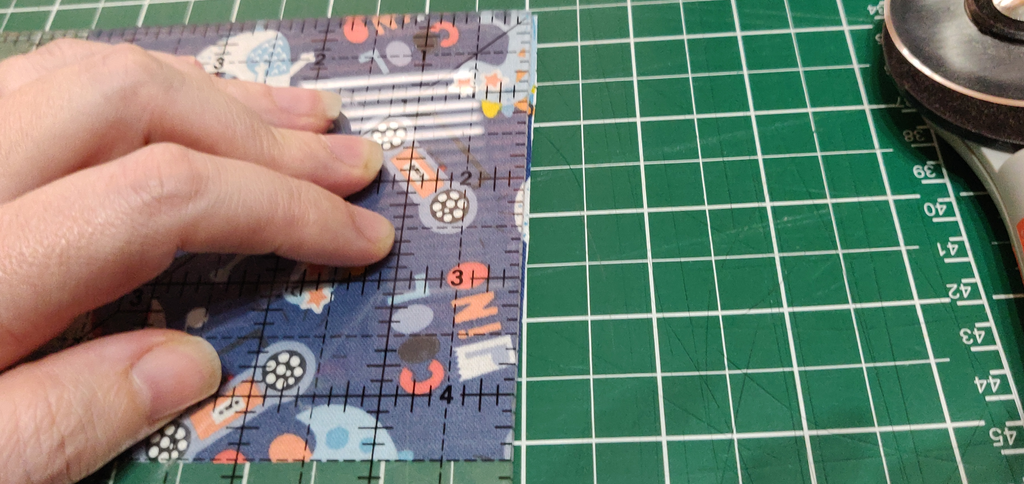
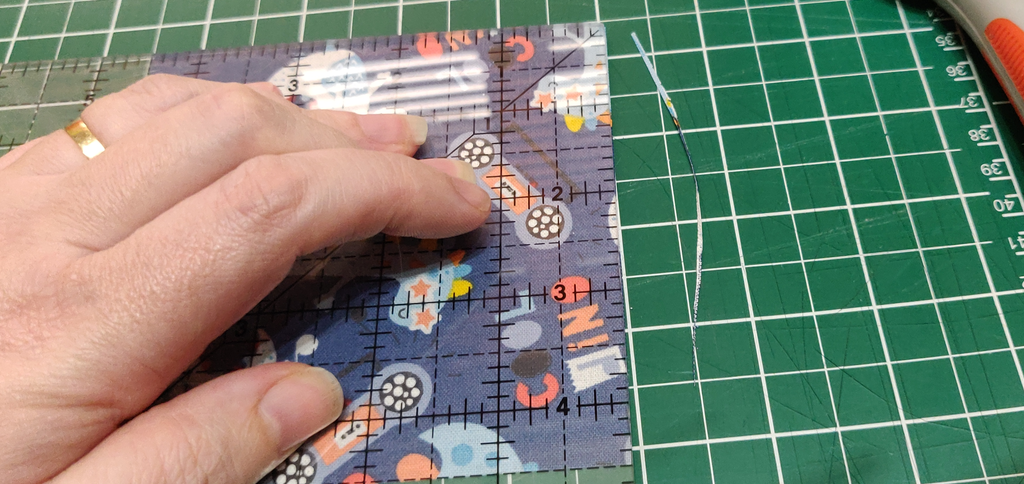
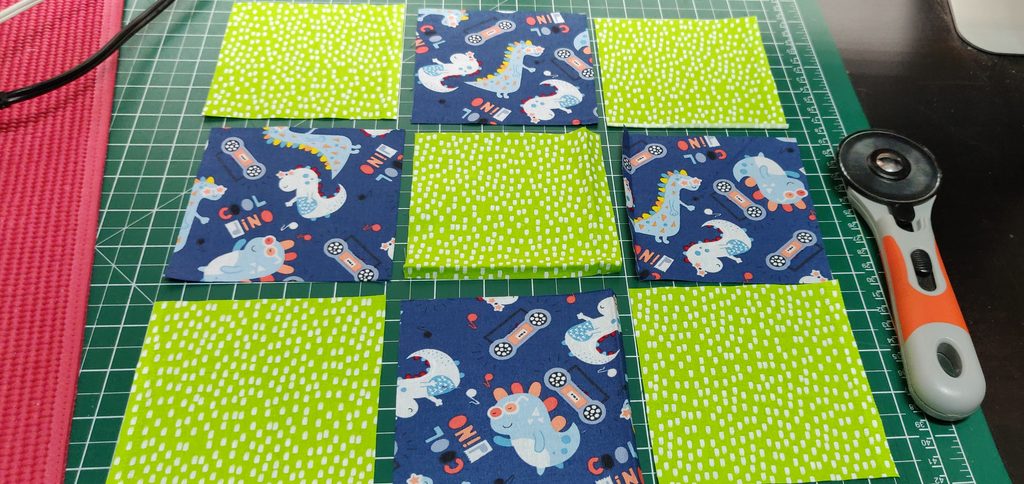
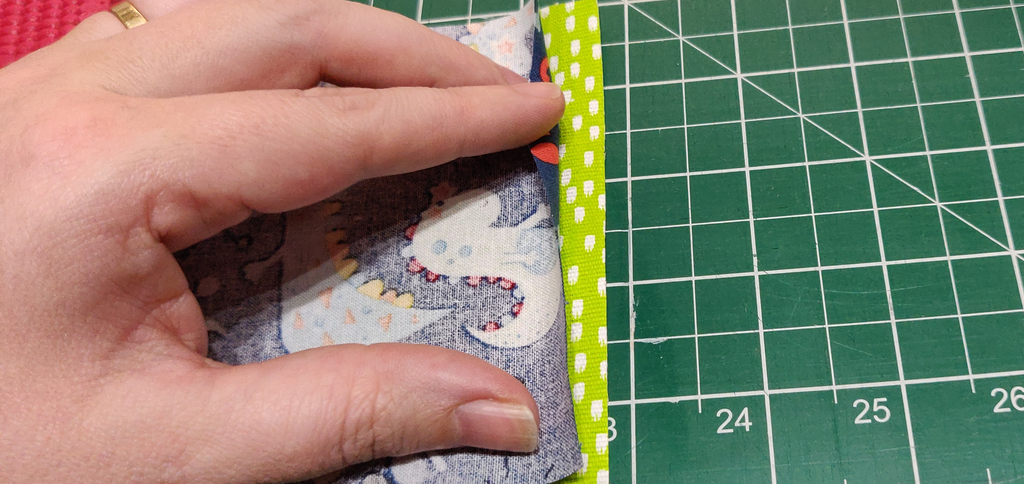
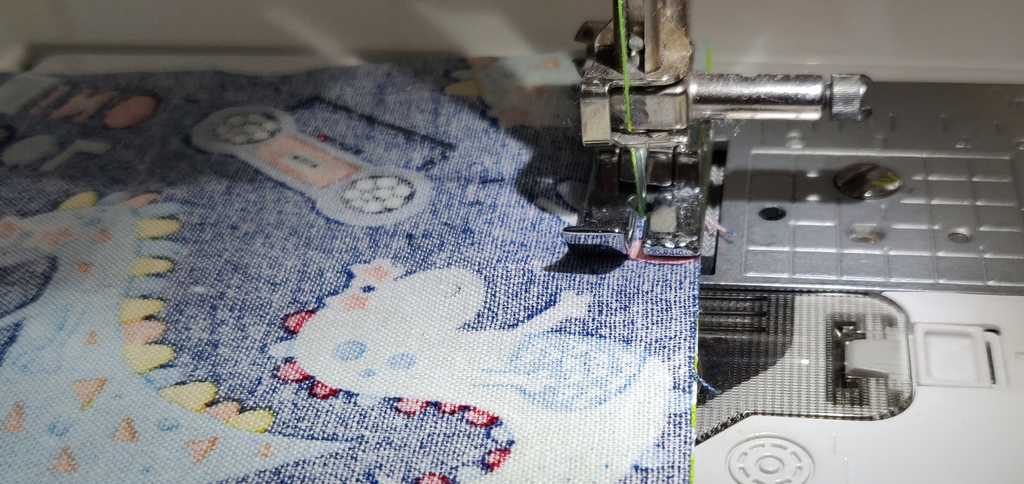
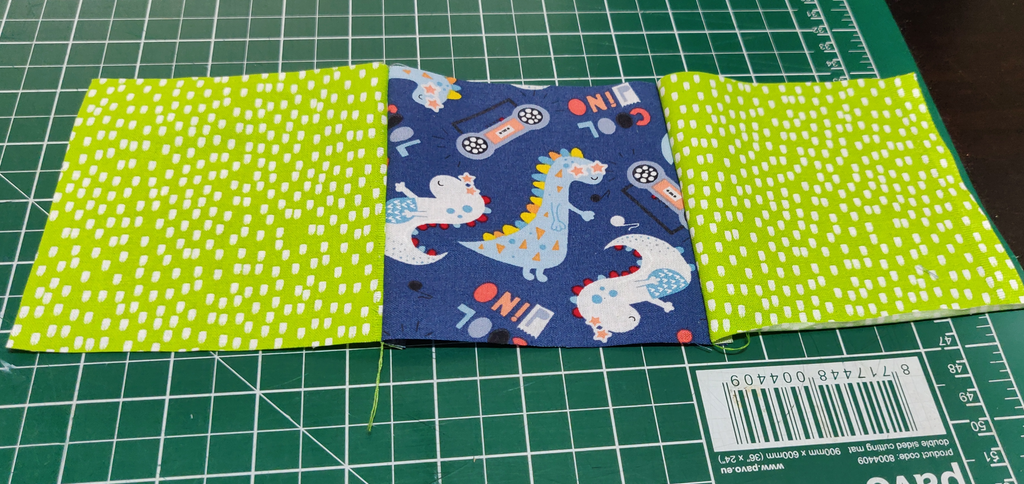
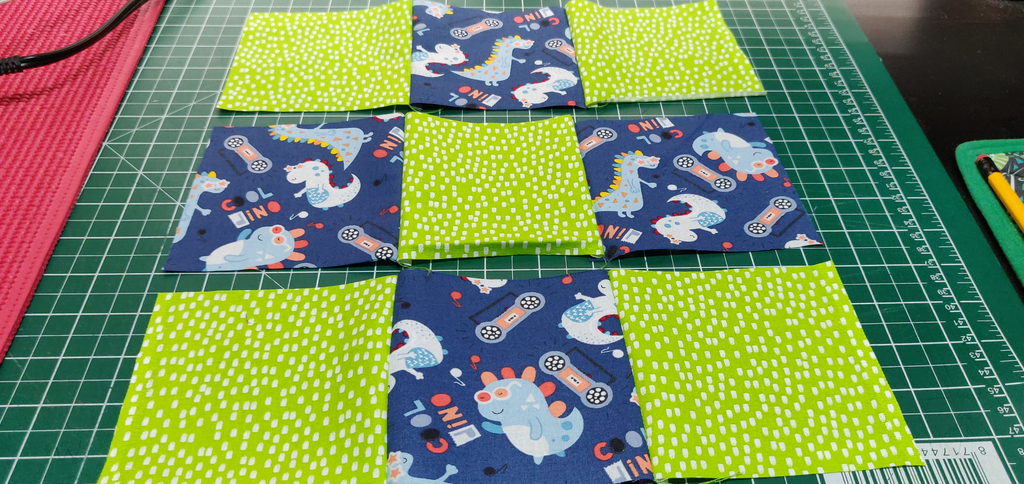
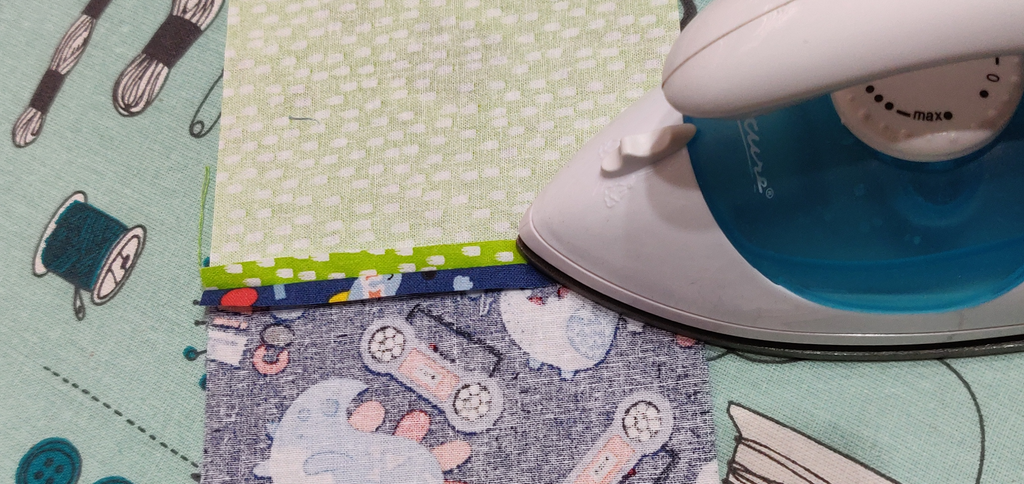
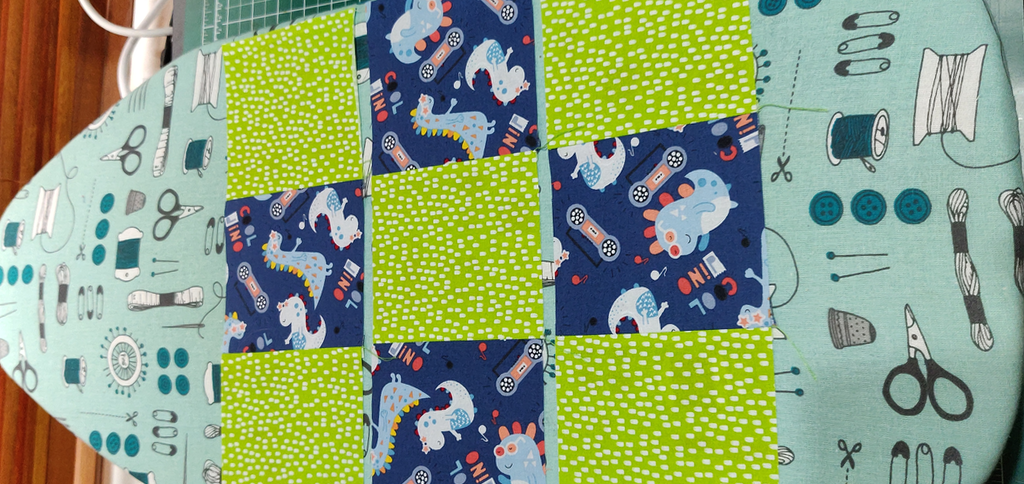
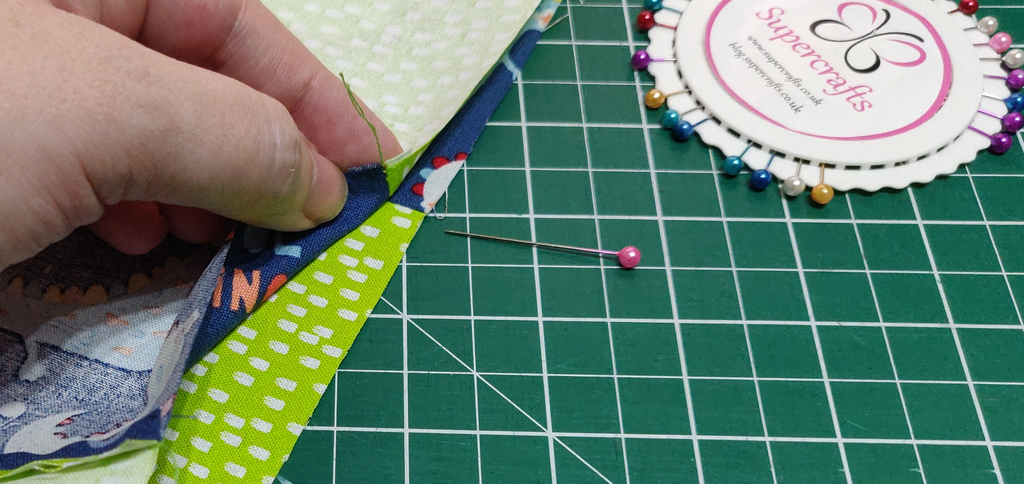
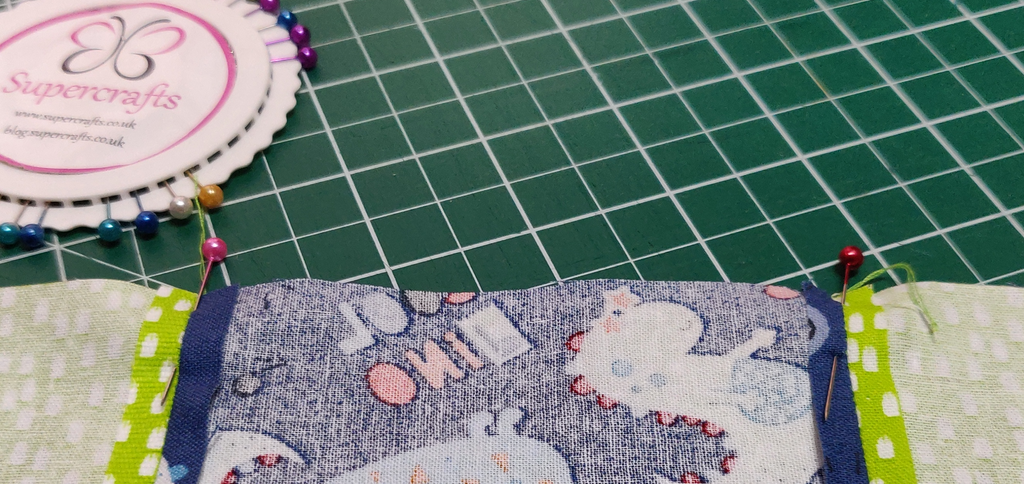
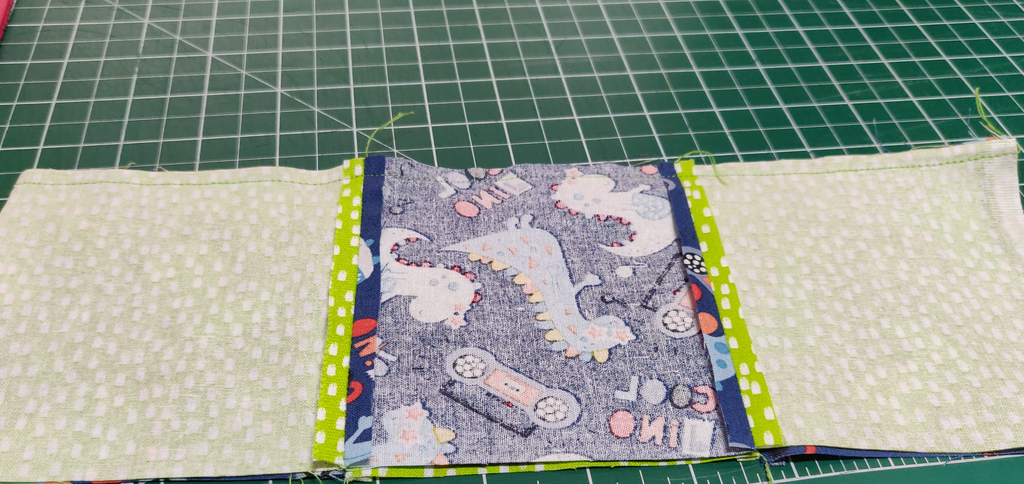
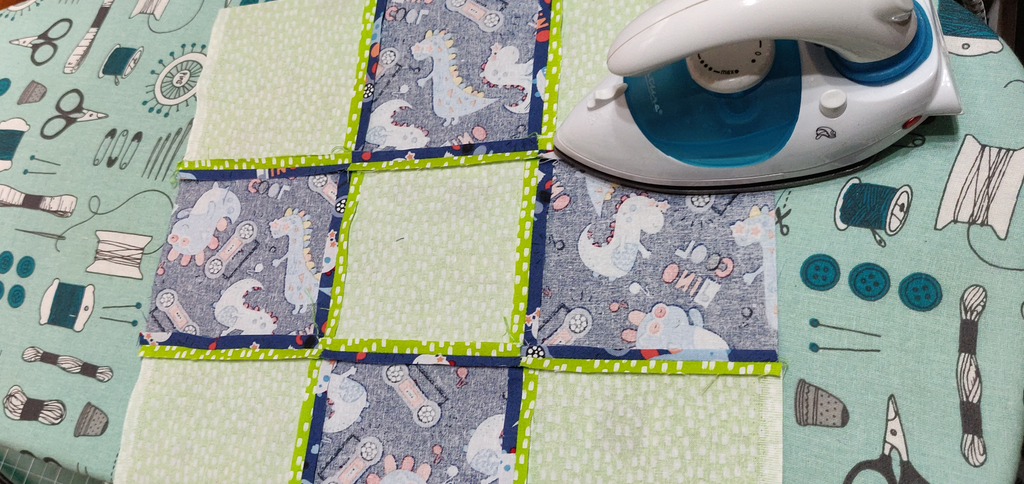
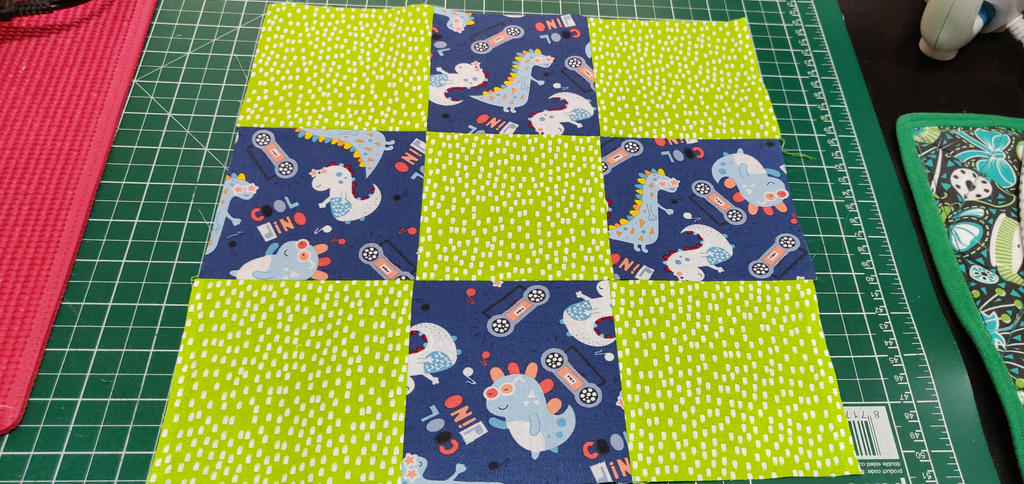
Before we can start sewing, we need to cut our fabrics. For this block you’ll need 9 squares, each measuring 4.5 inches by 4.5 inches. So first let’s cut the selvedge from the edge of the FQ (Fat Quarter). Once that’s gone, you’ll have a nice straight edge to work with. If you’ve never done this before, like, at all, I would suggest cutting one piece at a time until you’re comfortable enough to cut through more than one layer of fabric. Using that straight edge you just created, place your ruler on the fabric at 4.5 inches in both directions as shown. Cut up one edge and across the other. Rotate the fabric by two turns to the left and line up those left and bottom edges with your ruler. Trim down the remaining edge so that the square is an accurate 4.5 inches. Repeat this so that you end up with 5 from your first fabric, and 4 from your second fabric. Lay your fabrics out so you can see the squares all nicely sit together. We’re going to stitch the top row together first. Take your first two pieces and lay them right sides together. Pin together if you’re not confident enough to hold them. Sew using a 1/4 inch seam allowance. Most machines will have a 1/4 inch mark on the plate, if yours doesn’t, consider investing in a 1/4 inch machine foot. The seam allowance in blocks is important. If you’re a little out, depending on the design, it can be very obvious. Now place your third square on the end, again right sides together, and sew this… use that 1/4 inch seam allowance again. Put that section to one side and repeat the process for the next row, and then the third. Now they’re all stitched in one direction you need to break out the iron. Open the seams at the end and run the iron up them (carefully!) to open the seams. This will help the entire block lay flat, so although it’s a pain, it’s worth doing. Repeat this on all the seams. Once the seams are flat, turn the fabric over and give the top a good press also. Time to contruct the rest of the block! Take the first and second row and place them right sides together. The seams you ironed open should help with lining up the joins. At this point, I would highly recommend pinning each join. Now stitch, again using a 1/4 inch seam allowance. Remembering to sew slowly and remove the pins BEFORE they get to your needle. Repeat this to add the bottom row. Then open up the block and press the new seams open as you did before. Now turn the block over, give it a good press, and marvel at your work!
If you plan to follow along with the upcoming posts for creating a finished quilt (36 x 48 inches), you’ll need 12 blocks. For this I used 2 fat quarter bundles. Your blocks can be in any combination of fabrics you like.
Time to quilt? Our next post will explain how to sew together columns of blocks and then how to use the Quilt As You Go (QAYG) method of quilting. It’s perfect for beginners and very easy to master. Currently waiting on a supplier delivery for the backing fabric. as soon as it arrives we’ll get the next step created and published here.
4 thoughts on “Dino Quilt Part 1 – Perfect Beginner Quilt Block – The 9 Patch”

")


4 thoughts on “Dino Quilt Part 1 – Perfect Beginner Quilt Block – The 9 Patch”