Following on from our earlier post where we showed you how to create the 9 patch quilt block, we’re now going to sew blocks together and quilt them using the quilt as you go (QAYG) method. This is a great method for quilting on a home sewing machine as it reduces the amount of fabric you need to have around the machine at any one time.
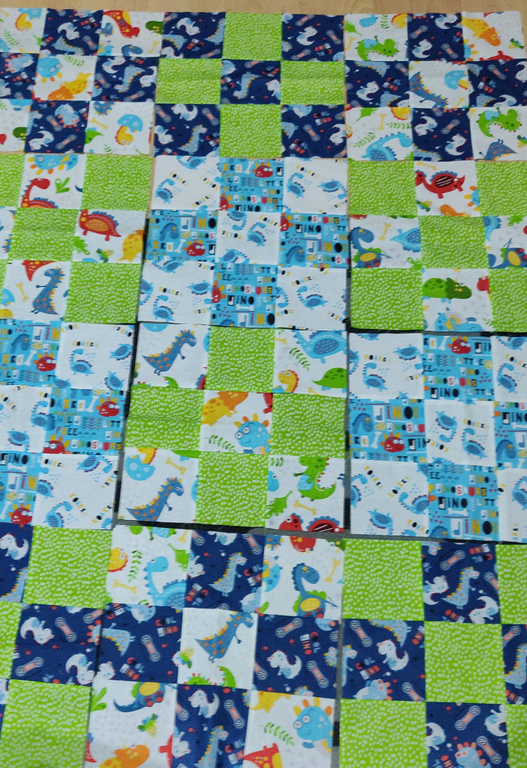
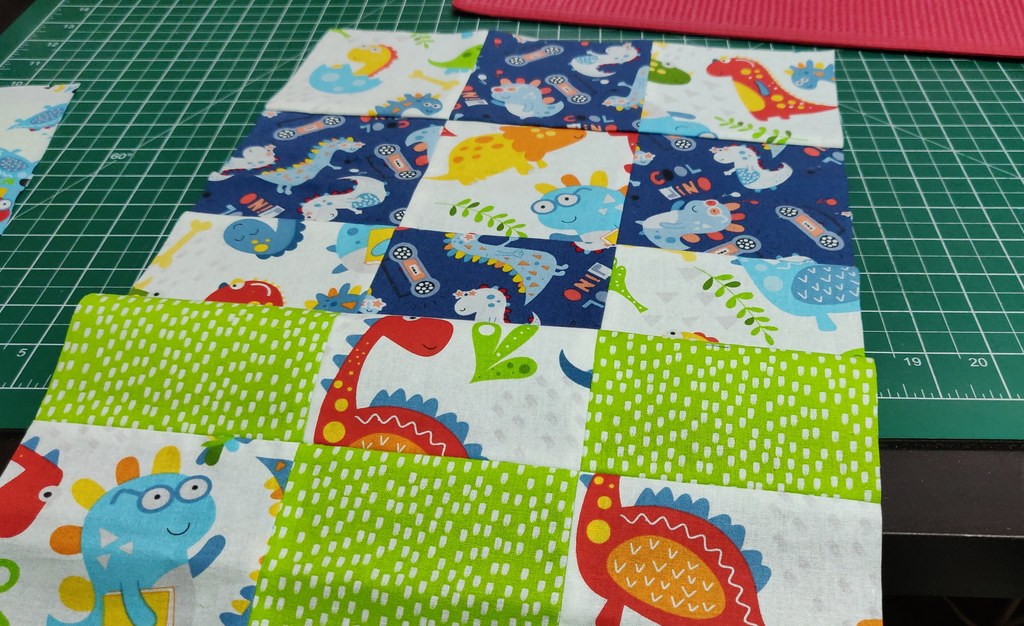
For this tutorial, we premade 12 blocks from the 9-patch post, which you can see here. So first we need to join a column of blocks.
*NOTE: The best way to make sure you cut your wadding and backing to the correct size would be to measure your fully constructed column, then add 2 inches to both the width and the length.
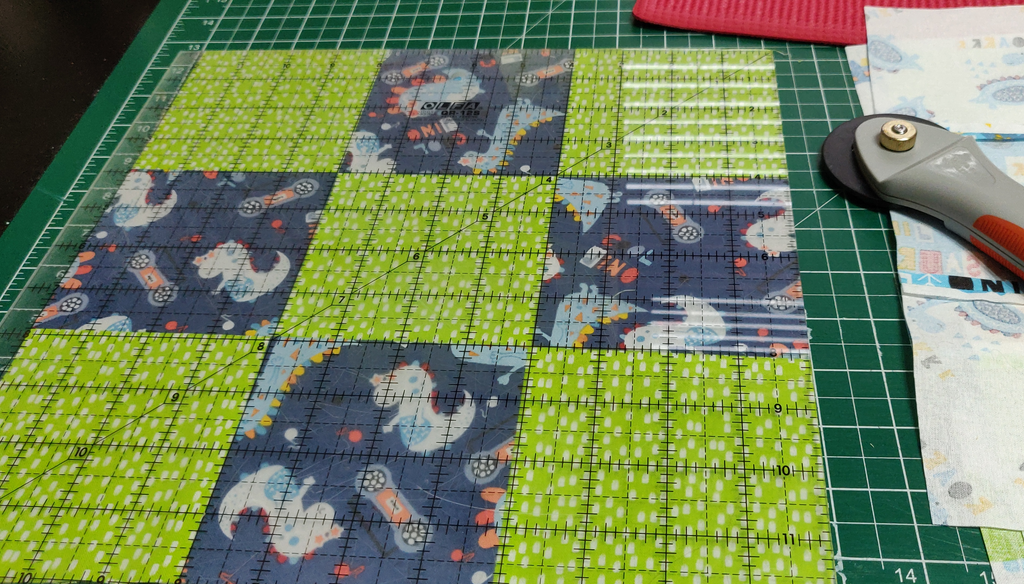
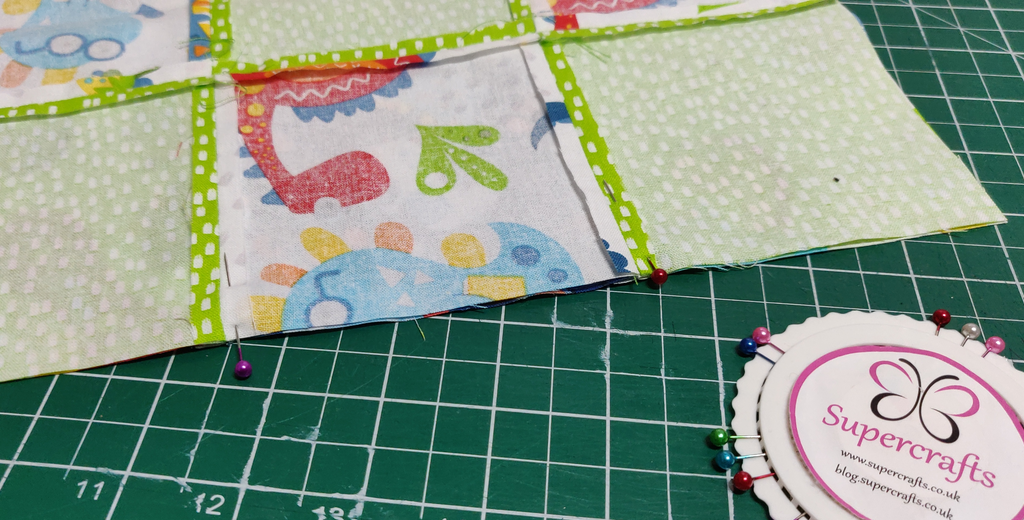
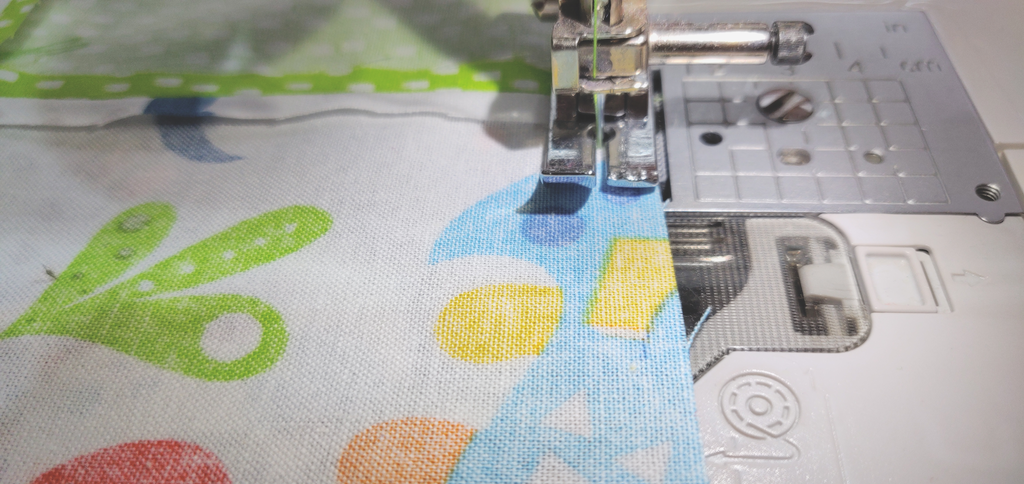
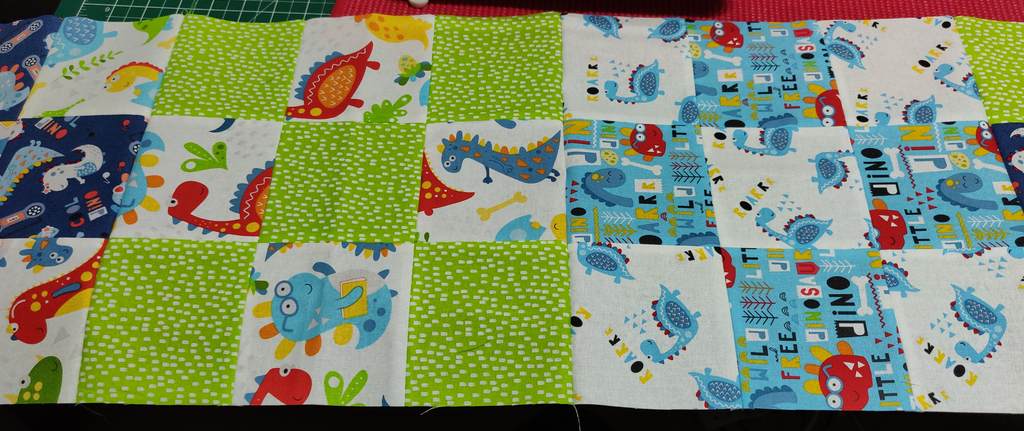
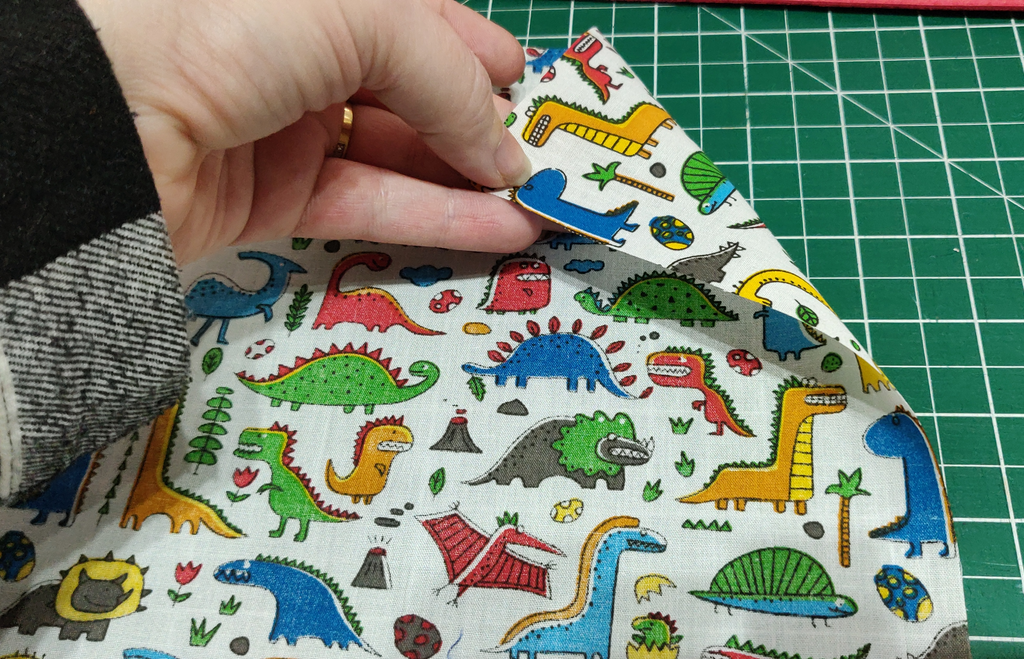
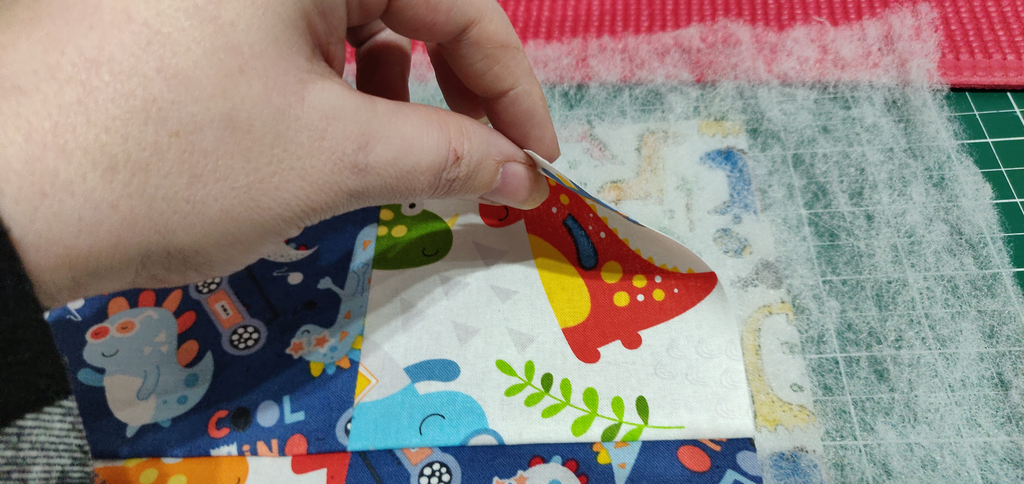
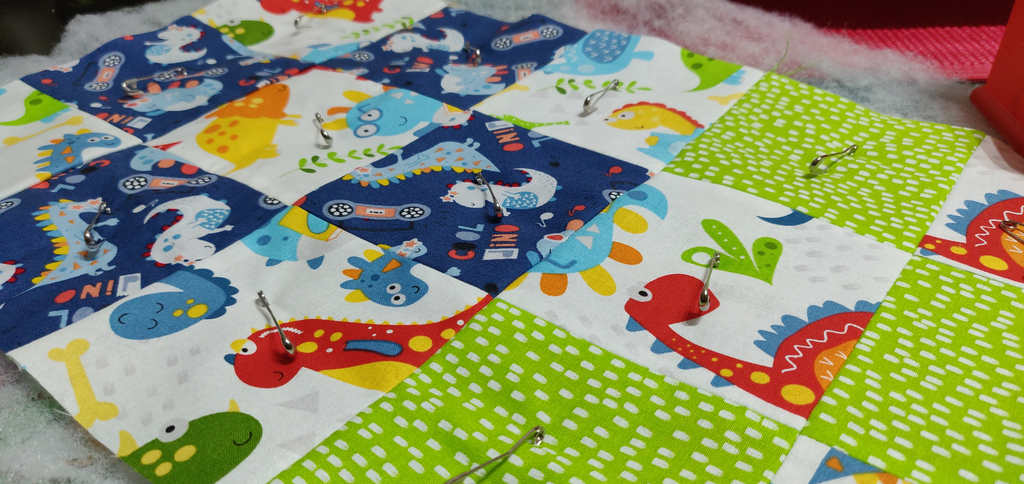
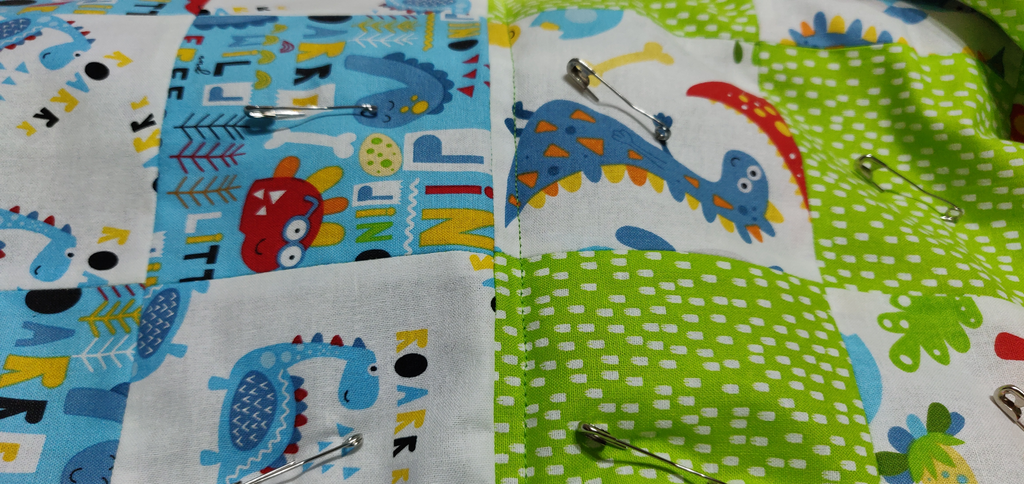
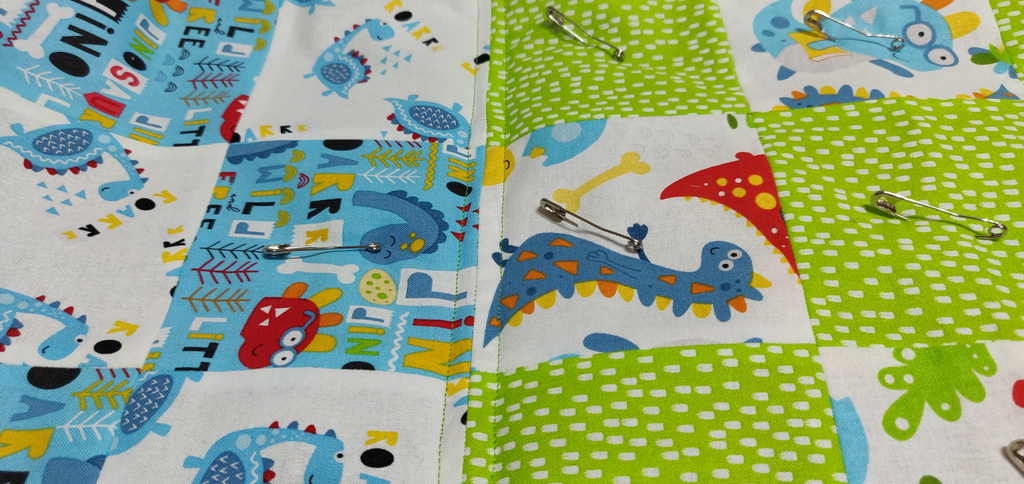
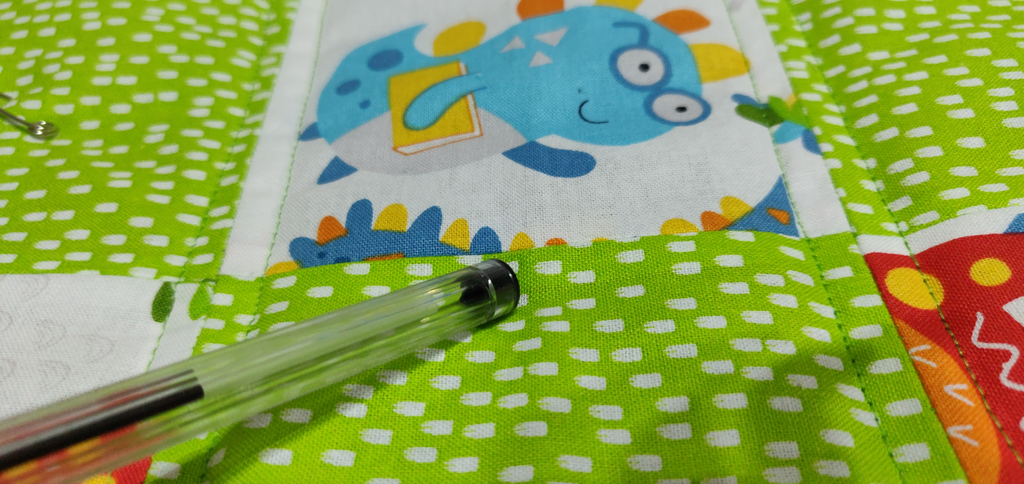
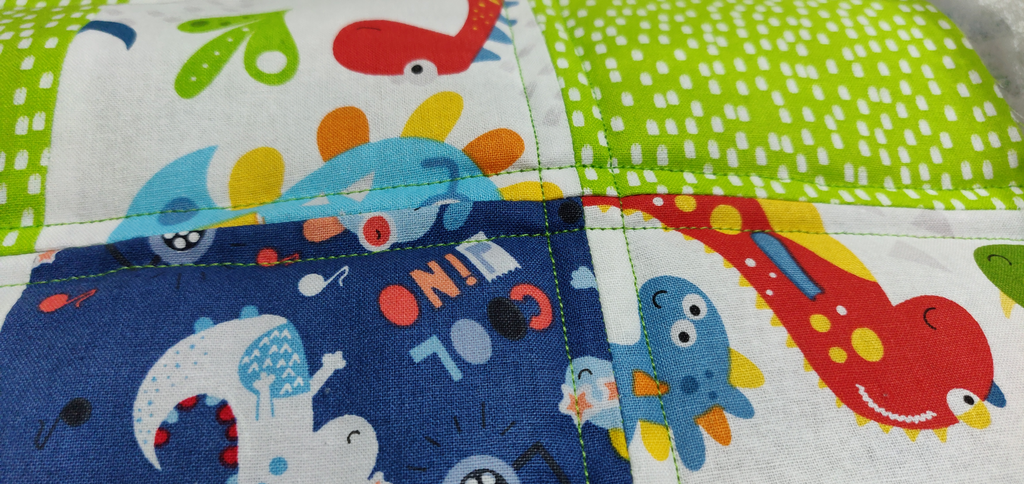
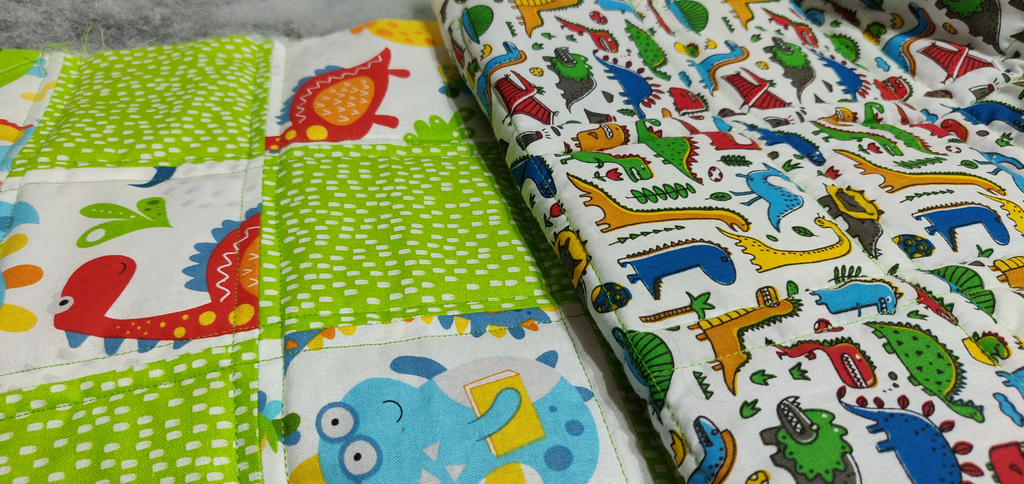
Decide on your layout for the quilt before doing any sewing. The best way to do this is to lay it all out of a large table… or the floor. Once you know where you want each block to sit, take a photograph or make a note of which blocks go where. We’re going to work on columns of blocks… so grab the 4 blocks from the left. Square the blocks down to 12 inches. We now need to sew these four blocks together. Line up the seams of your first two blocks, being sure to check which way the pattern runs if your fabric has a right and wrong way up. Pin the intersections as shown. Make sure your blocks are oriented correctly. This is especially important if your fabric has Now sew using a 1/4 inch seam allowance. Then open up to double-check the prints run the right way. Repeat to add your other two blocks to the end. Press open the seams on the back, and give the front a good run over with the iron whilst you’re at it. As you already have the iron out, go ahead and iron your backing fabric too. Now take your backing fabric and lay it on a flat surface with the right side down (RSD). Don’t you just love that fun print!! Add your wadding to the top. Now place your quilt block column on top of that right side up (RSU). Pin through all three layers to keep the fabrics in place using the curved quilter’s pins. If you feel you’re struggling. Try taping the backing fabric to a hard surface and pulling it taut before adding the other two layers. Now all the layers are pinned, it’s time to start quilting the quilt sandwich. Starting in the centre, stitch a 1/4 inch away from the right side of the centre seam. Stitch all the way along. Turn the column around and quilt 1/4 inch away from the other side of the same seam. Repeat for all other seams. Remember to turn the work after each seam so that you’re working in different directions each time. I found this helps to maintain the position of your quilt top on the backing fabric and doesn’t create a lot of creases or bumps (puckering) in the fabric. Repeat the process to sew your vertical lines.All those little blocks should now be quilted in place. Finished all the seams? That’s it. And the best thing is, the back is also quilted. Now all you need to do is repeat this on all the columns. Don’t be tempted to trim your column just yet. Wait until you have them all quilted. Measure each one and find the smallest… then trim them all to match that one.
One thing to note is that you don’t HAVE to sew 1/4 inch from all seams. You can stitch in the ditch (that is, right in the seam), or you can go from one corner of your block to the other in straight lines sewn certain widths apart etc. We decided to complete ours this way as the seam line helps you to keep your lines as straight as possible when you’re new to sewing.


3 thoughts on “Dino Quilt Part 2 – Quilt as you Go (and part construction!)”