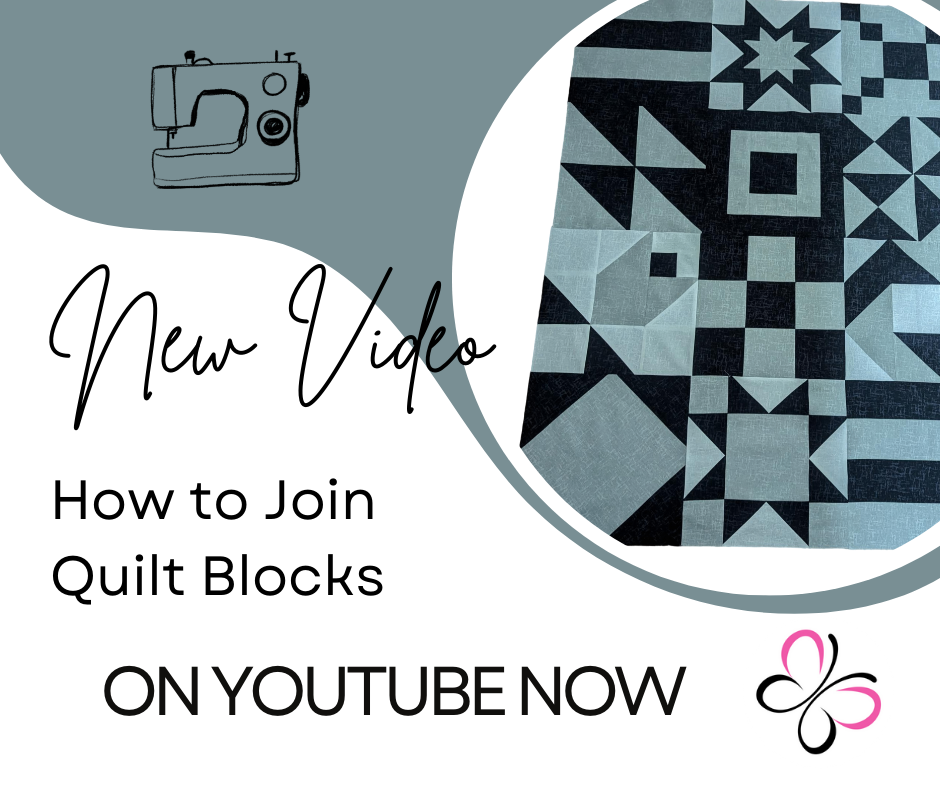
I have another Youtube video for you today, so I’m posting the method text here along with the video link. I hope someone finds it useful. As with the previous one, I’m not adding images to this post. Please do give the video a watch, you can refer back to the written instructions if I’m not speaking clear enough 🙂
Free Template
Peter Rabbit / Beatrix Potter Fabric Bundle
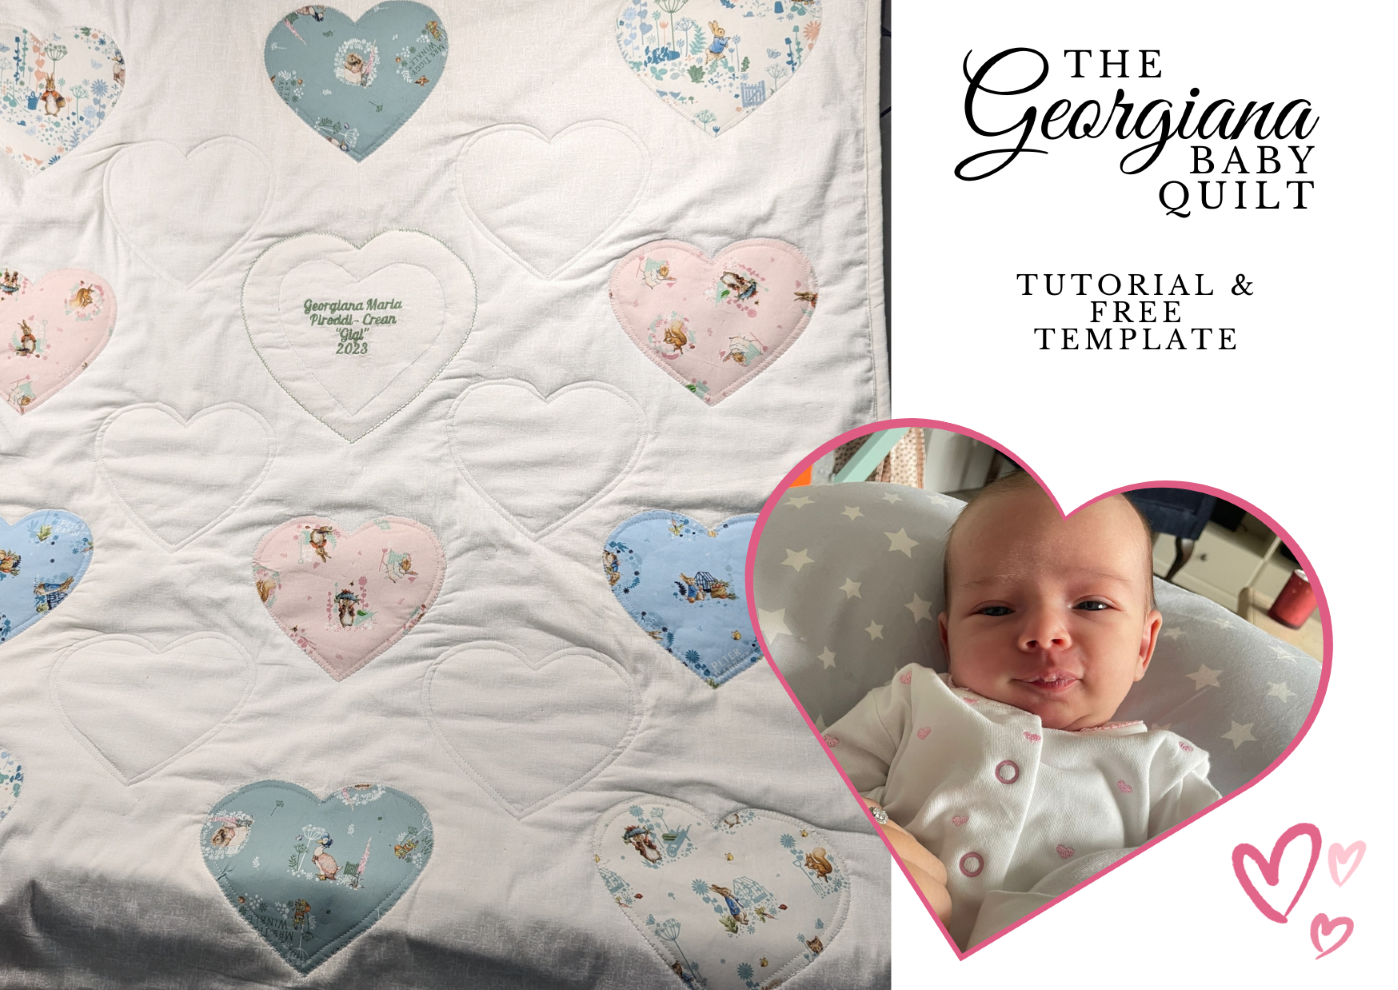
Hi everyone. This week we’re doing a bit more appliqué. This time I’m making a little baby quilt. We have a new addition to our extended family, Georgiana Maria – and what a beautiful name!
Let’s get cracking! The first step is to print out and cut the template. The link for this can be found in the description below.
Once you have it cut out, have a think about the fabrics you want to use. I’m using this adorable Peter Rabbit fabric! You can go ahead and use the same fabric for all the appliqués, or mix it up and use lots of different ones. I’ll link to the ones I’m using in the description. For the hearts, you’ll need 12, assuming you’re working to the same size as I am, which creates a finished quilt around 40×40 inches.
If you want to be able to see the parts of the fabric you’re going to be cutting, template plastic works brilliantly. This is what I’ve used for my template, again, I’ll link the plastic in the description. Also, as I’m using this on the top of the fabric instead of the back, I’m using a heat erasable pen.
My sewing machine has an embroidery function, so I went ahead and created one of the hearts with a littler personalisation beforehand. If yours doesn’t have this kind of function but you want to add personalisation, maybe consider cutting out letters and appliquéing them either directly onto the quilt, or onto once of the hearts.
First, iron fuse-a-web to the back of the appliqué fabrics. Leave the paper in place. Use an up down motion to apply the fuse-a-web, don’t run the iron over it as you normally would. This is to avoid bumps and creases being created.
Once you have fuse-a-web applied to the back of all your fabrics, place your templates onto the paper side of the fabric, faced down, and draw around them. As I said, if you’re wanting to use a specific area of fabric and need to see where you’re placing the heart, use something semi-transparent so you can mark it from the top instead of the paper side. But again, be sure to use a heat erasable pen.
Carefully cut out all your pieces. Obviously I’m just doing one heart here to show you my method. Make sure your scissors are sharp, you’ll get a nice clean cut on the fabrics edges.
I’ll pop off and get the other hearts ready so we can move forward.
All the hearts are cut and ready to apply to the main quilt fabric. I’m just using our standard textured blender in cream for this one. I love that fabric. You’ll have seen me use it so many times you probably just automatically recognise it by this point. I’ve laid out the hearts to figure out where I want to place them, then piled them up in order to make this a bit easier.
Take your main fabric and place it on your ironing board right side facing up. Measure 7 inches over from the top left corner, then down 4 inches. This is the point you need to place the top centre point of the first heart. Sorry – that was all off camera! I really need to be more careful. So, over 7 inches from the top left, then from that mark, 4 inches down. I make that 4 inch mark as a dot then add a line a bit further down. This will allow you to line up the top centre point and the bottom centre point and know you have your heart sitting straight. Peel off the backing paper and iron in place.
Once ironed in place, measure from the bottom point over to 13 inches. This is the where the bottom point of the second heart should sit. Make sure it’s straight and iron in place.
Repeat to add the last one on the row.
Using a ruler place at the edge of both the top and bottom points of that first heart, draw a line so you can use that to align the next row. Now measure 4.5 inches down from the bottom point of your first heart. This is where the top centre point of row two starts.
Continue until you have all your hearts ironed down.
Here’s a photograph of the quilt up to this point.
Next is sewing… but because I want the stitching to be visible on the back and the front, I’m going to make up my quilt sandwich now. Lay out the backing fabric right side down on your ironing board and give it a quick run over with the iron if it needs it.
Top with wadding of your choice. As you can see, my wadding wasn’t big enough – I simply put two pieces together and ran them through the machine using a wide zig zag stitch – I did this in green thread so you could see what I’d done.
Then add your quilt top on the top with the right side facing up. Give it another run over with the iron.
Then start adding pins through all three layers. I like doing this on the ironing board as I can poke a load of pins in and go through and close them up afterwards without risking the fabric shifting.
It takes a while but every pin you add means less movement in the quilt when it comes to sewing. ~These curved quilters pins are great.
So I’ll go ahead and pin the rest of this off-camera then bring you back.
Now it’s all pinned, we’re going to sew the appliqués. If any part of the appliqués lift away, apply heat from the iron. Set the stitch you want to use on your machine, I’m using this one…
Start as close to the middle as you can. Carefully sew around all the pieces. I’m using a white thread, but there’s nothing stopping you using a contrasting thread if you want to really see the stitches.
I’m going to stop the video and go off and attach the other hearts off camera then I’ll be back.
I just want to quickly show you how the back looks after the hearts are sewn down.
Now that the appliqués are all secured in place, it’s time to think about quilting the background. When you get to this step, really really think about what you want to do before you start. Free-motion quilting is a good option, but I would suggest using a heat erasable pen to actually draw your design onto the quilt beforehand. Step back and see if you’re happy with it before committing. I’m going to add a few hearts in the empty space and I think that will be enough for this one. So I’m using a heat erasable pen to draw them first, that way I have a line to follow.
For this one, I’m using a standard straight stitch and a stitch length of 3.5mm.
I need to go ahead and repeat that on the rest of the quilt. Then I’ll come back, but let’s have a quick peek at what the back of the quilt looks like at the moment. Lovely. I’ll go ahead and quilt the rest, then trip off the quilt so all the edges are straight, then we’ll come back and get to the binding process.
Loving it so far! Just the binding to do now. For this you’ll need to cut strips of 2.5 inch by width of fabric so in my case, 2.5 inches by 44 inches. Measure your quilt to get the correct amount, I generally create 8 strips for this size quilt but always have a lot left over. 6 should be enough. Place one of the strips right side up. I’m going to mark up this first one in the hope it explains things better than I can verbalise it! Take a second strip and place it right side down on one end of the first strip. The two fabrics should have their right sides facing.
We’re going to sew from the inner top, to the outer bottom corner. You don’t need to mark these up each time, but hopefully this shows how it’s done.
Then trim that excess fabric on the back down to a quarter inch.
Continue this process until all the strips are attached to one another.
Now take the pile of fabric strips to your ironing board. Strting at one end, fold the fabric in half with wrong sides together and press. You’ll need to do the entire strip, I’ll save you having to watch and jump forward…
The binding is all made. Now I need to attach it tot he quilt. We’re working on the back of the quilt here. You’ll need a 12 inch tail to work with at the end, so start about 12 inches down the piece of binding. When you get to the other end, leave a 12 inch gap between your starting stitches and your ending stitches. This will become clear.
Set your stitch length to 2.5 and sew quarter inch away from the edge. The raw edge of the biding sits against the raw edge of the quilt. If you’ve left any pins it eh quilt, remove them so you don’t sew over them by accident. It drives me batty watching the people sew over pins!
Sew down to your first corner, but before you get there, stop… We need to fold over the corner and flip the connecting side over to create a mitre when we get to stitching on the front, which takes some prep on this back side. So stop at ¼ inch and pivot the fabric so you sew a diagonal to the corner edge.
Remove from the machine, Fold the tail end back up over where you just stitched, then bring it down on itself.
Start sewing at ¼ inch and continue down to your next corner, using the same method to get around that and subsequent corners.
Now the binding is attached and we’re left with two tails.
You’ll need a little bit of the excess binding to complete this.
First mark about half way between the two tails on your quilt.
Lay one of the tails flat against the edge, then pop that excess you cut on top of it so that the centre fold is at the line.
Mark a line on the binding on the loose side, not the side that’s attached!
Repeat on the other tail, again, on the loose side.
Trim the two pieces down the line.
This next bit is easier if the quilt is folded up a little.
Open up one tail so the right side of the fabric is facing you, then open up the other one and la the right side down.
You can pop in pins here to stop them moving.
Then sew corner to corner… so inner corner to bottom outer corner.
Take out the pins and pull the binding flat to ensure it’s the correct size.
Then trim the excess down to ¼ inch and sew down as before.
Now the binding is attached on the back, we’re going to flip it over and attach it to the front.
I always start in a corner.
Flip the binding over… don’t be tempted to cut this what looks like excess! You’ll leave yourself with a hole in the quilt if you do that.
So flip one edge over to the front. It will create a point as it sits over the edge.
Carefully fold that point and the joining edge over. The point will sit against the edge of the previous side and create a lovely mitre.
Sew close to the edge of the binding to secure it in place. Stop and lift the foot up when you get right to the corner. Your needle should still be down. If you r machine automatically lifts it, use the hand wheel to move it back down through the fabric layers. Having the needle down means you won’t accidentally move the quilt!
Pivot… and then continue sewing.
Slowly move around the entire quilt, using the same method for all four corners, until the entire quilt is bound.
Let me slow it down here and close up on the area so you can see it better. So right side over and flattened to a point. Bottom up so that the point meets the other side… I’m not sure if I’m being clear in verbalising this, but hopefully you’re like me and learn from watching better than listening!
Anyway! You get the idea!
Here’s a photograph of the fully bound quilt…
And one final thing before I leave you to your day — welcome to the world Georgiana Maria!
I hope you liked the video and if you’re not already, please consider subscribing, liking, or even sharing the video.
Youtube Video