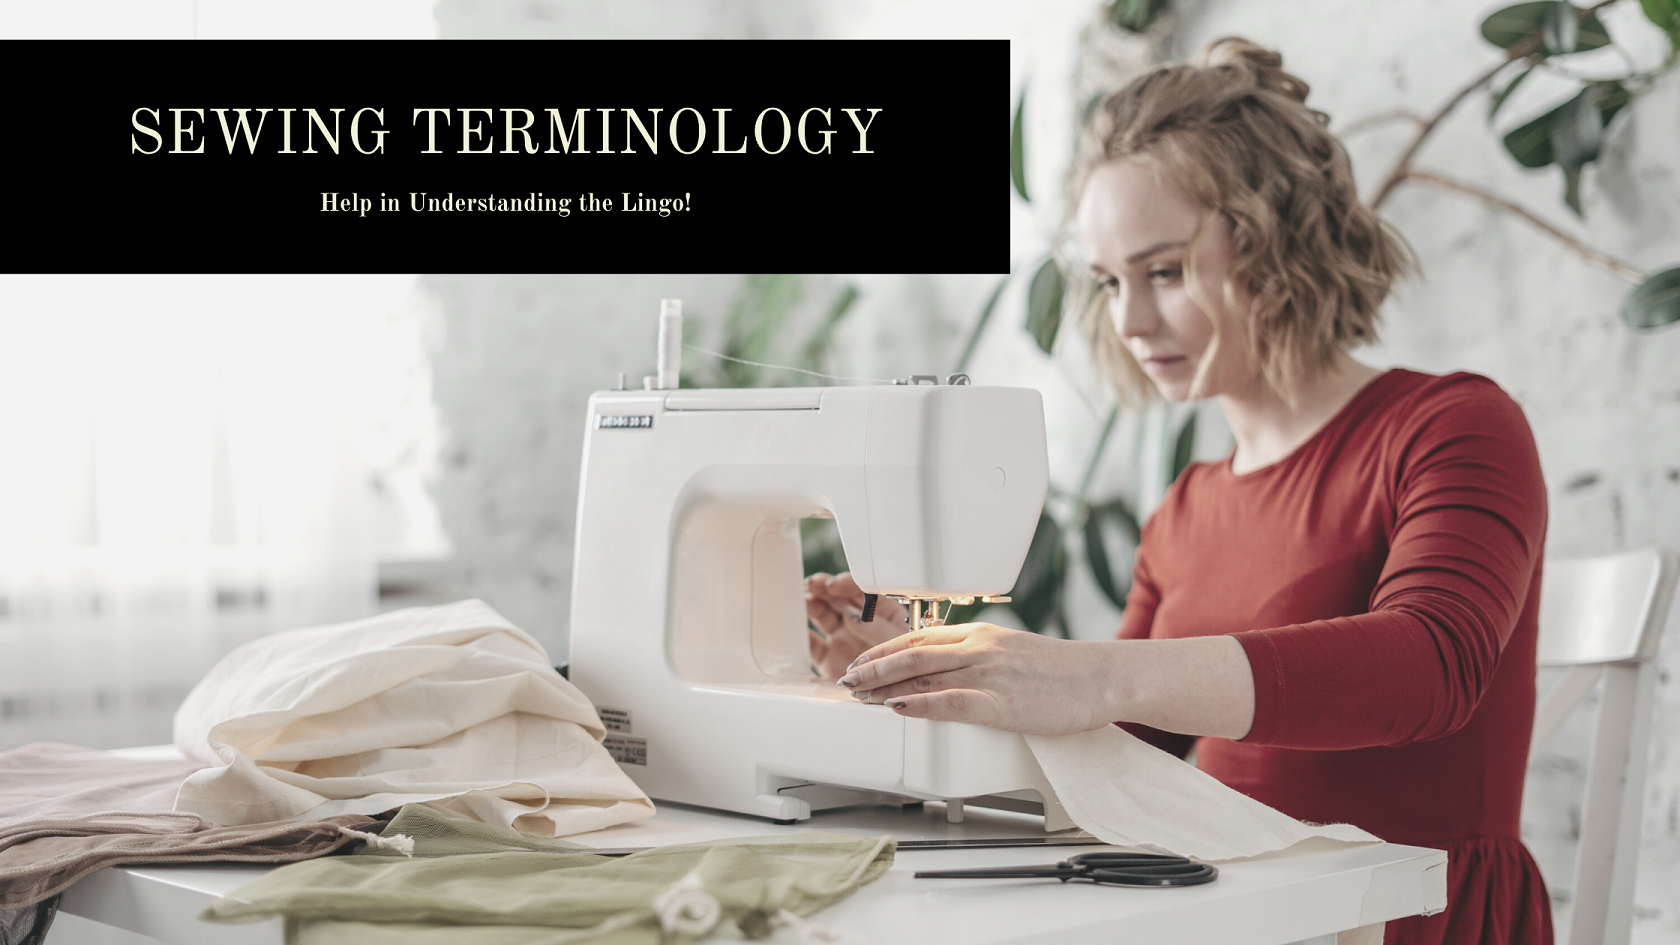
So you’ve just started on your sewing journey and you’re looking at all those glorious tutorials online, but they’re abbreviating lots of things and they’re going on about things you’ve never even heard; you have no clue what they mean! Don’t be disheartened. You’ll eventually get to know the terminology without having to look it up!
Here are a few things you’ll learn fairly quickly when sewing.
RST – Right Sides together
This basically means to lay both of your fabric pieces together pretty side to pretty side (That’s how I taught my niece and nephew and it’s stuck in their heads!)
WST – Wrong Sides Together
This means to lay your pieces with the backs together.
RS and WS – Right Side and Wrong Side
This may be obvious from the descriptions above, but just incase! Right side is the pretty side of your fabric, and wrong side is the BACK of the fabric.
Backstitching
This is an important one. Most machines have a backstitch button and it’s important to use it. At the start of a line of stitching, stitch 3 stitches, then press your backstitch button and stitch backwards over the three stitches. Then continue stitching your line as normal until you get to the end. Once the last three stitches are sewn, press your button again to go back over the last three. Backstitching is extremely important for securing lines of stitching. This is especially so when you’re creating something that requires you to turn fabric out as it will stop you from accidentally pulling out your stitches.
Clip
This is the act of cutting into curves so that your fabrics will lay flat. Simply cut into the fabric upto your stitch line (but not INTO the stitch line) at 1cm intervals.
Stitch Length
The stitch length is determined by the movement of the feed dogs. It can be set so that the stitches are longer or shorter, depending on what you’re sewing. I would suggest using a spare piece of fabric and altering your stitch length to practice.
Finish (or Finishing)
There are many ways to finish a seam or raw edge to get a neat look and prevent fraying. For thicker fabrics you can get away with simply trimming them with a pair of pinking shears. For thinner fabrics you can stitch a zigzag stitch along the seam. Alternatively, if you’re lucky enough to own a serger (overlocker) you can run the edge of the fabric through that to finish the fabric. The whole point is to tidy up the edge of the fabric and stop it from fraying.
HST – Half Square Triangle
This is where a square of fabric is cut or stitched from corner to corner to create two triangles.
SA – Seam Allowance
Where you see things like “Sew using a 1/4 inch SA” – It simply means to sew using a seam allowance of 1/4 inch.
FQ – Fat Quarter
This is a piece of fabric measuring a quarter of a metre (normally around 45 x 55cm) – Fat quarters are often sold in bundles. Where a bundle is sold together, the fabrics have been selected to go together nicely, which means no scratching your head over what fabric works with what.
WOF – Width of Fabric
This is the size of the fabric from left to right. Fabric widths are normally listed when buying online.
Jelly Roll (or Fabric roll)
Strips of 2.5 inch by WOF (see above!) that have normally been bundled together in a particular colour range that just works! These are amazing for first time quilters as a quilt top can be sewn together in no time, giving you that sense of satisfaction very quickly.
FPP – Foundation Paper Piecing
This is a technique whereby fabric is stitched onto a paper template and then sewn together (most commonly by machine). The paper template shape means that blocks remain accurate.
EPP – English Paper Piecing
English Paper Piecing is a technique where fabric is folded and stitched on top of a paper template and then hand sewn together. The paper template shape means that blocks remain accurate. Unlike FPP (above) EPP is purely a hand sewing technique.
Feed Dogs
The mechanical “teeth” that pull the fabrics through your sewing machine.
FMQ – Free Motion Quilting
Free motion quilting is a style of machine quilting which you can do on most home machines, or if you’re lucky enough to own one, a long arm quilting machine. To free motion quilt you use an open-toe foot, which is a special foot designed to hover over the surface of the quilt, allowing you to move the quilt in all directions by hand. It’s important to lower your feed dogs when free motion quilting so that you have complete control.
Bias
When a pattern or tutorial requests that you cut a piece of fabric “on the bias” it basically means that you need to lay the pattern piece at a 45 degree angle to the grain line. If you’re using a purchased pattern, there is normally an arrow on the pattern which indicates the direction it should be placed on the fabric.
Bias Binding
As with the above entry, this is fabric that has been cut on the bias. Bias binding is great for sewing to anything that isn’t completely straight, by that I mean anything with curves. If your project is all straight lines, regular binding will work fabulously.
Baste
When a pattern tells you to baste your fabrics together, this means to use long (as long as your machine allows if using a machine) running stitches. They’re used to keep fabrics together whilst you work and are normally removed. The longer they are, the easier they are to take out.
BOM – Block of the Month
Some outlets sell quilt blocks, either as a kit with all the bits you need, or just the pattern. You buy these each month until you’ve completed them all and can stitch them together to form a complete quilt.
WIP – Work in Progress
Used by sewing enthusiasts, shouldn’t really appear in tutorials, but worth knowing what it means if you plan to join sewing groups online.
UFO – Unfinished Object
Used by sewing enthusiasts, shouldn’t really appear in tutorials, but worth knowing what it means if you plan to join sewing groups online.
Bobbin Roulette
Yes, you read that correctly. This one is just for fun, although if you lose it’s not so fun! This is when you’re happily sewing and you don’t realise your bobbin thread is about to run out! Some newer machines will stop and tell you it’s about to run out but… you’ll keep going, why not, you only have a little left to sew and surely it isn’t going to run out immediately… is it? There is a certain satisfaction from panicing it’s going to run out when you get to the end of the line of stitching and check the bobbin to find an inch of thread still left. Winner! However, there’s the opposite, where you’ve not realised it’s run out and you get to teh end and realise your machine hasn’t been sewing a thing!! Loser!