I love making Christmas stockings, but seriously, how many times can
you change them without ending up with a hoard? I’m making us new
ones this year and plan to keep them for a few years so figured I’d
write up a tutorial. They’re really easy to make and look
beautiful!
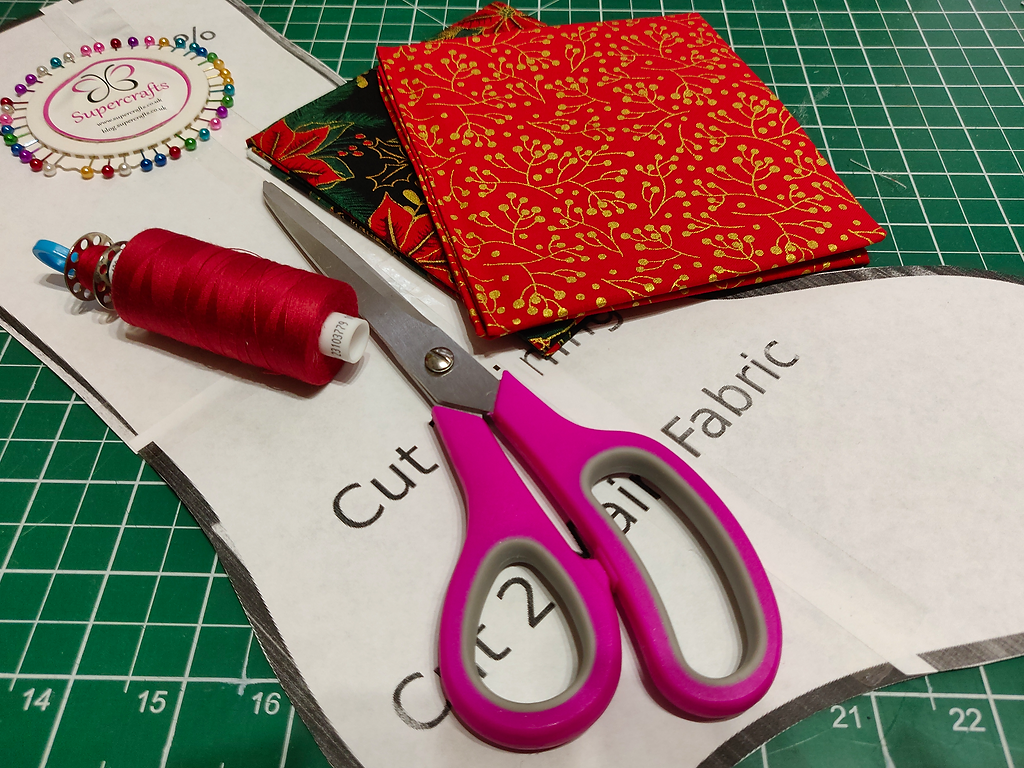
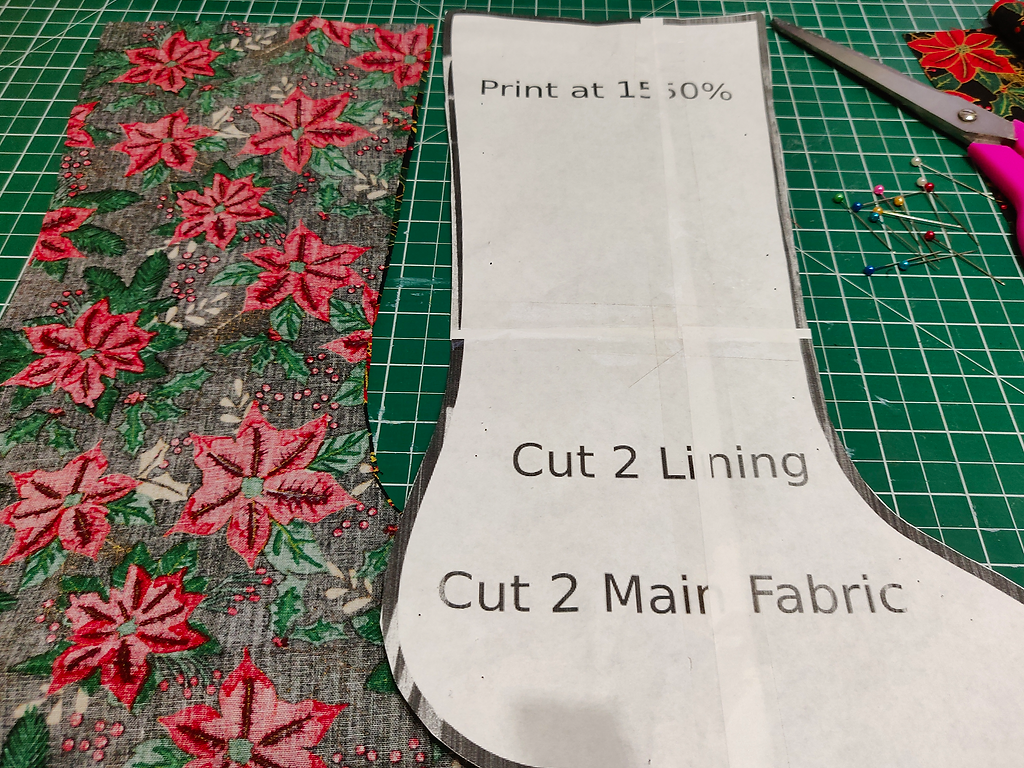
NOTE: Print the template at 150% to fit it on a fat quarter as shown. You’ll then need to tape it together. In order to print to a certain percentage, you’ll need Adobe PDF reader installed.
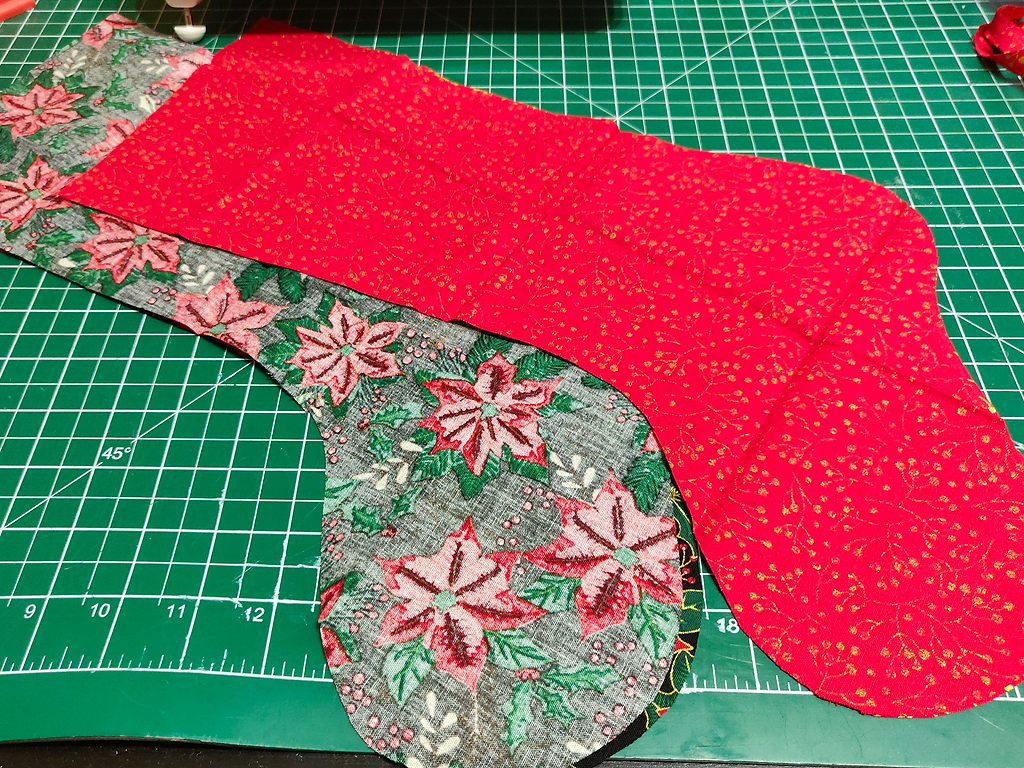
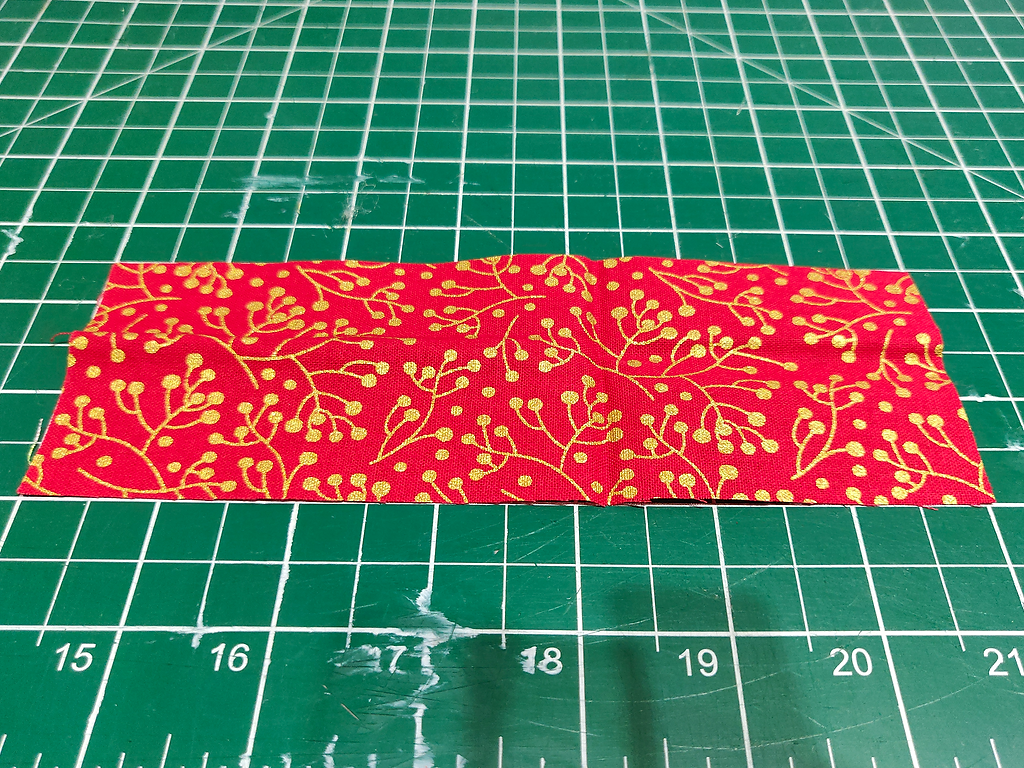
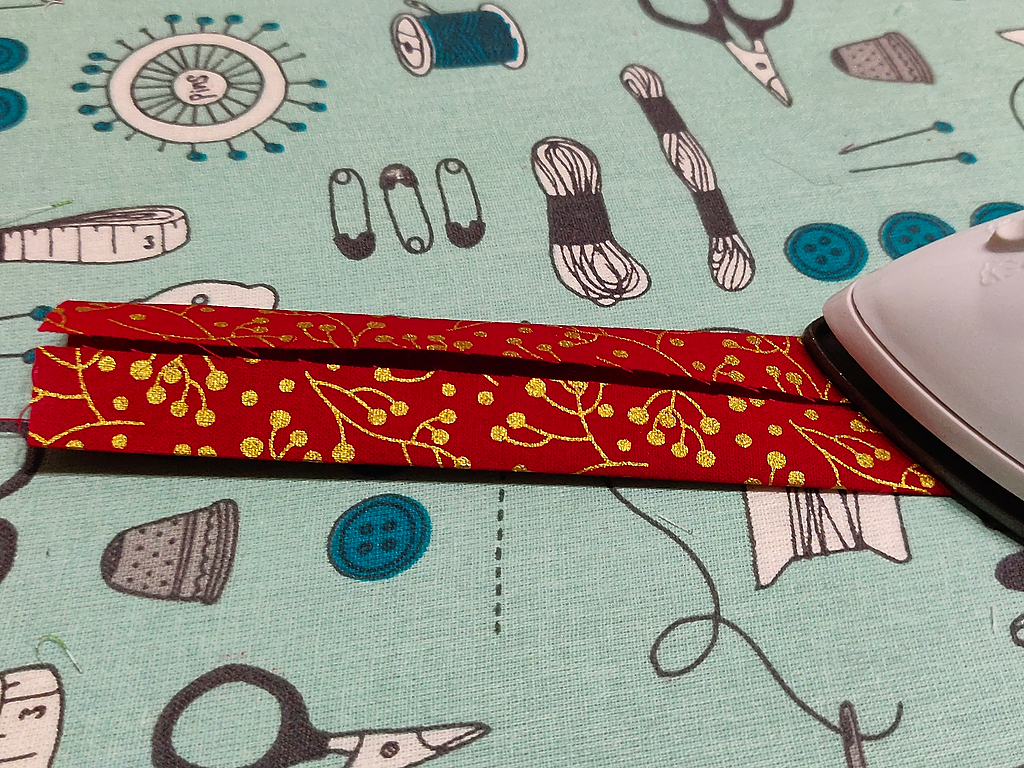
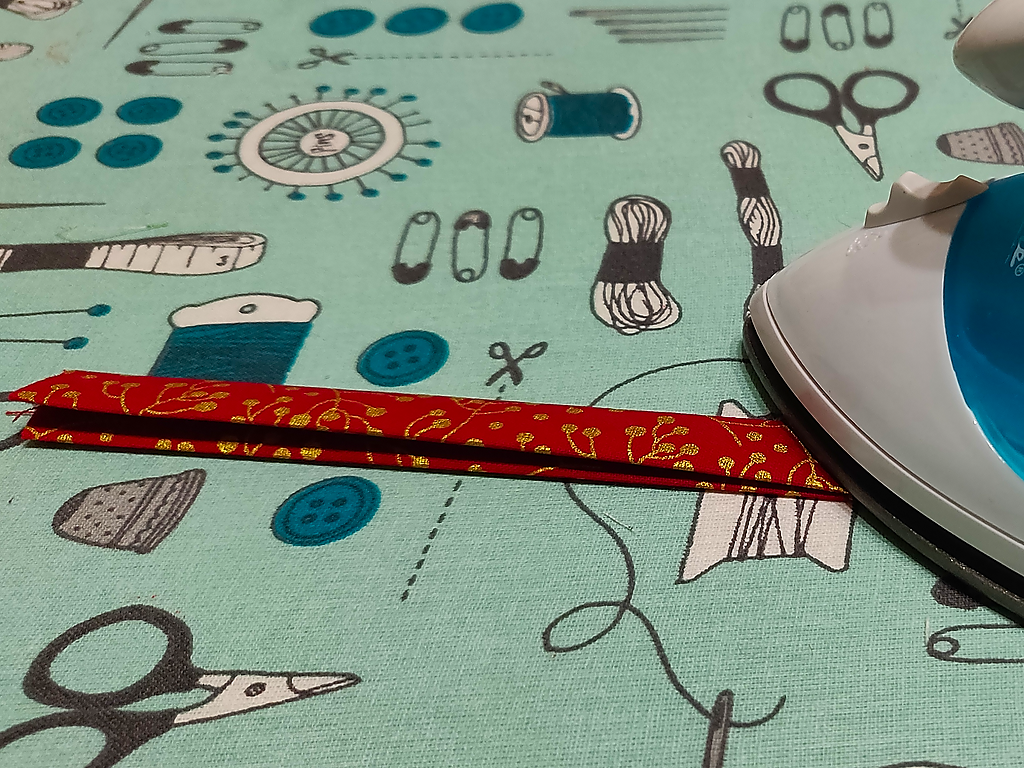
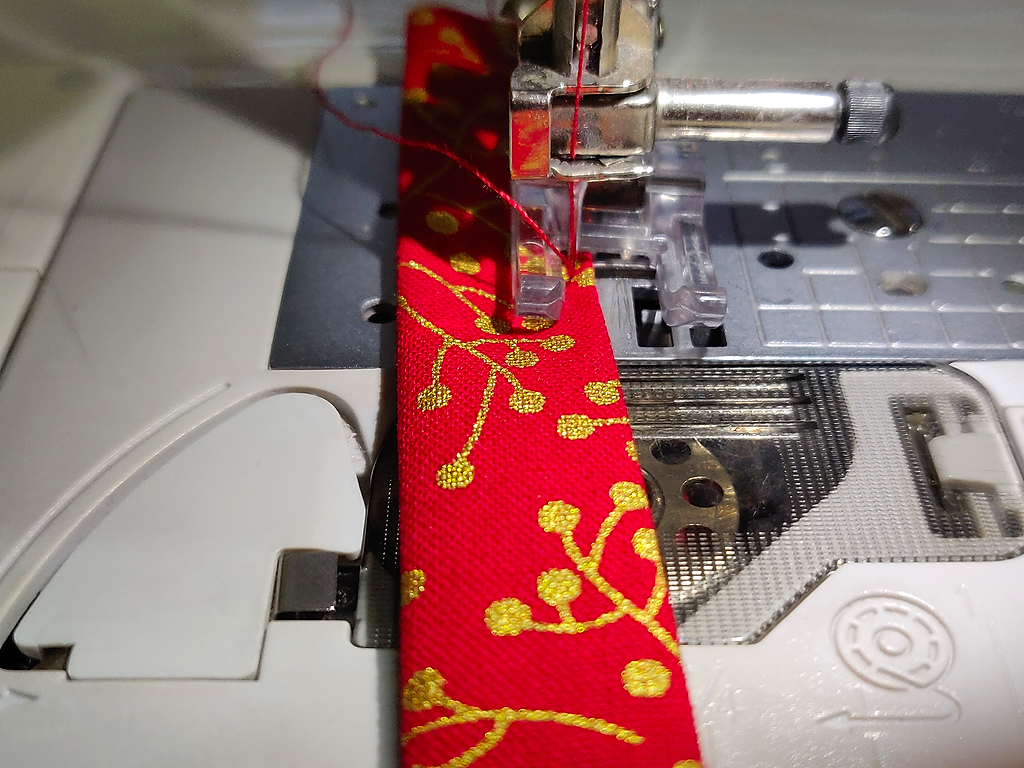
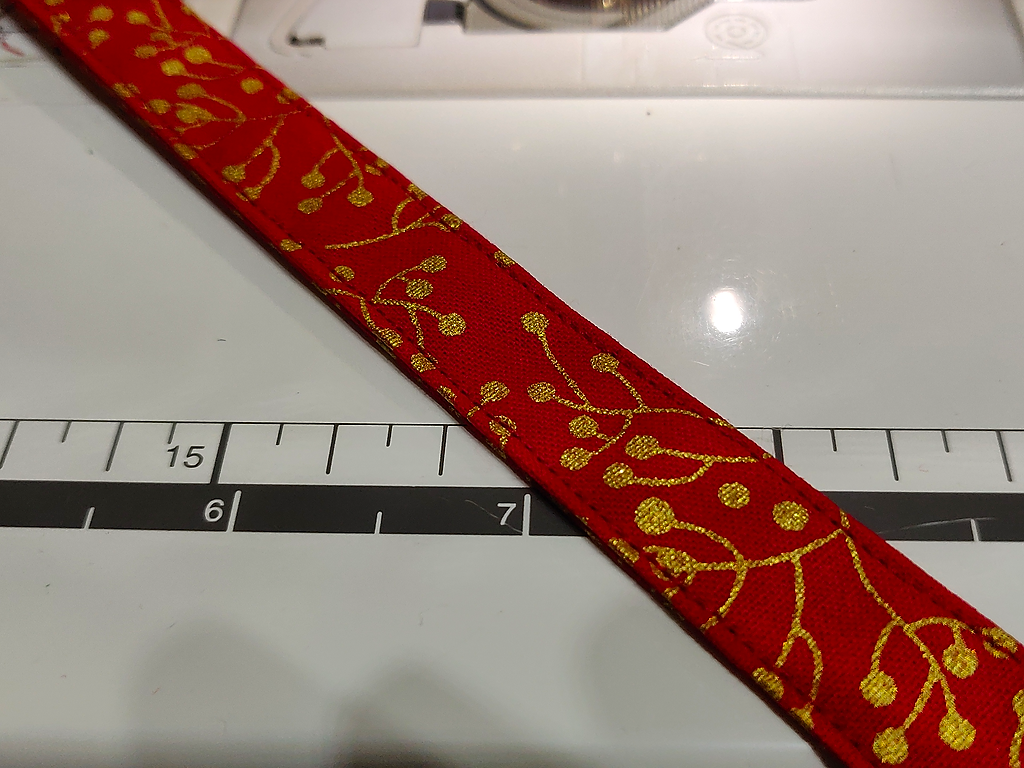
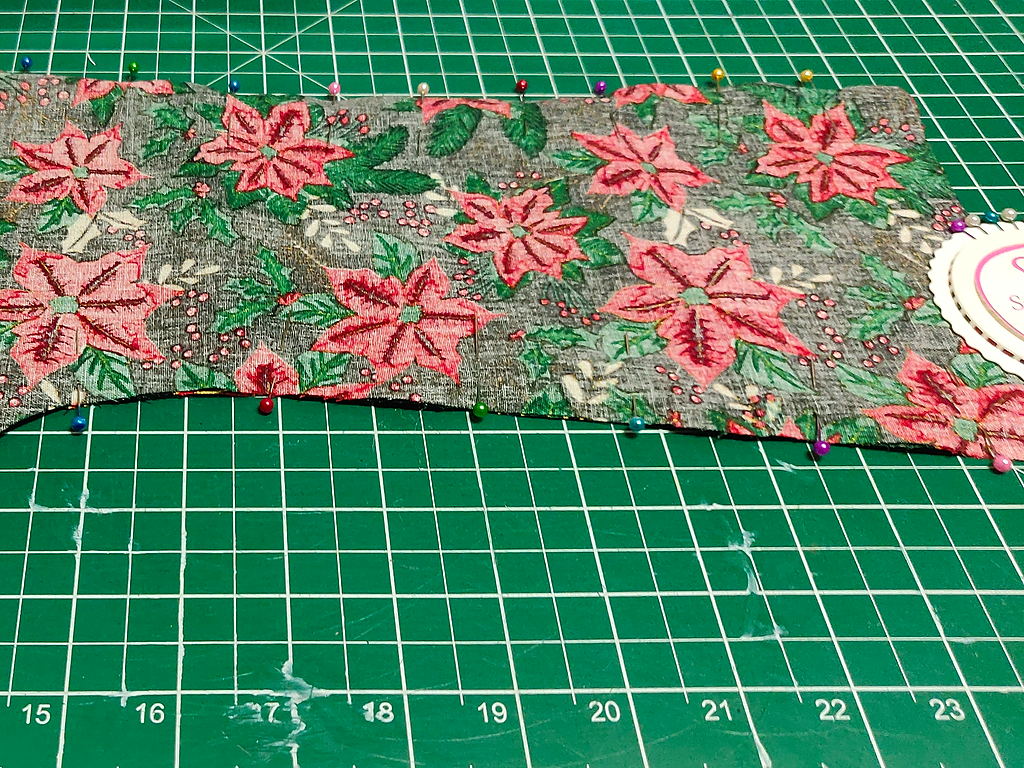
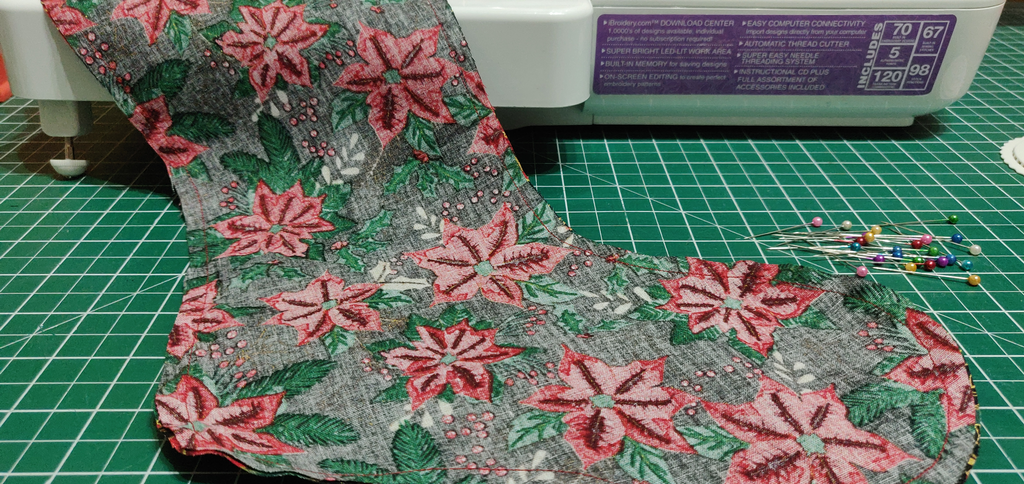
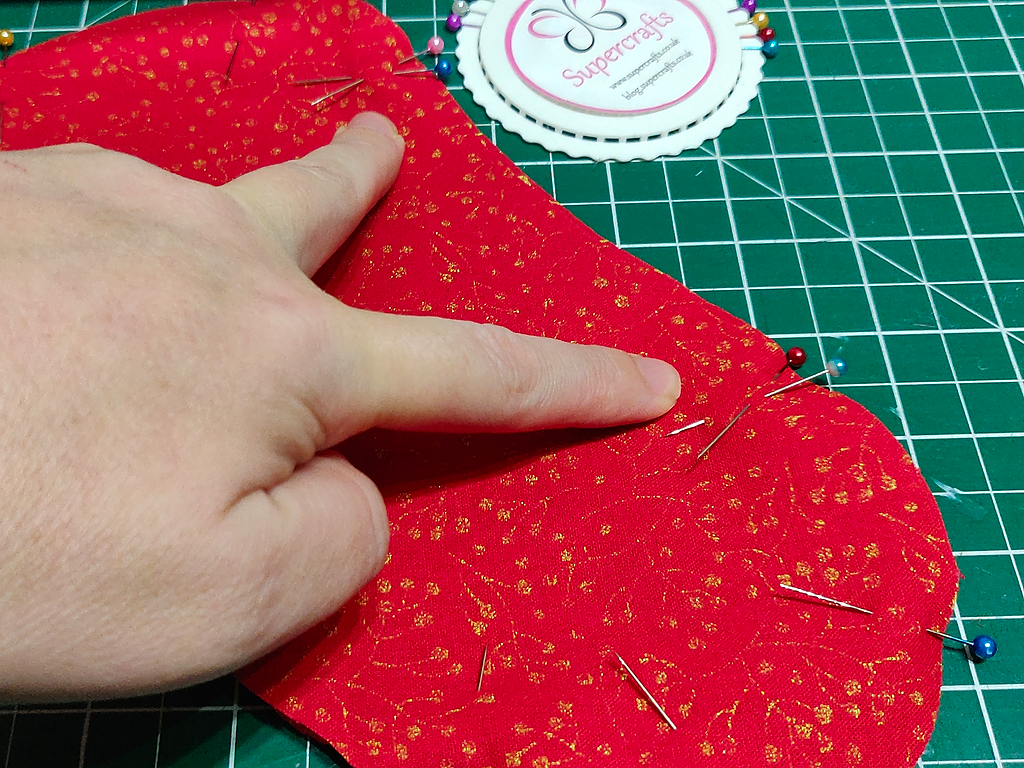
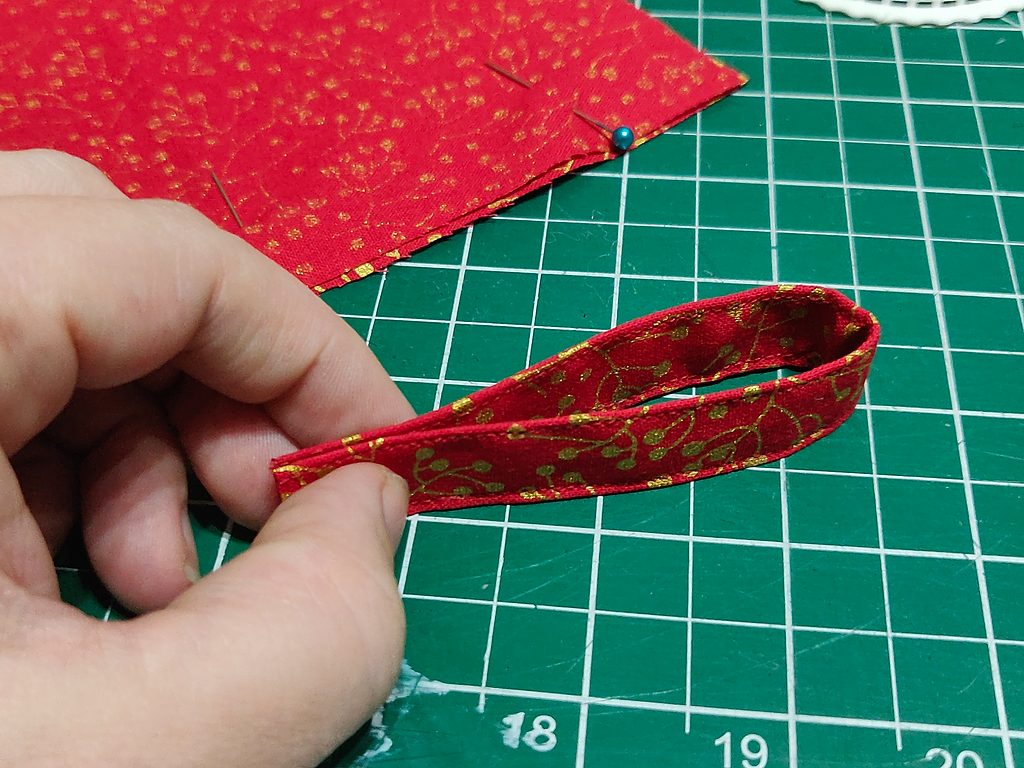
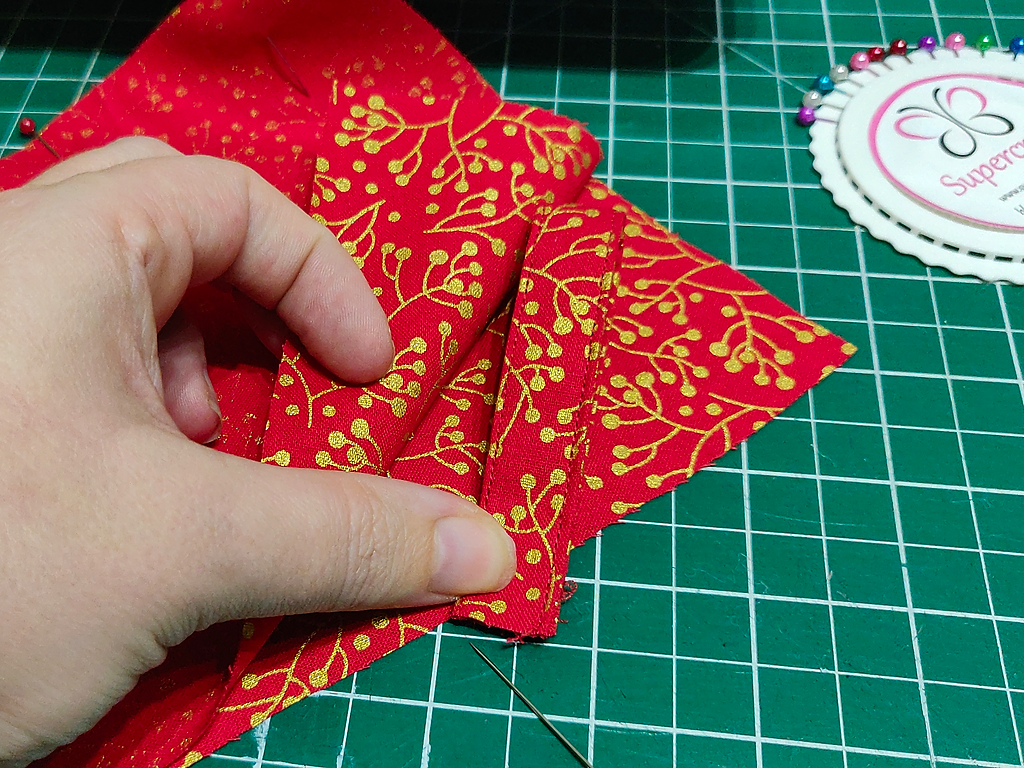
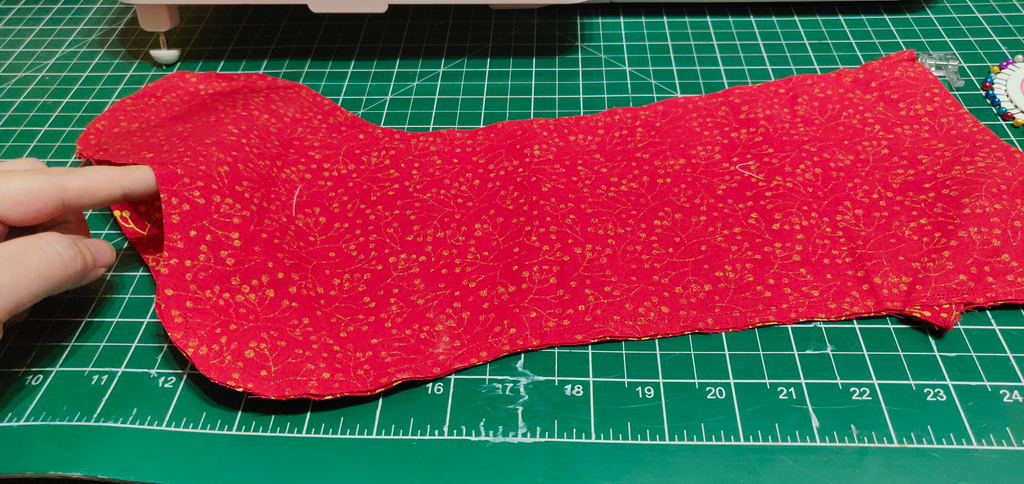
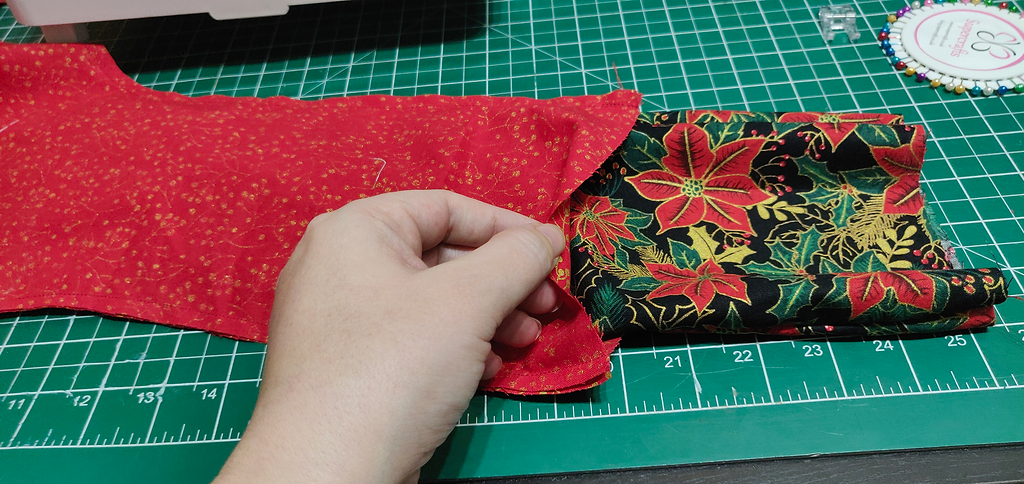
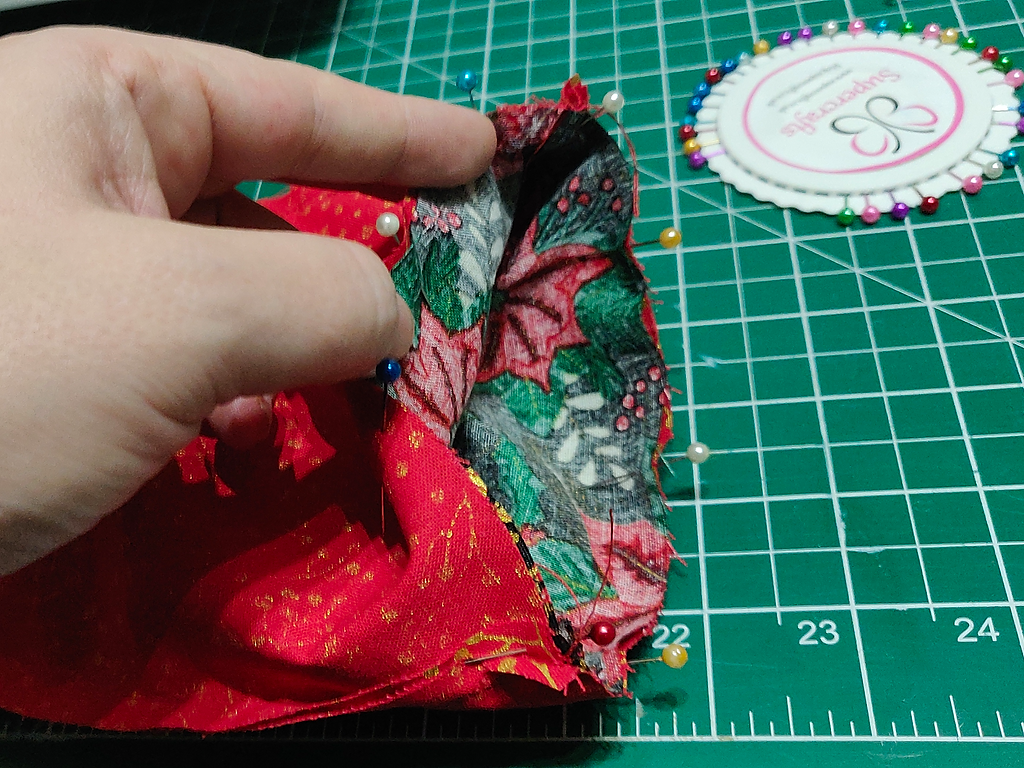
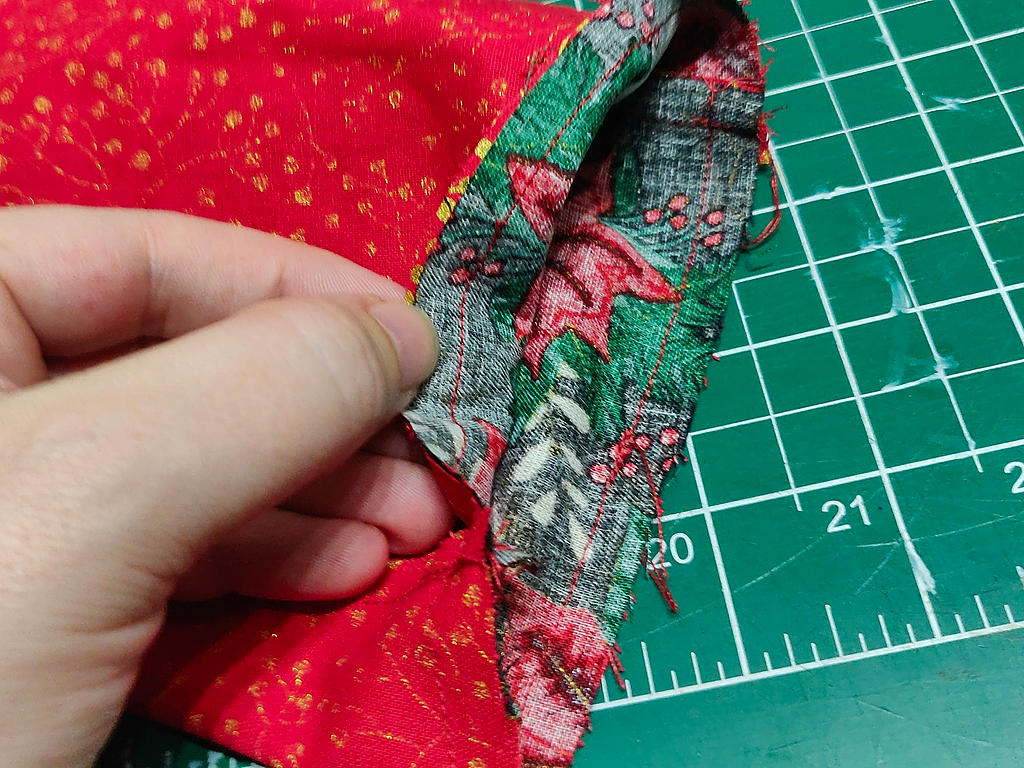
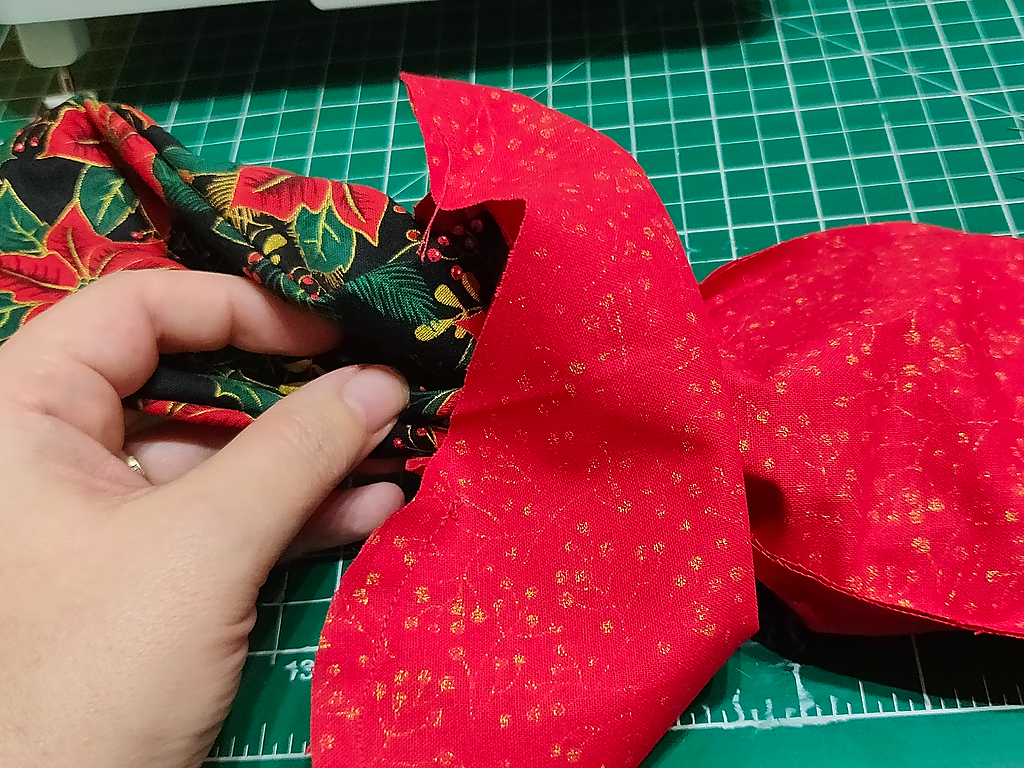
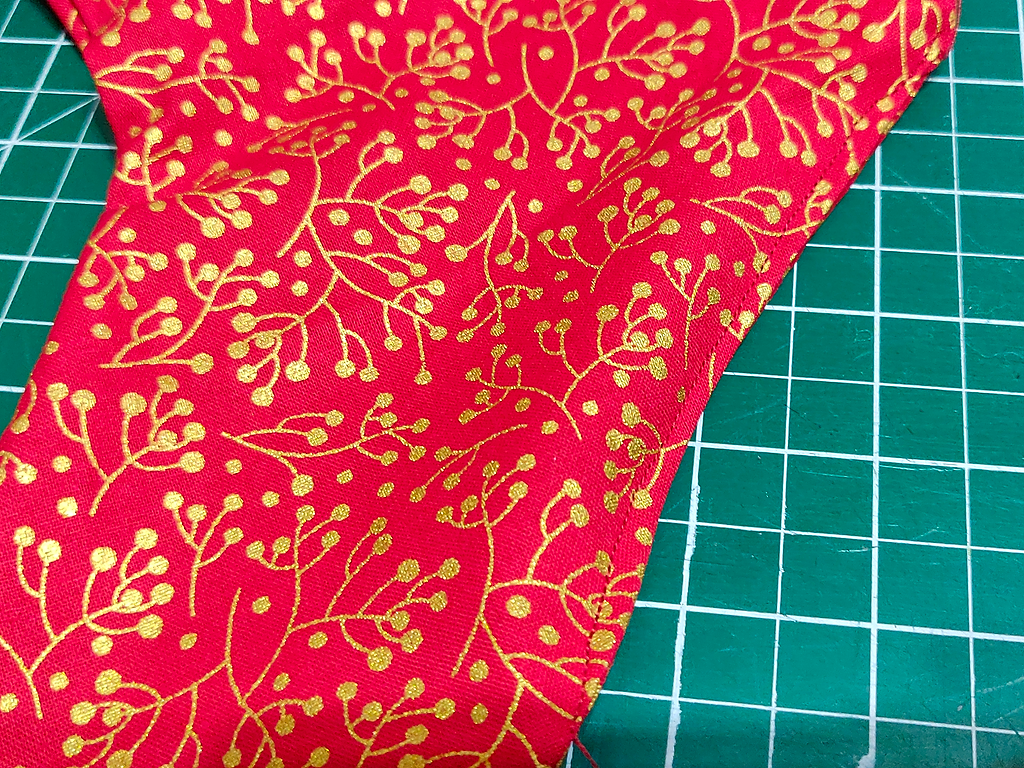
Fold your FQ in half, right sides together. Once you’ve taped the pattern pieces together, pin this to the top of the fabric. Carefully cut around the template. Repeat for the lining fabric. Place the template as shown above. The fold in the fabric should be at the top. This leaves you enough fabric to cut out your hanging loop. Cut the hanging loop fabric from lining fabric. This piece should measure 2.5” x 7”. Now all the pieces are cut, we’ll get the loop ready. Fold it in half and press. Open up and fold either side into the centre fold. Press. Fold back up. Press. Sew down the open side of the loop to close it up. Optionally, you can also sew down the other side, just so they match nicely. Sew close to the edge. Set aside. Take your outer pieces and place them right sides together. Pin. Sew around the entire stocking, leaving only the top open. Use a ¼ inch seam allowance and remember to backstitch at the beginning and end. Set aside. Now take your lining pieces, right sides together again, and pin. At the foot of the lining, place a few extra pins 3-4 inches apart. This will show you where to start and stop stitching as we need to leave the foot open for turning. Before we sew the lining pieces together, take the hanging loop and fold it in half. Place it 3 inches from the top of the stocking, between the two lining pieces, pointing up. Pin. Now sew around the lining, remembering to backstitch at the beginning and end, and also backstitching a few times over the hanging loop to reinforce it. Turn the outer pieces right side out and slide it into the lining piece. The lining piece should still be inside out at this point. Match up the seams on either side of the stocking and pin around the top. Sew using a ¼ inch seam allowance. Turn the stocking right side out. You need to pull it through the opening we left in the lining fabric. Once you’ve pulled it out, stitch the opening closed. Fold in the edges a little (tug on either side and it should automatically want to turn in. Top stitch to close. Push the lining inside, fold over the cuff.