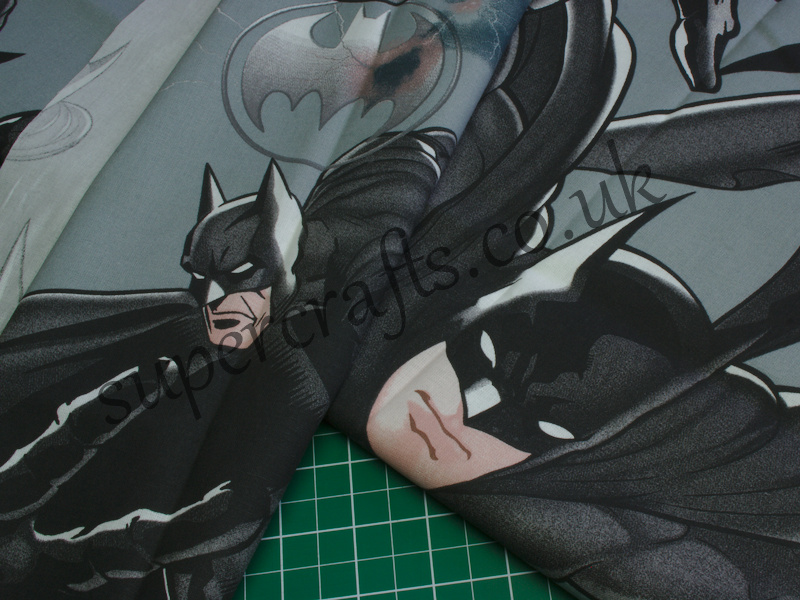
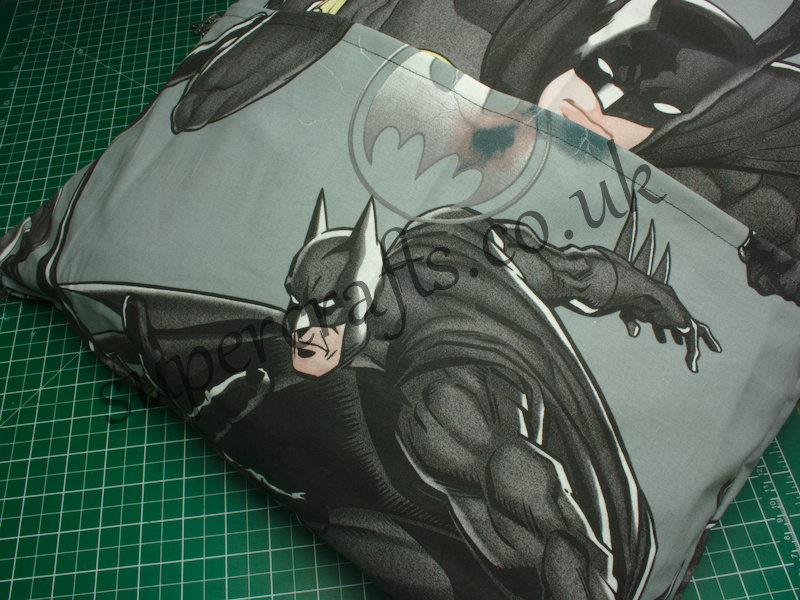
Whilst looking for new fabrics to stock, I came across this glorious Batman fabric and immediately ordered it in! It’s fabulous and I had one little boy in mind the minute I saw it. So, after several weeks of trying to decide how I could use it, I decided to create a reading pillow. Somewhere to store a book (the plan is to buy a Batman book to pop in there and to give this as a gift), and rest your head whilst you read it. This was very simpe to make, and even with the zip to sew in, it was a breeze.
What You’ll Need
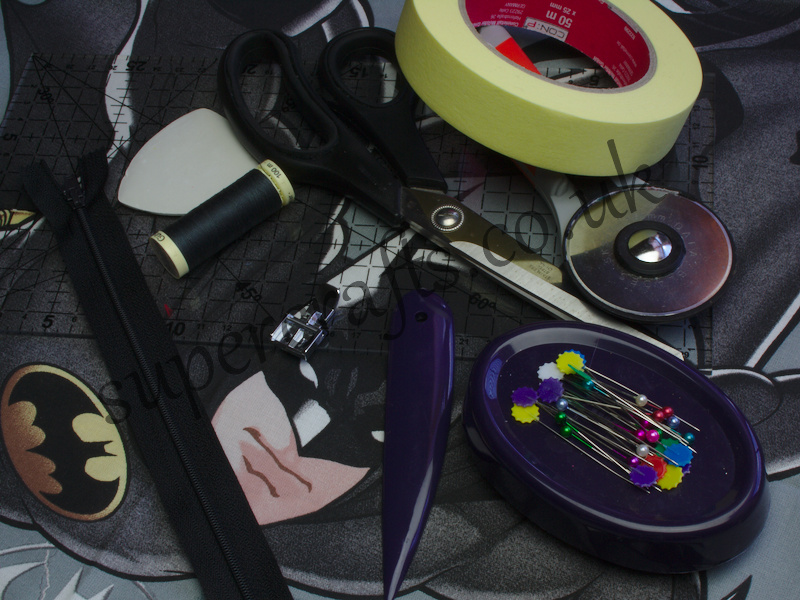
2 pieces of fabric measuring 22 x 22 inches 1 piece of fabric measuring 22 x 13 inches (for the pocket) 20 inch zip 22 inch cushion insert Thread Scissors Rotary cutter/mat/ruler Pins Point Turner Masking tape Zipper foot
First gather the materials listed above.Cut your fabrics to the measurements above. If you’re using a patterned fabric like this one, be sure to find a suitable area to cut from (don’t cut off batmans head!)
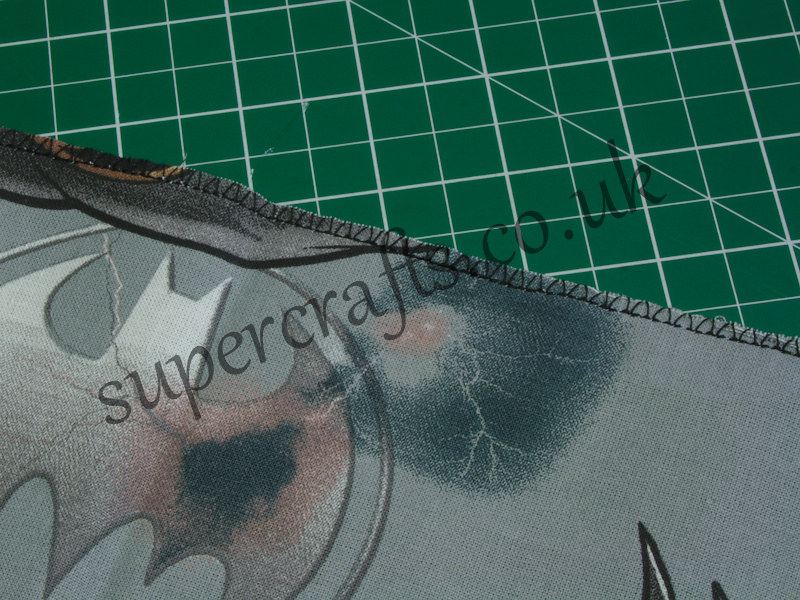
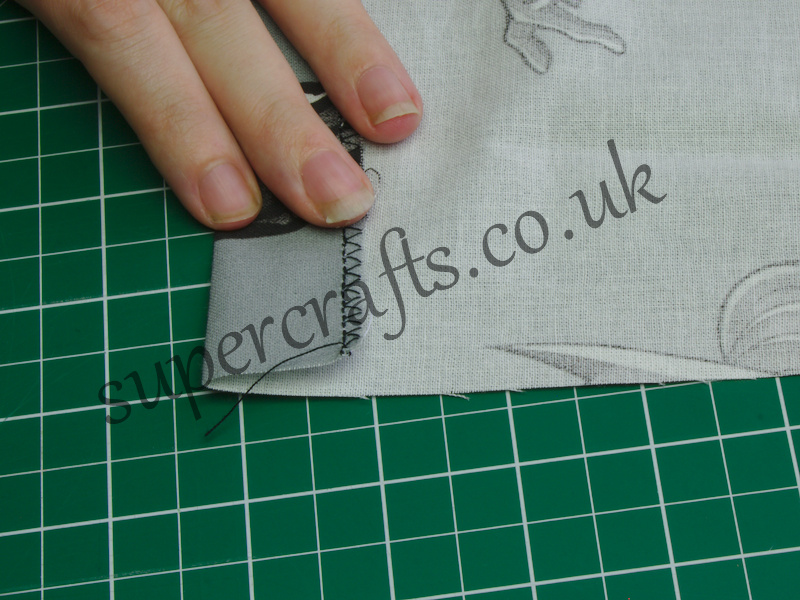
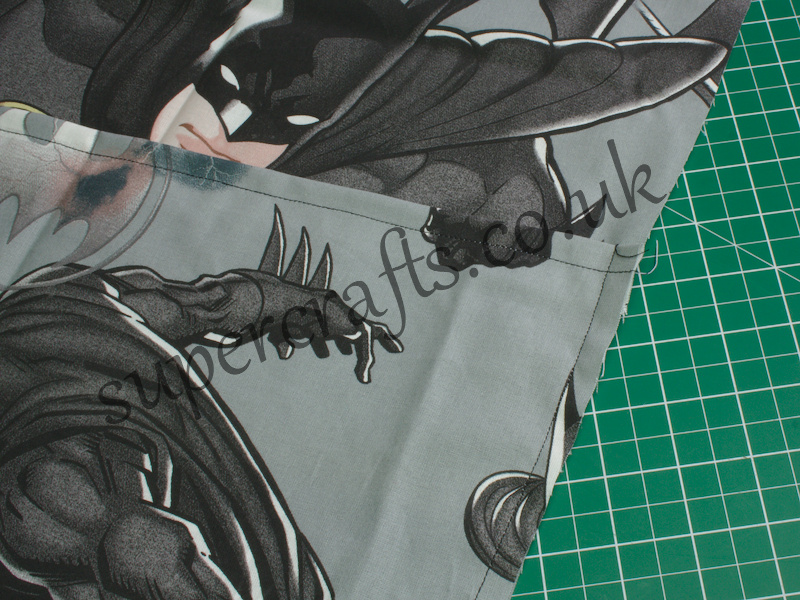
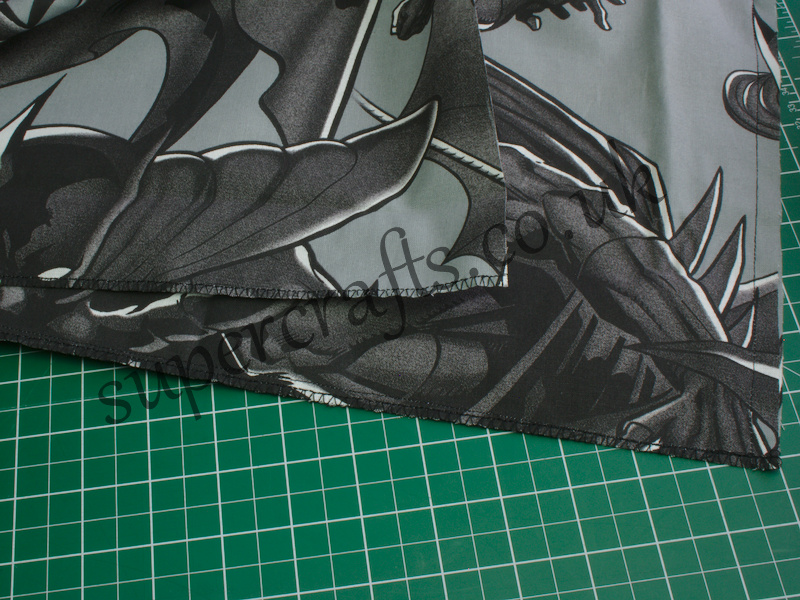
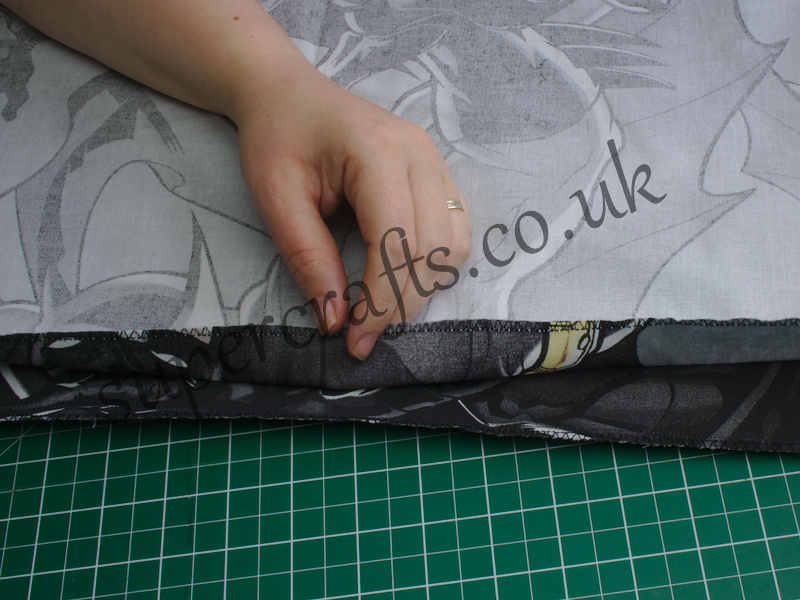
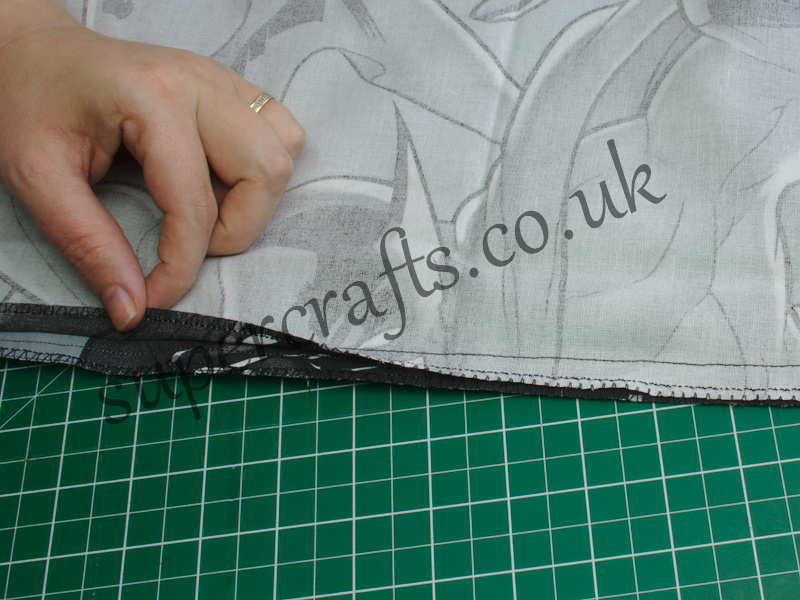
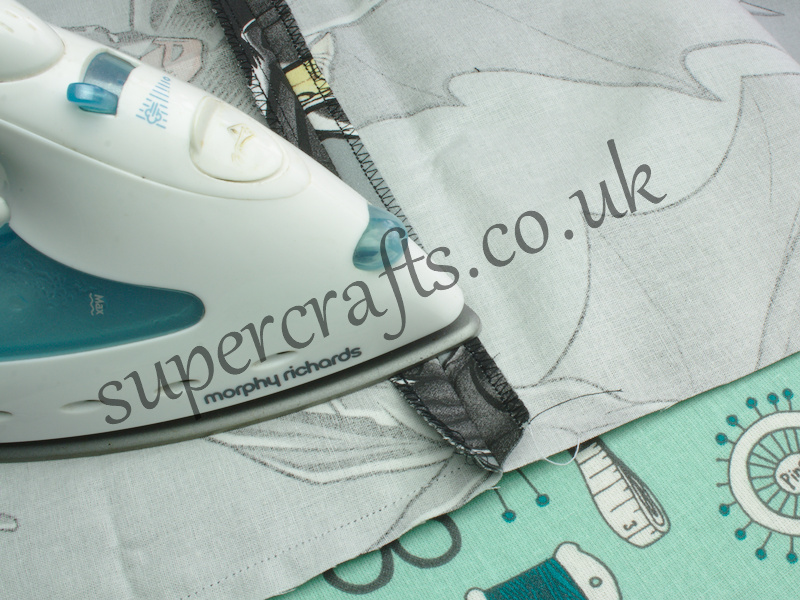
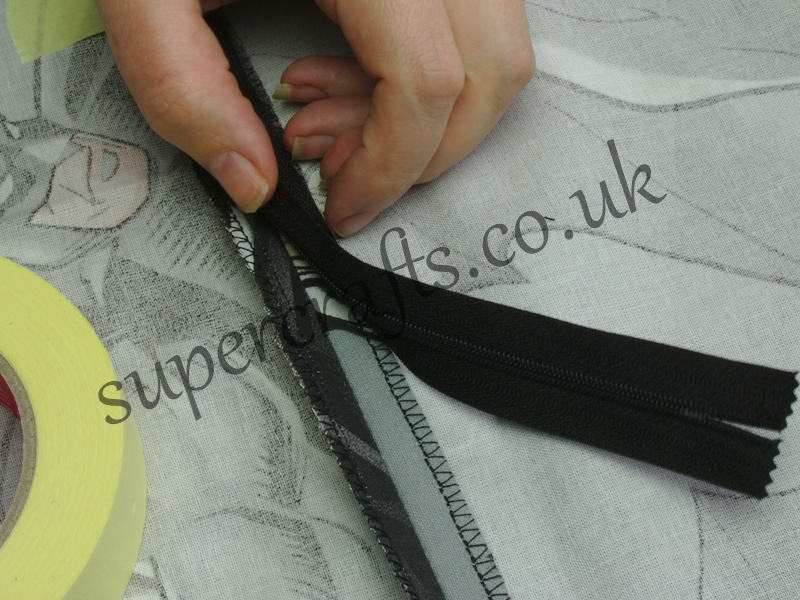
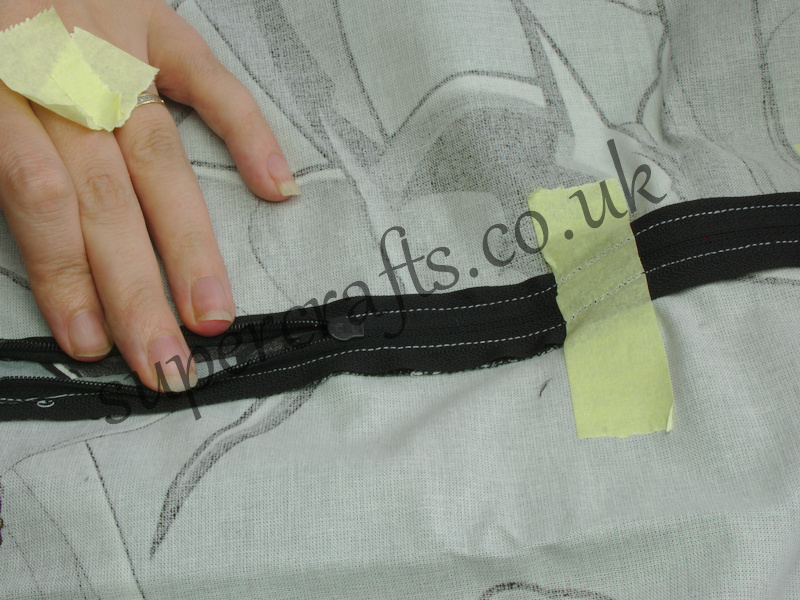
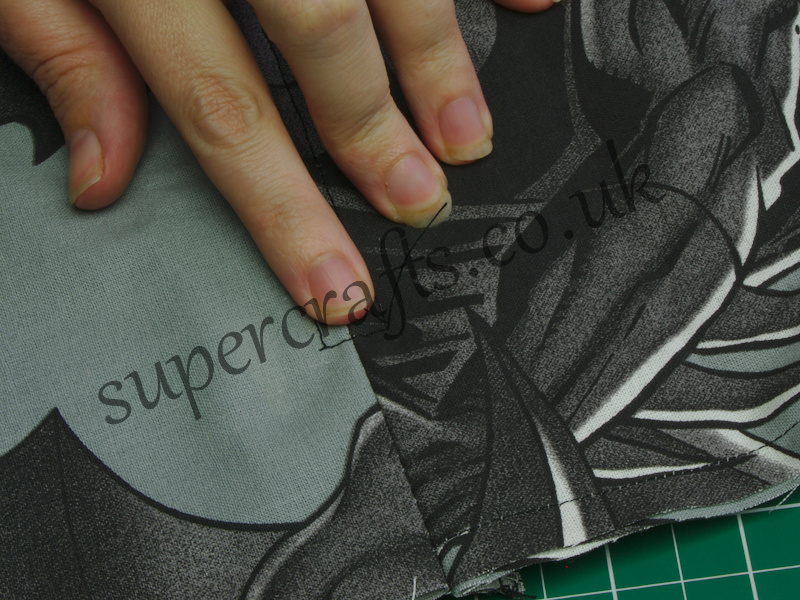
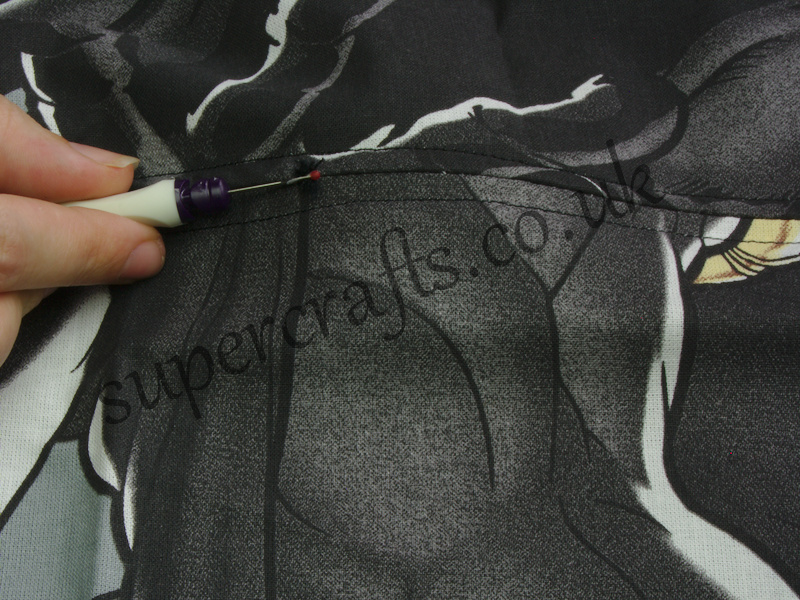
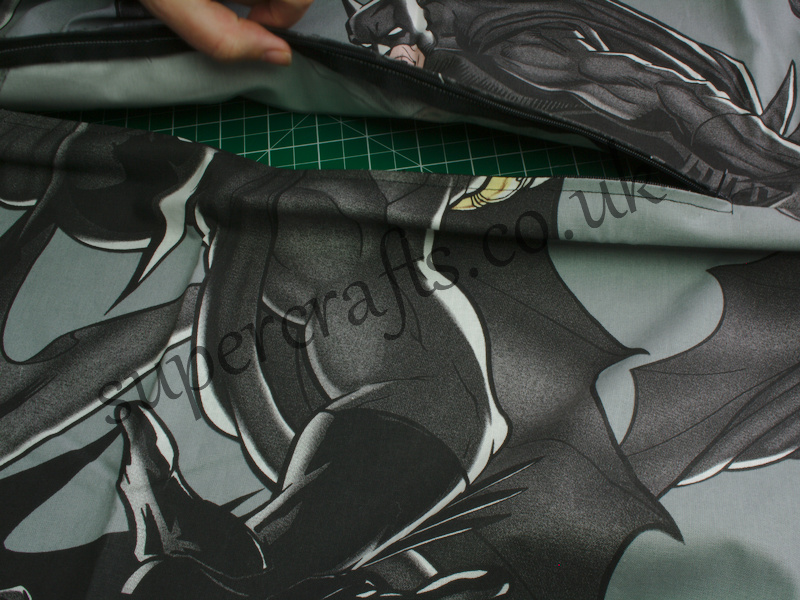
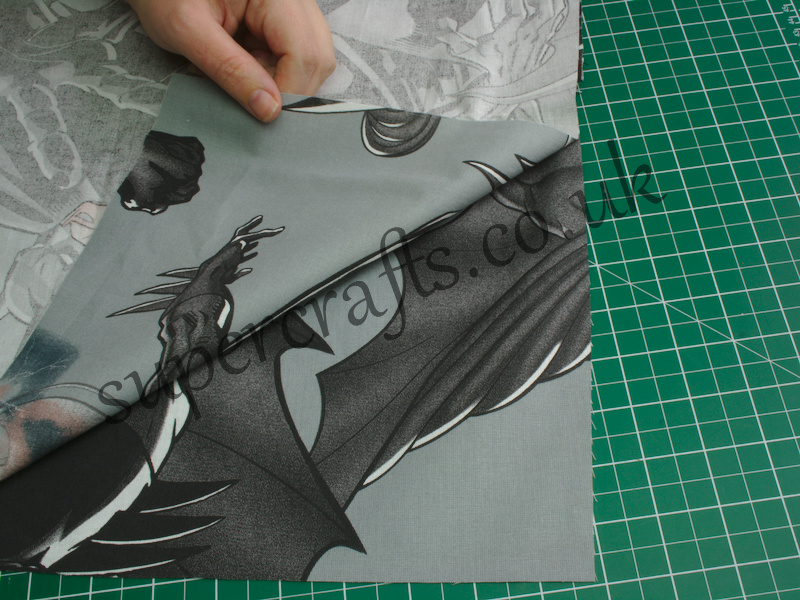
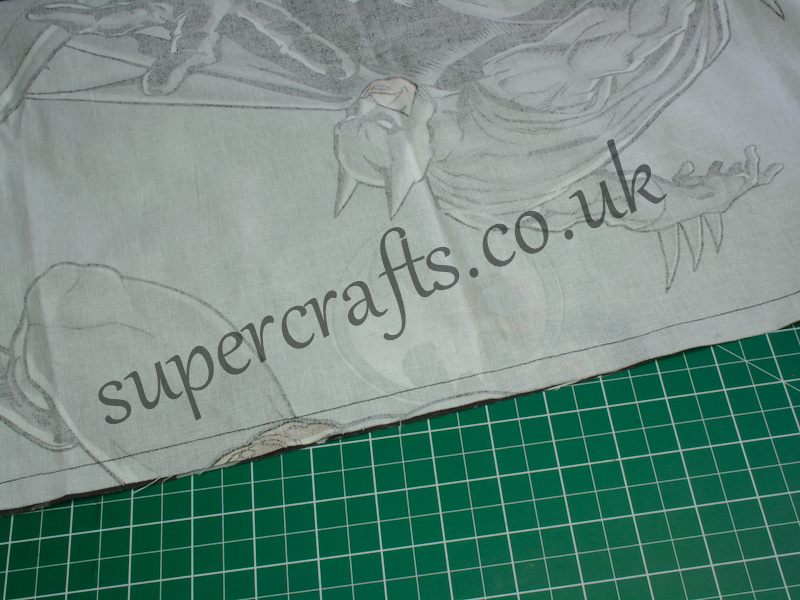
Serge (or zig-zag as I did) the top edge of the smaller piece of fabric.Fold over by 1 inch and then top stitch across the top using the edge of your resser foot as a guide to create a straight line (mine was around 1cm).Pop the smaller piece at the bottom of the front panel of the cushion.Sew down both sides and across the bottom to secure the pocket in place. Again, use the edge of your presser foot as a guide.Serge (or zigzag) the bottom of both piece of fabric.Place both piece right sides together.Sew a half inch seam across the bottom of the fabric using a large stitch. These stitches will be removed later on, so make them as long as your machine allows.Press the seam open.Lay your zip face down so that the teeth sit over the stitches you just made.Use pieces of masking tape to secure the zip temporarily and then, with your zipper foot on your machine, sew down either side of the zip (on the right side of the fabric). Be sure to check the needle passes through the zipper foot without catching. If it catches, more the needle left/right as needed. Then sew across the top and bottom of the zip to secure it.You can now remove the tape and rip the temporary stitches out. To do this, just run a seam ripped up them, they’re long stitches so should come away quickly and easily.Check that your zip opens and closes freely.Almost there! Place the fabrics on top of one another so the right sides are facing.Sew a half inch seam around the entire project.Clip the corners and remove any excess fabric.Turn the cushion cover right side out and poke the corners with a point turner. Pop in the cushion insert and…
Voila!
I just need to order his book now, and that’ll make a lovely (and fairly quick) Christmas gift.