


We’ve all done it, rushed around to get the housework done because we really, really want to start that next sewing project. I work so much better and more calmly if I know there are no pending jobs around the house that will inevitably make me feel guilty for taking time out to sew instead. To be fair, work allows me the opportunity to sew more than I would in a “normal” job. The only annoying thing about it is that there are lots of mundane things that need completing first! There are a few things however, that I’ve realised help save quite a bit of time. So here are my time saving tips. Enjoy!
Patterns
Whenever I get a new pattern for something I make sure to cut out the pieces as soon as they arrive (or immediately after printing them for PDF patterns). Pop them into a folder, envelope or zip lock bag and either write on the front what the pieces are for, or tape the pattern image to the front so you can quickly see it. I’ve now got a few tubs full of patterns that I HOPE to get around to at some point. The point being… when I do finally have time to sew, I won’t need to sit and cut up a pattern beforehand.
Washing & Cutting Fabric
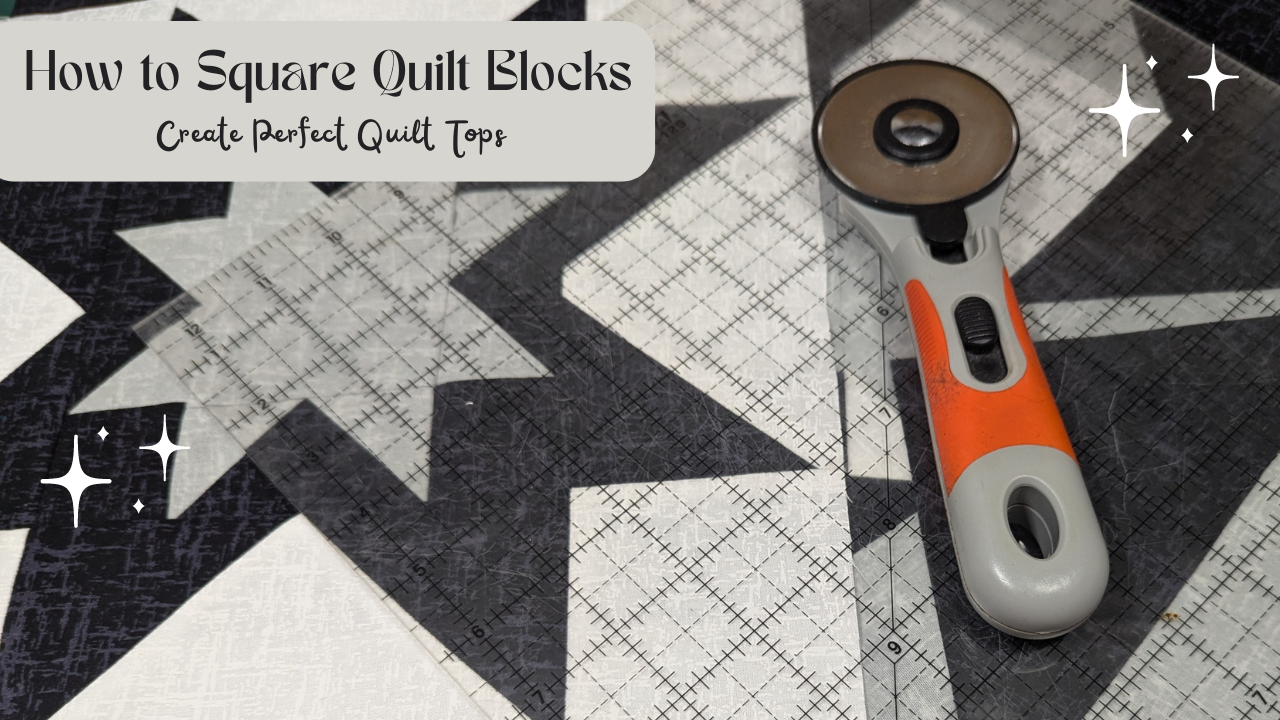
I love to sew, but detest the whole washing/cutting process. I think its partly a case of once I’ve cut it, I can’t change my mind and use it for some other project and partly because I just want to be sewing! These days I try not to give myself enough time to rethink a use for a fabric. If it comes home, it gets thrown in the washer, ironed and cut up for it’s originally intended purpose. Cutting it as it comes in the house means, as with the previous item, it’s ready to go when I have time to sew. If you quilt, you’ll already know, but, invest in a rotary cutter and mat, especially if you cut lots of straight lines. I use a 60mm cutter as it allows me to cut lots of layers in one go.
Bobbins
This is so simple, it kind of almost doesn’t need to be said. Always, always have extra bobbins pre-wound and ready to go! My lovely husband bought me a bobbin winder a few years ago and I wouldn’t be without it now. Despite my attempts to always make sure I wind enough I often find I underestimate how many I need for a project!
To Pin or Not to Pin
I’m a weights girl. Always disliked pinning – I do use pins in most of my tutorials, but this is simply because new sewers may not be as comfortable in simply holding fabric together when sewing. When cutting patterns, weights are my preference. Each to their own, of course, but I find that in order to keep fabrics flat, weights work much better (for me) than pins… and pins can be quite time consuming. Let’s not forget that there’s always a chance of one being left in the project too! Weights all the way. I actually made my own and will post a tutorial on this at some point this year.
Loose Threads
Keep a jar next to your sewing machine. As you snip off a thread from your project, just drop it in there. At the end of the project you’ll have less to clean!
Sew Slow – Yup! You heard me!
Read all instructions carefully, cut all fabrics, carefully, sew, slowly! If you take the time to properly digest what you’re doing, you’re far less likely to make a mistake. It’s when Jack comes out that we all get stressed, at which point, we mess up again. Keep your head, sew slowly, and if you get frustrated, walk away. Come back when you’re suitably calmed down. Seems counter productive to do things slowly, until you’re sat unpicking all your hard work because you tried to rush it.
Pre-Pack Projects!
This is the big one, and my favourite ever time saver! You’ve purchased everything you need for a project, but it came from various online stores and it’s all been delivered at different times. You go to sew and find something was misplaced (or didn’t arrive). This is why I love to pre-pack everything needed for a project. You don’t need a lot of room, a small flat tub, or even part of a shelf will do. Pop your threads, trims etc into a zip lock bag and put the bag with the project fabric (if you’ve pre-cut all the fabric for the project, that’s going to save you even mor time!
Doing this allows you to confirm all items are there and when you come to sew you just pick up the correct bundle and off you go.
If you spend a day over the weekend pulling together project packs you’ll accomplish several things; lots of gorgeous projects to inspire you, a tidier workspace (as you’ll only have out what you actually need), and best of all you’ll have saved so much time you can spend the second day of the weekend sewing 😉 (you’ll also be ready to go the following weekend, or whenever the mood strikes!
There are lots of tips and “tricks” for saving time when sewing. These are the ones that are most relevant to me at the moment. And if this post helps just one person in any way, I’m a happy bunny.


I’m loving the idea of packing the projects up to go when you have time… I’ve lost count how many times I’ve ordered things to make new items then can’t find them all… That safe place keeps hiding them from me
It’s my favourite thing. Takes a little while but so worth it!