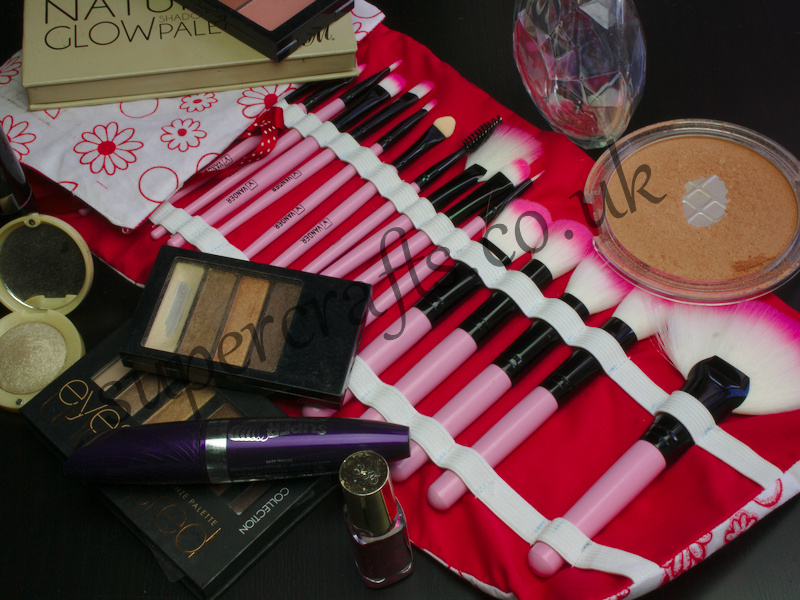
What You’ll Need
Inner Fabric (8×24 inches)
Outer Fabric (8×24 inches)
Heavy interfacing (8×24 inches)
25mm elastic (or whatever width you have, as long as it’s not too wide!)
Thread
Ribbon
Rotary Cutter and Mat
Scissors
Sewing Machine
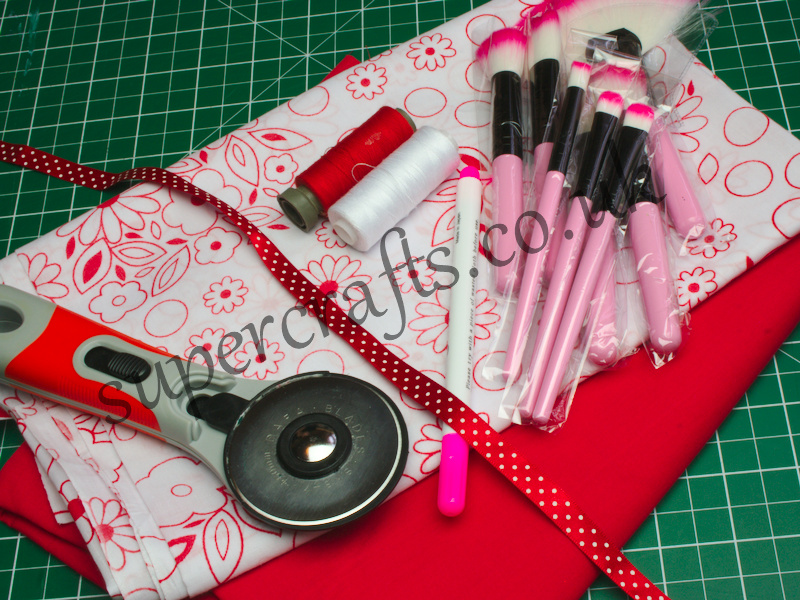


What You’ll Need
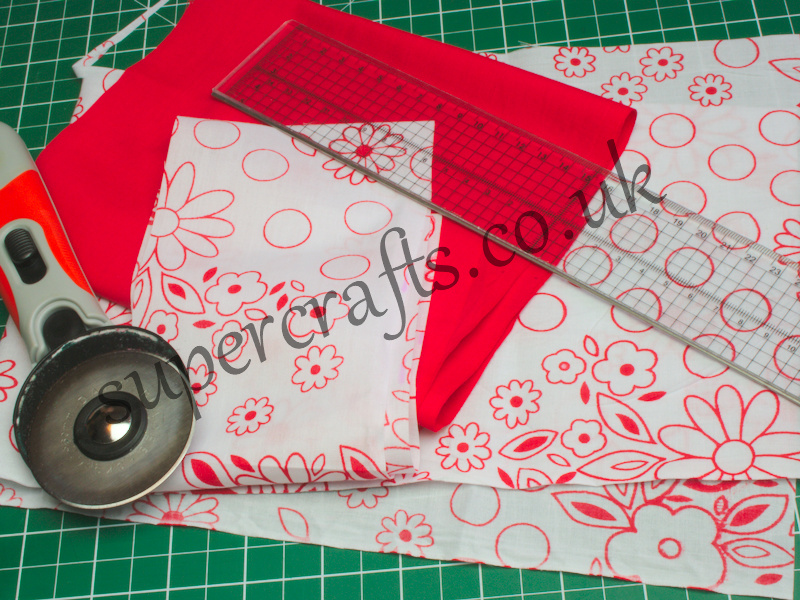
Inner Fabric (8×24 inches)
Outer Fabric (8×24 inches)
Heavy interfacing (8×24 inches)
25mm elastic (or whatever width you have, as long as it’s not too wide!)
Thread
Ribbon
Rotary Cutter and Mat
Scissors
Sewing Machine