We had a Springer Spaniel for 14 years and he loved all of his toys (until someone touched them, then he wasn’t interested). Suffice to say, he had a lot! This year I’ve decided I’m going to create a few gift bundles for the furbabies in the family. We currently have two cats, however, plenty of family and friends have pooches, hence this post. Also take a look at the Pawfectly Purrfect Stocking Tutorial here.
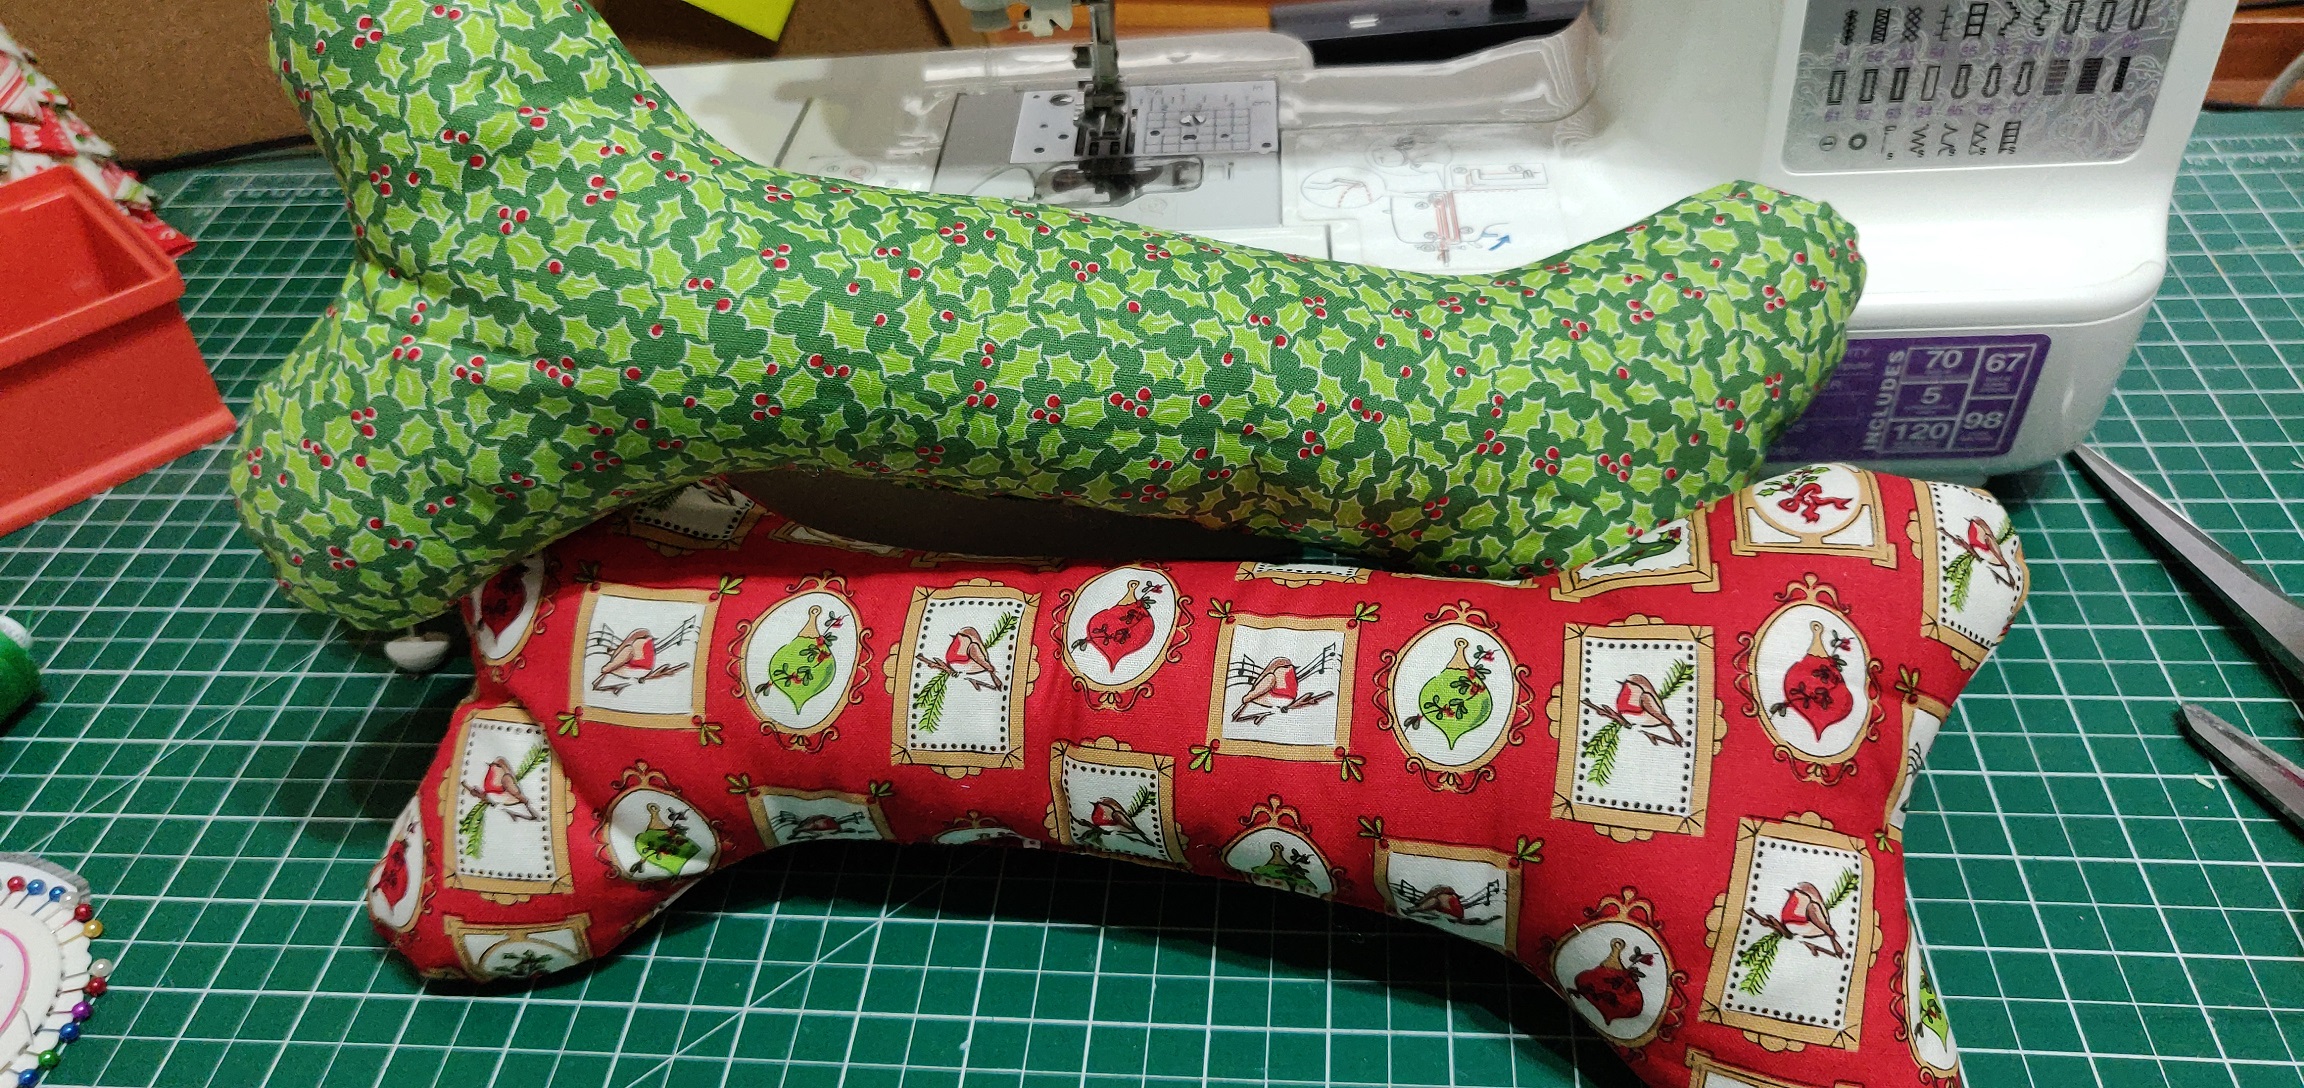
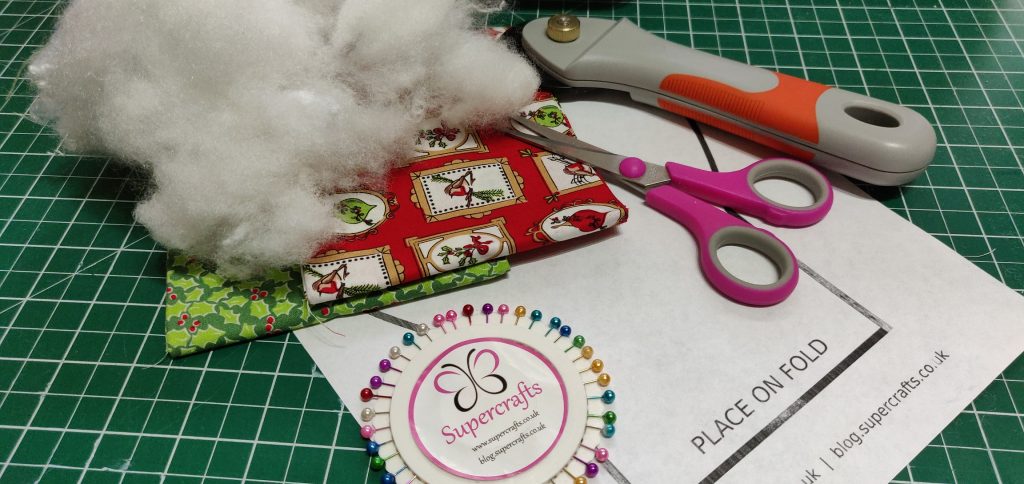
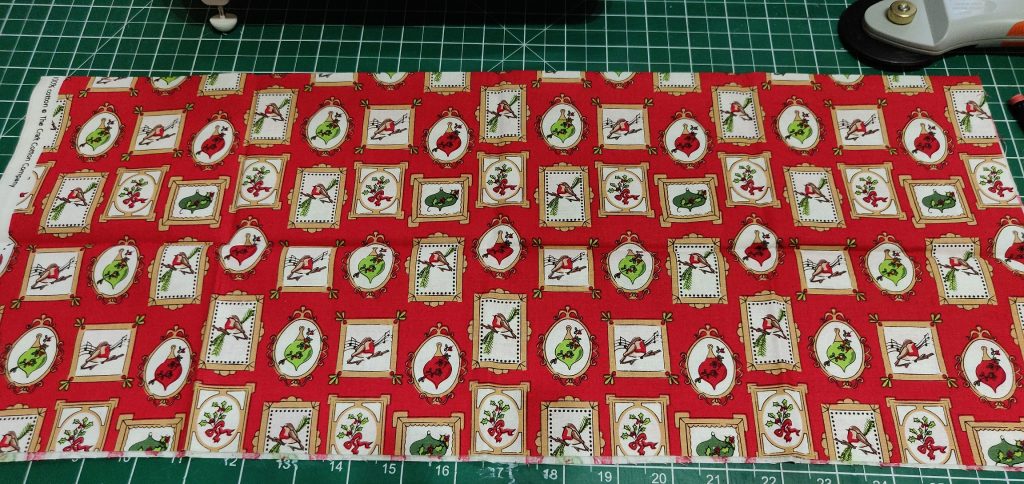
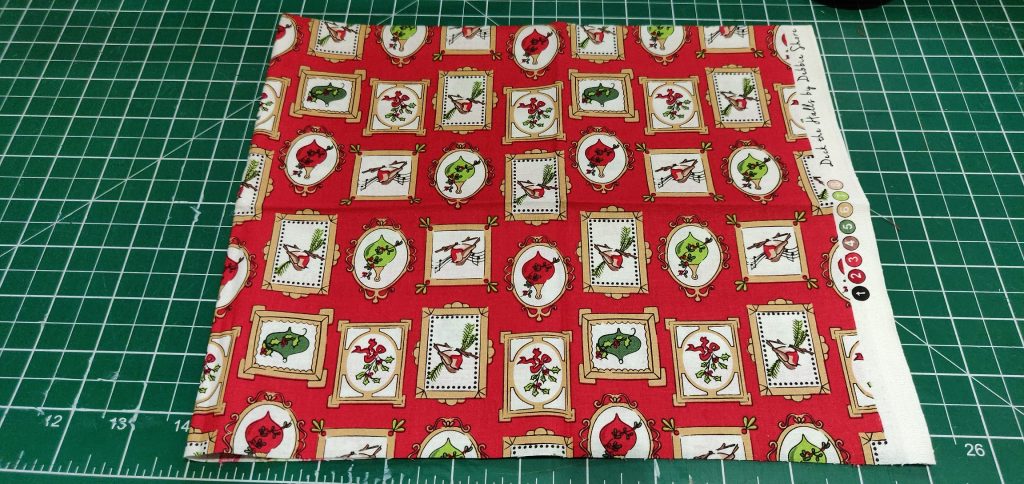
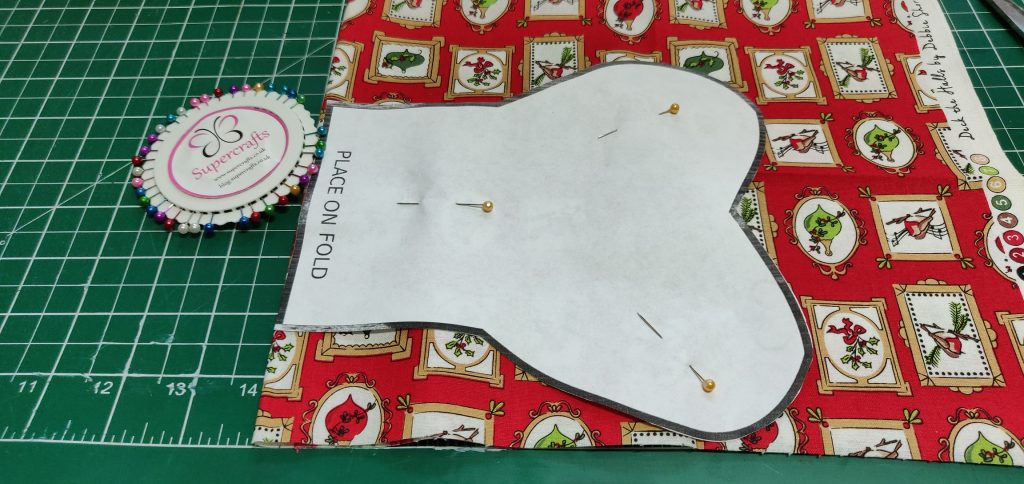
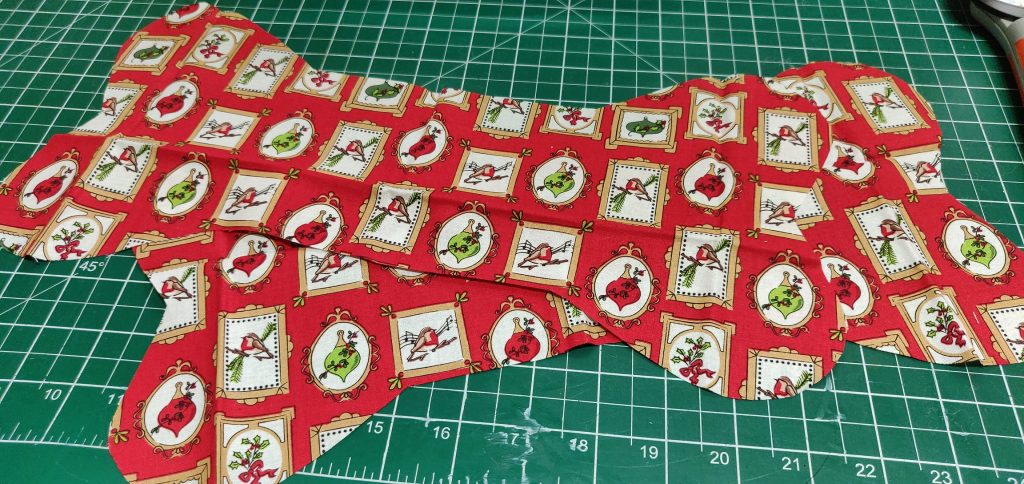
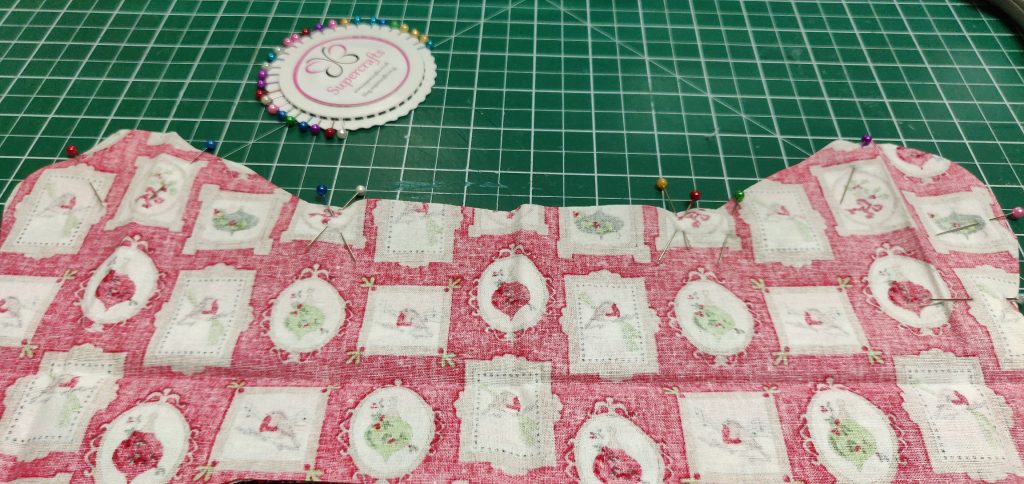
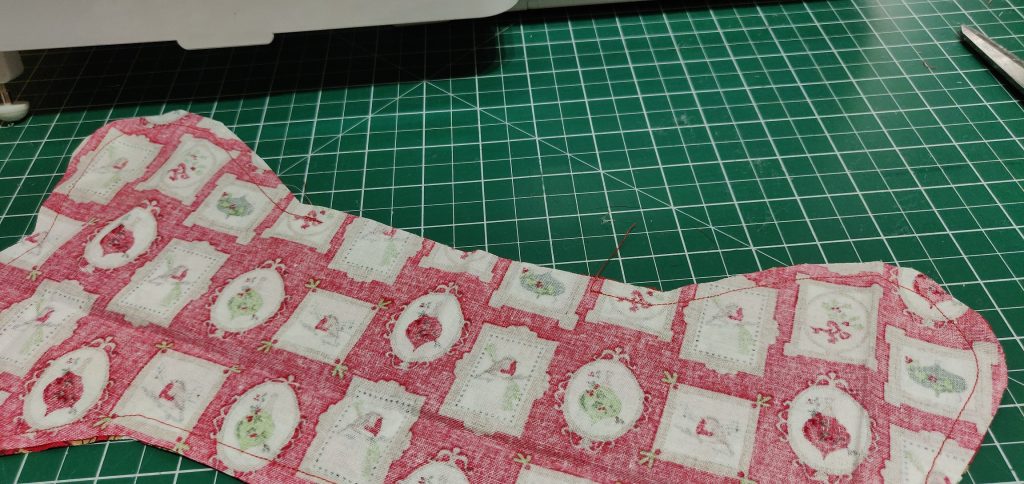
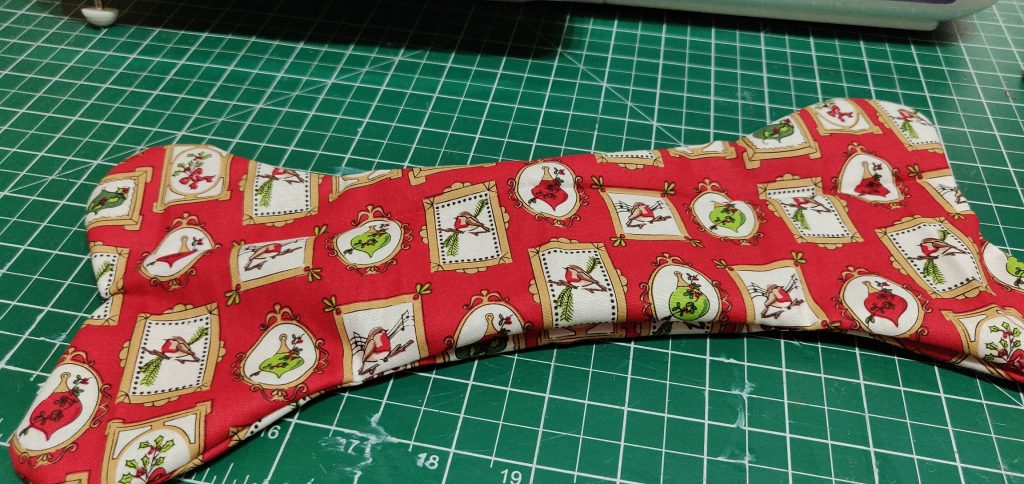
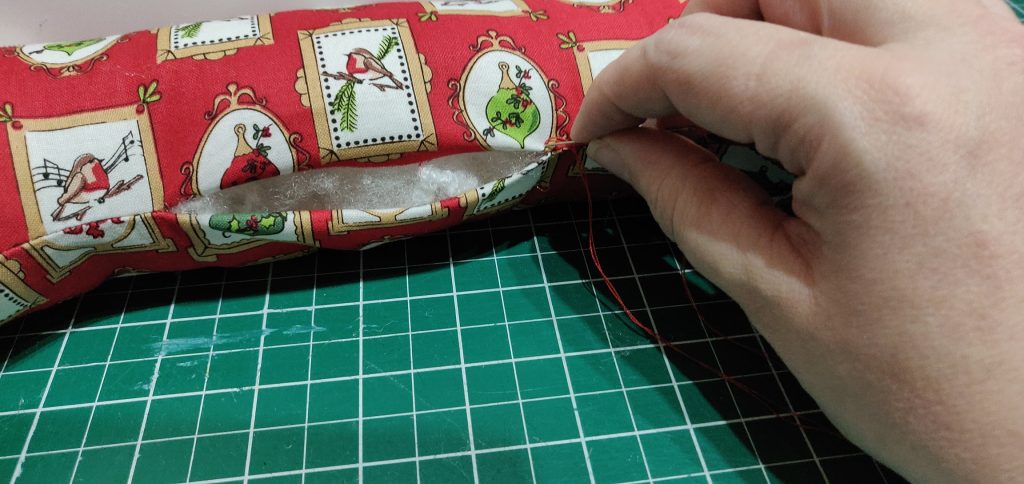
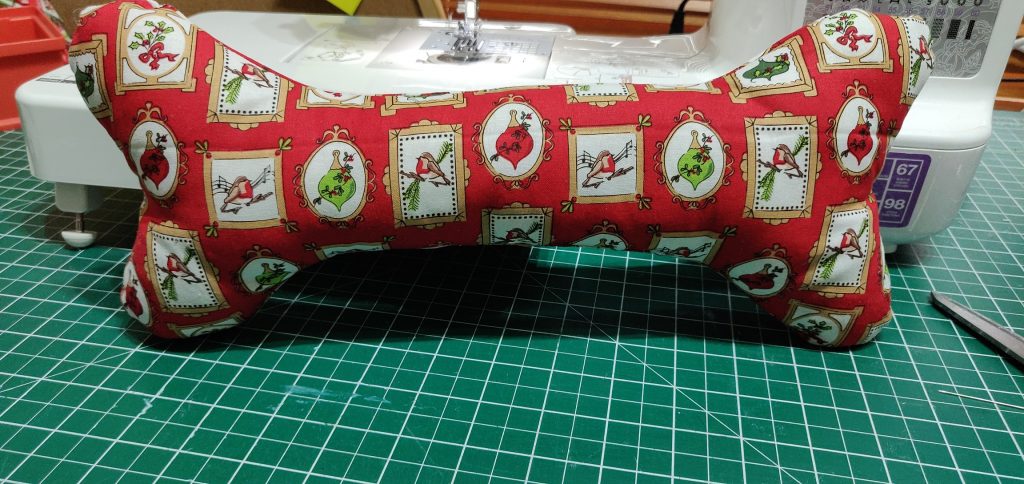
Fold your outer fabric in half. And then half again so that your folds are top and left. Place the template on the fold where indicated and cut. You will be left with two matching pieces.Pin them right sides together. Pop in two pins on one of the flat sides about 3 inches apart. Sew from one set of these double pins right around to the other. this will be your opening for turning and stuffing. Use a 1/4 inch seam allowance. Remember to backstitch and the start and end. Clip the curves.Turn right side out. No need to press. It’s going to be stuffed so this will push out all edges. Fill with toy stuffing. Make sure you put plenty in there and really poke it into the bone ends. Either end needs filling first, then fill up the centre.The act of pushing in the stuffing tend to push the raw edges of the opening inside the bone, if it doesn’t, simply tug a little on either side to force them inward. Then use a hand needle and matching thread to sew a slipstitch down the opening to close it all up. Voila! Cute dog toys for your pooch! Or in our case, other people’s pooches!


One thought on “Dog Bone Toy Tutorial”