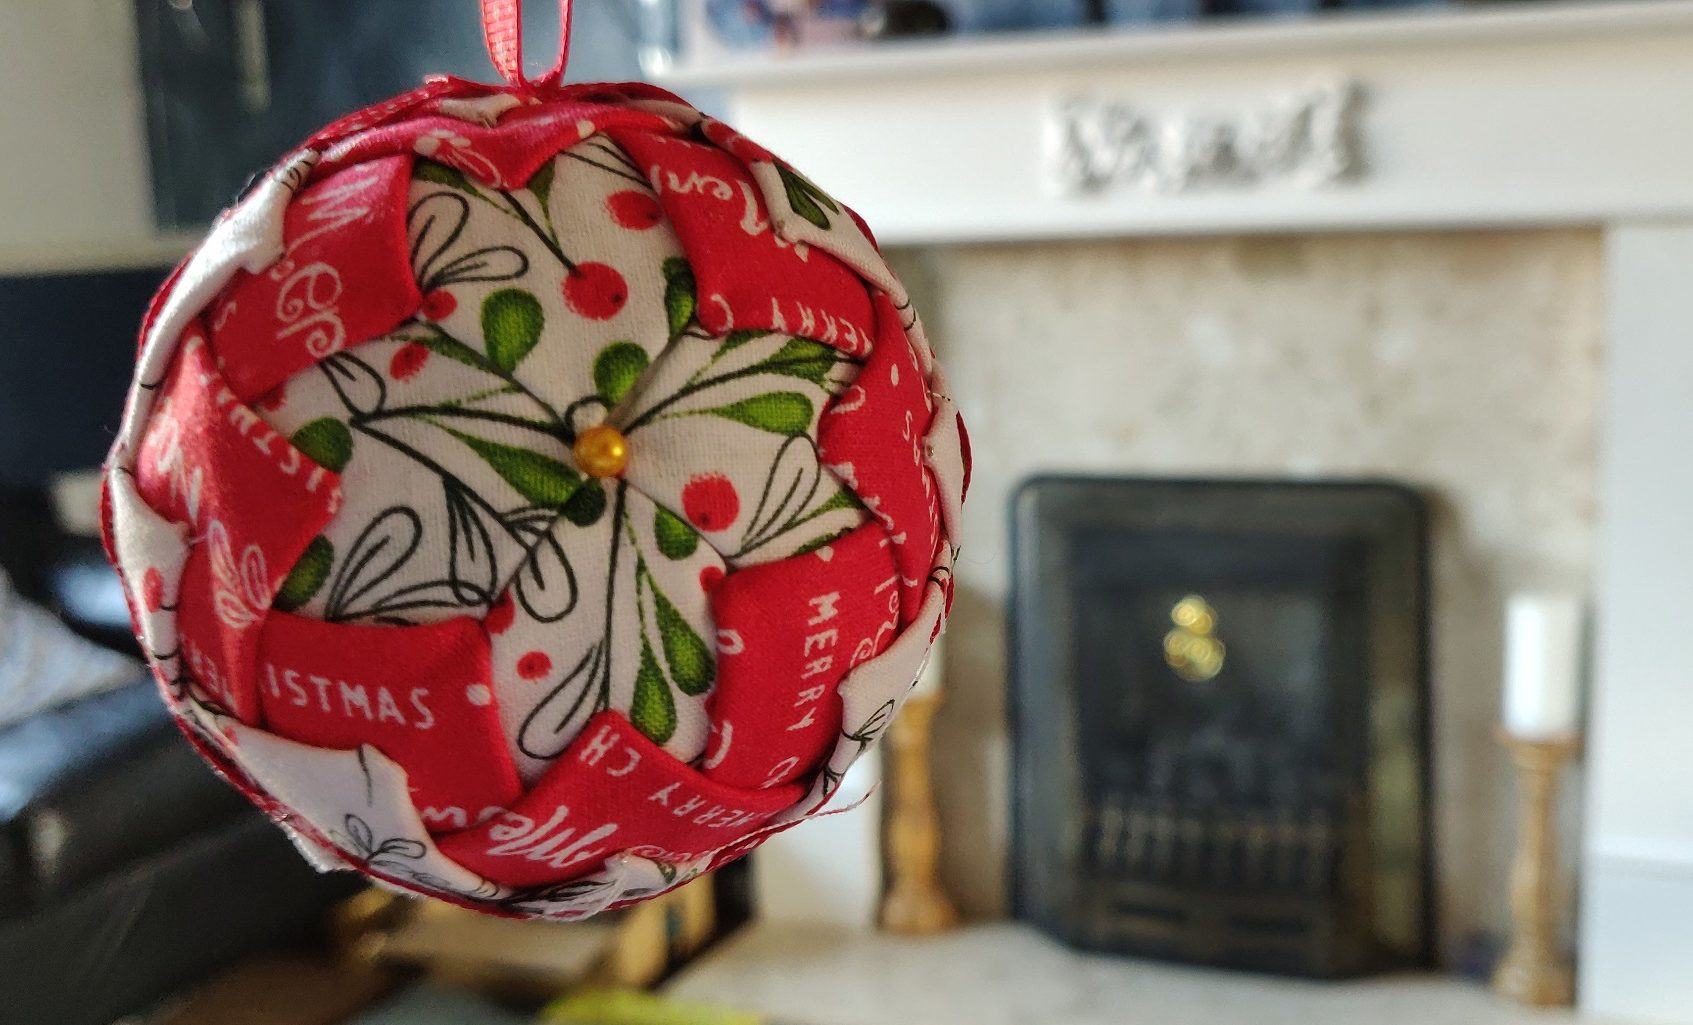
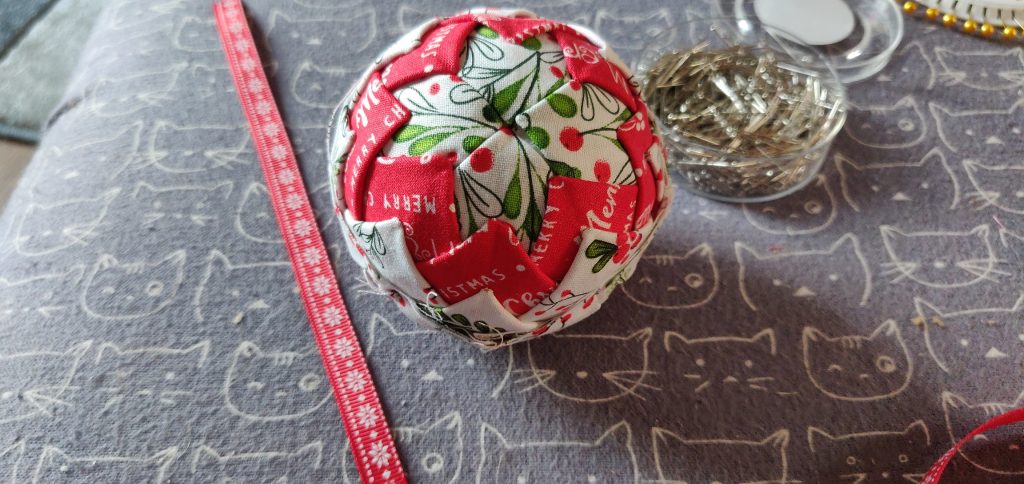
Last year I made a few folded star ornaments, but it was fairly late in the year and I simply ran out of time to create a blog post for them. This year, I plan to release a Cathedral Window ornament tutorial and have finally *made* time to document the making of the folded star one! They will both look gorgeous on the Christmas tree hanging together in unison. This post was supposed to be released last month, but we starter a DIY job and hit a snag which means what was supposed to take less than a week to complete has morphed into something that took just over a month! Always the way, isn’t it!
I’m using the Stuart Hillard designed “Merry & Bright” range of fabrics and will add to the stash of baubles as and when we get new Christmas fabrics in stock.
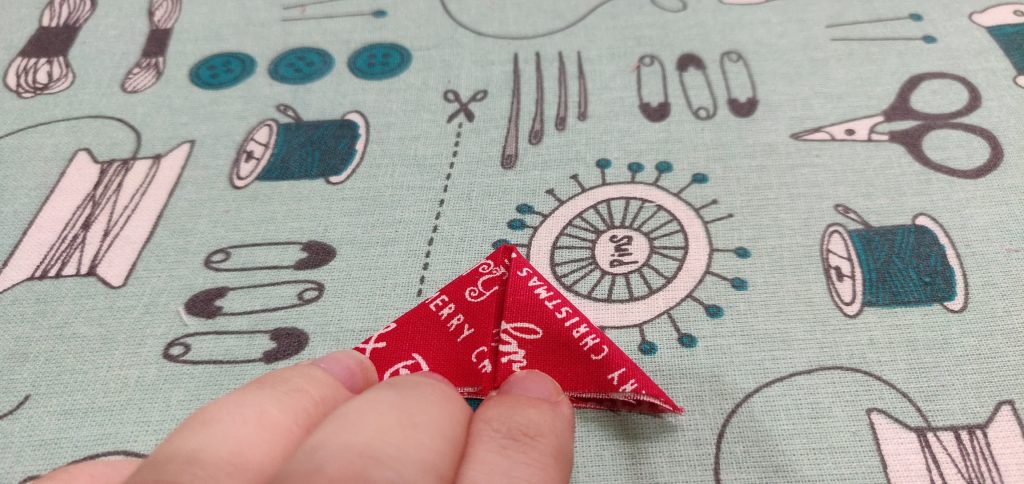
So, here we go! Requirements are based on making one ornament using the Merry & Bright range.
What You’ll Need
- 7 inch Polystyrene Ball
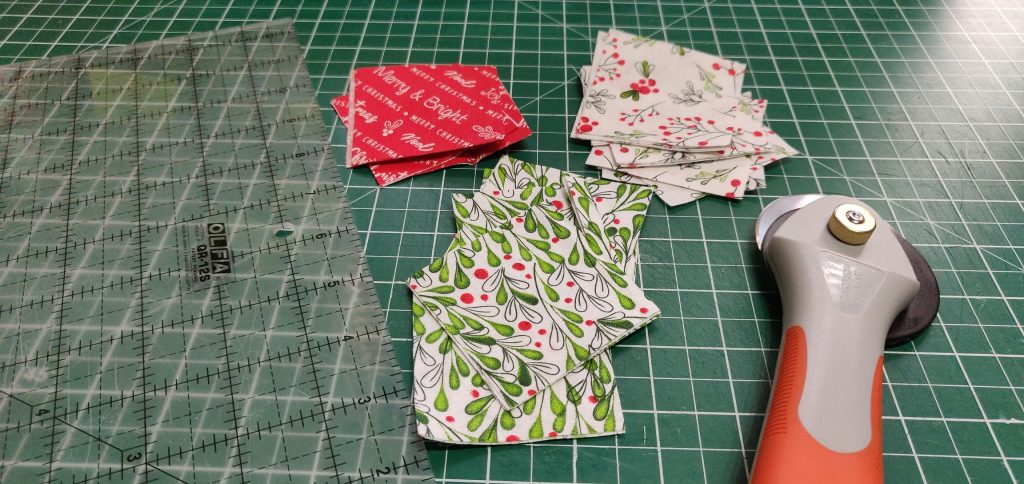
- 1/8th of a FQ Fabric of three different fabrics
- Dressmakers Pins
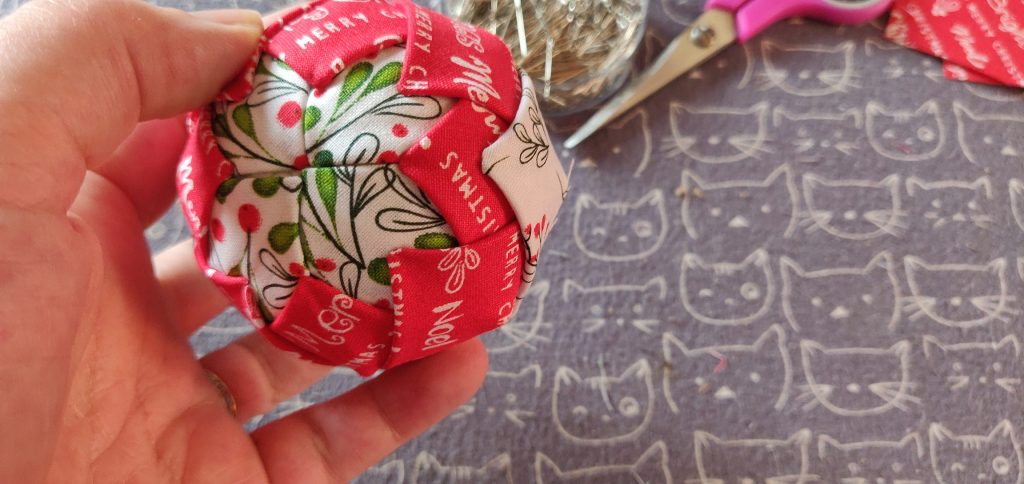
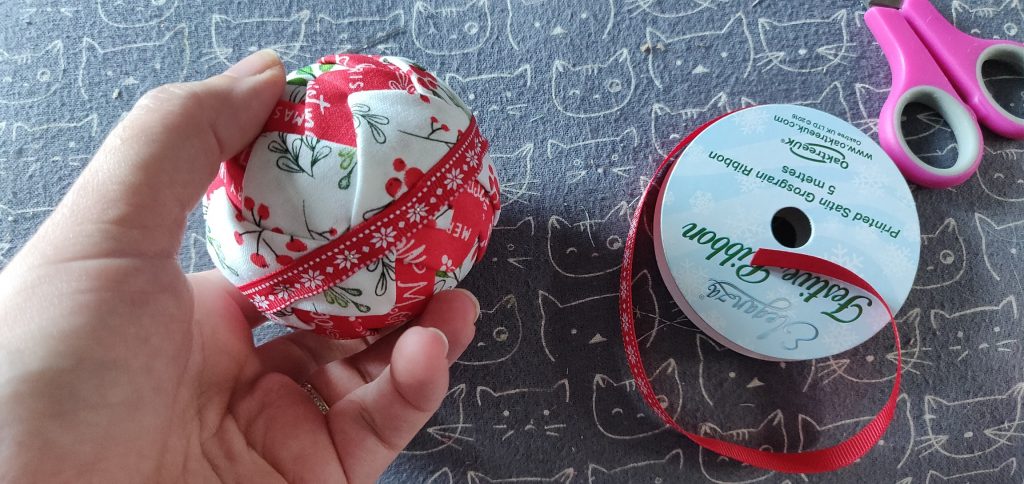
- 7.5” Piece of Ribbon for the outside of the ball
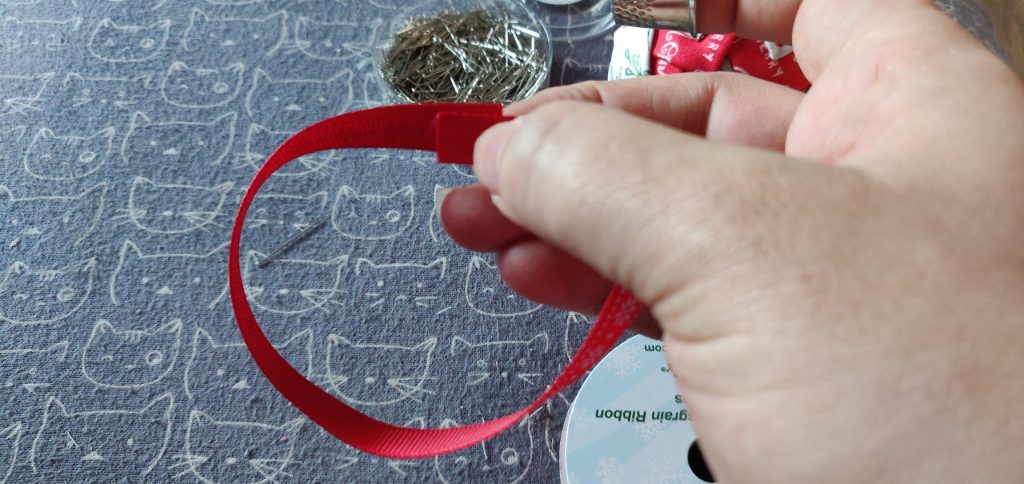
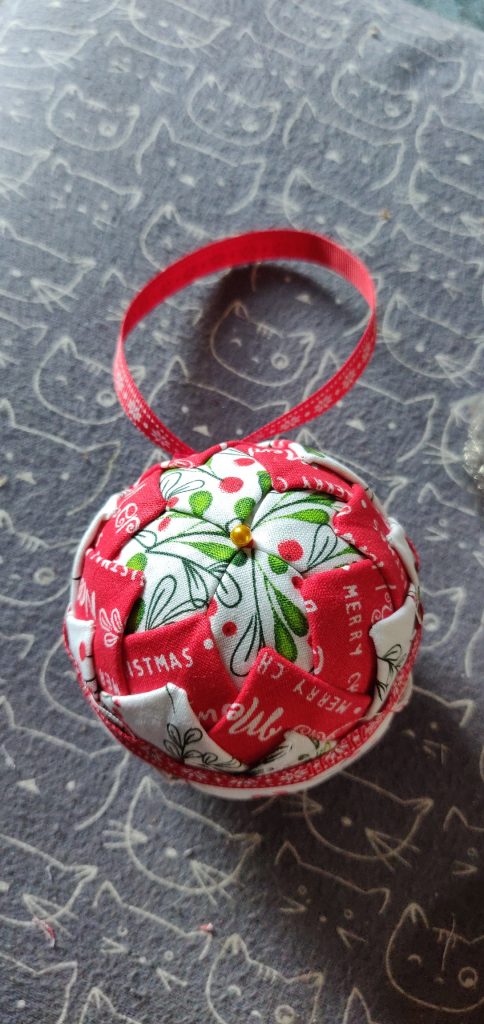
- 7.5” piece of ribbon for the hanger
- Glue Pen to attach the ribbon to the outside (depending on your ribbon, you may get away with pinning instead)

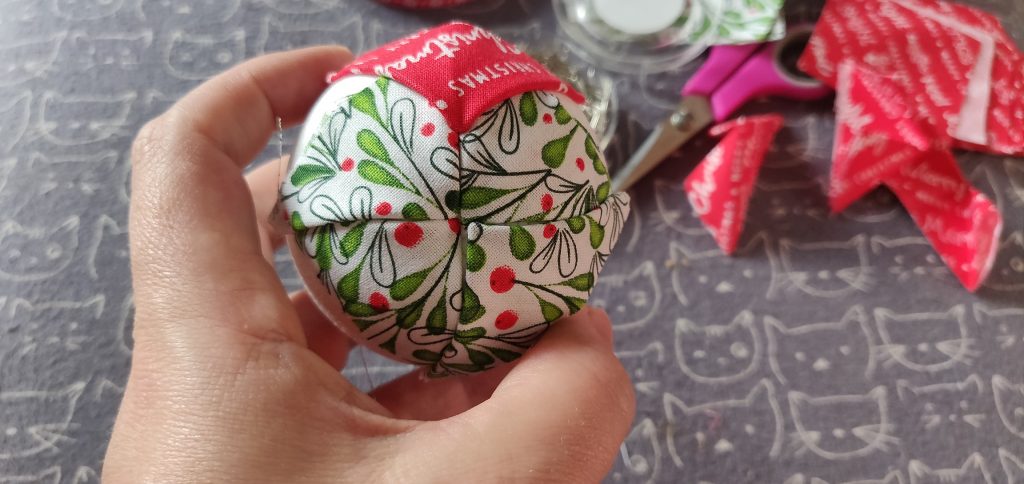
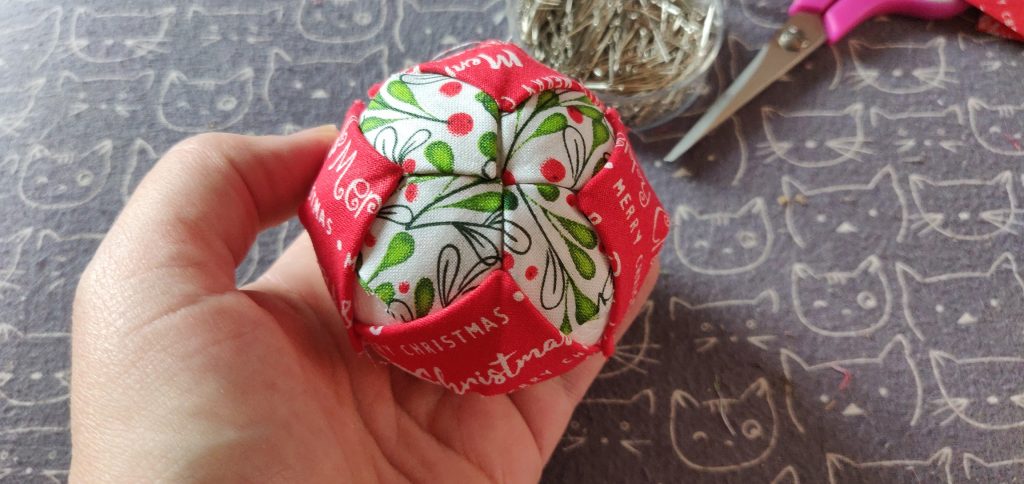
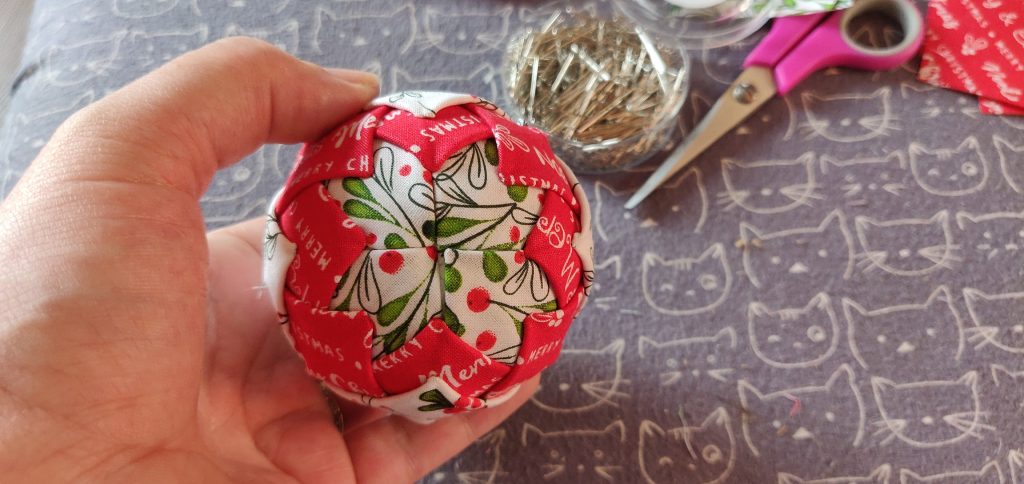
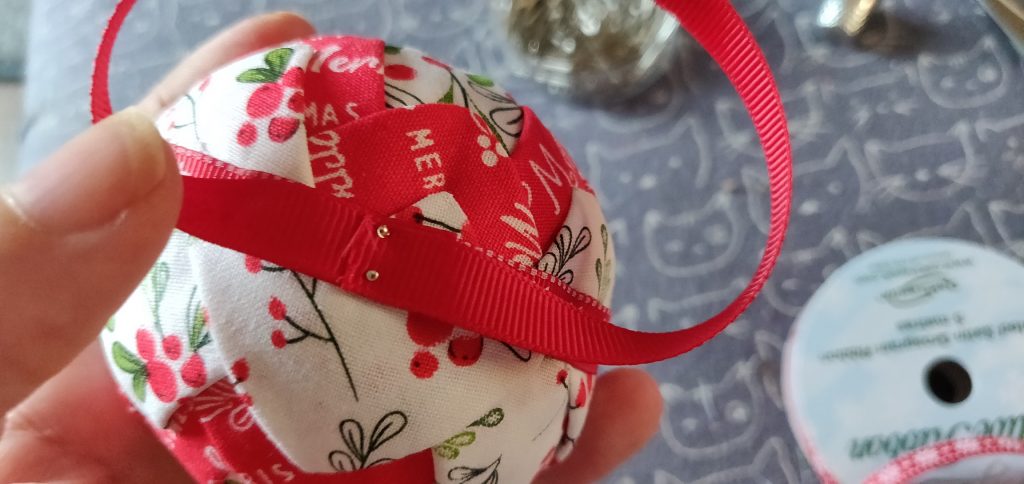

OPTIONAL: Add coloured pins to some of the points of the star to give them a little extra shine. Honestly, they don’t need it, they look beautiful as they are, but everyone loves a little bling (especially at Christmas!!). I just added one gold pearlised pin to the centre.
Well, it only took me a year to get this online! Hope it helps someone create some beautiful ornaments.
Enjoy!