Ever finished a quilt and realised you don’t have binding that goes well? Ever wondered how to make your own? It’s so simple, and means you can use any fabric you think will look good. One thing to note as you go through this, is that if your project has curves, you’ll need bias binding. This will basically be the same process, but you have to cut the fabric on the bias.
For the purpose of this tutorial, we’re creating binding for the quilt we’ve been creating over the last few posts. If you’ve not seen those, you may want to take a look as we cover creating blocks, quilting them, attaching quilt blocks together with sashing etc… as we used the QAYG method, we’re ready to bind it… hence this blog post.
First you’ll need to decide how much binding you need. Measure each side of your quilt (or other project) and add 20 inches to that total.
Most fabrics measure 44 inches wide, but do check this before cutting.
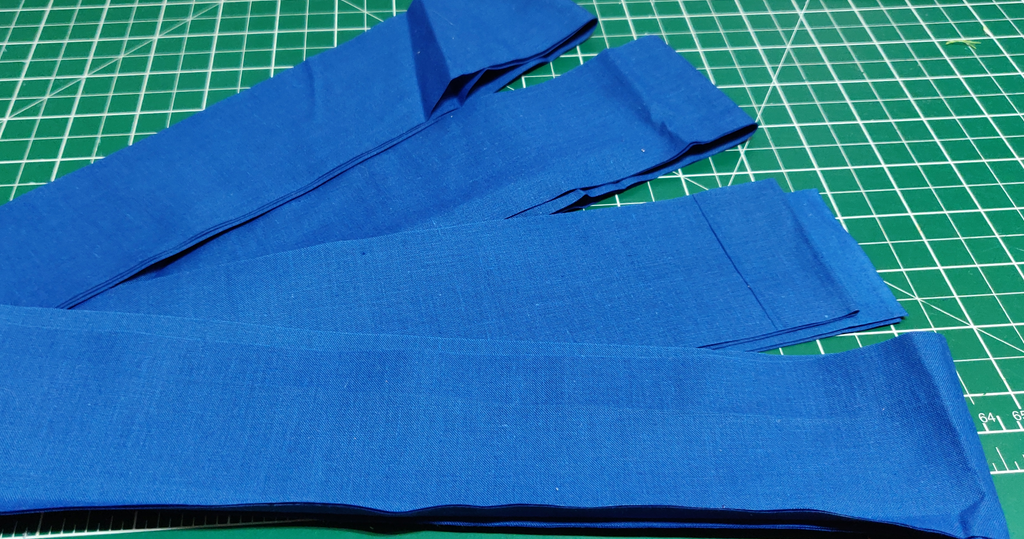
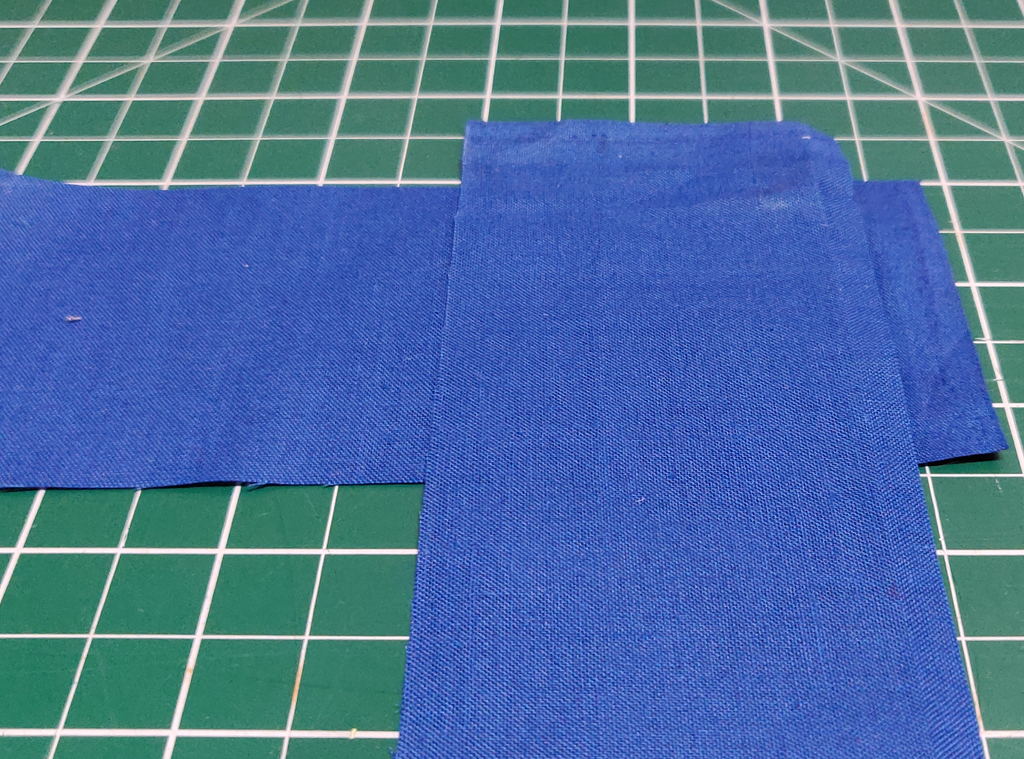
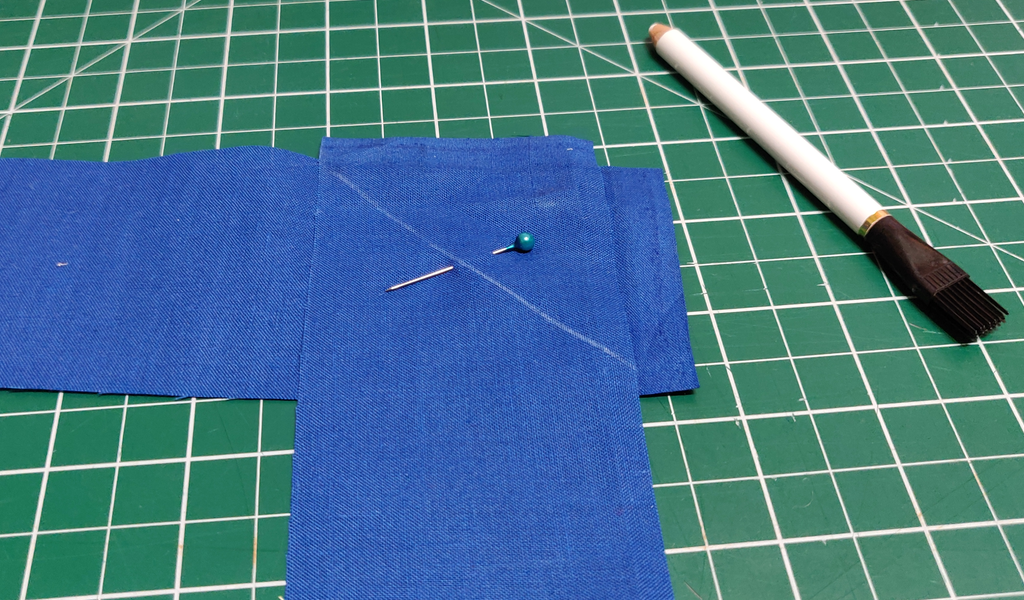
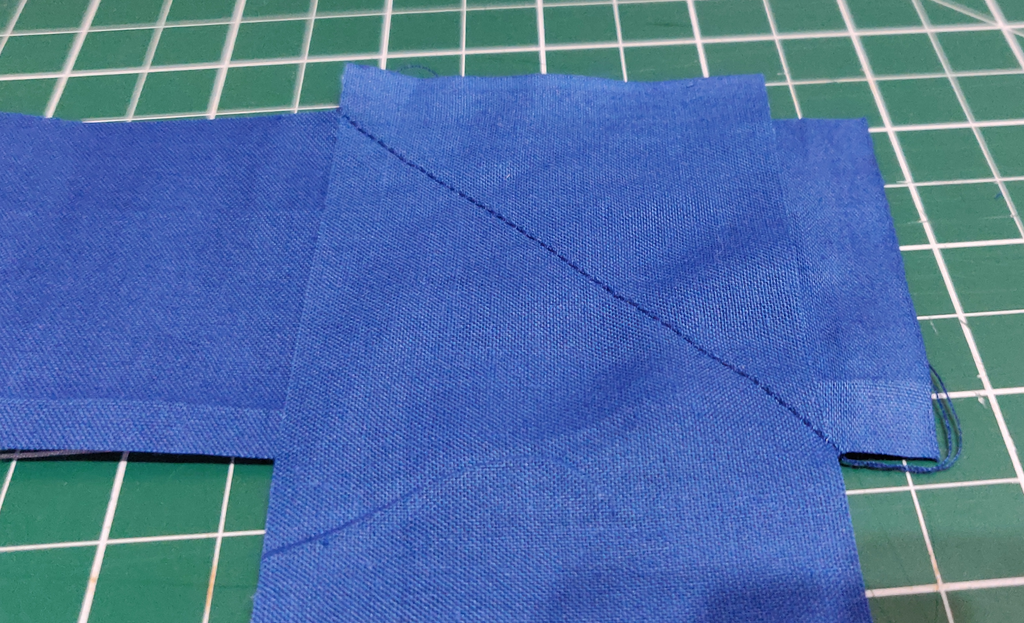
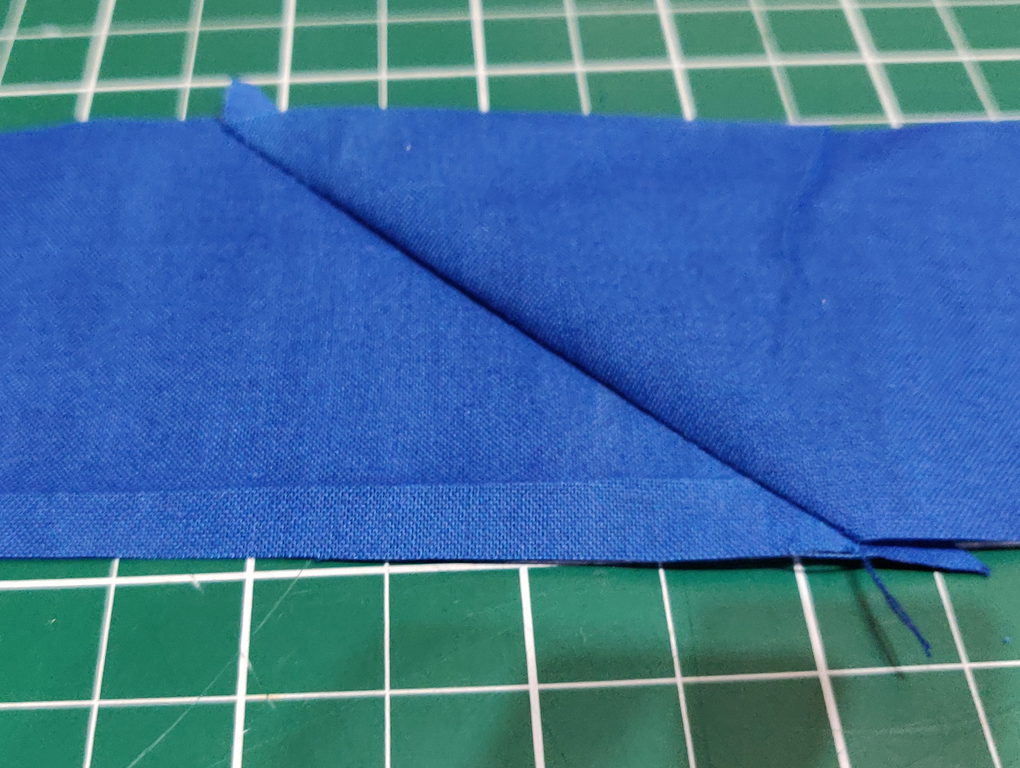
Cut 2.5 inch strips from your fabric until you have enough to cover the area you need to bind. In the case of our quilt, which is 36 x 48 inches, we need 168 inches + 20 inches for a total of 188. We did however, use sheeting fabric to create the sashing and binding as it’s wider. If you’re using the fabric suggested in the posts, you’ll need 4 strips and you’ll be left with extra binding for another project 🙂 Now take two strips and lay the ends right sides together (RST). Mark from the inside corner to the outside corner (you can eyeball it once you get used to it). Pop in a pin if you need to. Stitch down that line. Open the join to make sure your fabrics run straight. –If you’ve accidentally sewn from the wrong corner you’ll have ended up with what looks like a piece to go into a corner. —
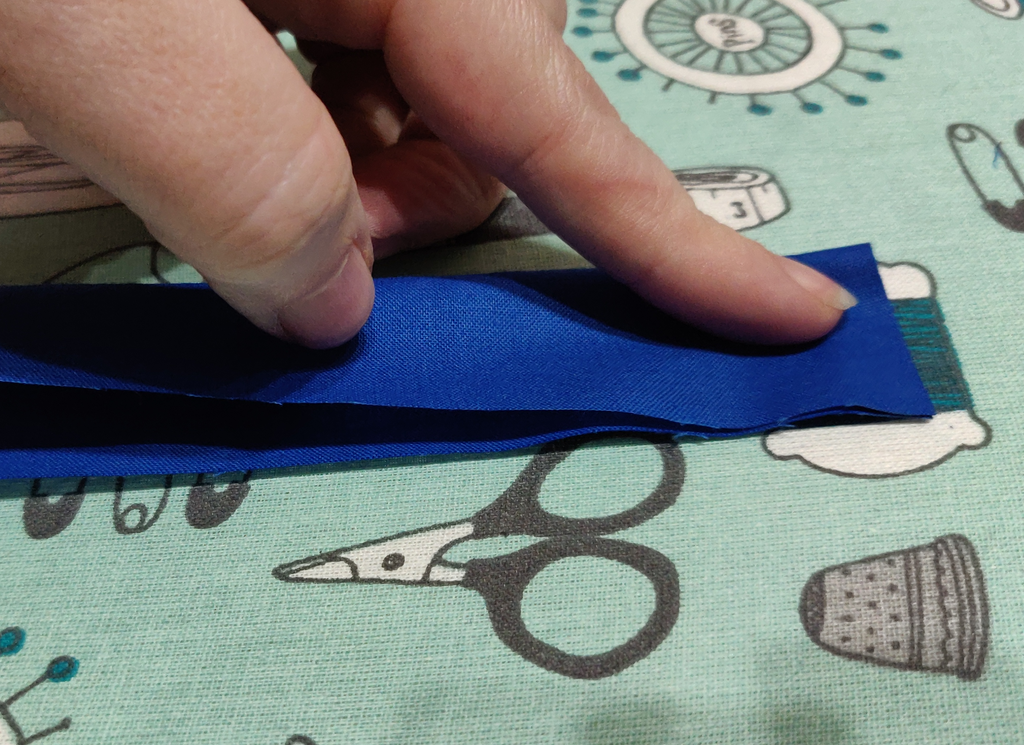
Slide that second piece through your hand to be sure you’ll be adding the next piece the correct way around (this is important if you’re using a plain binding fabric). Repeat the marking and stitching until all your pieces are joined.
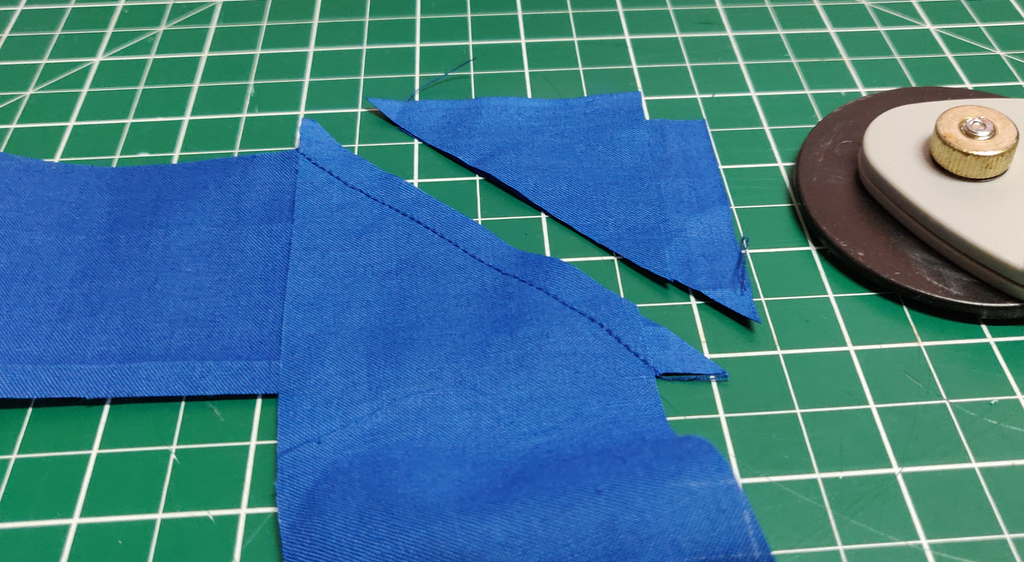
Double check that all your pieces are joined correctly by opening up each join and making sure they run flat. The joins shouldn’t go off at odd angles.
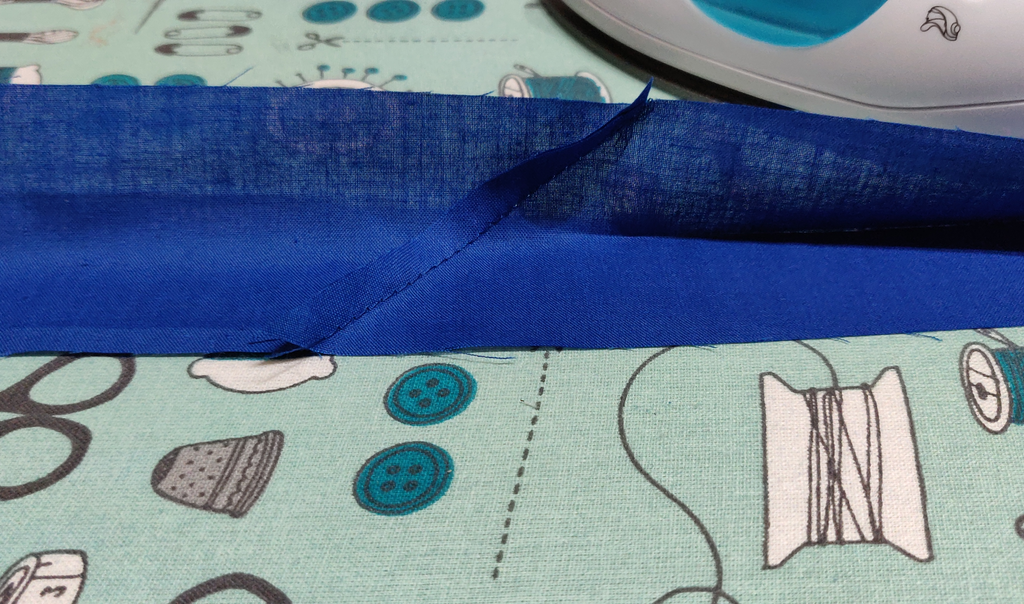
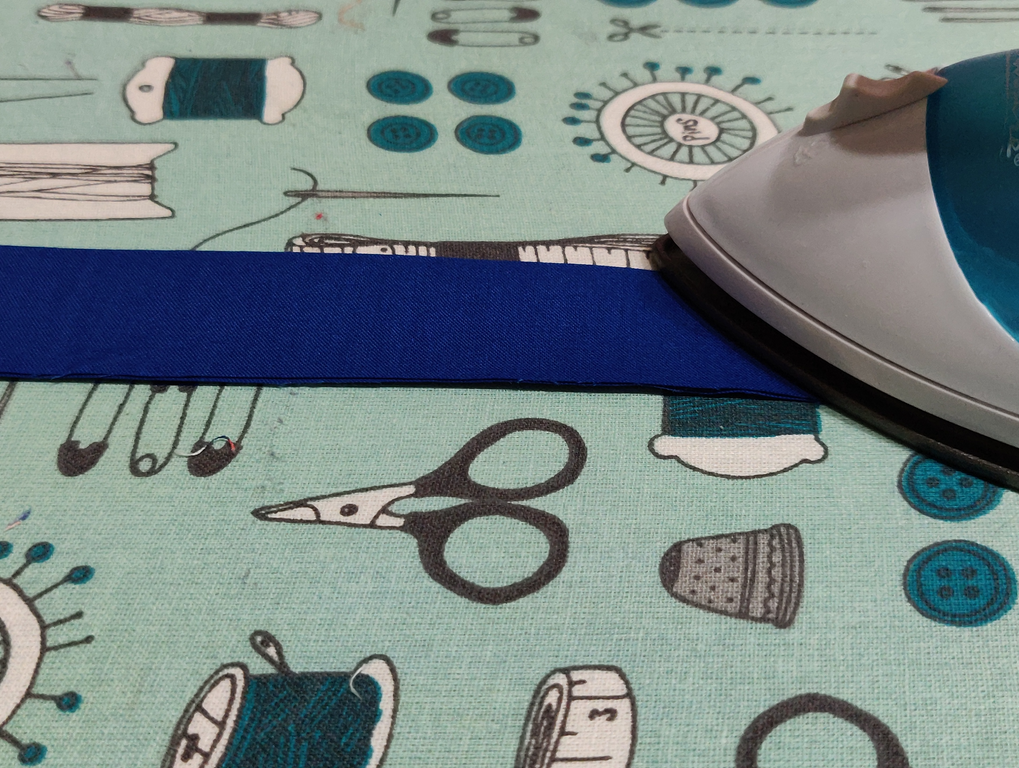
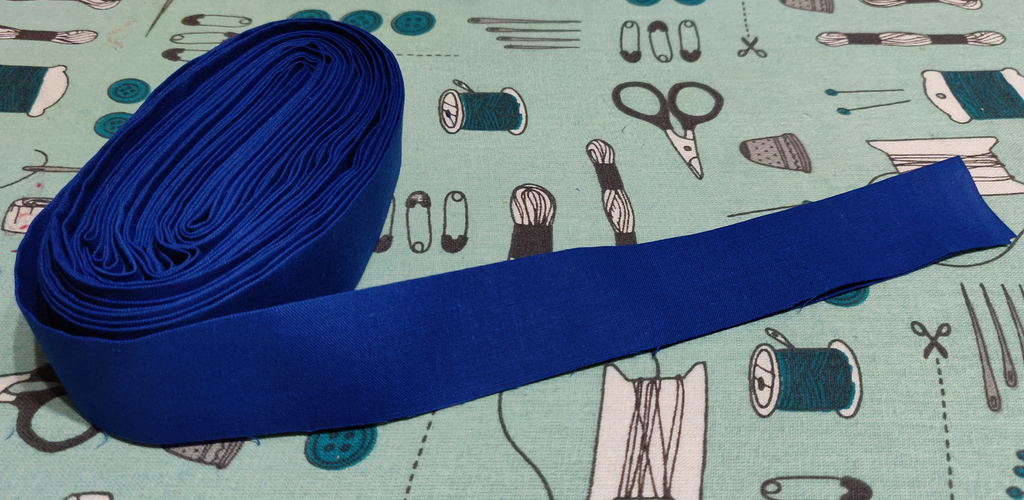
Now cut the excess from the back down to 1/4 inch at all joins. Fold the binding in half wrong sides together (WST).Be sure that you’re folding it correctly, especially if you’re not using a patterned fabric – I got down to the first seam and realised I’d folded it the wrong way!! That 1/4 inch seam should be ironed to the inside.Press the entire length. Depending on the length, this can take a little while, but it’s worth it for that lovely crisp edge. Voila. Continuous binding perfect for that special project without having to run to a shop or order yet more binding online. If you’re following along with the Dino quilt we’ve been making, we’ll cover adding that lovely binding to your quilt in our next post.
One thought on “Dino Quilt Part 4 – Create Your Own Binding”

")


One thought on “Dino Quilt Part 4 – Create Your Own Binding”