


Although the pattern is for a scarf, it can easily be altered for so many uses. To continue along and create the scarf, just follow the instructions. However, if you want to create a blanket, a smaller scarf, pot holder etc., just be sure to chain in multiples of 3 until you reach the desired length, and then add one chain onto the end.
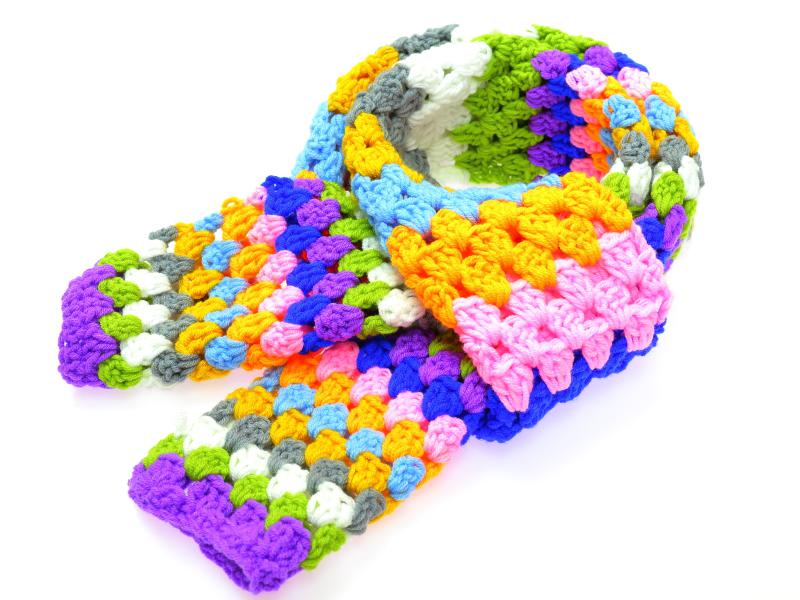
The scarf in this pattern was made in order to showcase the colours in our new range of wool, hence using lots of colours. It would look just as stunning in one or even two colours. If you’re using one colour, just continue repeating rows 3 and 4 without changing the wool. If you’re planning to use two colours, alternate either each row or each 3. The scarf is fairly wide when made up so again, take this into consideration when starting out. Personally I think the pattern would work well on a scarf half the width, but I’d already gotten fairly far into it before coming to this conclusion. If you want to do this in half width, just chain 12 and add one additional chain then follow the instructions as normal.
We’ve also created a crochet pattern for a matching beanie, with or without a pom pom. The materials list covers the full sized scarf and a beanie with the pom pom.
Anyway! Enjoy!
Materials (yarn requirements are for the hat and scarf)
9 Balls of Sew Hobby Components Worsted Cotton Yarn – 25g(each) in Various Colours
5mm Crochet Hook
KEY
CH = Chain
SC = Single Crochet
DC – Double Crochet
ST = Stitch
Colour Changes
Colour changes take place at the start/end of each row.
Change your yarn colour at the end of the following row numbers.
2 to 29 (at the end of each row)
32, 35, 38, 41, 44, 47, 50, 53 (denotes a colour change after 3 rows are crocheted)
54 (centre of the scarf)
55, 58, 61, 64, 67, 70, 73, 76, 79 (again, denotes colour change after 3 rows have been crocheted)
82 – 105 (at the end of all rows).
CH25
Row 1: SC in 2nd chain from hook. SC into every stitch all the way to the end. Turn.
Row 2: CH3, DC in the same ST to create a cluster. *Skip 2ST, DC3 in the next stitch. Repeat from the * until you’re left with 3 stitches. Skip 2ST, DC2 into the last stitch. Turn.
Row 3: CH3, work 3DC into the first space between DC clusters. *3DC in the next space between DC clusters. Repeat from the * to the end. 1 dc in the top of the CH3 from the previous row. Turn.
Row 4: CH3, 1DC in the same ST. *3DC in the next space between DC clusters. Repeat from the * to the end. 2DC in the top of the CH3 from the previous row. Turn.
Repeat rows 3 and 4 until you reach ROW 106, remembering to change the colour of yarn at the end of each row or where indicated above.
Weave in all the ends.
