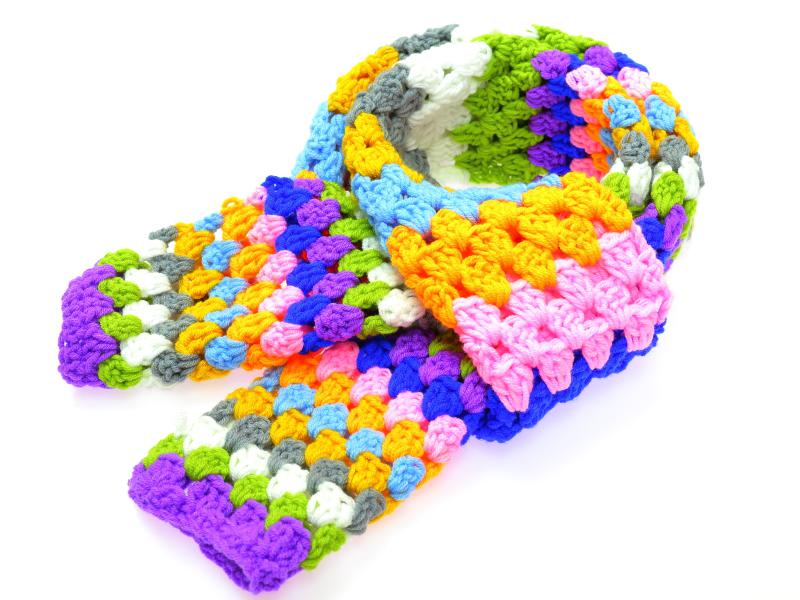
A great accompaniment to the granny stitch scarf, this uses the same colours so matches perfectly and allows you to use up what’s left of the yarn once the scarf is complete.
I indicate colour changes in the pattern, but of course, as with the scarf, you can opt to use one colour, or two… or whatever you like the look of! Colour changes are indicated between each row.
Materials Needed
This was created alongside the matching scarf, and in total the two took 9 balls of wool/yarn as I wanted to complete them in as many colours as possible to showcase our new range of crochet/knitting yarn. However, if you’re wanting to use one (or two) colours, the hat uses just under two 25g balls of Sew Hobby Components Worsted Yarn 25g (various colours available). Beanie is crocheted using a 5mm hook.
CH = Chain
SLST = Slipstich
DC = Double Crochet
SC = Single Crochet
CH4, SLST into first CH to create a ring.
ROW 1: CH3. Into the ring work 2DC, CH1, *3DC, CH1*. Repeat * 3 more times, join with a SLST to the top of the CH3 – you should have 5 groups of 3DC.
ROW 2: SLST across 2 stitches and into the CH1 space. CH3, 2DC, CH1, 3DC into same CH1 space *(3DC, CH1, 3DC) into the next CH1 space* repeat * to the last CH space and join with a SLST to the CH3 created at the beginning of the row.
COLOUR CHANGE
ROW 3: SLST across 2 stitches and into CH1 space. CH3, 2DC into the same CH1 space (3DC, CH1, 3DC) into the next space. *3DC into the next CH1 space* repeat * to the end and join with a SLST to the CH3 created at the beginning of the row.
COLOUR CHANGE
ROW 4: SLST across 2 stitches and into the CH1 space. CH3, 2DC into the same space, 3DC into the next CH1 space (3DC, CH1, 3DC) into the next CH1 space *3DC into the next space, 3DC into next CH1 space, (3DC, CH1, 3DC) into the next CH1 space*repeat * to end and join with a slip stitch to the CH3 created at the beginning of the row.
COLOUR CHANGE
ROW 5: SLST across 2 stitches and into the CH1 space. CH3, 2DC into same CH1 space. 3DC into each space around to the end and join with a slip stitch to the CH3 created at the beginning of the row.
ROWS 6 to 15: Repeat ROW 5.
COLOUR CHANGE at ROW 7, 8, 9, 10, 11, 12, 13 14, 16
ROW 16: CH1, SC into each stitch around until you reach the end. SLST to the first SC.
COLOUR CHANGE
ROWS 17 to 19: Repeat ROW 16.
Weave in the ends.
I created a pom pom and attached it to the centre of the beanie. Instructions for creating a pom pom can be found all over the internet, however, I’ll be sure to add a tutorial as soon as I have chance.