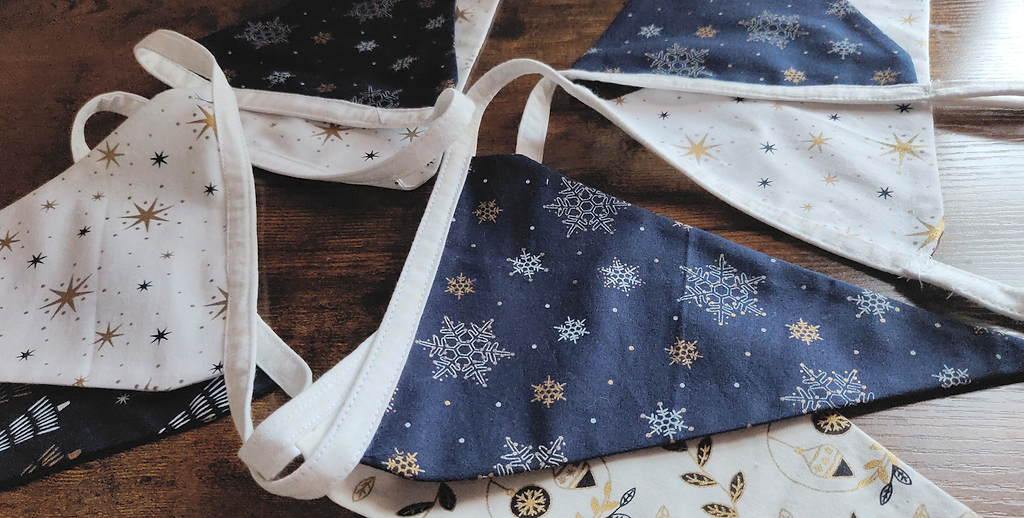
Last year, our lovely neighbor made us a little bunting to put in our front window. It looked adorable, and while she hand sewed the entire thing, I’m much happier using my machine! As any regular readers will know, I’m quite lazy when it comes to hand sewing, only ever doing it when I absolutely have to!
We chose to use a fat quarter bundle so that we could have various designs through the bunting. This would work with one fabric, we just wanted a bit of variation. We used the Bauble and Sprig bundle from Craft Cotton Co’s 2021 Christmas range for the flags, and a 2.5″ strip cut from our white blender for the binding.
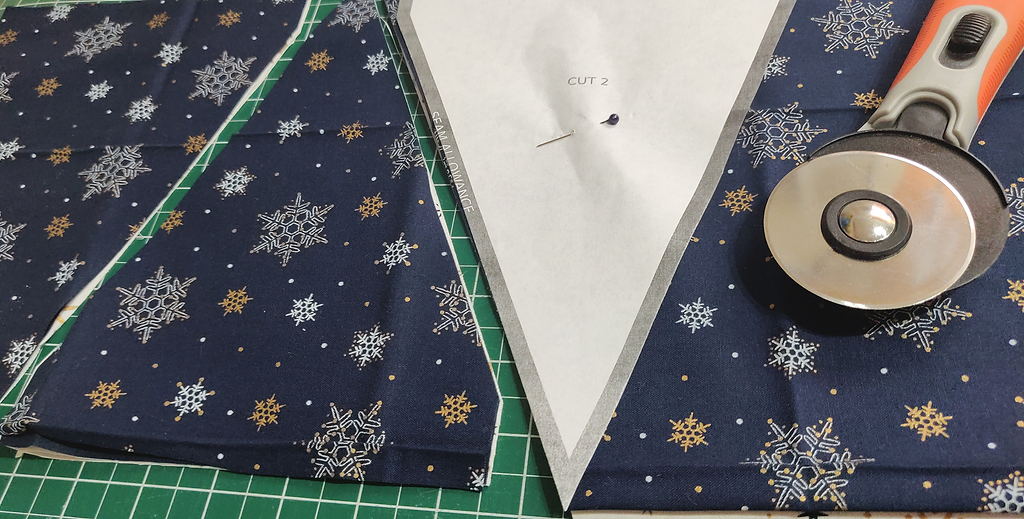
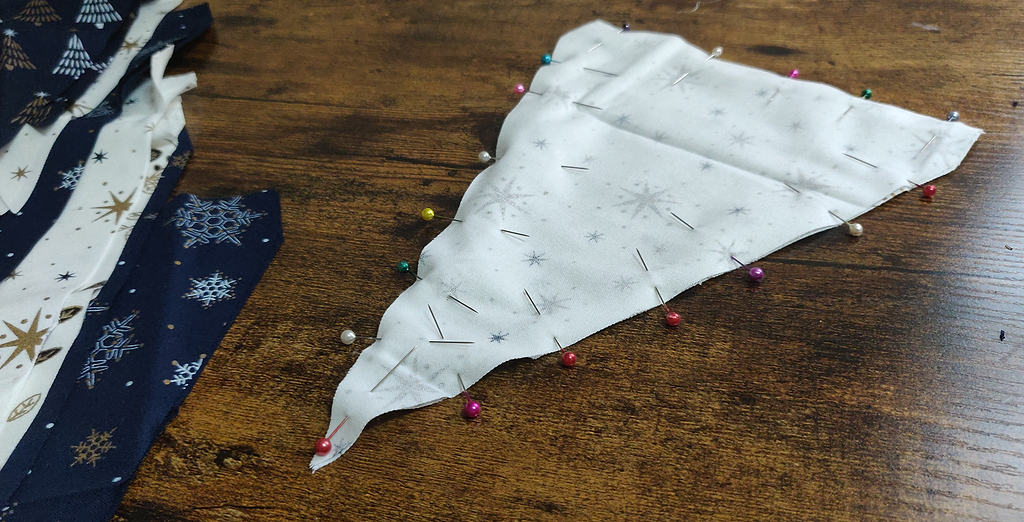
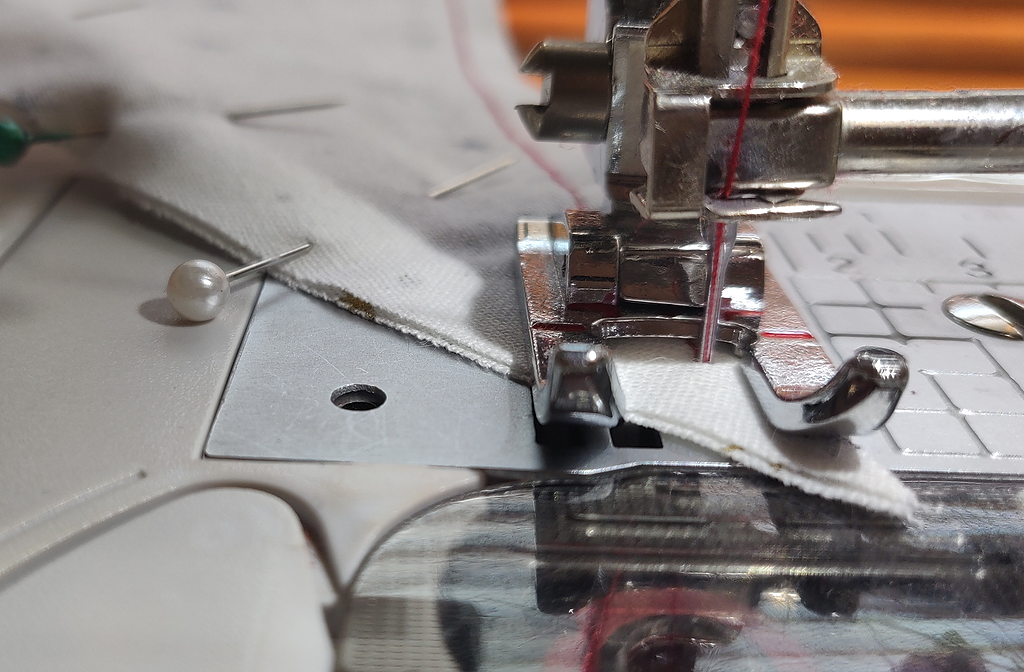
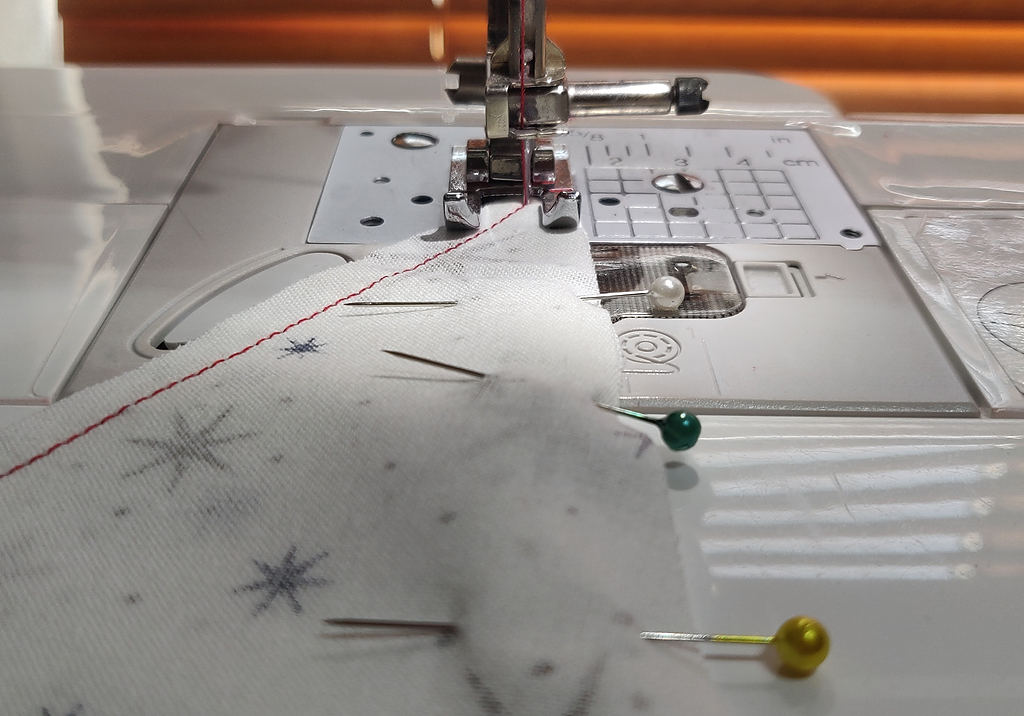
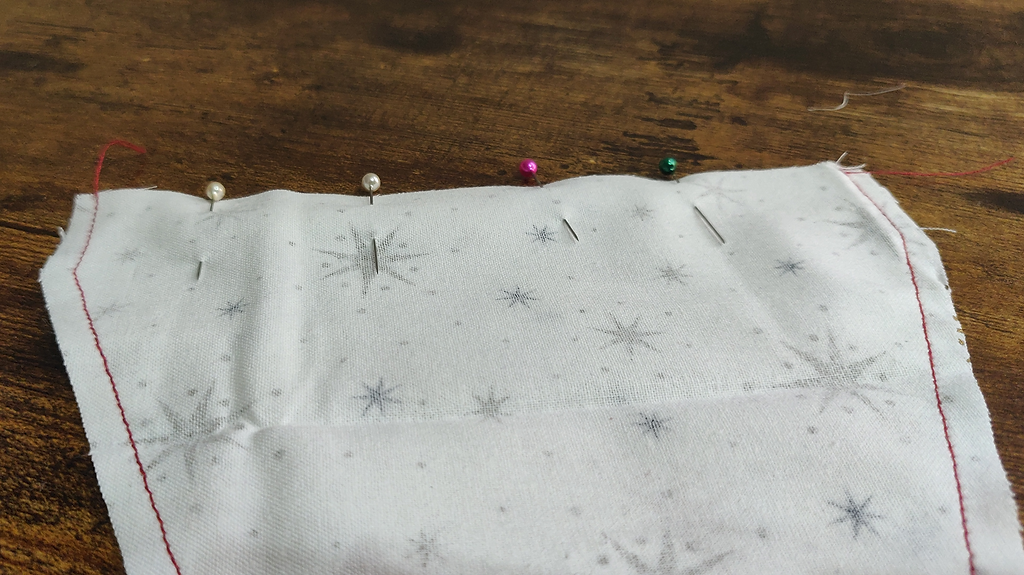
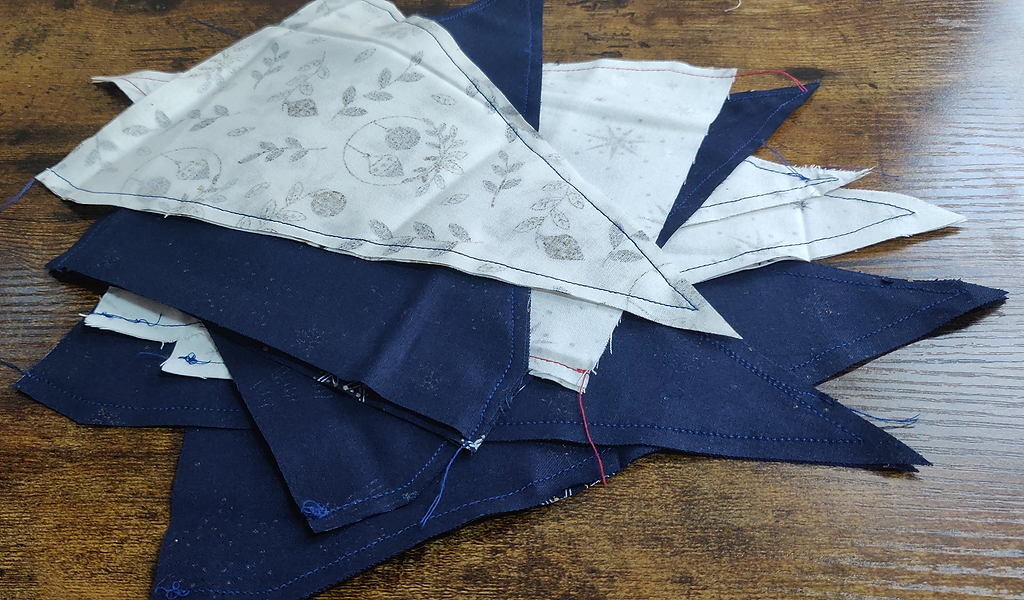
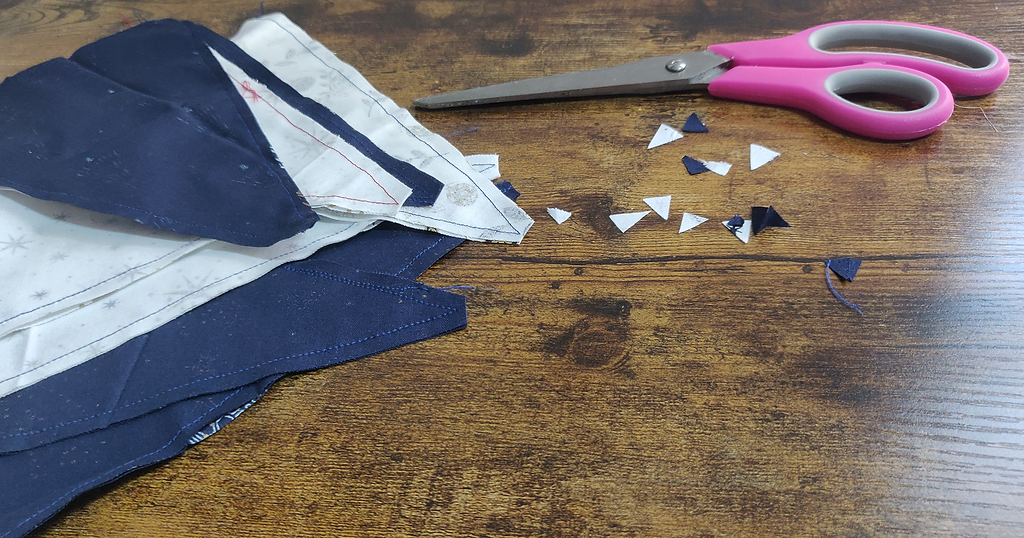
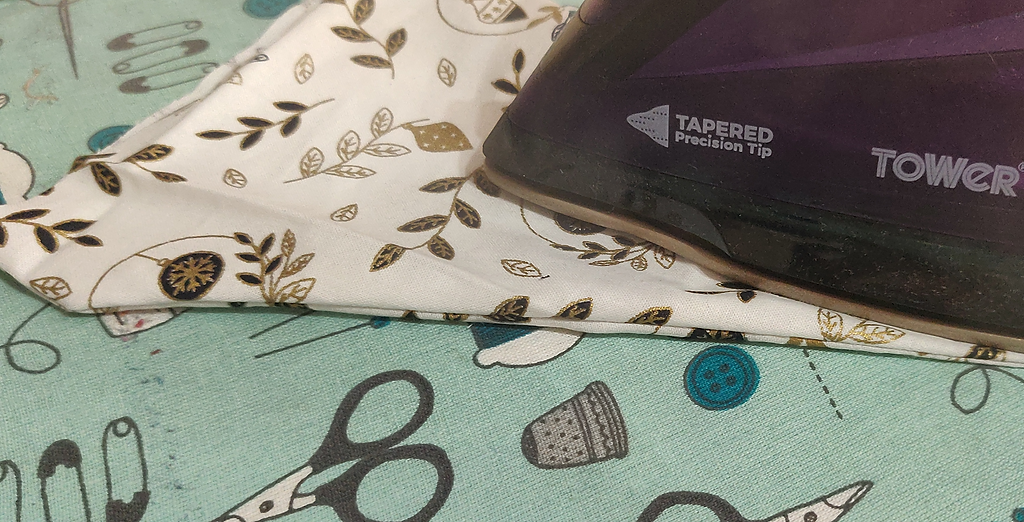
First we’ll make the flags. With the printable template already cut out, place it onto the folded fat quarter and figure out the best placement to get at least three cuts (as it’s folded you’ll get 6 flags). Using a rotary cutter and mat works best here. But if you’re using scissors, pin the template down first. You will need two triangles of fabric for each flag. We’re making 8 flags for the bunting pictured. So we cut 16 triangles. If you plan to hang these against a wall, feel free to use a plain fabric on the back. Ours will eventually go in the back window, so we wanted pretty fabrics on both sides. With your flags cut, place a front piece and back piece right sides together. Pin. Sew a quarter inch seam allowance (the inside of the black line on the template) down the right hand side down to the centre point. Stop with the needle down. Lift the presser foot and pivot the fabric around. Sew the other side of the fabric up to the top edge. Leave the top straight edge unsewn. Repeat this with the other 7 flags. Clip the point from each flag (within the seam allowance) being careful not to cut your stitches. Turn the flags right side out and poke to point out a little (carefully). Now press the flags flat.
If you’re using ribbon, simply fold it in half and sew your flags between the fold.This tutorial is for fabric binding the flags together.
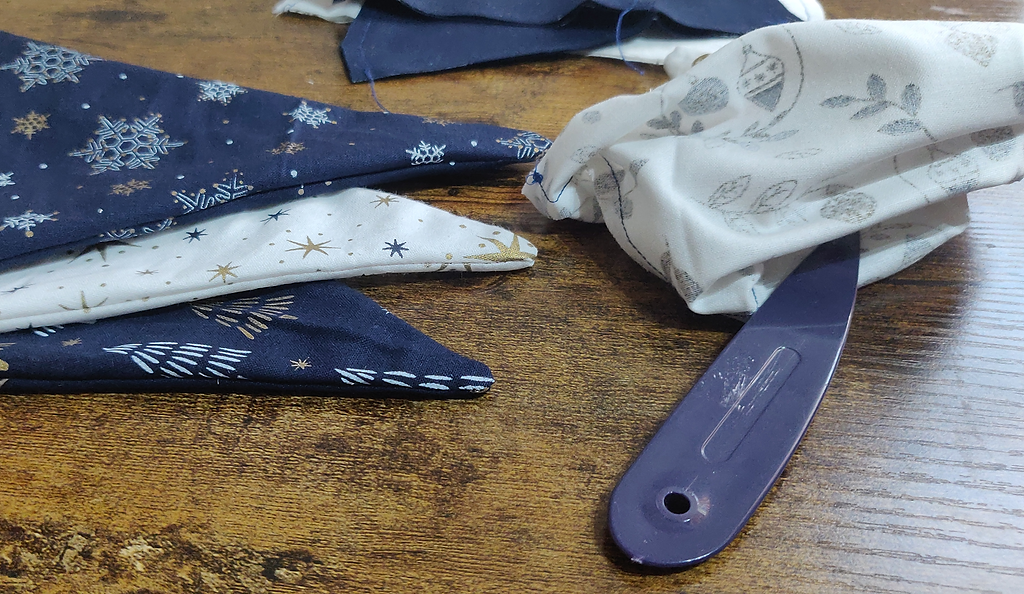
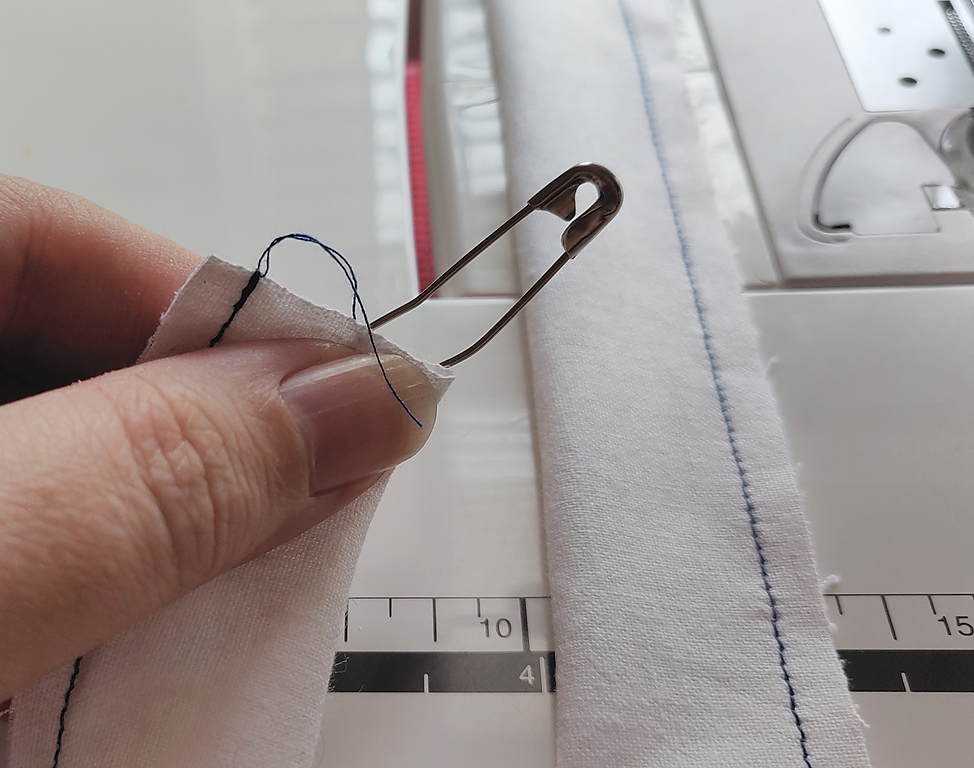
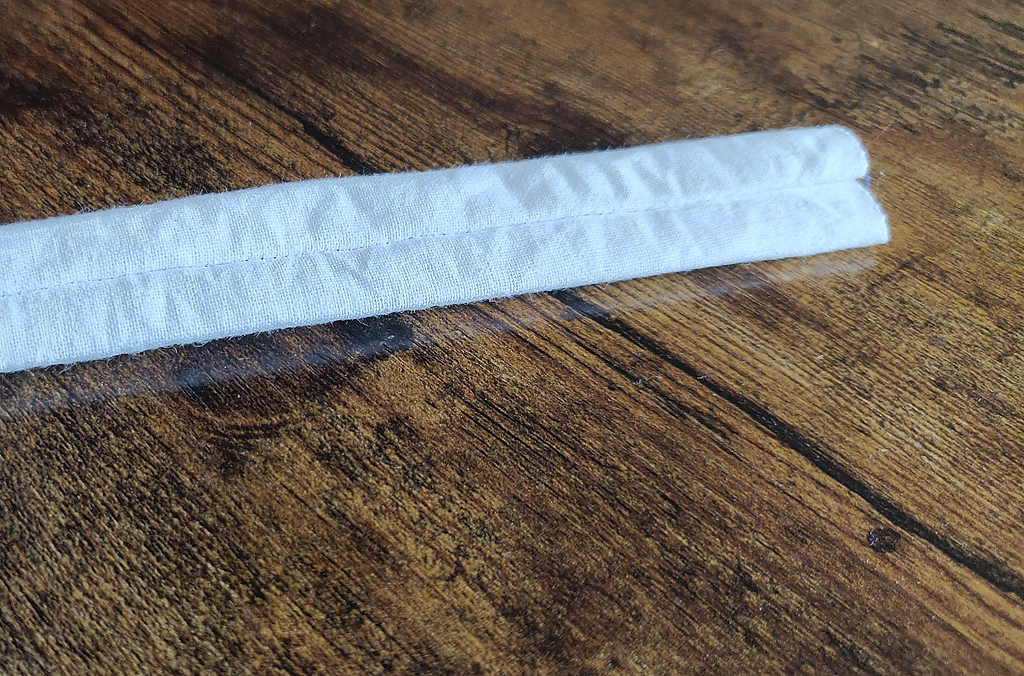
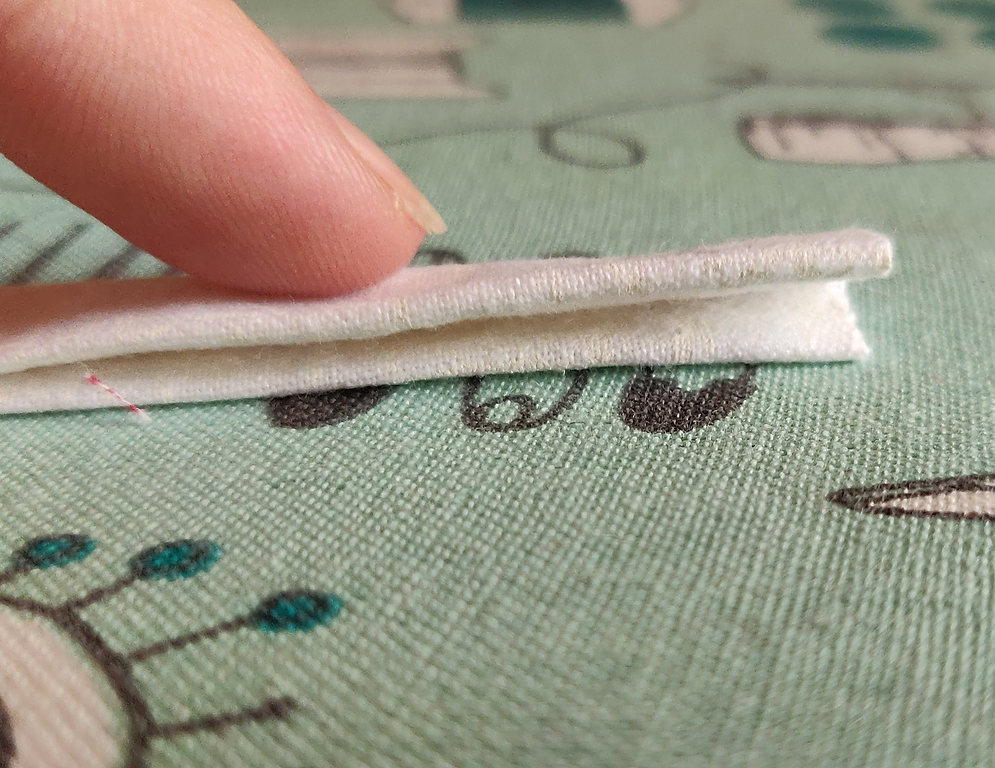
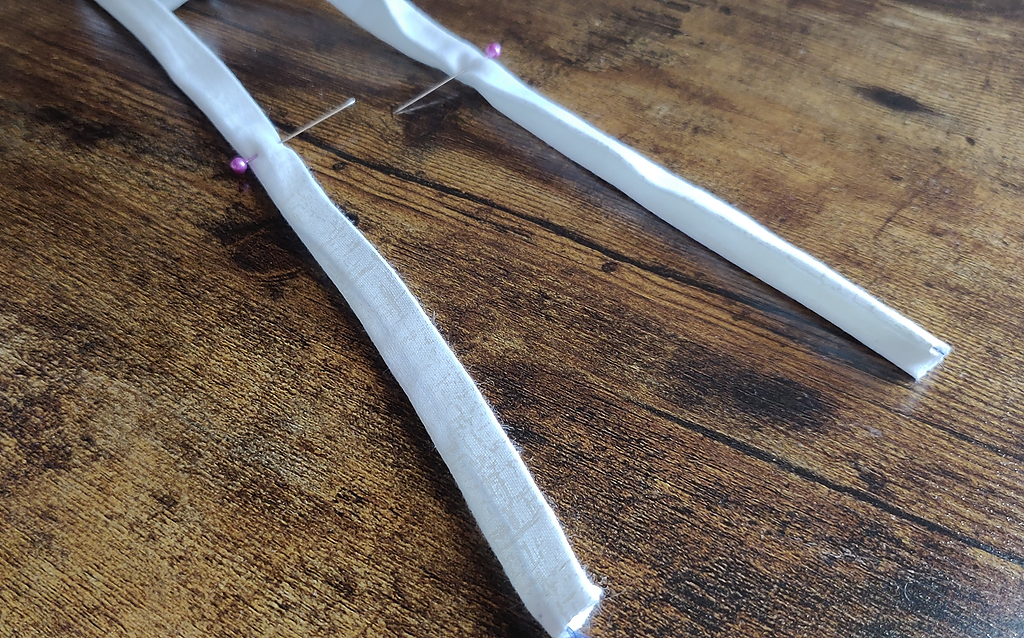
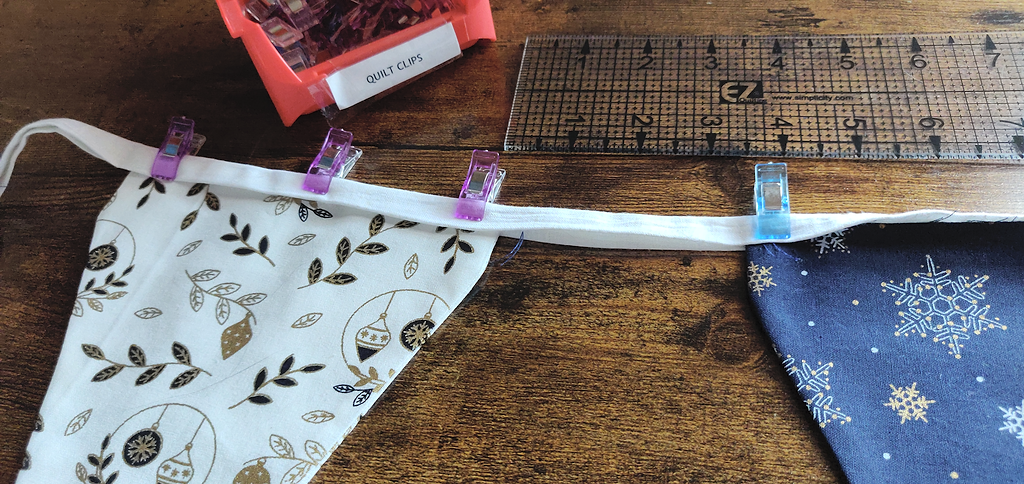
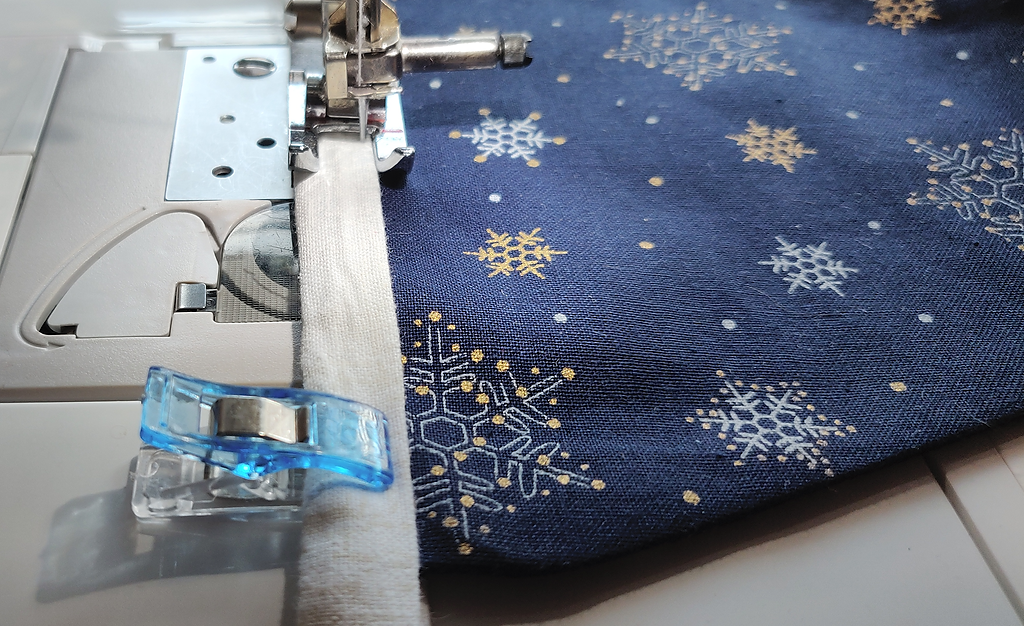
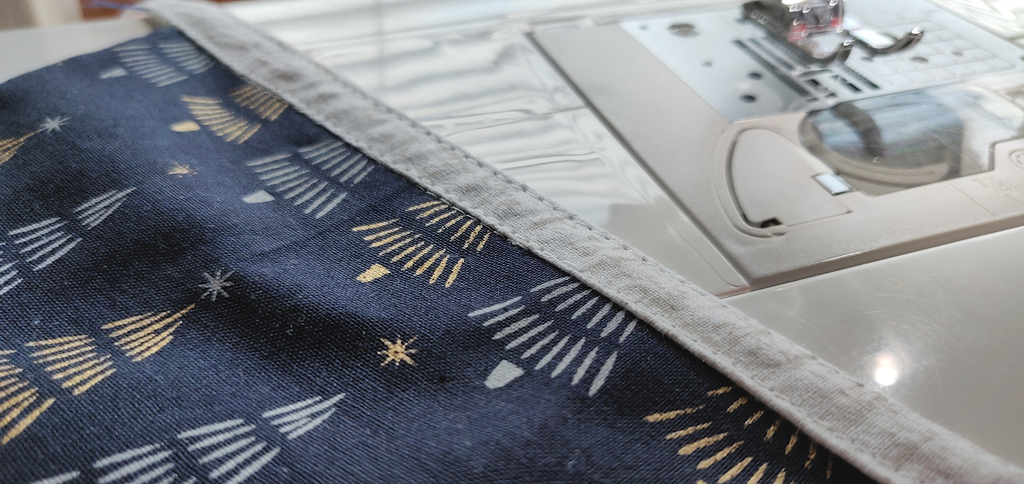
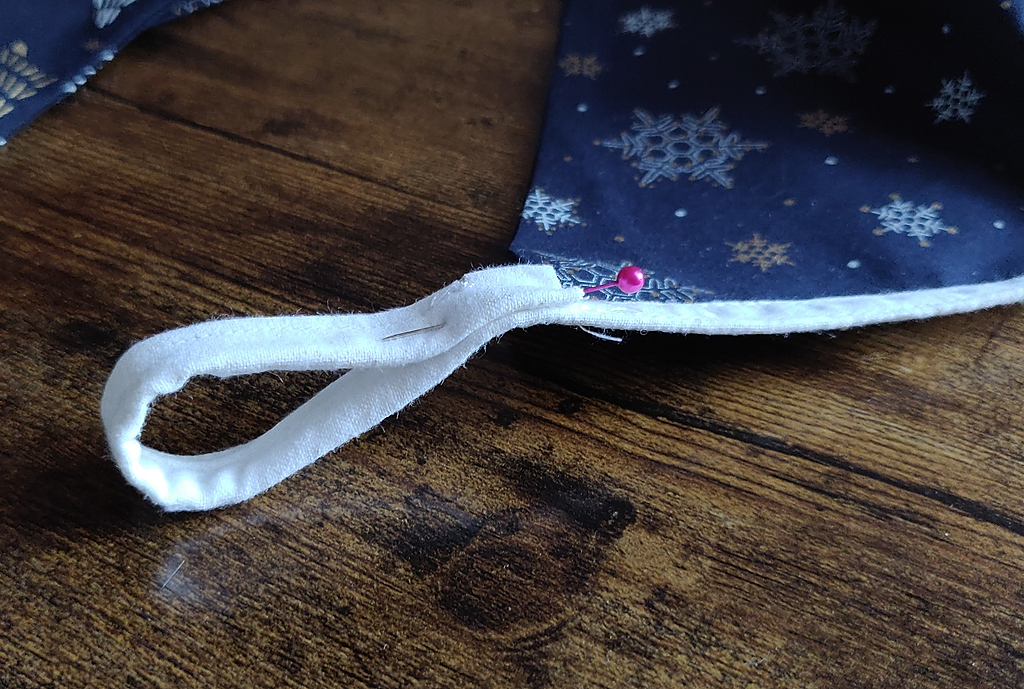
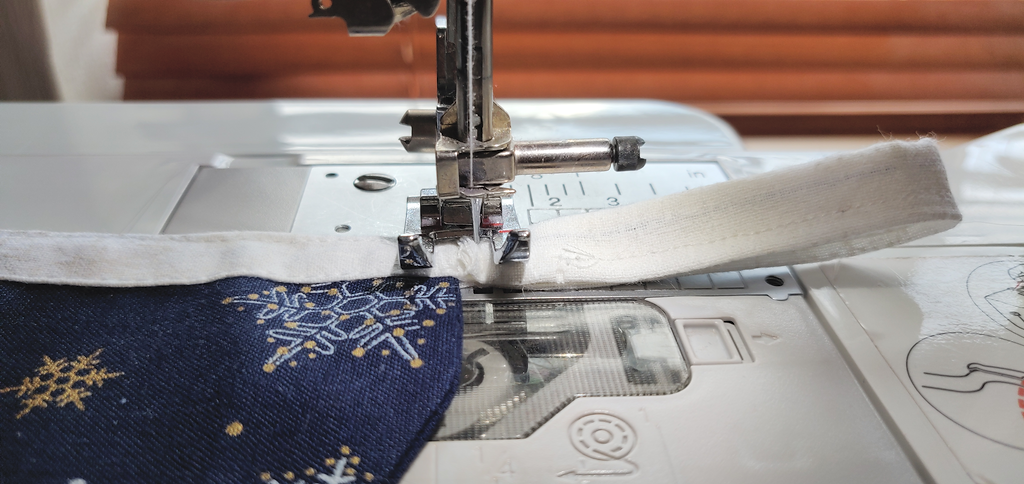
Set the flags aside. Take your 2.5″ strip and fold it in half right sides together. Sew a quarter inch seam down the long side. Backstitch at the start and end. This will allow you the movement to turn the fabric right side out without pulling out your stitches. Turn the fabric right side out. There are various ways to do this, and lots of tools you can try, but most sewers have found their preference. I simply pop a safety pin through one end and feed it through. Once you have the fabric right side out, press it flat with the seam roughly in the centre. Now fold that in half and press again.Measure 6″ from each end and pop in a pin.Figure out the order in which you want the flags to be. If you’re using all our measurements, the 82″ binding is exactly the right length to leave a 3.5″ gap between each flag. Clip them all between the two layers of binding. Now sew close to the bottom edge of your binding to secure the flags in place. Optionally, you can go ahead and sew close to the top of this binding also… it gives a neater finish 🙂 Loop each end over by 3″ and pin. Stitch to close the loops (These will be your hanging loops) – Backstitch a few times to make sure the loop is secure. And voila! Pretty bunting ready to hang. This was made for Christmas, but bunting can be made for any occasion, or even just as decoration in your home.