The first step is to figure out how much binding you need to make for your project. Measure your quilt (or other project). You need length plus width times 2 – then add on 10-12 inches. This will give you the length you need. Once you know how many inches you need, cut strips of fabric at 2.5” x WOF.
Fabric width is normally 44” – so cut as many strips of 2.5×44” as needed.
Step One
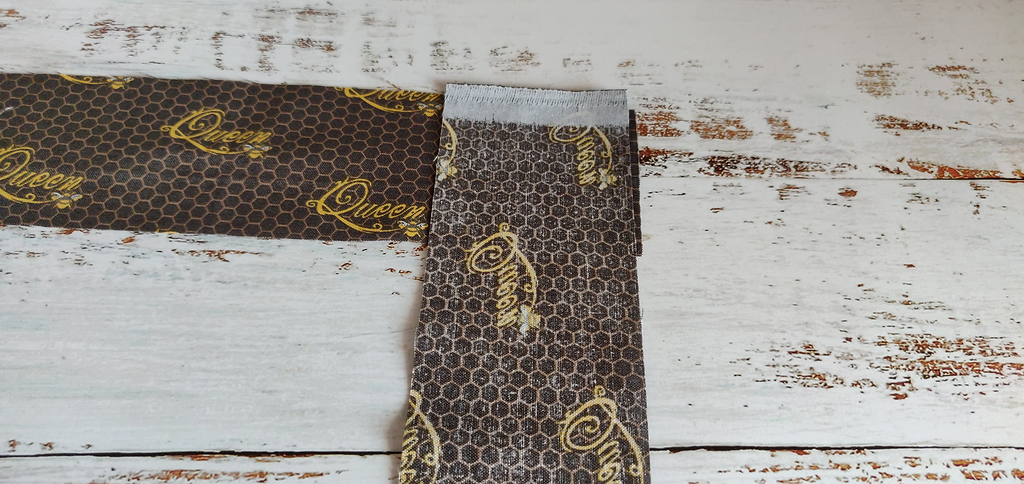
Take your first two strips and place the ends right sides together as shown.
Step Two
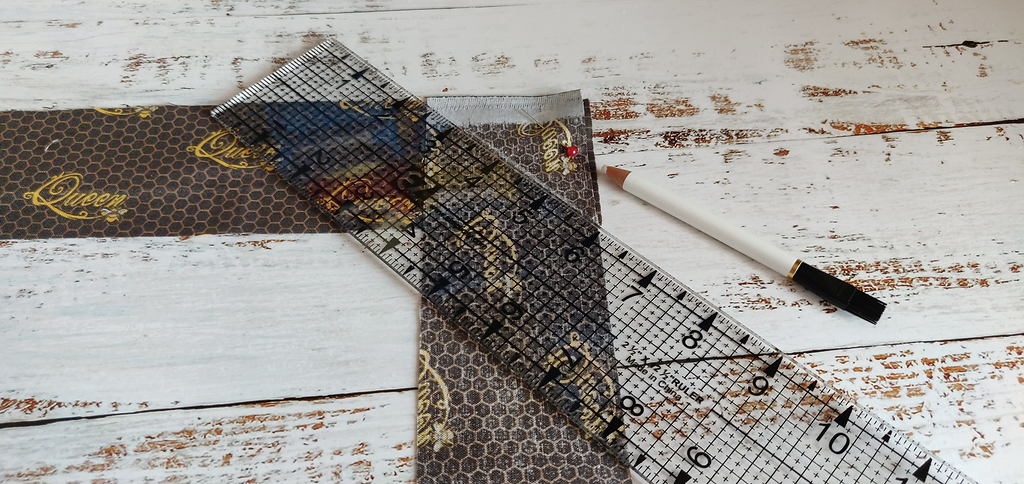
Pin the two together and mark from the inner top corner, to the outer bottom corner.
Step Three
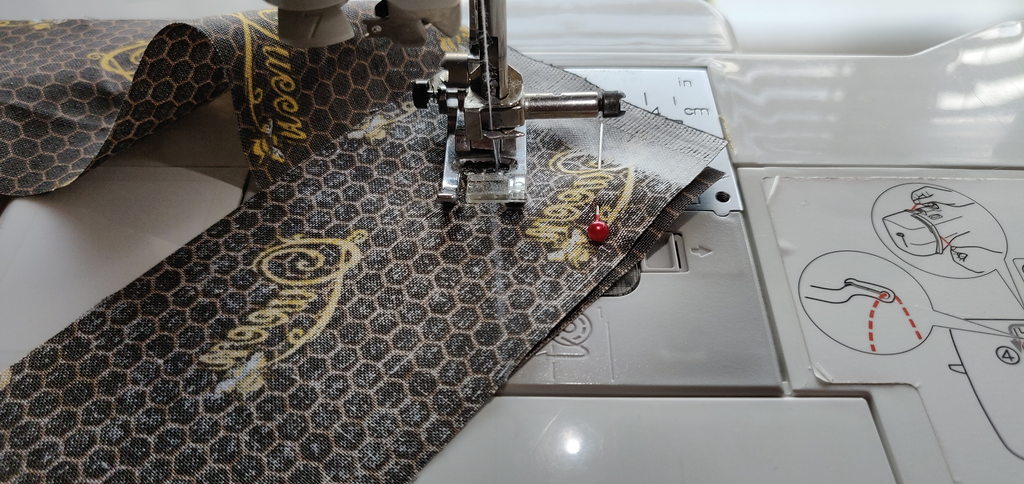
Sew down your marked line. Repeat until all your pieces are joined.
Step Four
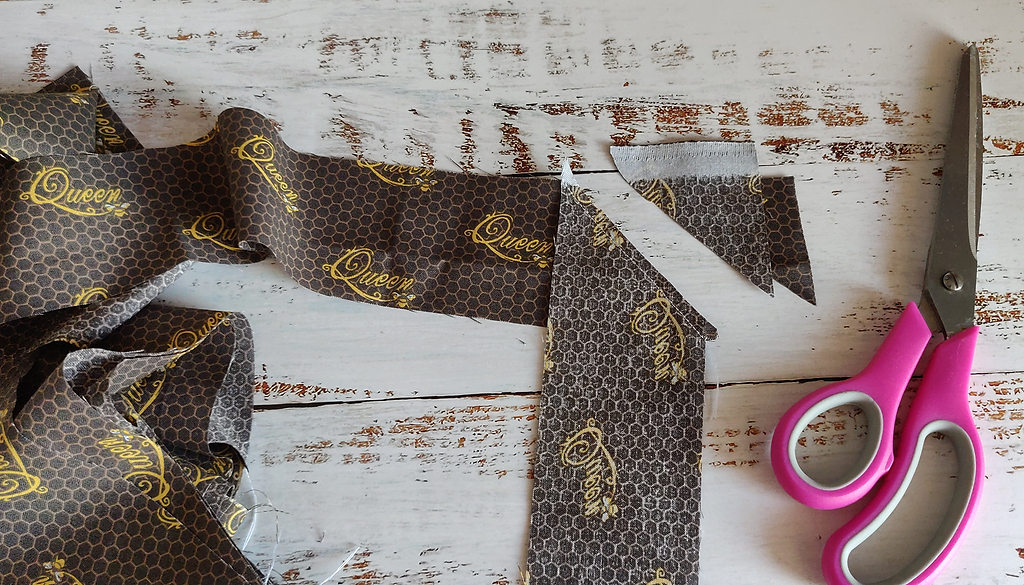
Trim away any excess so your seams are ¼”.
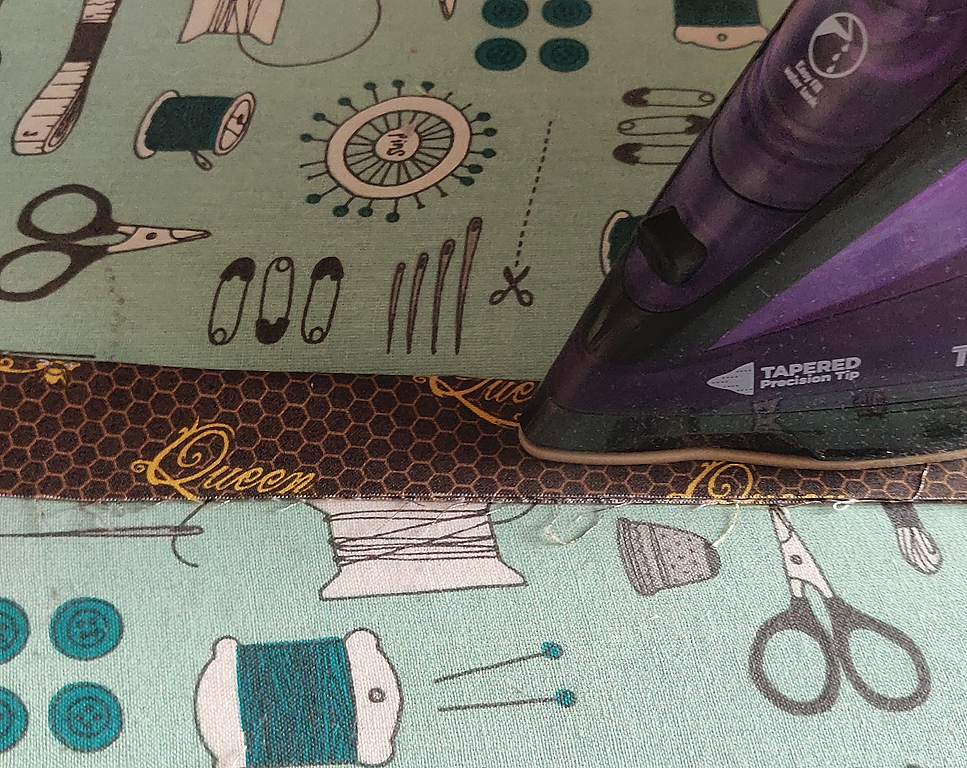
Step Five
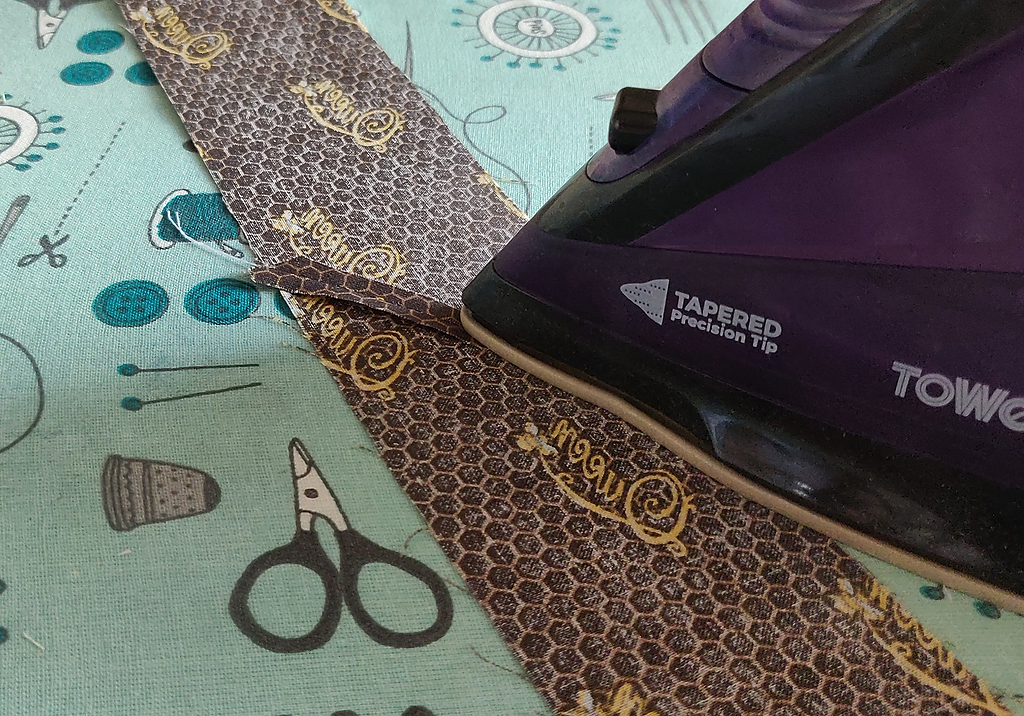
Now go back to each sewn seam and press it to set the seam. Then open and press the seam open.
Step Six
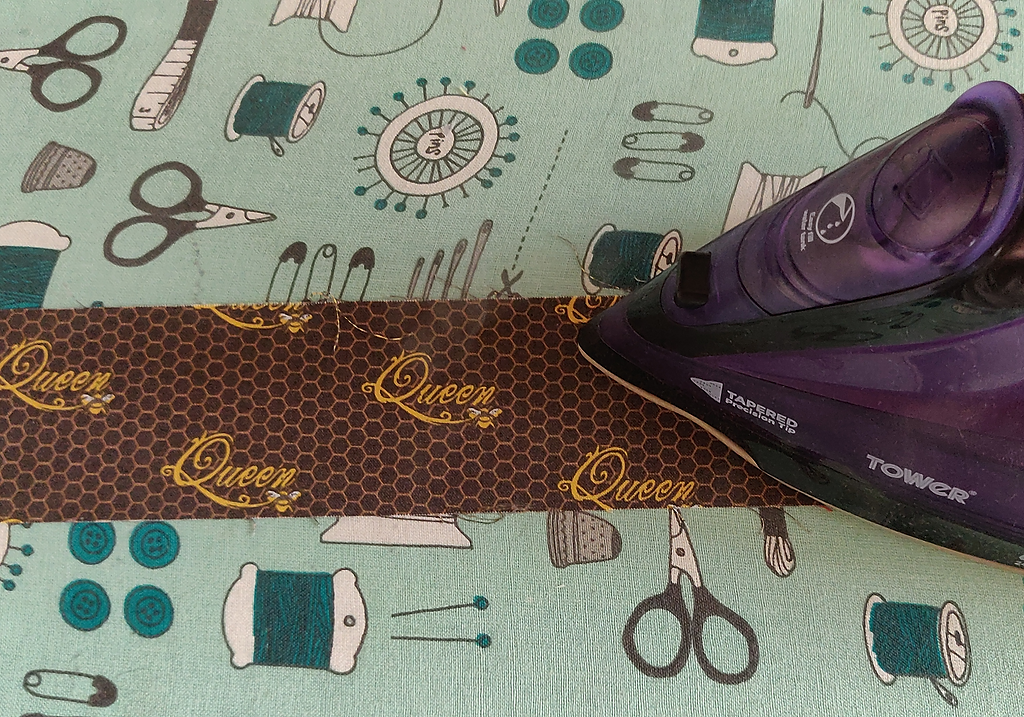
Turn over and press the entire length of the fabric.
Step Seven
Sorry – more ironing! Fold the strip wrong sides together and press to form a lovely neat folded edge on one side and two matching raw edges on the other.
Step Eight
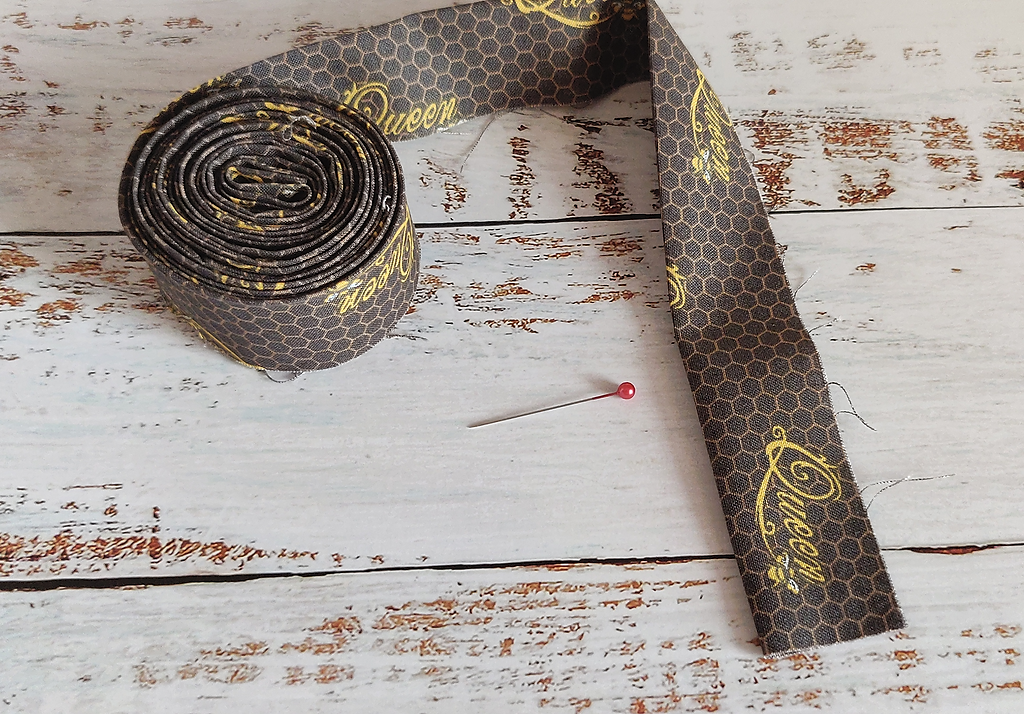
For ease of use, roll up the bias and pop a pin in the end to stop it unravelling.