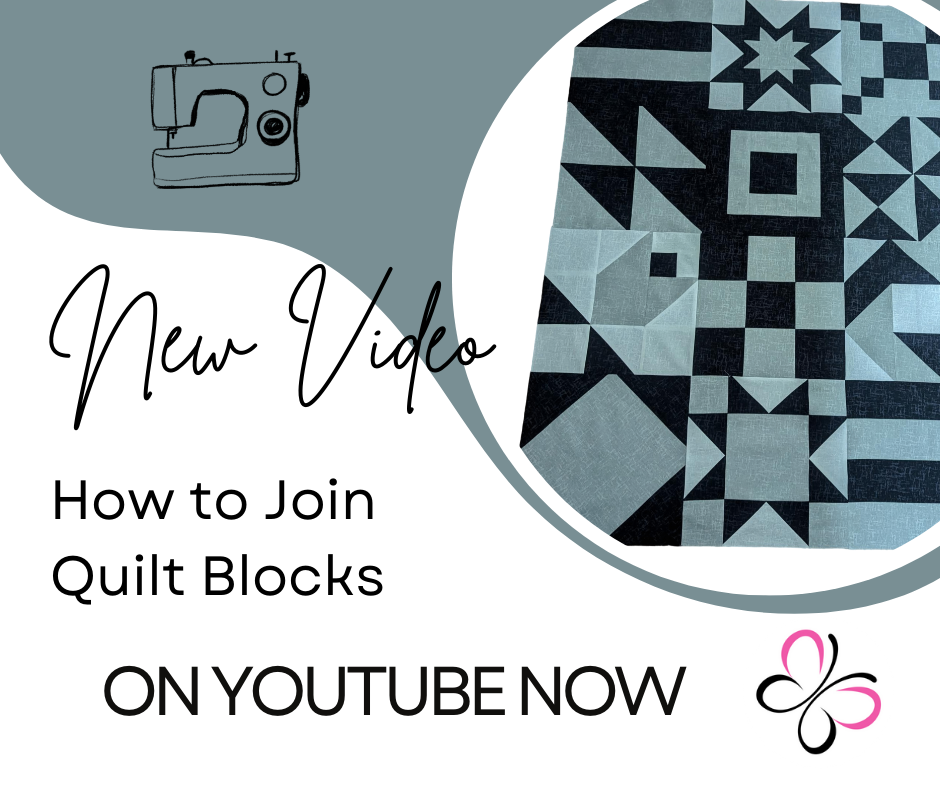
Measure roughly 10 inches at the end of the binding. If you’ve not actually made your binding yet, take a look at our previous post on this here. This is the point we’re going to begin sewing. We need that tail left unsewn so we can join the binding together – we’ve a super-easy way to do this… but we’ll get there!
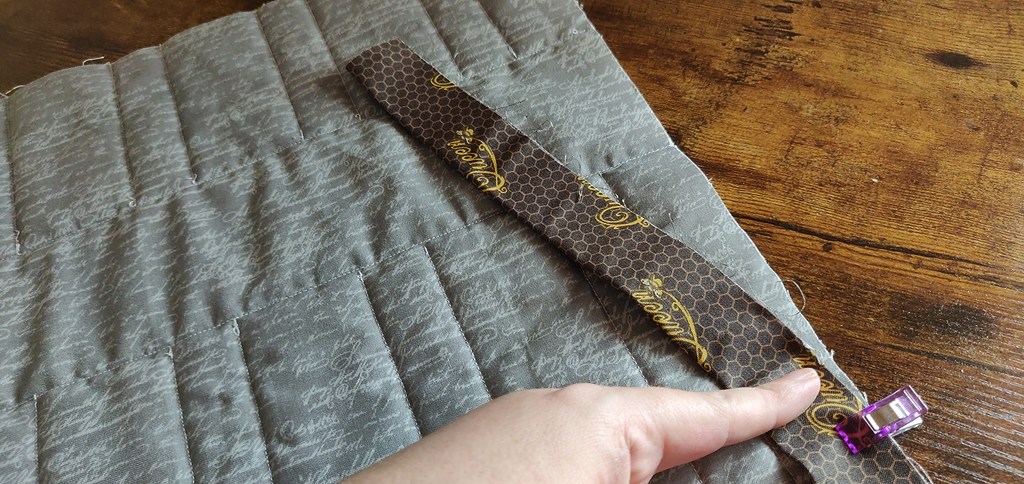
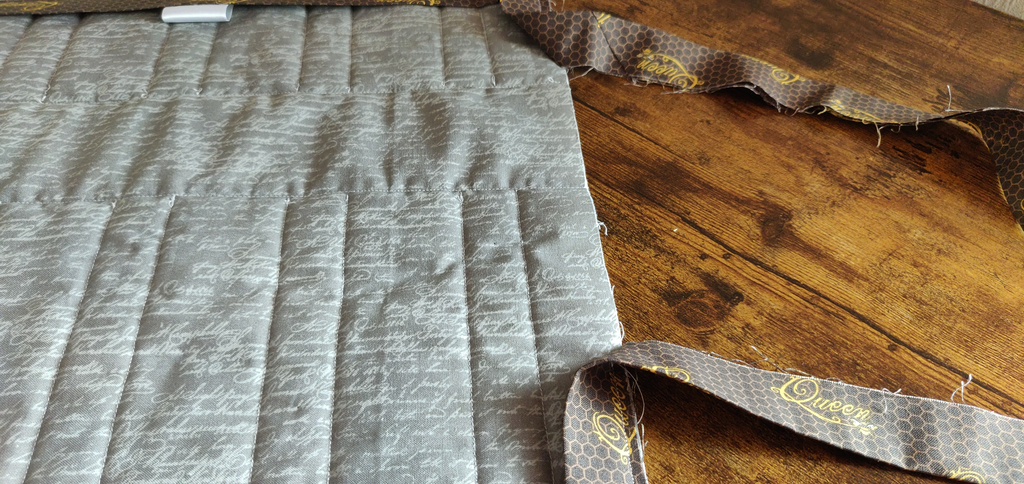
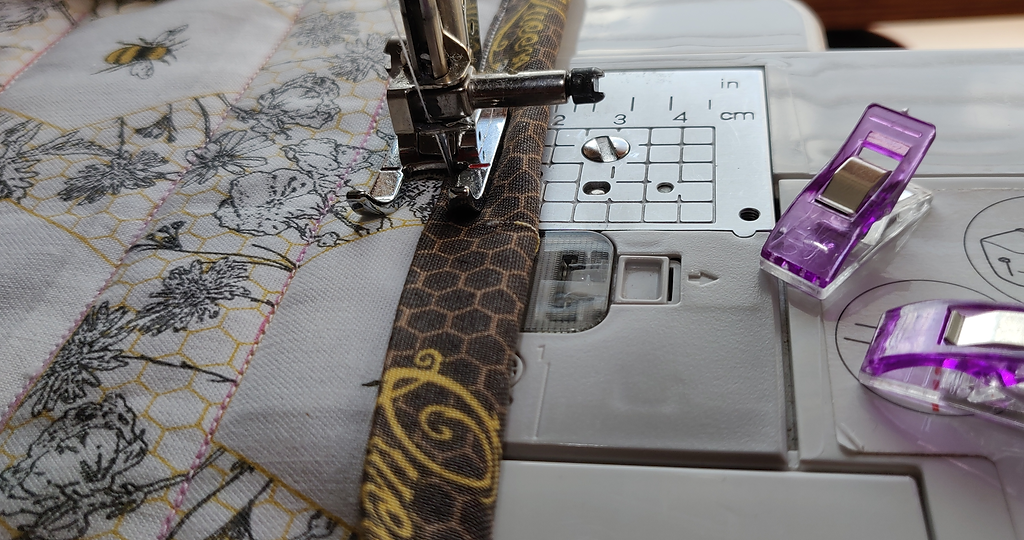
We’ll be working on the back of the project. Place the binding raw edge to raw edge on the back of the quilt half way down one side (doesn’t matter which side but I generally start on the right because you’ve never got much quilt under your machine by doing this. Remember to leave the 10” tail unsewn.
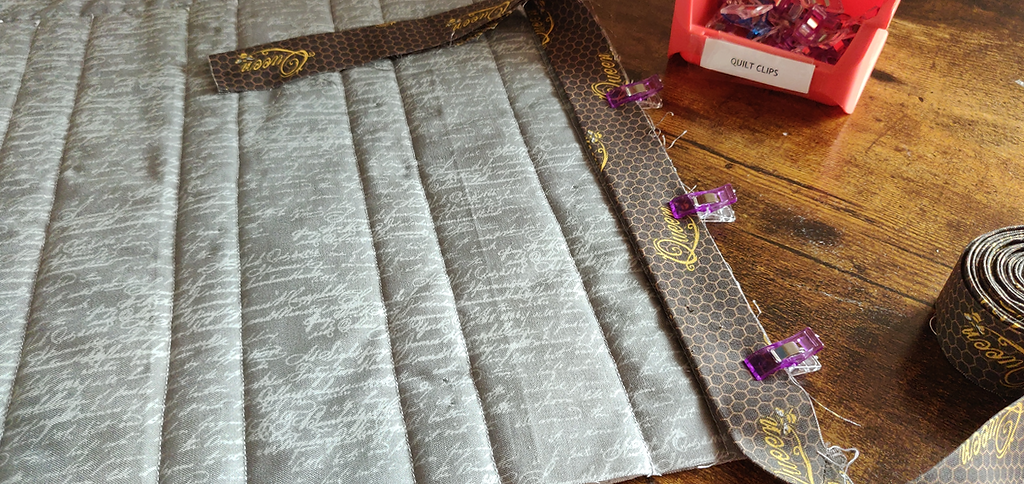
Pin or clip the binding in place. Clip all the way down to your first corner.
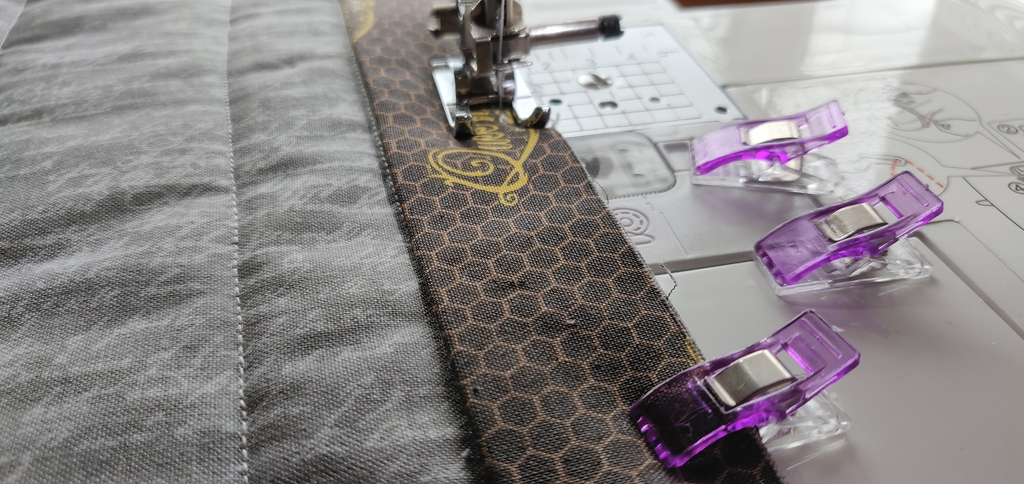
Begin sewing using a ¼” seam allowance. Backstitch at the beginning a few times to reinforce the stitch. Remove the clips (or pins) as you sew.
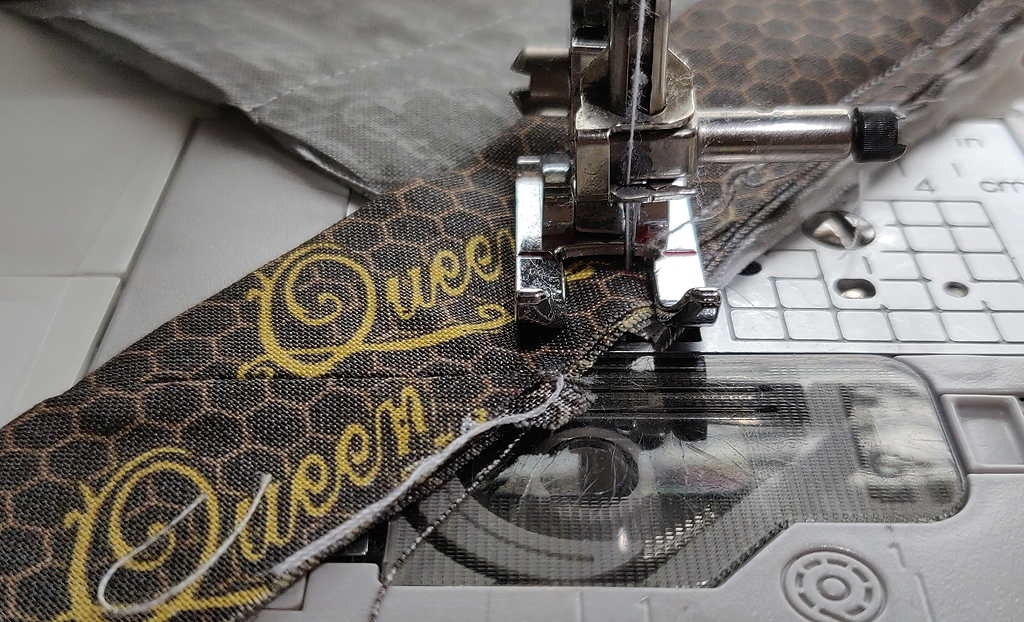
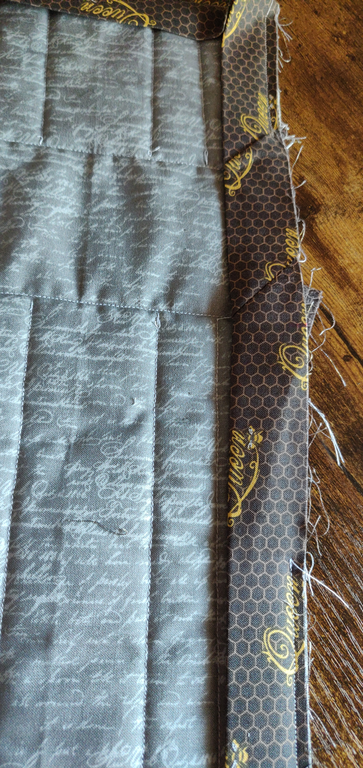
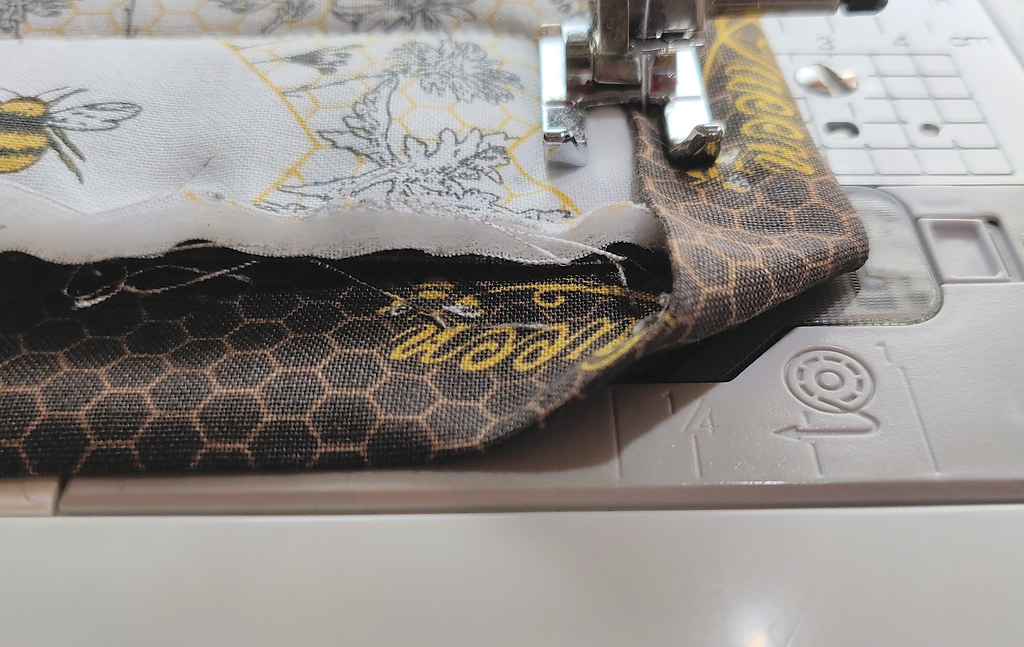
Sew all the way down to the first corner until you’re around 1/4” away from the edge. If you’re struggling to visualise ¼”, measure and mark the ¼” directly on the binding edge. When you get to that point, stop sewing with your needle still down in the fabric, lift the presser foot and pivot your fabric as shown. Stitch over the edge.
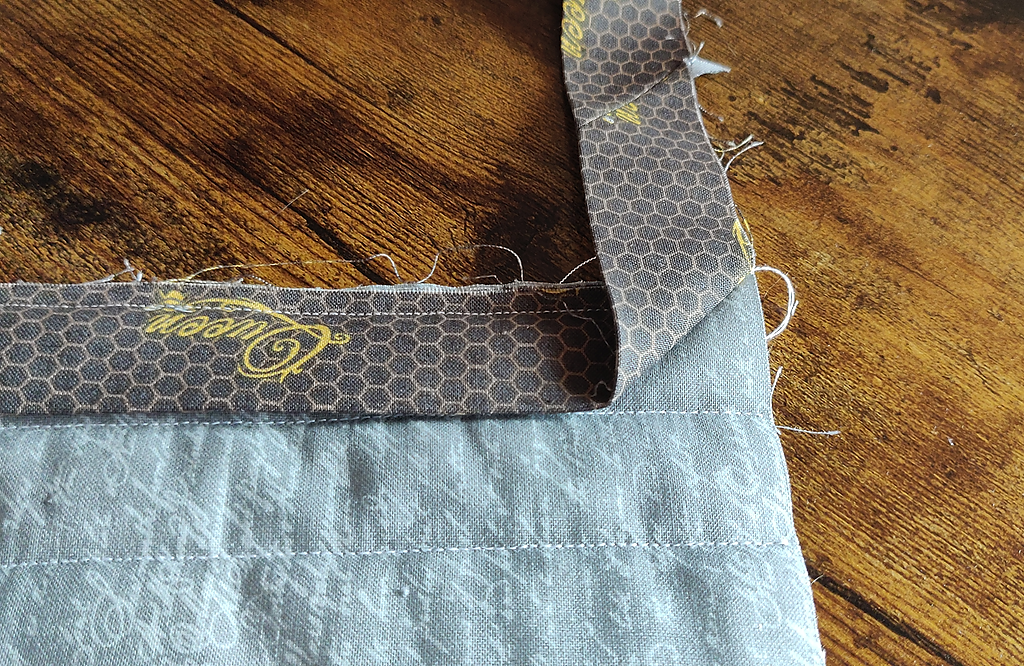
Remove from under the presser foot. Now take your binding and fold it up and away from you.
Then fold it back down as shown.
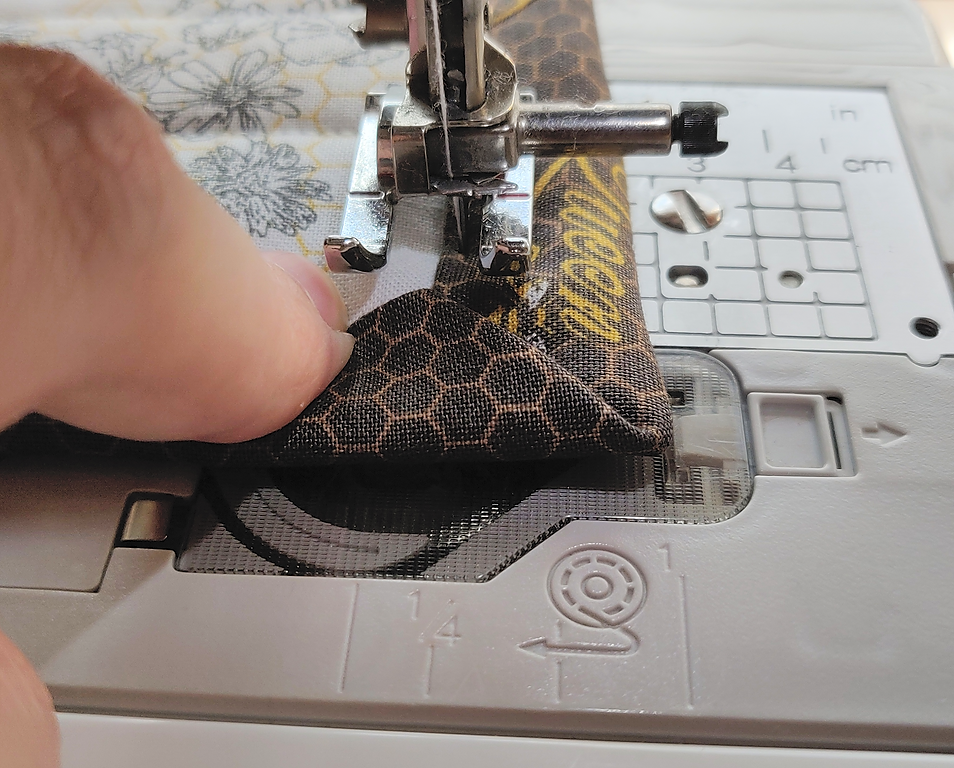
Begin sewing from ¼” down. You’ll be able to feel the additional fabric underneath the corner but if you feel happier marking, you can do so before you put the fabric back under your sewing machine. Sew from ¼” all the way down to the next corner and repeat. NOTE, if you want to add a tag to your quilt, doing this at the binding stage is the easiest option.
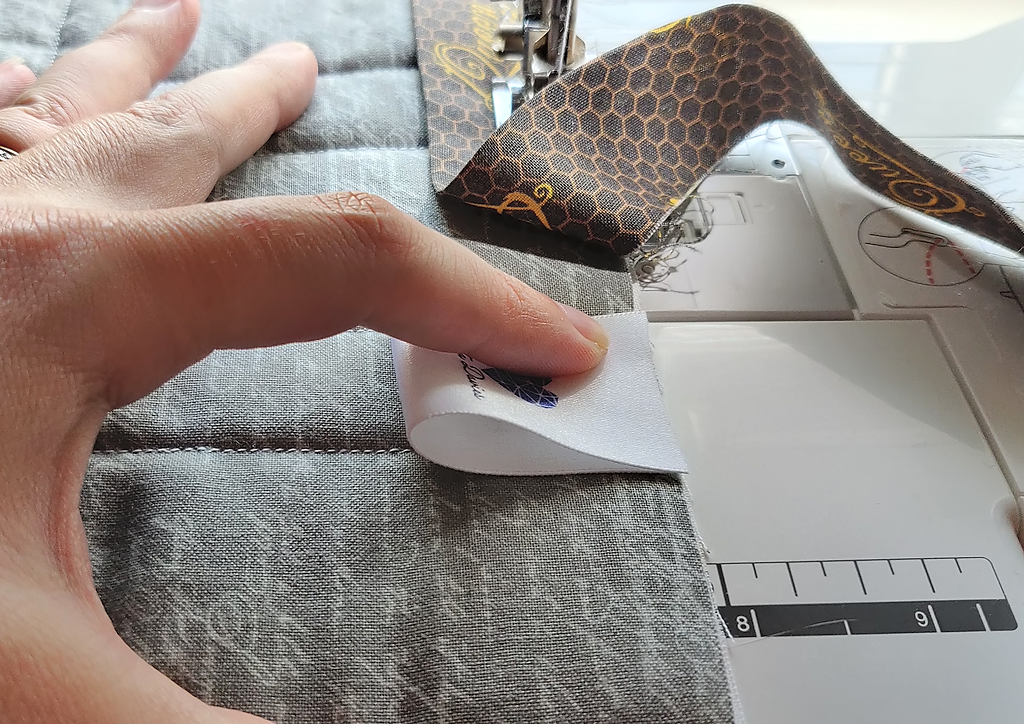
Simply place it between your quilt and the binding so that it gets caught in the same stitches. You’ll need to be careful not to stitch over it when we sew the binding on the front, but we will point this out when we get to that point in the tutorial.
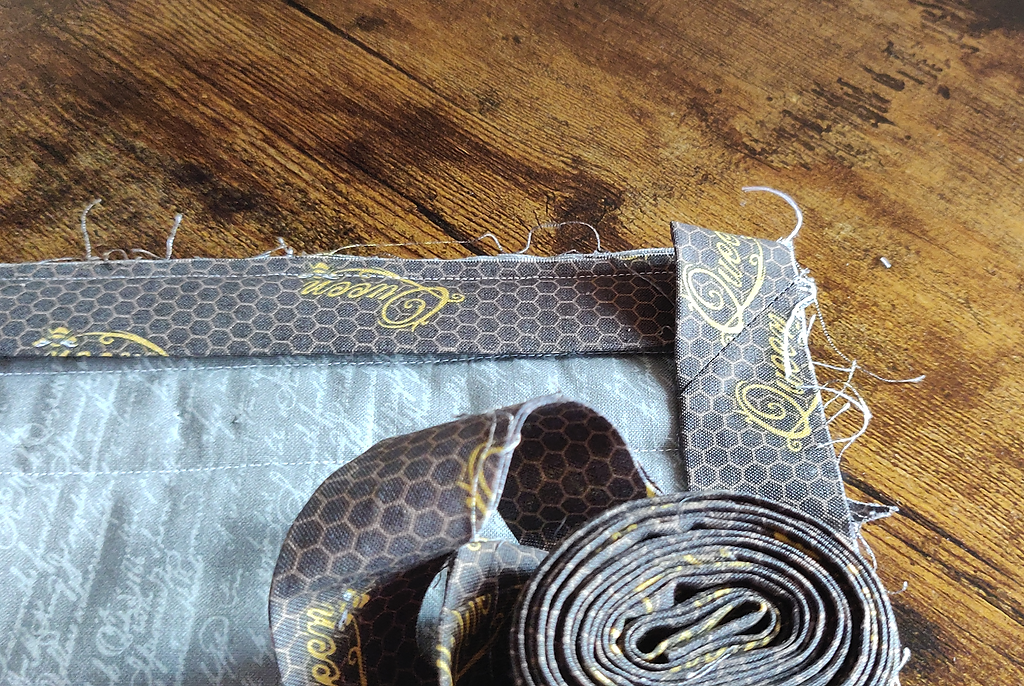
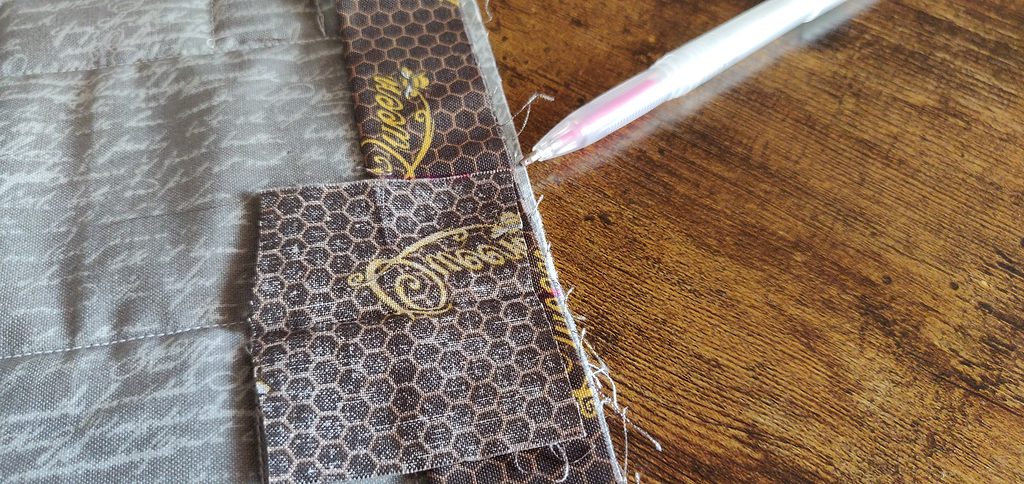
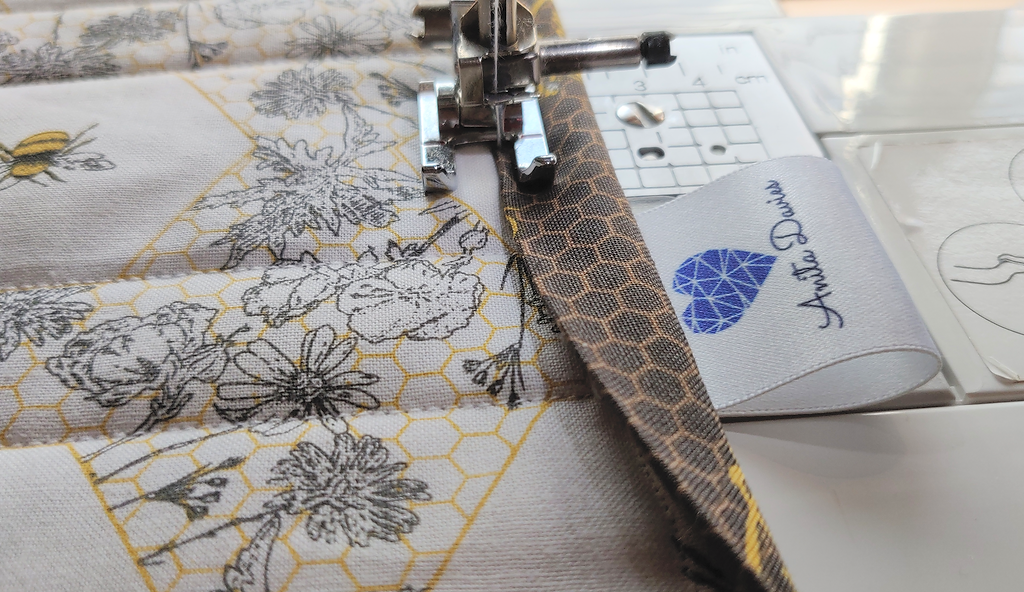
Once you’ve passed all corners, you’ll eventually get to the side you started with. Sew down that side until you’re roughly 12 inches away from your first stitch.
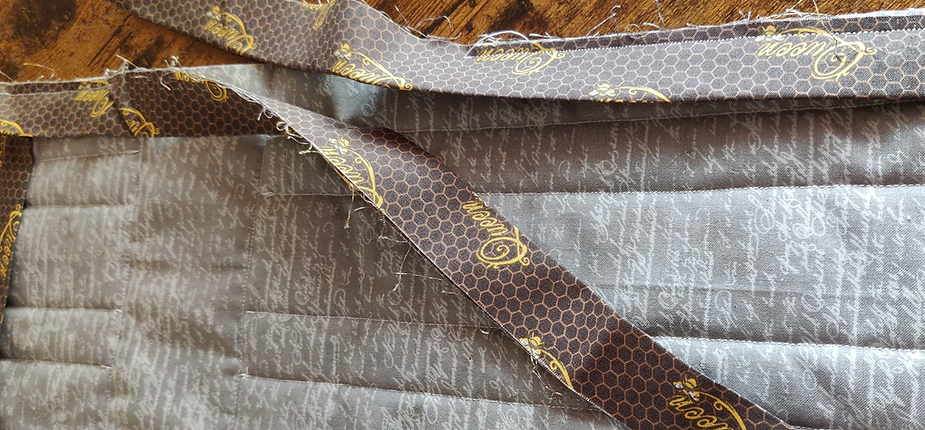
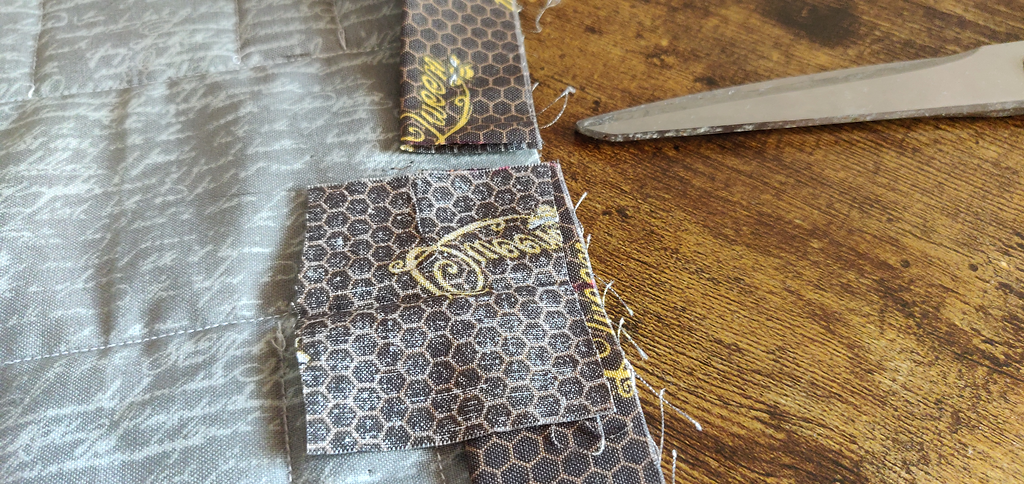
Trim the ending tail so it overlaps the starting tail by 12 (ish) inches.
Have a read through the process of joining the binding tails before starting to make sure you understand it. This method is, in my opinion, by far the easiest method! And… as long as you cut from the correct side – it’ll fit perfectly every time. Firstly, make a little mark roughly halfway between your two binding tails. The mark won’t be seen on the finished project.
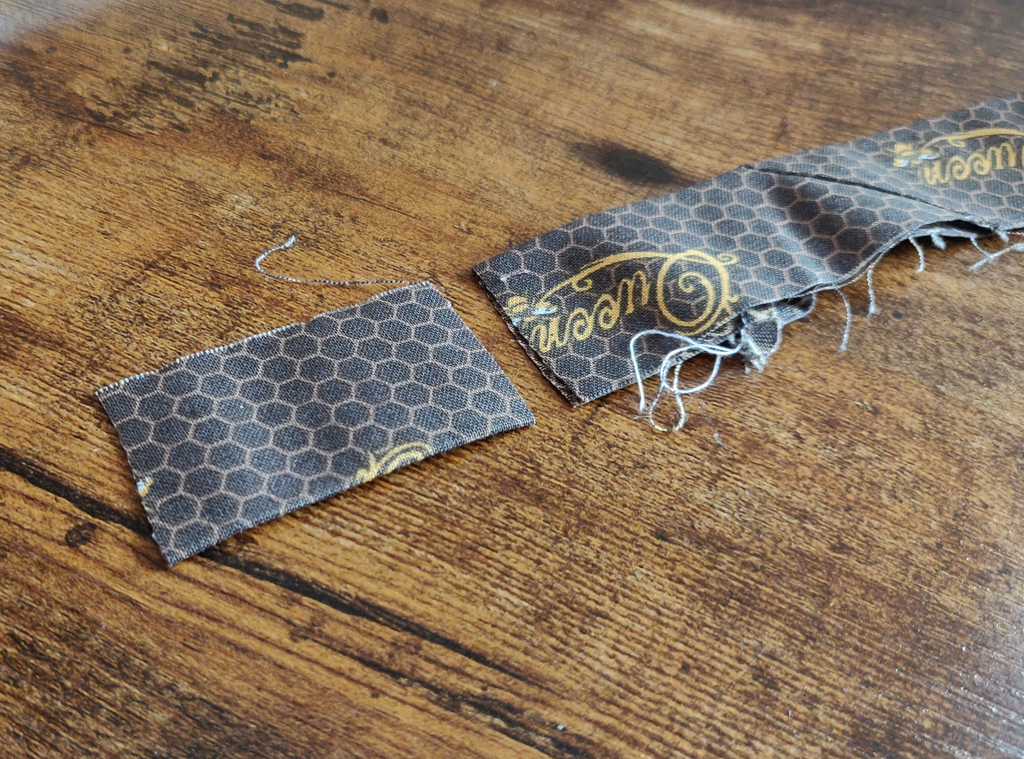
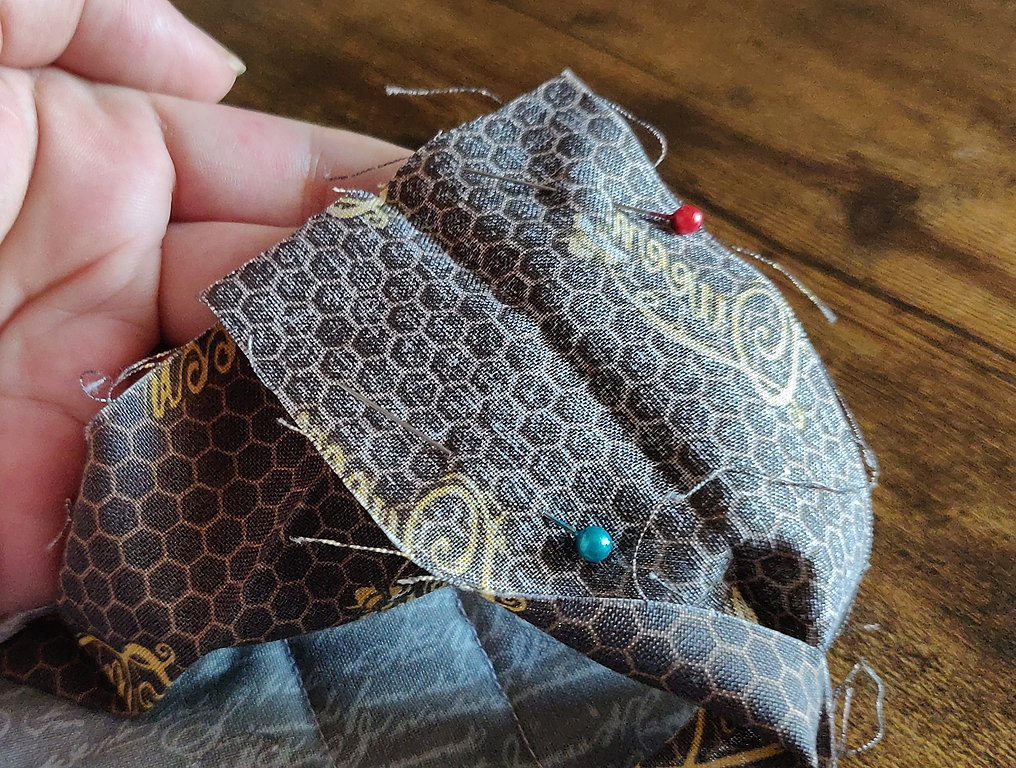
Snip a small piece of the binding you have left so we can use it to determine the correct cuts.
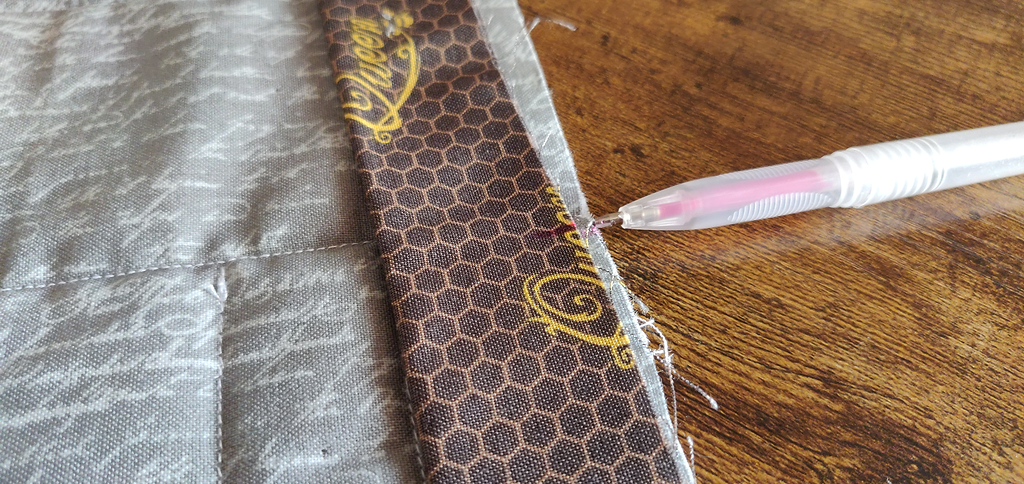
Flatten out your starting tail and mark in the same place as your previous mark.
Lay your off-cut of binding with the centre against the mark as shown. Draw across the edge of that off-cut on the side where your tail end is.
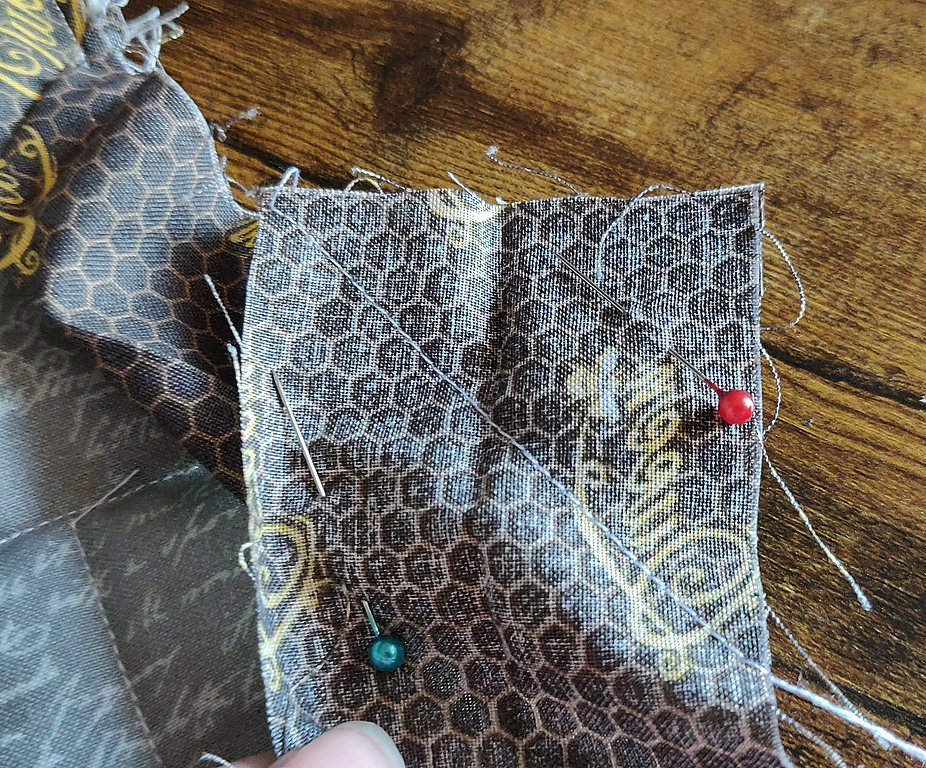
Trim any excess past that line. Repeat this for the other tail end using the same centre mark.
Mark binding, place off-cut, mark cut line (again, using the tail end to make sure you cut the correct side!), cut.
The tails will now sit 2.5 inches over one another.
Because the tail ends have been cut to the correct size, there’s no more measuring (Phew!)
Fold your quilt in half at this point. It will help you manoeuvre the tail ends together. Place the ends right sides together (RST) – your outer crease lines should be face to face.
It can be fiddly to hold them together, so pop in a pin once you have them lined up.
Sew corner to corner from the left down to the right.
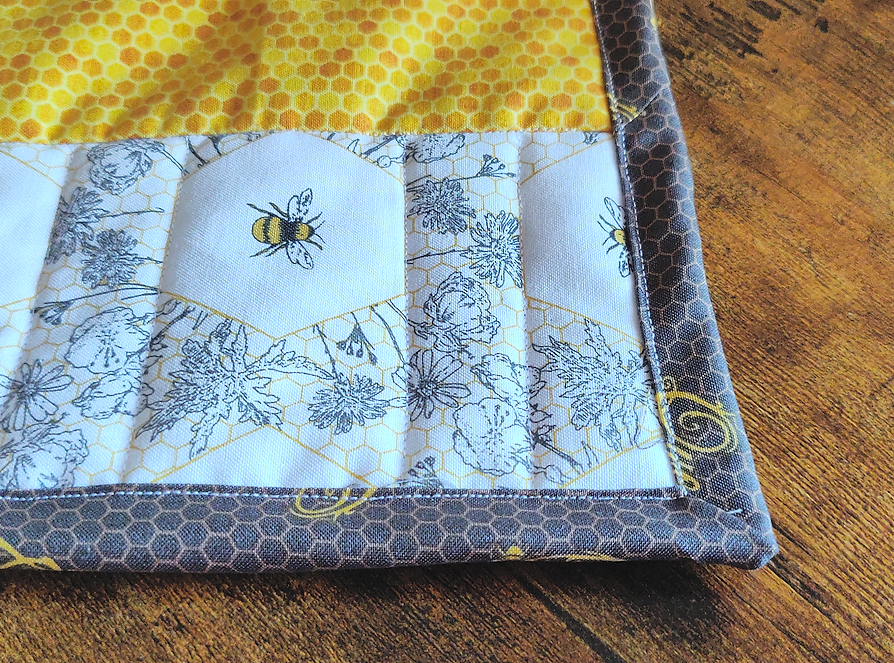
Pull your quilt flat to check the binding sits correctly. Once you’ve checked and are happy… cut the excess off the back of the binding down to ¼”.
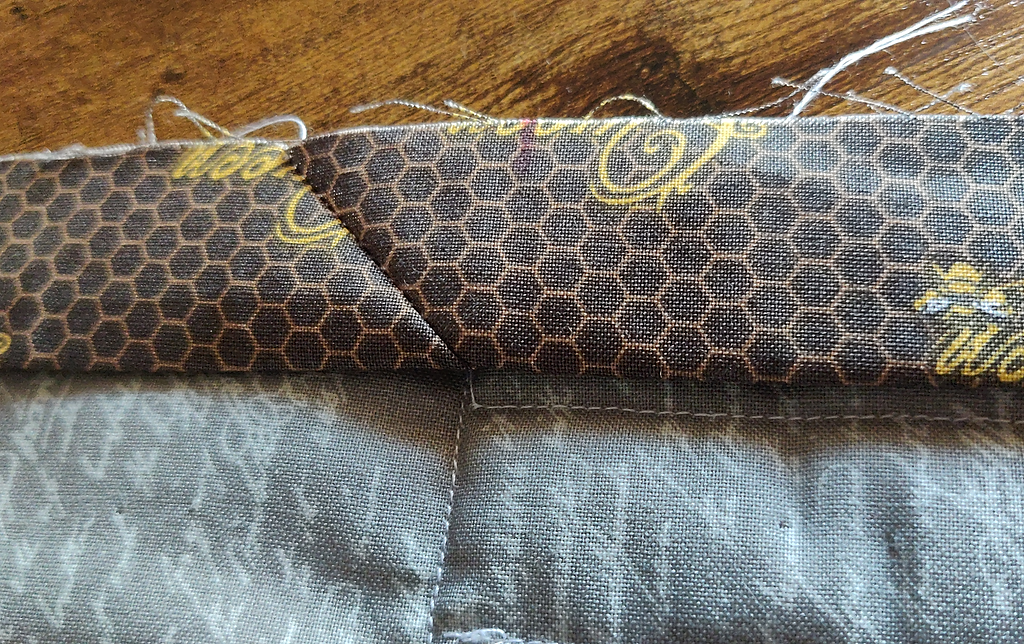
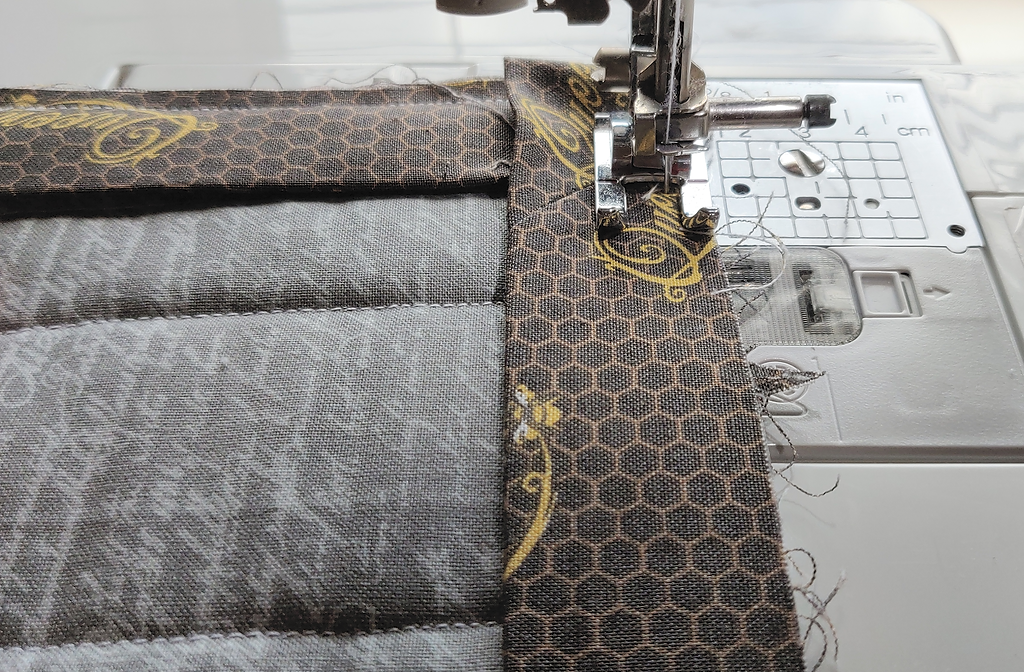
Take back to your machine and sew using that 1/4 inch seam allowance as before. Stitch from where you finished, all the way back down to where you started. See that lovely angled join. Perfect!
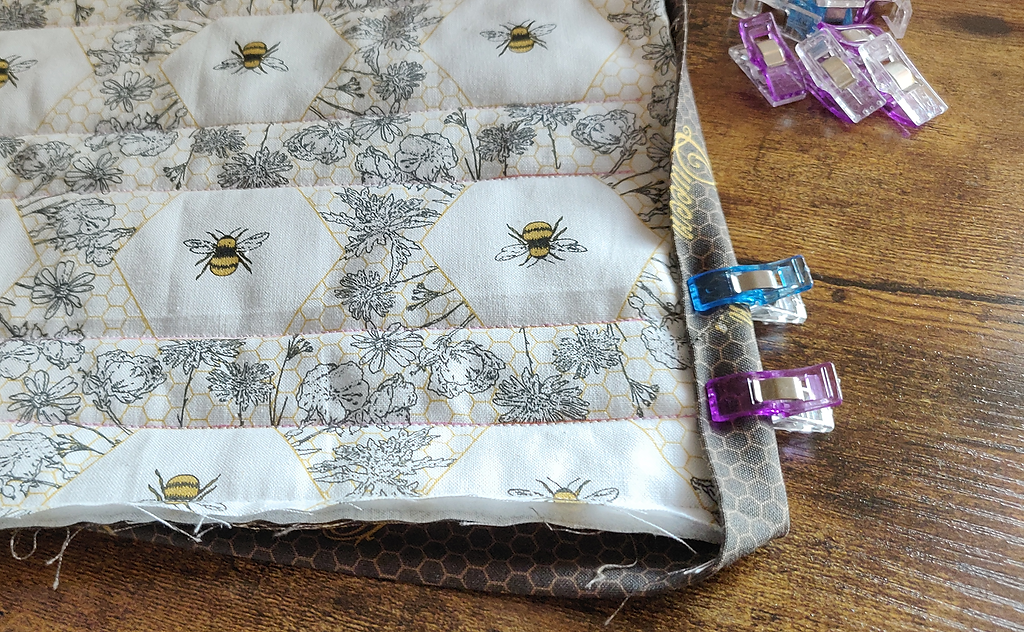
Now the binding is joined up and completely stitched to the back of your quilt, we need to secure it on the front. This time you’ll need to start at a corner. I promise this all gets easier each time you do it. Be sure to use a bobbin thread that will blend in to the back of your quilt. As we sew it down to the front, there will be an additional line of stitches on the back. They shouldn’t touch the binding, so swap out your bobbin thread for the same colour you used to quilt the rest of the… quilt… Fold over one edge of the binding as shown.
Now fold the following edge over to cover the first. If folded correctly, it will create a perfect mitred corner. Hold this in place and put under your presser foot. Sew slowly until you’re confident the corner is stitched (backstitch a little too!)
Continue folding the binding over to the front of your quilt and stitching as close to the edge as you can.
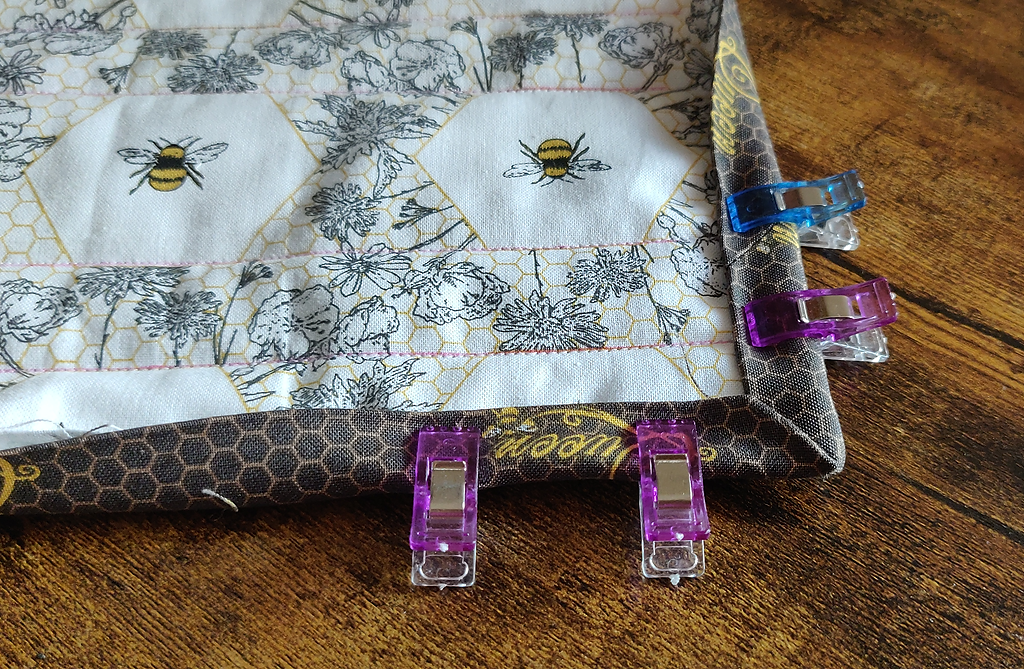
When you get to the corner, fold down the side you’re currently stitching on.
Then fold the binding from the next side over the top of it. It should create another perfect corner as it did with the first. You’ll need to hold this in place as you stitch so it doesn’t shift. I don’t recommend pinning here as by the time the machine has stitched enough to hold the corner, you’ll have gone over the pin, which is never good!!
Continue stitching, repeating the steps for the corners.
Quilt Tag
If you added a quilt tag within the binding, remember to tuck it out of the way when you’re stitching into the top of the binding so that you don’t sew over the middle of the tag. Just pull it to the right of your project so that you can see it and the needle won’t go through it. One trick to be sure you never forget this, is to add a pin to the front of the quilt where the tag is, so that when you turn it over, you’ll see the pin and know to move the tag before continuing.