We all have that bag in the attic right? The one that’s full of gift wrap that gets dragged down once a year at Christmas and then barely gets touched because the new ranges are much prettier. Sigh.
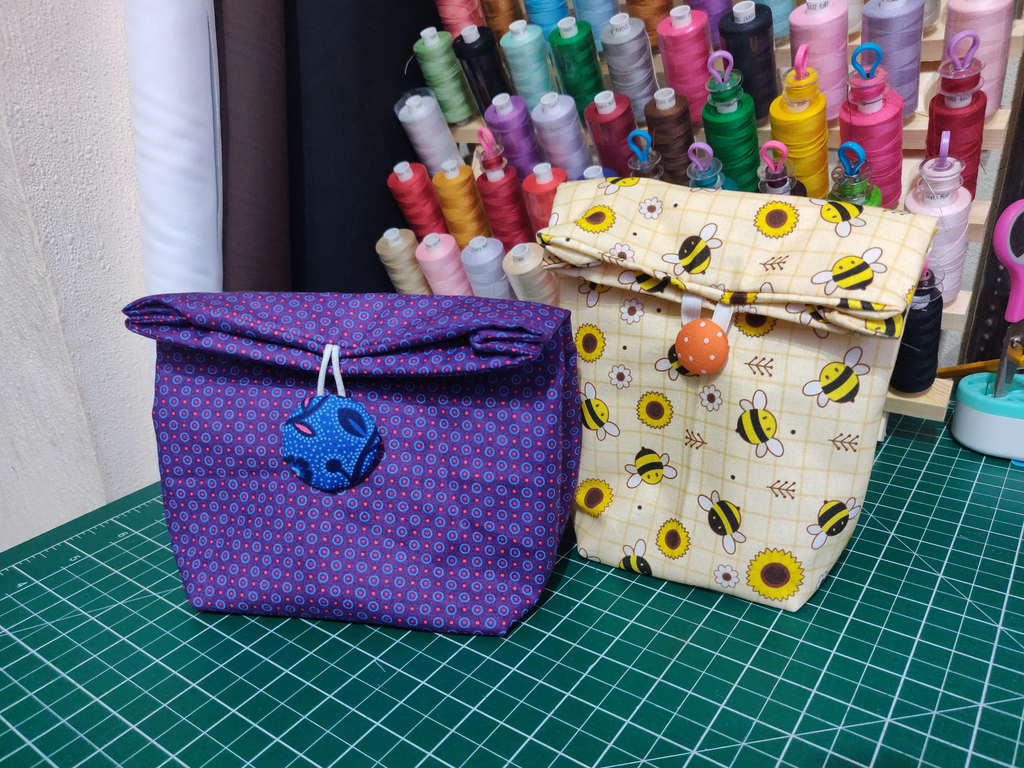
These wonderful little gift bags are really quick to make once you get the hang of it. And I mean we’re talking 10 minutes, if that. The best thing is, they only require one fat quarter!
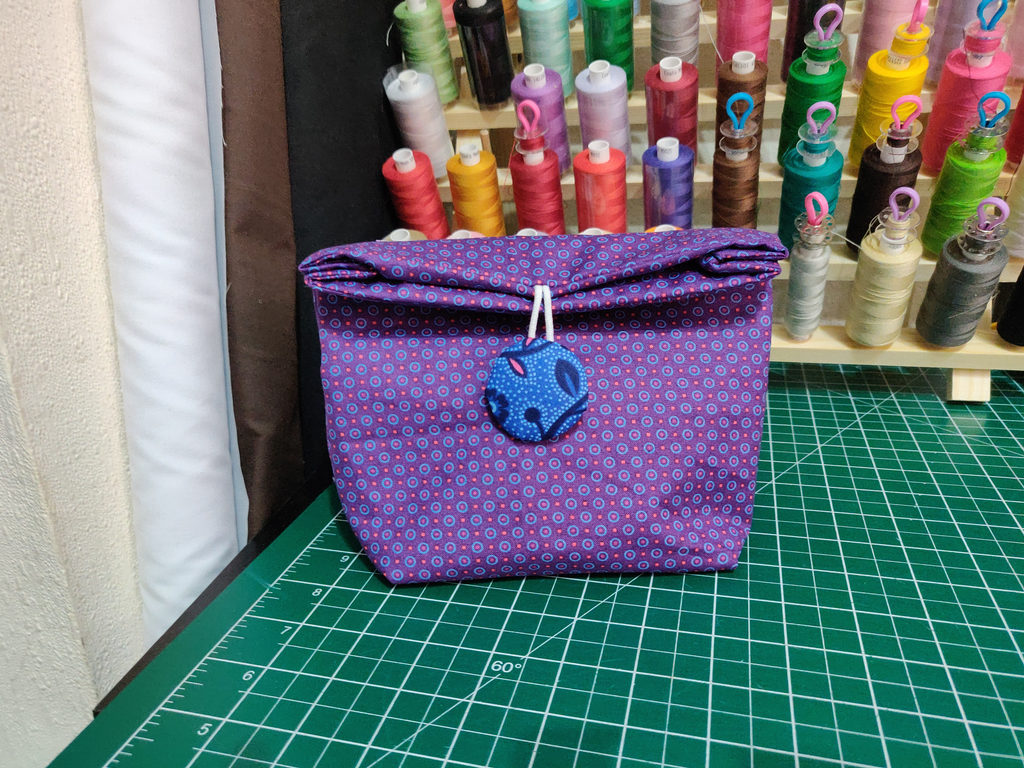
First, make a decision. Do you want to make the taller bag, or the shorter one? This tutorial shows the steps for the shorter one (Makoti), but if you’d prefer to make it taller like the So Buzzy Bees one, just cut your FQ across it’s longest side instead of it’s shortest in the first step. All the other steps remain identical.
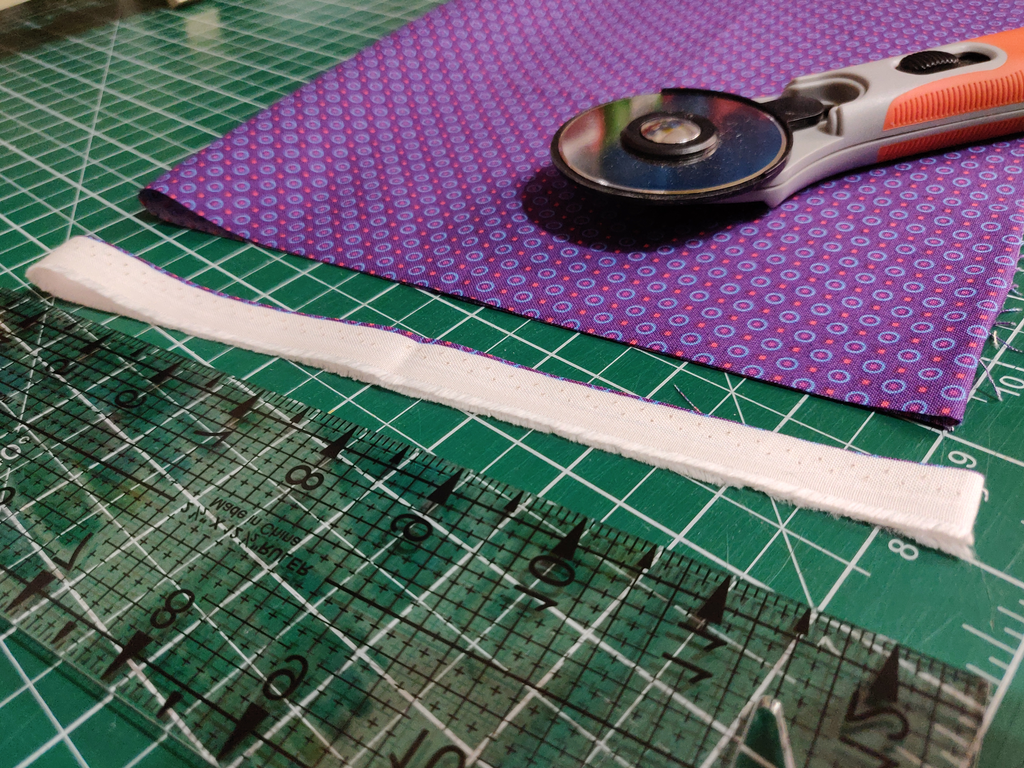
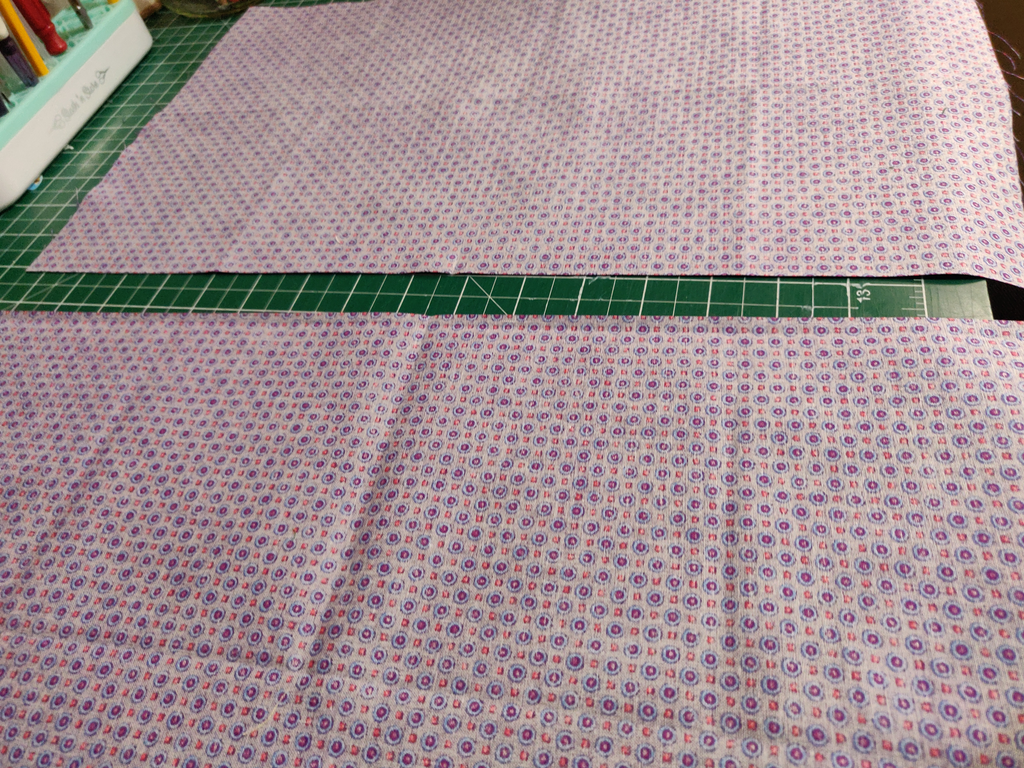
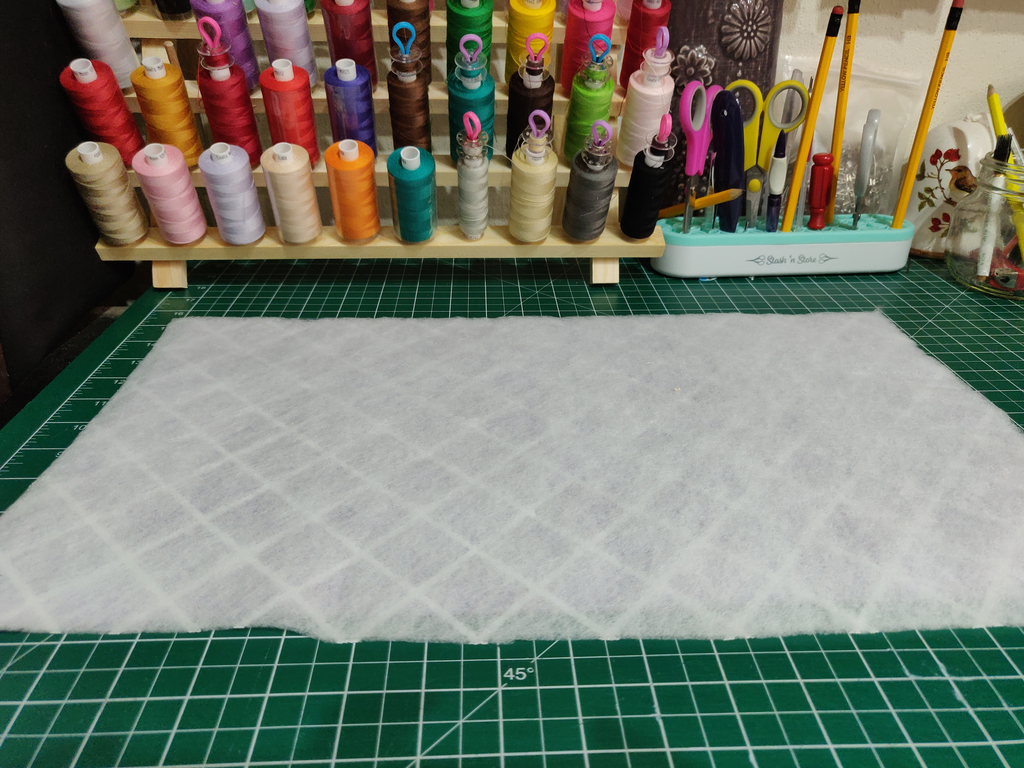
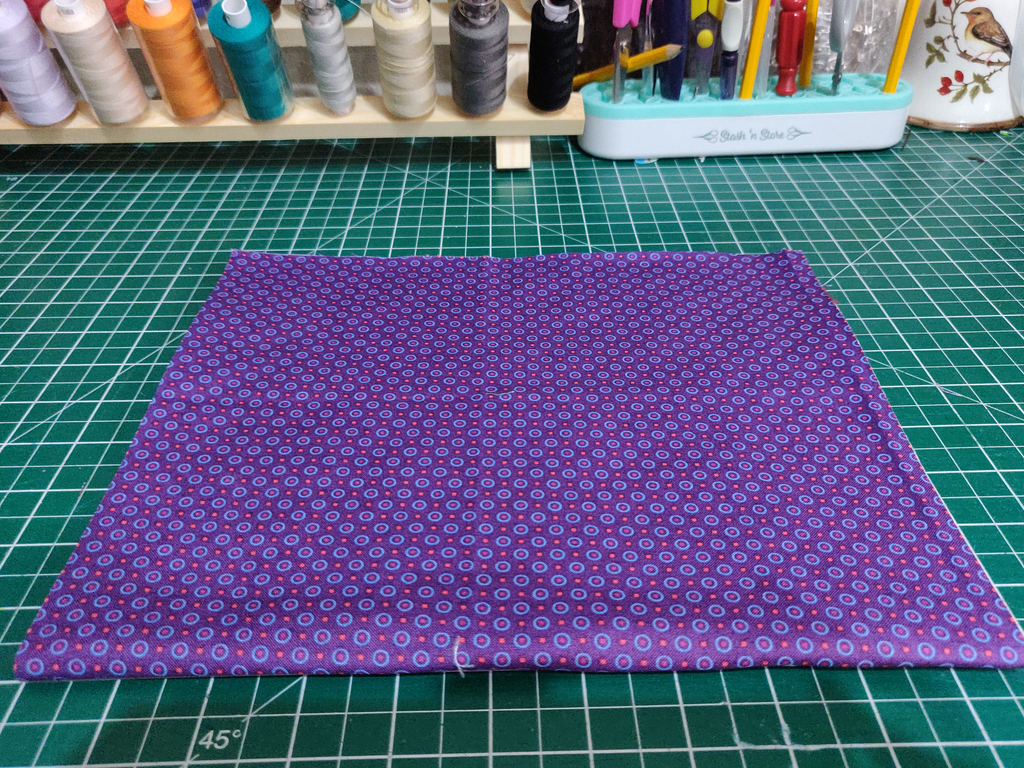
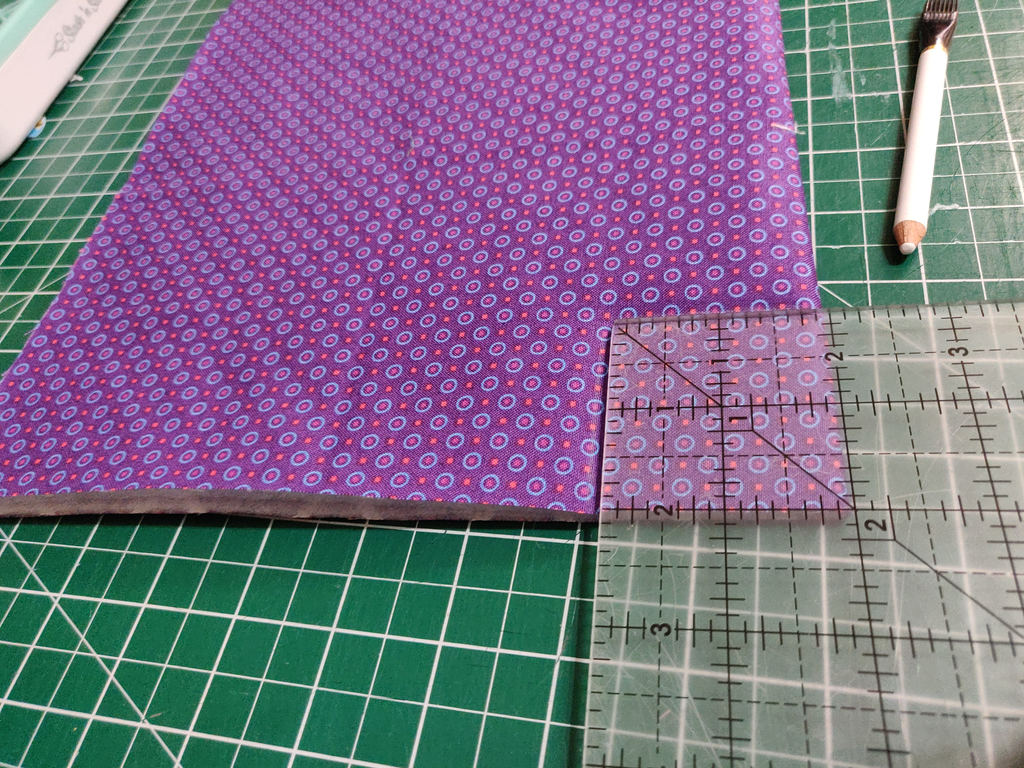
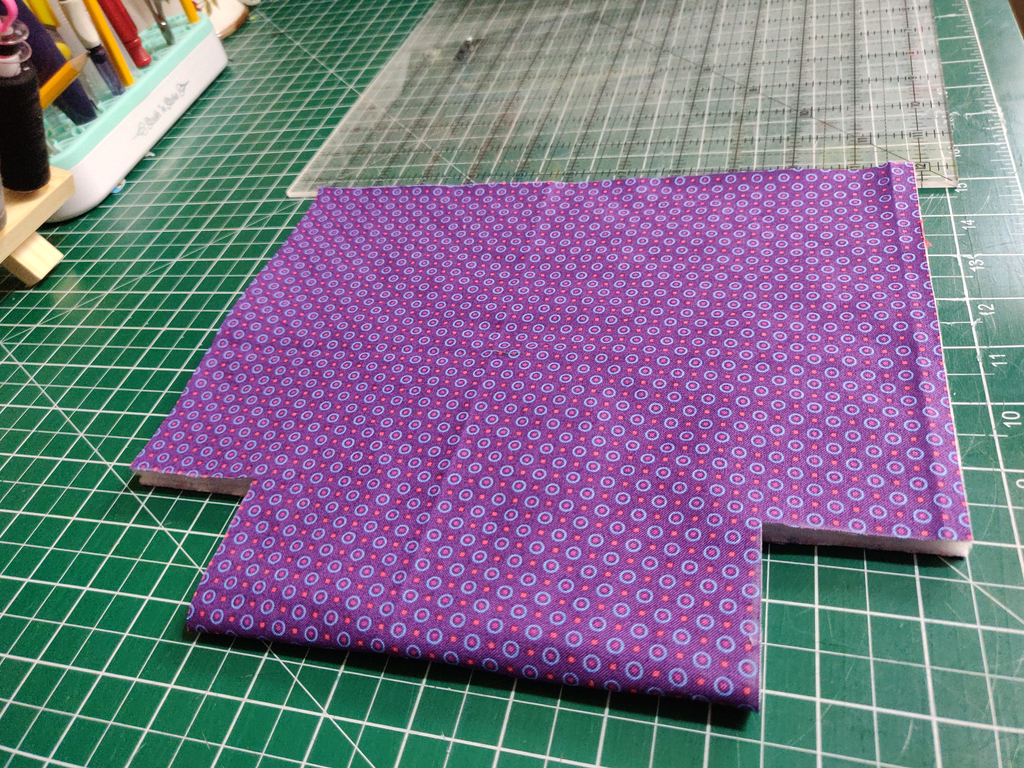
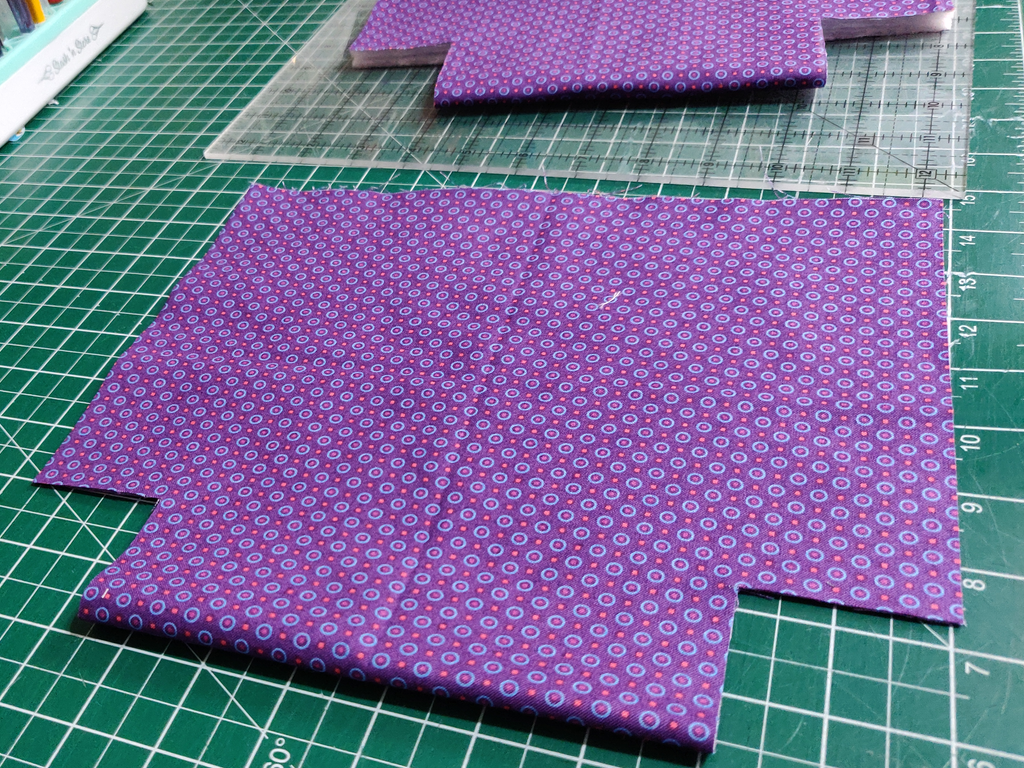
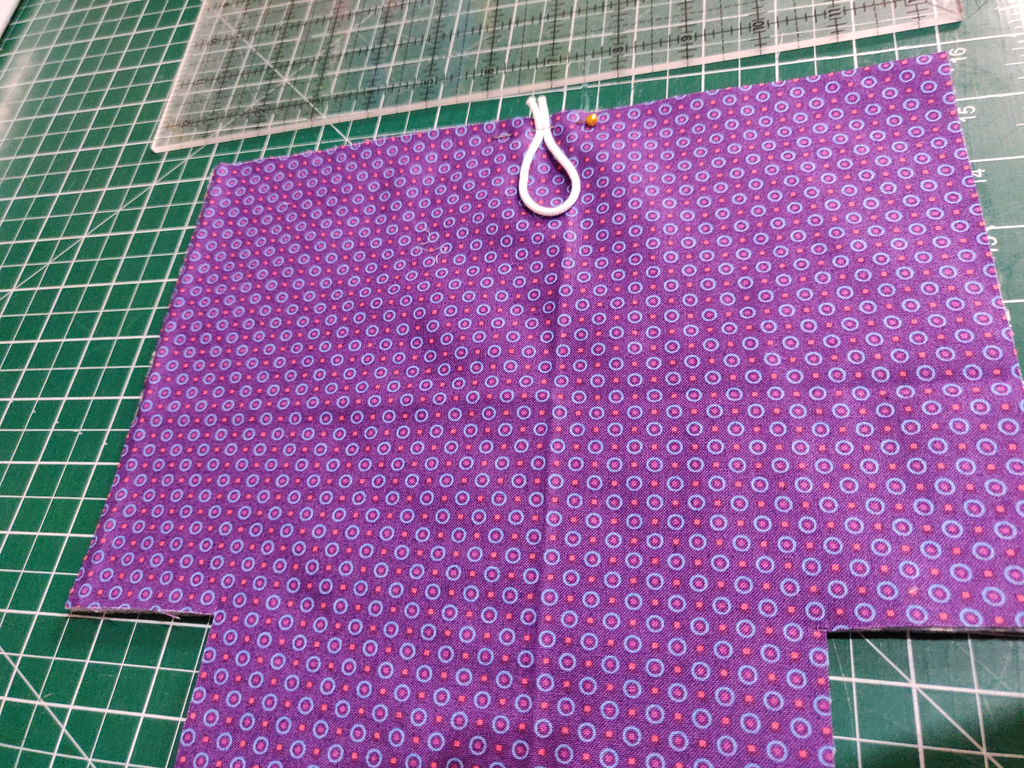
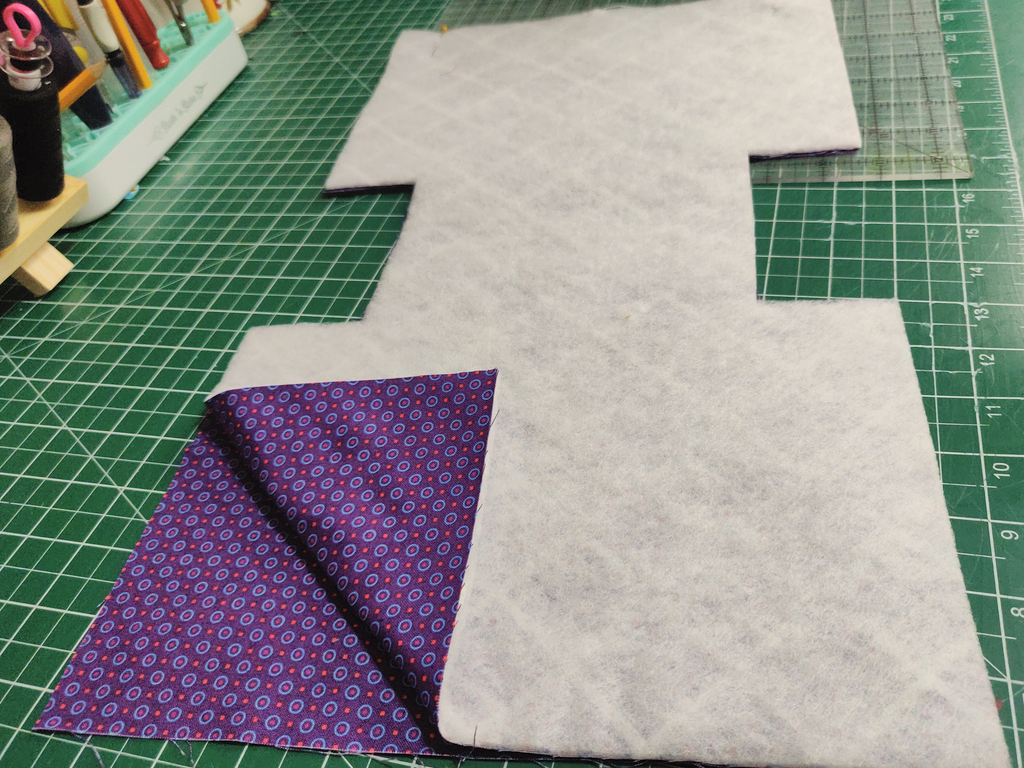
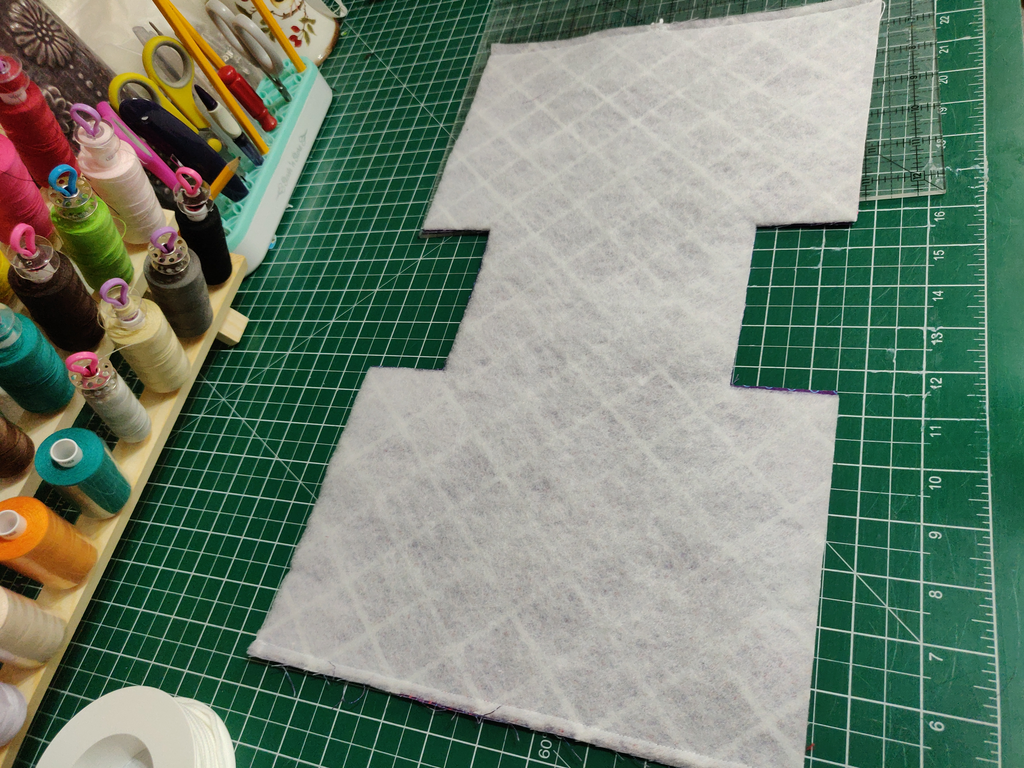
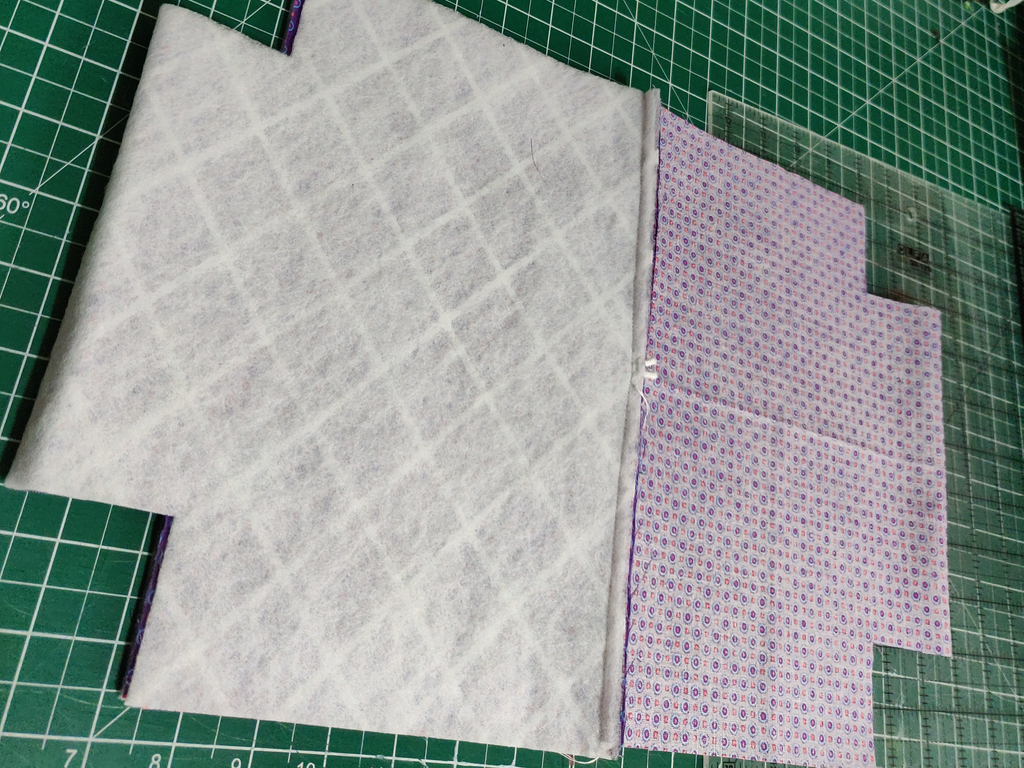
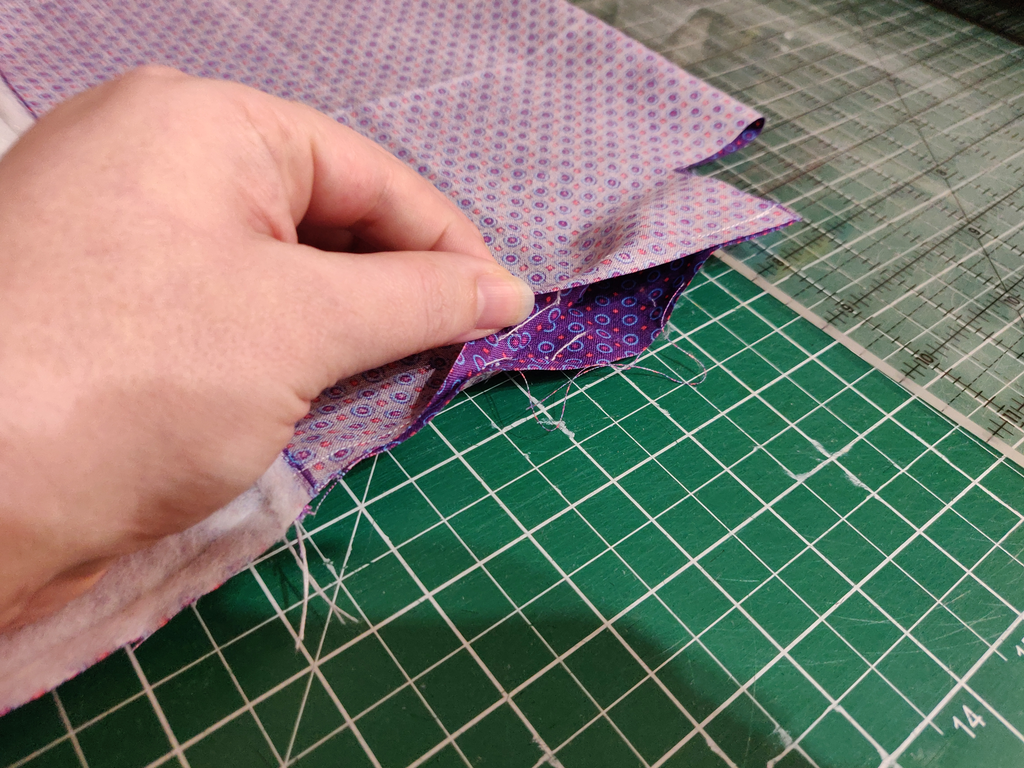
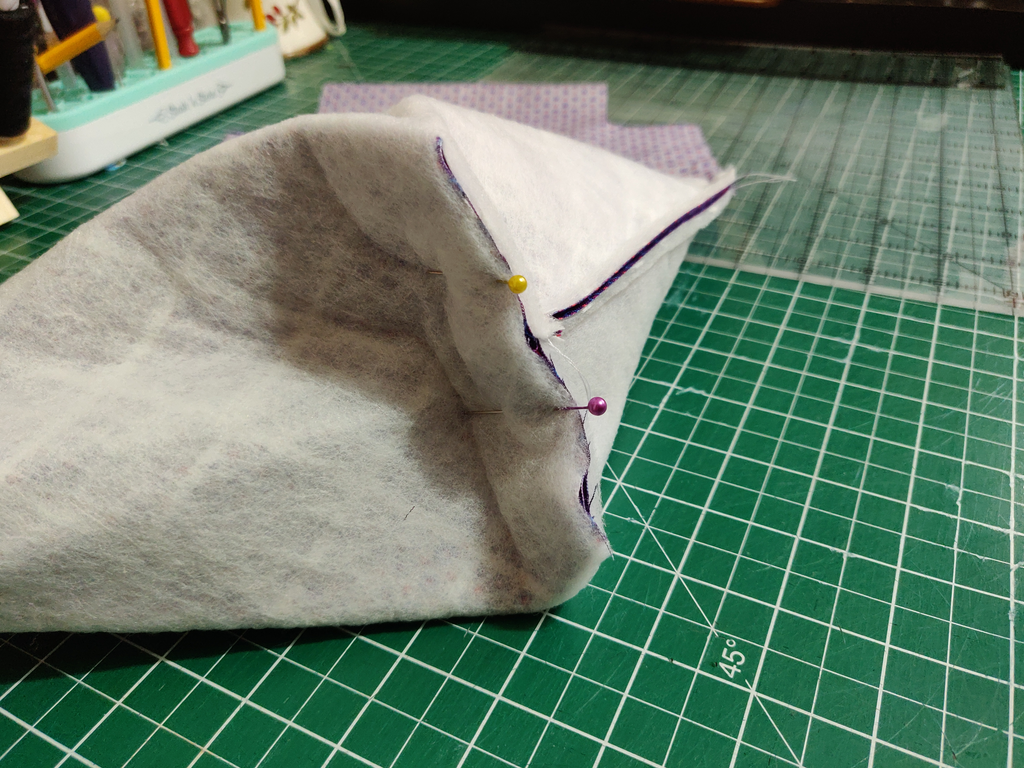
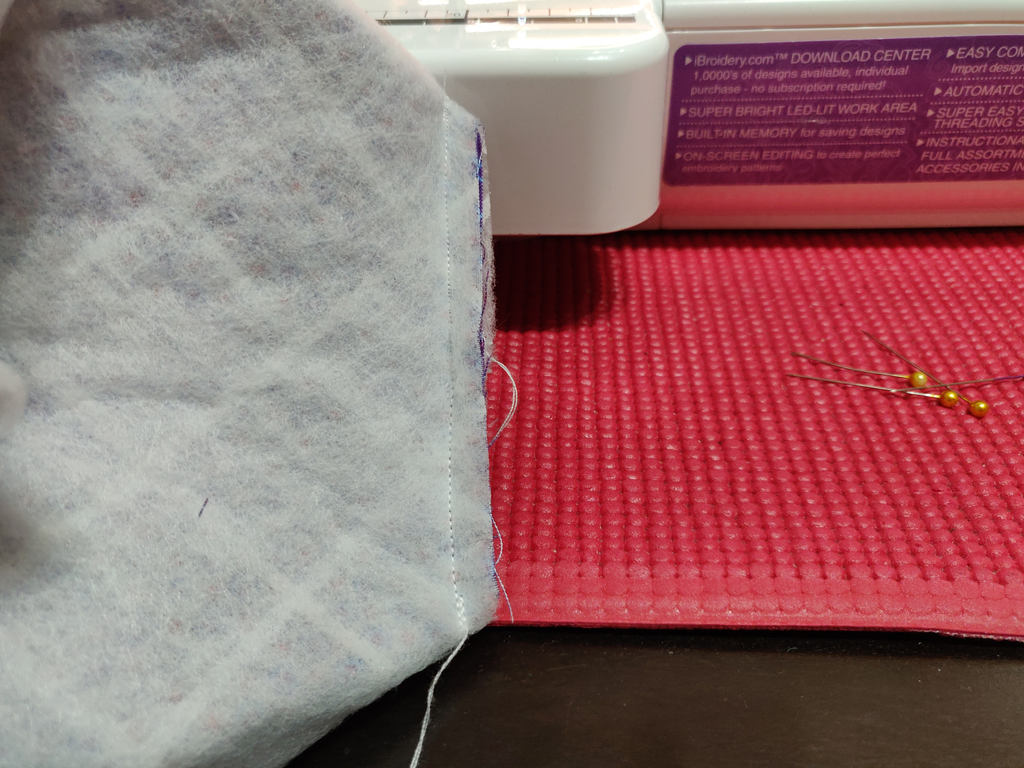
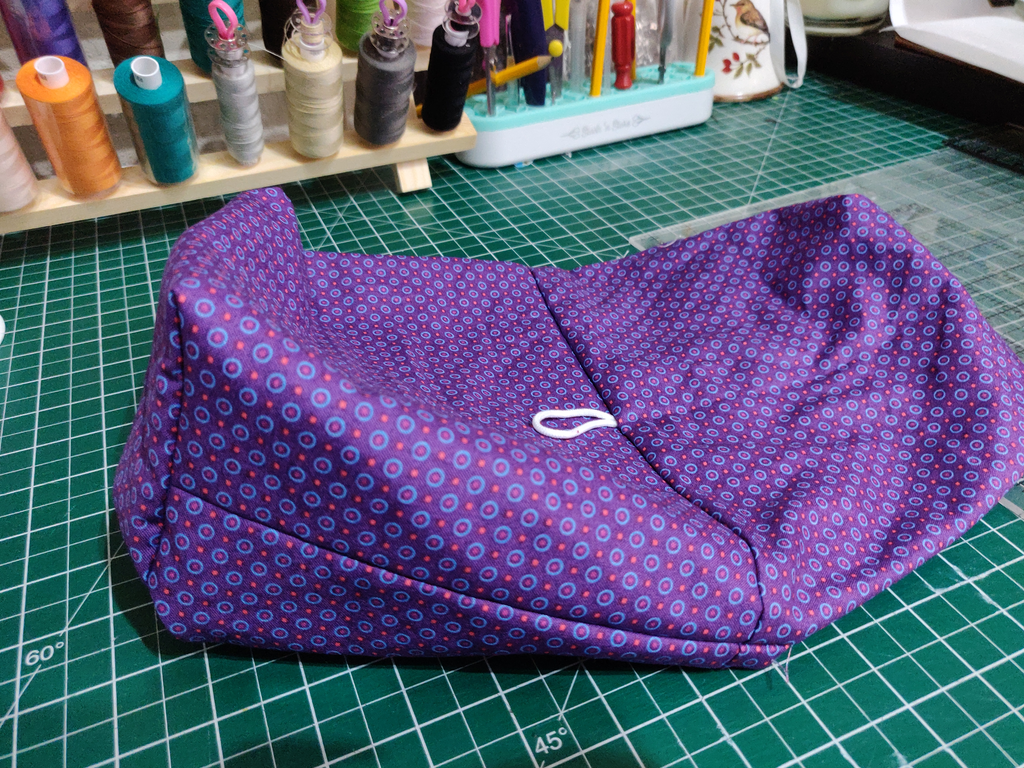
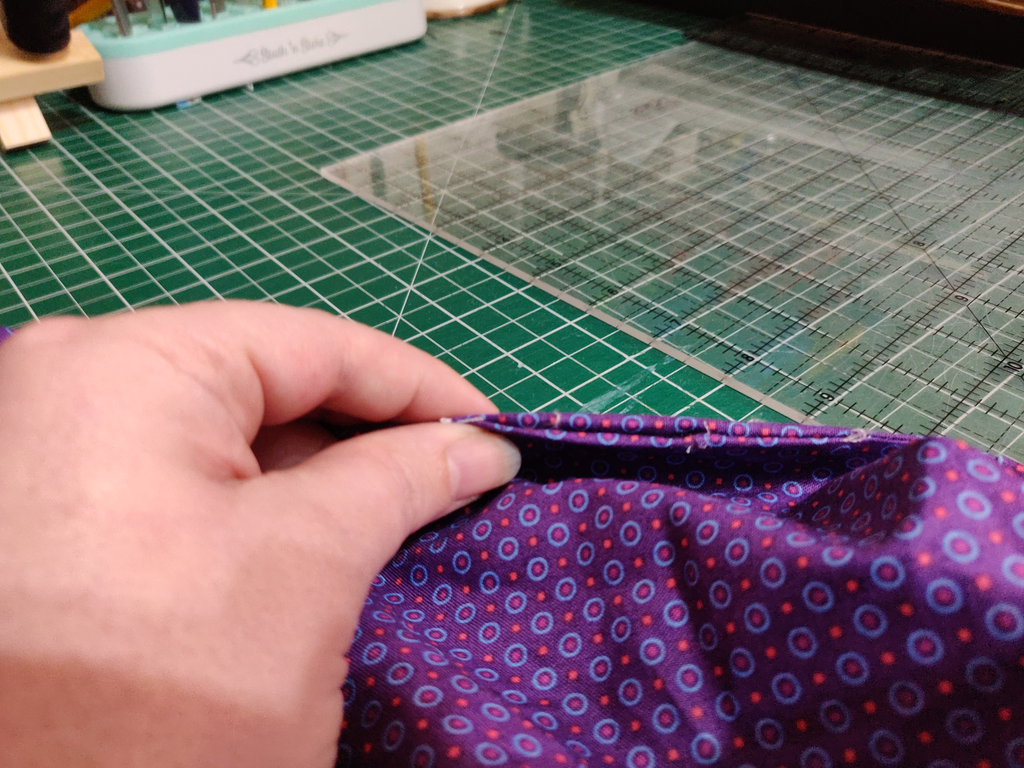
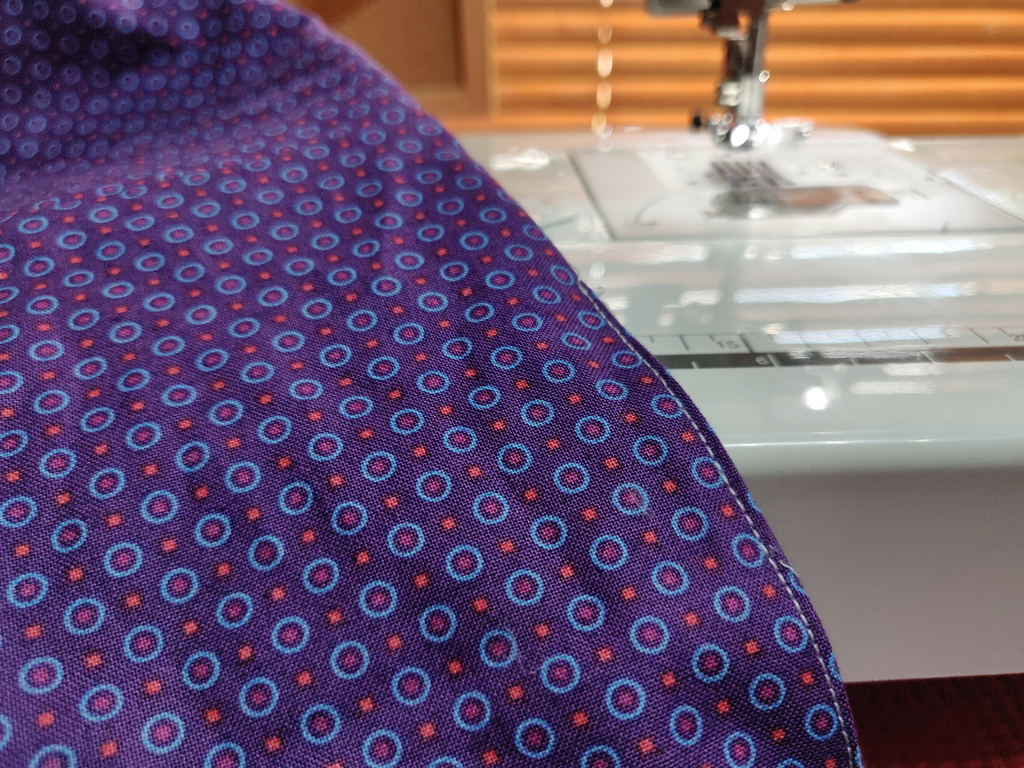
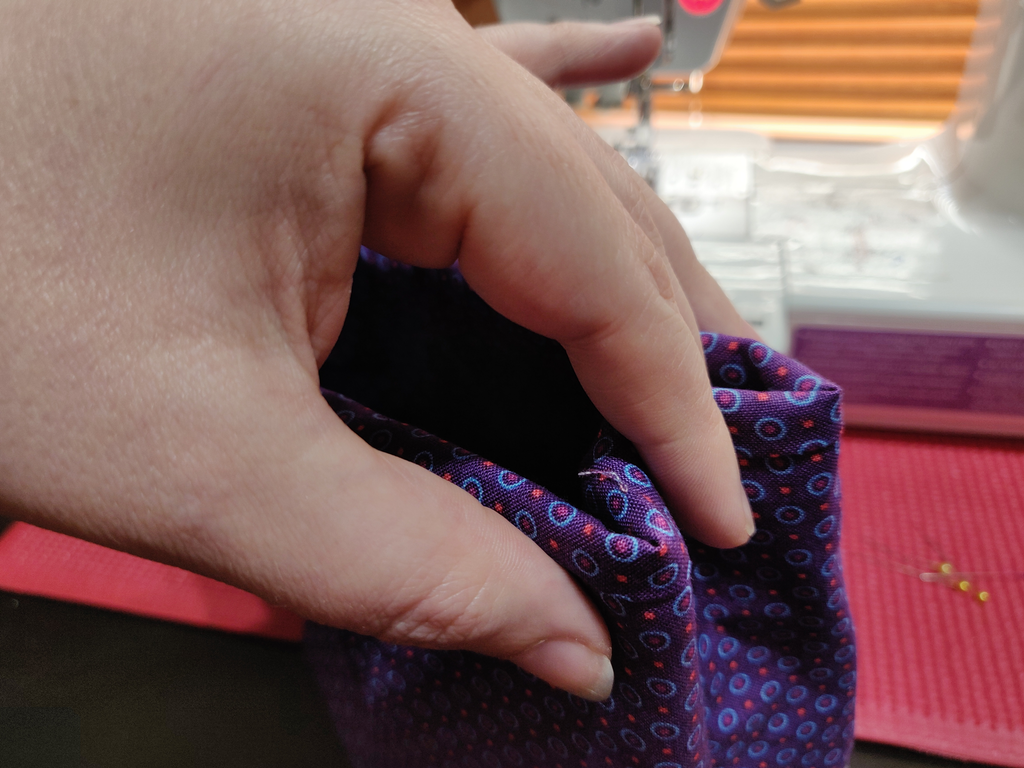
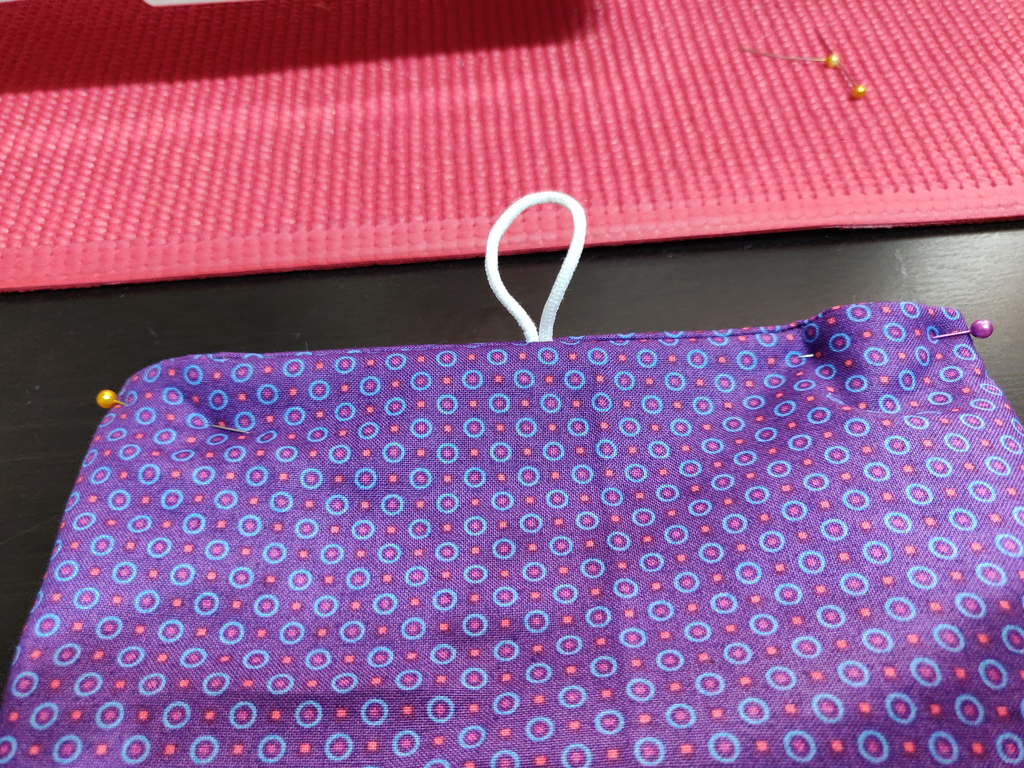
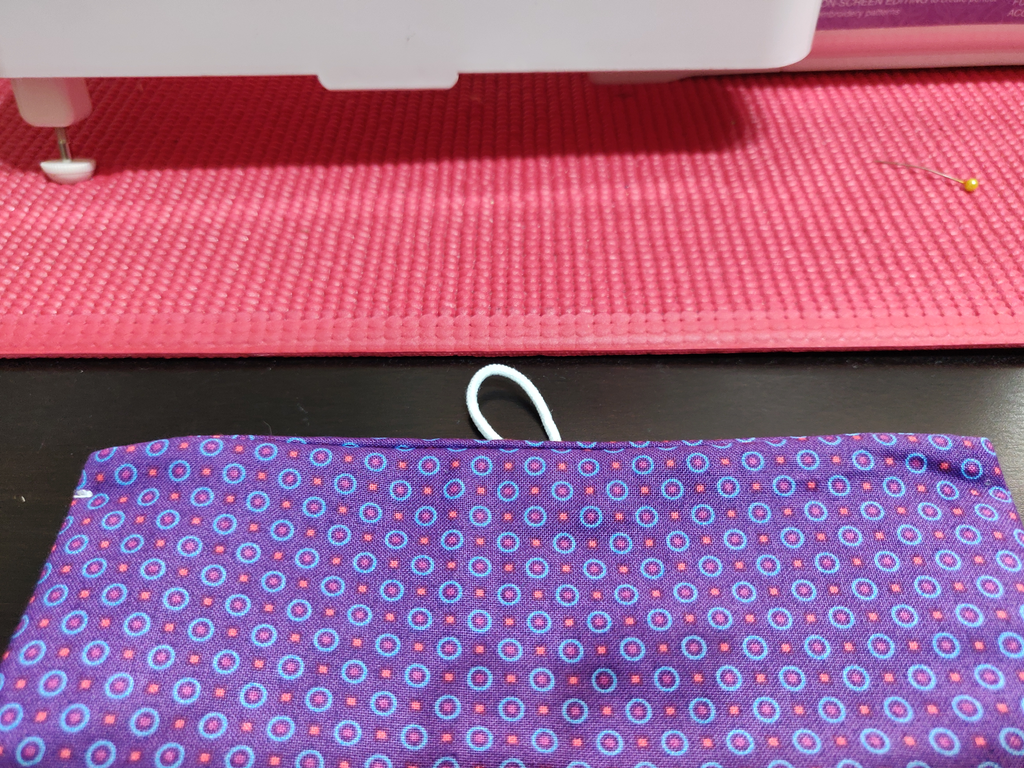
Cut away the selvedge. Cut the FQ in half across it’s shortest side. (Longest if you want the taller bag). Pin your wadding to the wrong side of one of the pieces of fabric (or iron it in place if it’s fusible) – If using interfacing instead of wadding, apply it to the wrong side of one piece now. Fold the fabric (and wadding) in half so that the wrong sides are facing one another. Mark 2″ squares on either side at the bottom (folded edge). Cut them out. Repeat the 2″ squares on your second piece of fabric, also wrong sides together. This piece will be the lining of your gift bag. Loop the elastic and pin it in place at the TOP of the bag. This is particularly important if your fabric has a directional print. Once pinned, stitch the elastic in place. Remembering to remove your pin so you don’t stitch over it. Now place your outer fabric on top of your lining fabric, right sides together. Sew a 1/4 inch seam across the top and bottom. Backstitch at the beginning and end. Open out the fabric so that the two lining pieces and the two outer pieces are facing their matching pieces (lining to lining, outer to outer). Stitch across the four edges using a 1/4 inch seam. Do not stitch the squares we cut at this point. When you get to the last edge, leave a small opening (3-4 inches is fine). Backstitch at the beginning and end. This is really important as we’ll use the gap for turning out the bag. Place your fingers inside the fabric in one of the corners and give a little tug. The bottom of your bag and the side seams will sit flat against one another as shown. Pin in place. Stitch using a 1/4 inch seam allowance. Repeat with the remaining three corners. Then turn out the bag and poke out the corners. Give it a press here if you like. Close up the hole you left for turning the fabric right side out. You can use a slip stitch if you don’t want to see the stitches, but to be honest, it’s INSIDE the bag and won’t really be seen anyway, so… I just tug either side of the opening to pull in the raw edges and stitch it on the machine as it’s quick. Once the lining is pushed inside, take the top of the bag and fold each side in by 1 inch as shown. The easiest way is to slide your finger into the seam and push in by an inch. Pin all the layers together. Use a matching thread. this has been done in white on the left to show where to stitch, but the right is stitched with purple and you can’t see it 🙂 Fold the top of the bag over to figure out where to place the button. Mark or pop in a pin so you don’t lose the spot. Sew on your button. Voila. Super quick gift bag – And I used some of my fabric stash 🙂