Cold, cold, cold, and getting colder! Everyone is super-busy at this time of year, getting back into the swing of things following the Christmas and New Year celebrations. This simple fleece blanket will keep you snug as a bug in a rug on those cold nights through Winter, which has yet to take a proper hold here in Derbyshire. You’ll only need a few things to complete this blanket, and it will be a very quick make! The fabric/edging requirements given make a fairly large quilt, but if you want something that’ll be a little wider, just increase the length to 2m. This should give you plenty of room for at least two people and the reel of edging we used would be more than enough for the larger size.
Before we start, there are just a few things to mention about fleece.
- Fleece doesn’t shrink, fade, or run, so no need to pre-wash (Whoop!)
- Fleece has a really, really low melting point, so whatever you do, don’t iron or press it!
- Fleece is really stable to work with, but can curl at the edges when sewn, so try to limit pulling and tugging.
What you need
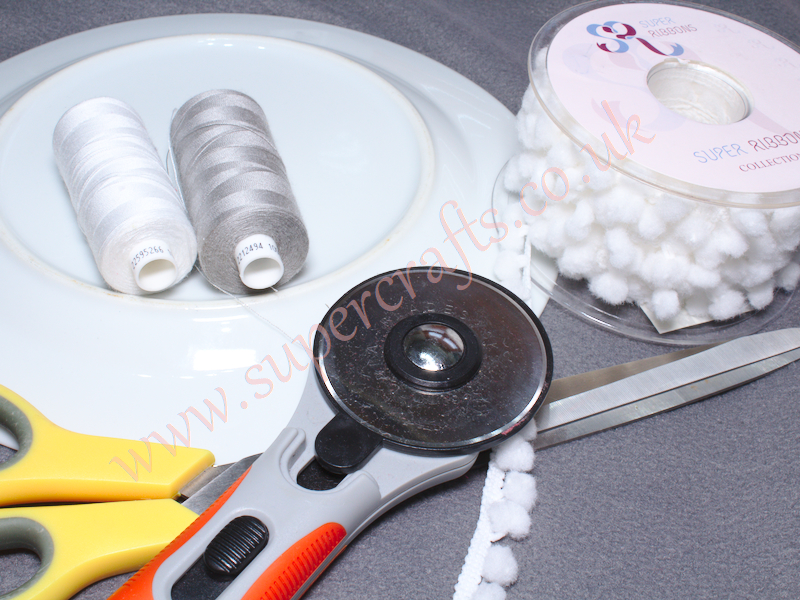
- Fleece (1.5m)
- Pom Pom Edging (7m)
- Matching Threads (for fleece and edging)
- A curved ruler (or a plate/bowl)
- Scissors
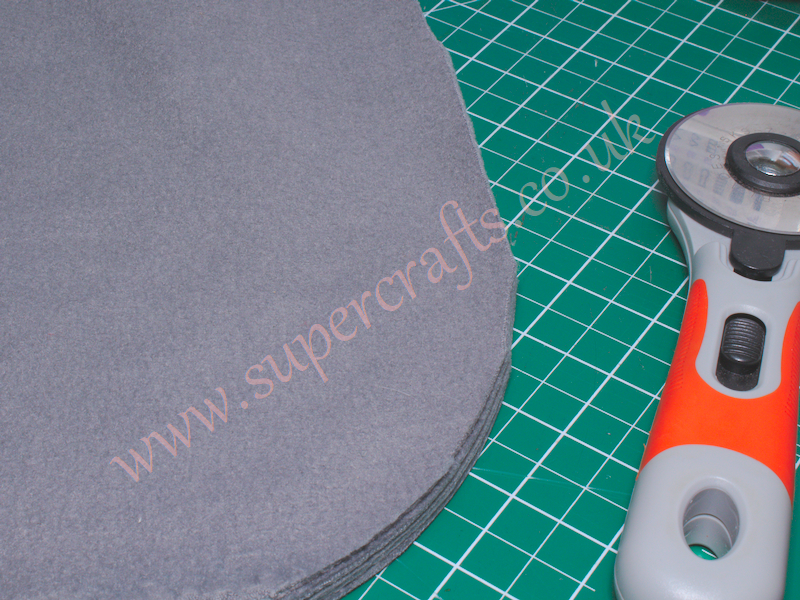
- Rotary Cutter and Mat
- Sewing Machine
Step One
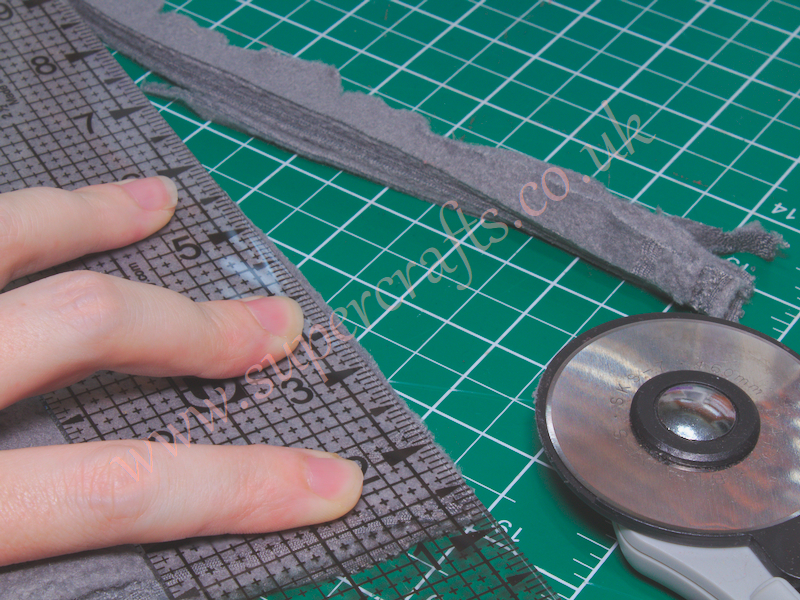
Straightening the fleece edges. Fold up the fleece across it’s longest side and straighten (if needed) the edges as much as possible. Unfold and fold across it’s shorter side and do the same thing.
Step Two (Optional)
I wanted to add slightly curved edges to the fleece blanket as it tends to be easier to sew on edging at a curve than at a bend. To prepare the fleece, fold it twice so that all corners are touching.
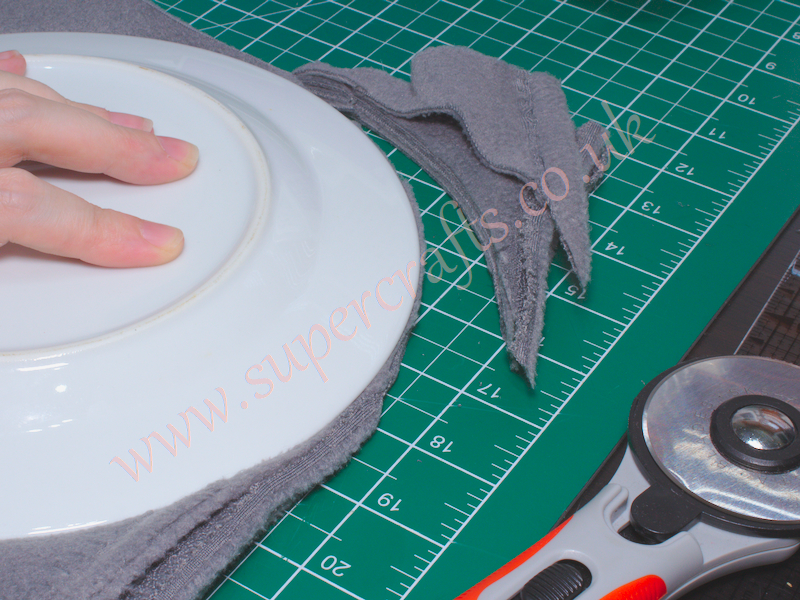
Place a bowl or plate in the corner.
Using a rotary cutter, simply cut away the corner. Your fleece is now ready for the edging. You can mark each corner and cut it with scissors instead if you don’t have a rotary cutter and mat.
Step Three
Set your sewing machine to a zig zag stitch. With bobbin thread matching the edging and top thread matching your fleece, place the fleece on top of the edging and bring the needle down. This allows you to move the fleece and edging to get it correctly positioned.
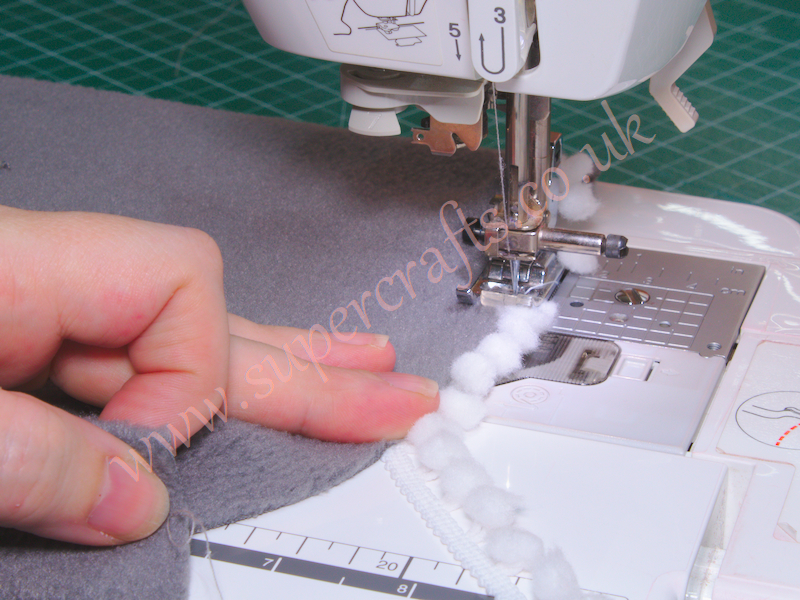
Slowly make one or two stitches to be sure the length of the stitch is securing the edging, but not running over the top of it. If it is, just reduce your stitch length a little, and if your machine doesn’t allow you to alter the length, choose a shorter zig zag.
Begin slowly until you get a feel for holding the fleece and edging properly.

And when you reach a corner, try to guide the fabric rather than pulling and tugging it as this may cause stretch and curling.
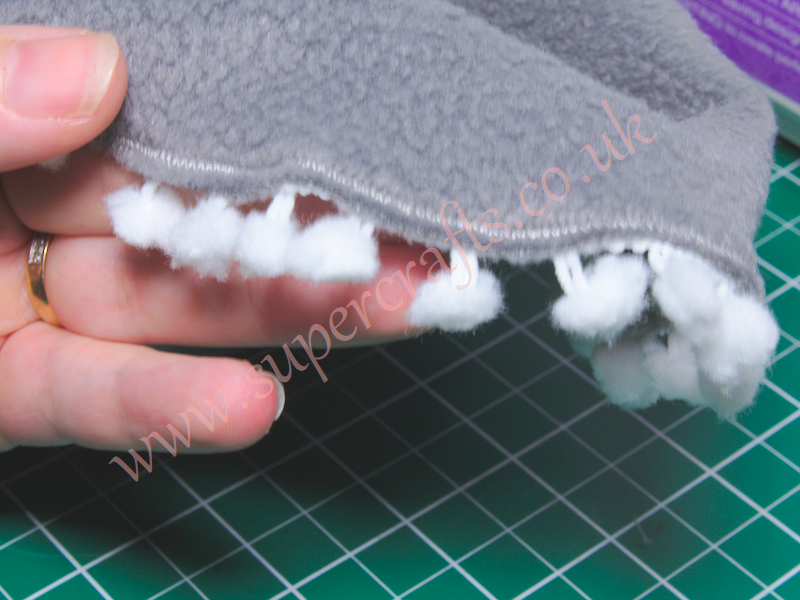
And that’s it. Because of the structure of fleece fabrics, there is no need for hemming, which is why I chose fleece for this project. The front and back look perfectly fine as we used matching threads.
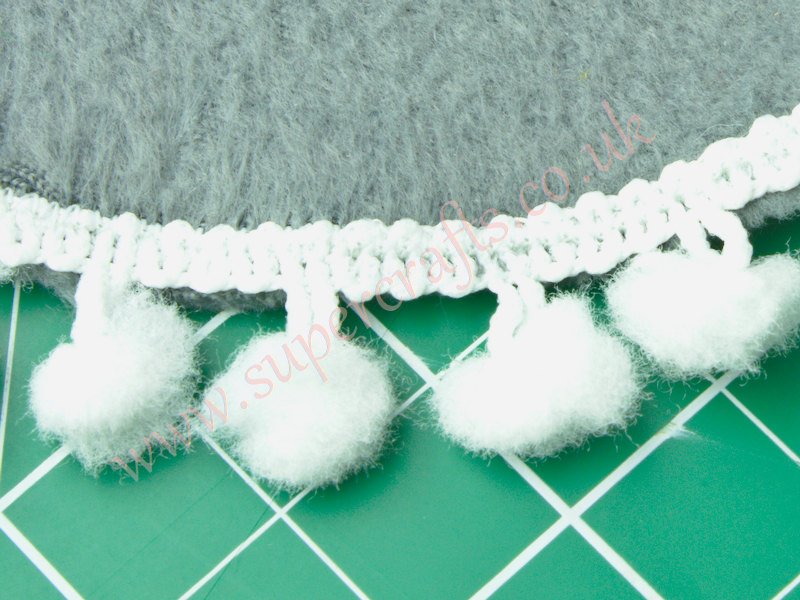
Now you can snuggle up with a good book, or your other half, assuming the animals in your life don’t immediately take a shine to it!