Our current Youtube video requires a pattern be printed at 150% of the original. I understand that this can be confusing for some, so here’s a little walkthrough of how to accomplish this. Once you’ve done it a few times, it will become second nature.
Firstly, you’ll need to use Adobe PDF Reader, which can be downloaded here if you haven’t already got it.
If you’re here to download the stocking template, you can do so here.
Open up the file with Adobe.
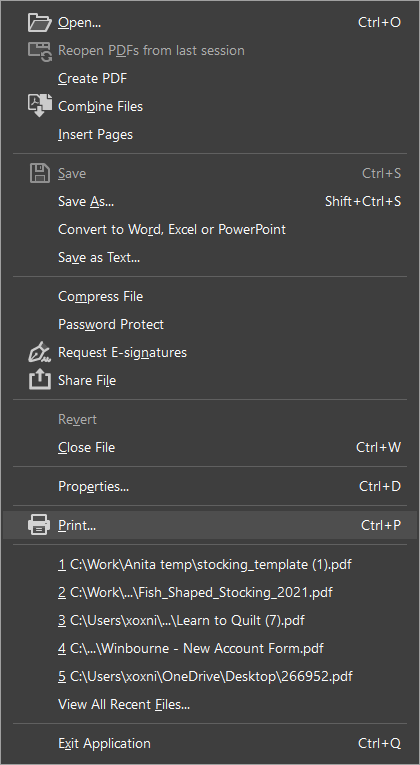
Click “File” in the top left corner.
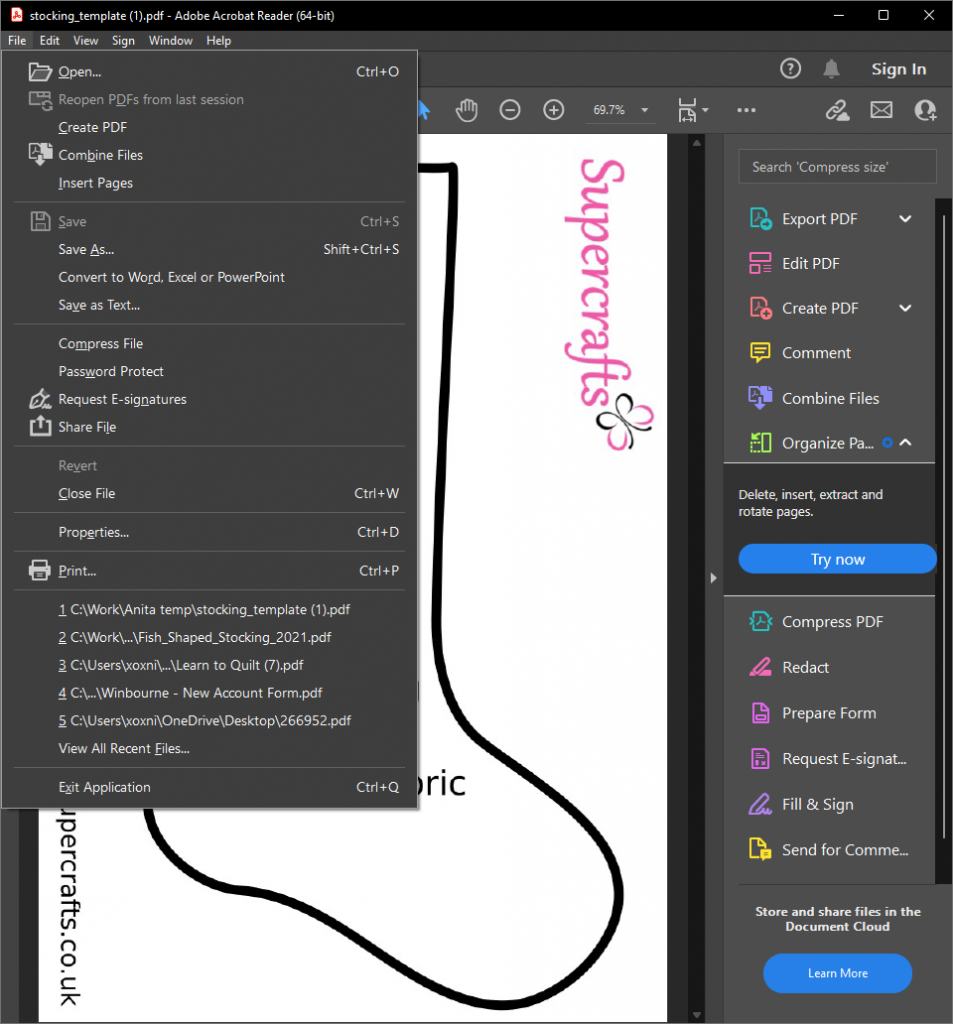
Then choose “Print”.
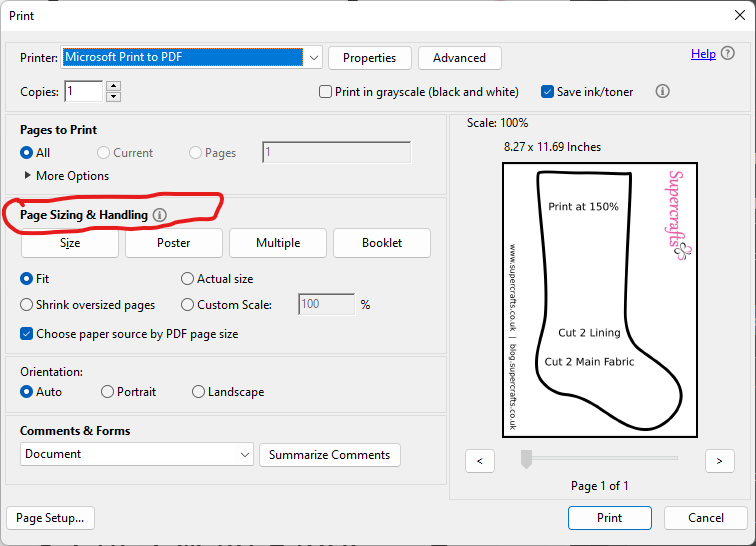
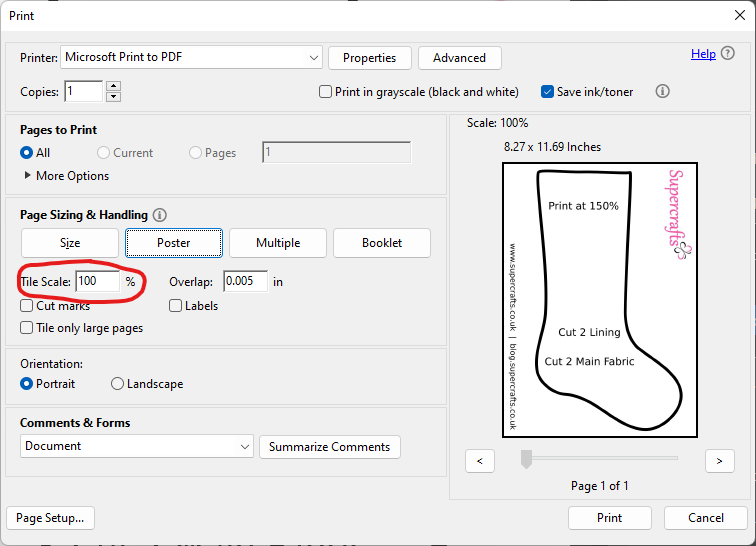
On the window that pops up, select your printer from the drop down menu, then look for the “Page Sizing & Handling” section.
Under that section, you will see “Poster”. Click it.
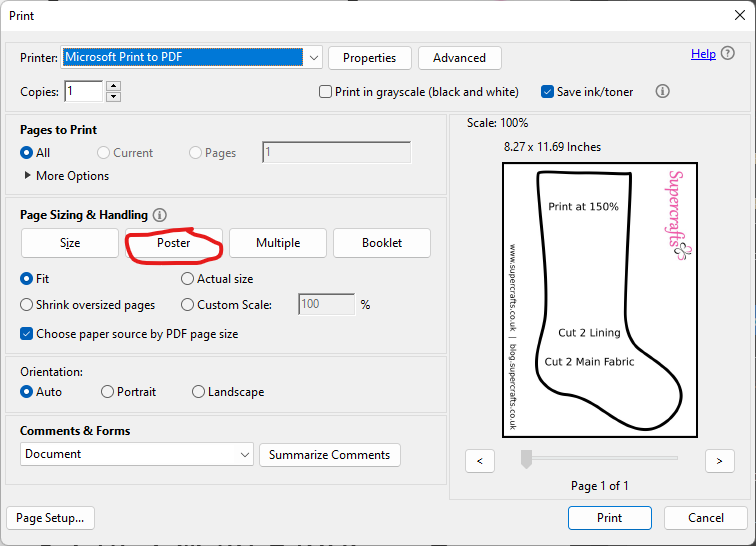
Now you will see “Tile Scale”, which is normally set to 100%. For the stocking pattern, we need this to be 150%, so simple change 100, to 150.
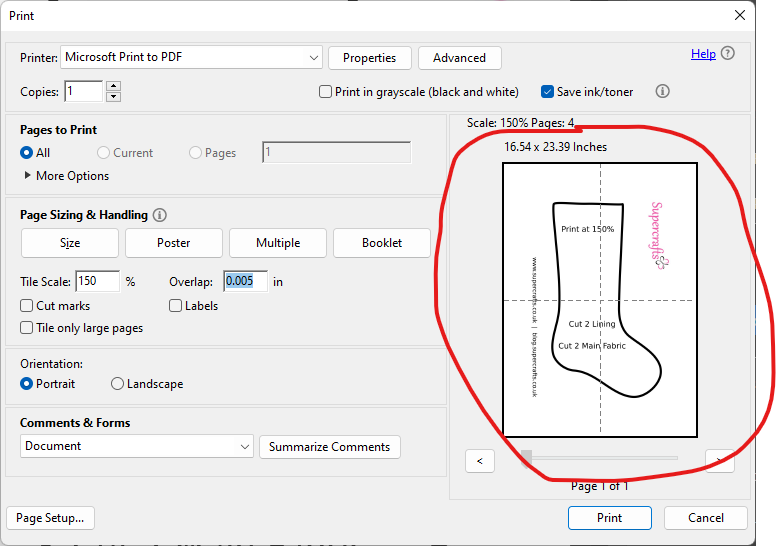
When you enter a new figure in the “Tile Scale”, you’ll see a preview of the layout to the right.
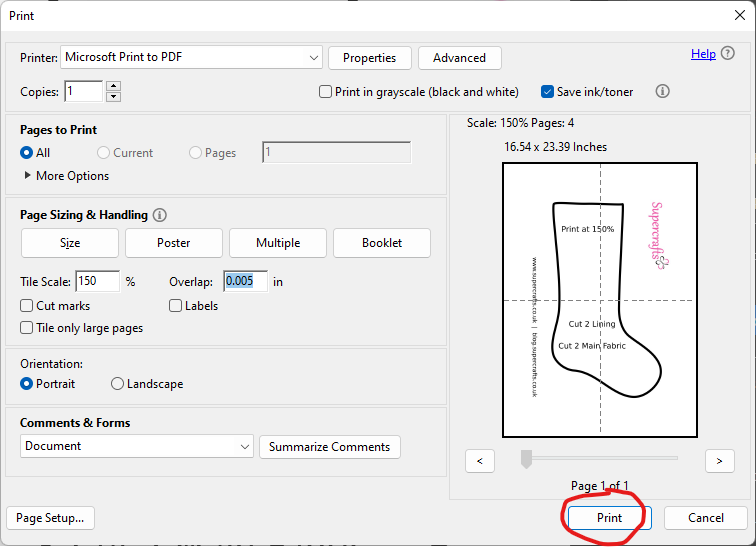
You don’t need to change anything else. Simply click “Print” and your pattern should print out to the correct size for this project. Whenever you download a pattern that needs to be reduced or enlarged, the pattern should tell you this and give a percentage to print at.
Hopefully this was clear enough. But if you have any problems, please feel free to reach out either here, or on Youtube.