The information contained in this post is taken from my book “Learn to Quilt”. I’m adding this here in order to provide a little information for quilting a new product, the Geo-Applique Horse Quilt. If you’ve already purchased the pattern, thank you, and I hope you enjoy the finished project as much as I did. My finished items (assuming I’ve not kept them!) are normally either gifted, or given away to auction for charity. This one was donated to raise funds for Katie, an ME sufferer who, several years ago now, began her journey in search of a better environment to help her survive this awful disease. If you want to learn more about Katie and her journey, take a look at the facebook page here: https://www.facebook.com/groups/1676509752629120
Now, let’s get to it.
Notes on Thread
Choose your backing fabric and the colour of thread that you want to use. I generally want the back stitches to be as invisible as possible so always choose a thread that’s as close to the fabric colour as I can. If you want the stitches to be more visible, feel free to use a highly contrasting colour.
Notes on Backing and Wadding
Backing fabric and wadding need to be a little larger than your quilt top, so increase each side by 2-3 inches. For example, for the geo-applique horse quilt, which should measure around 45 x 45 inches, increase the size of your backing and wadding to 47 x 47 inches. This is because the fabrics will be brought a little closer in depending on the density of your quilting.
Step One
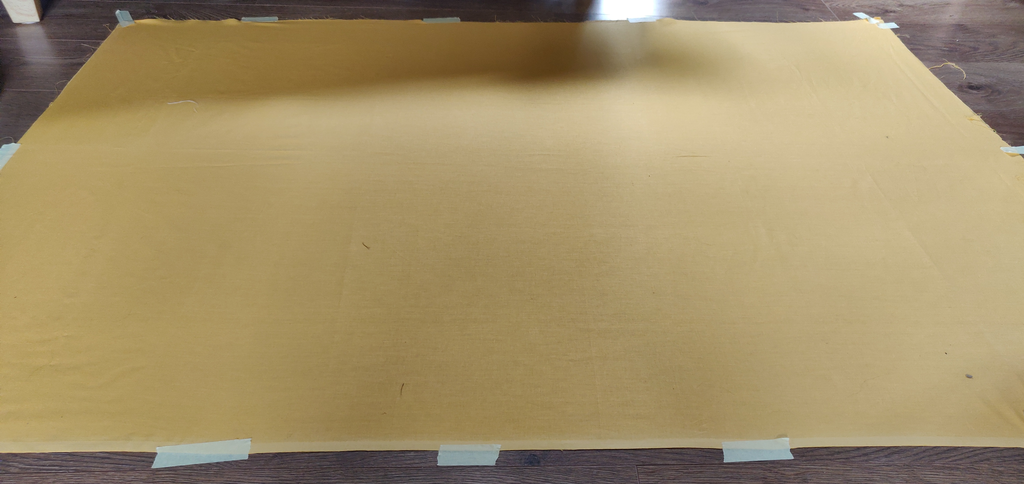
Iron your backing fabric to remove any wrinkles/creases etc. It needs to be as flat as possible!
Find the largest, flattest area in your house that you can tape the backing to. A clean floor is fine (and is my chosen area!) if you don’t mind being on your knees to pin it all together. Lay your backing fabric with the right side down (pretty side facing the floor!). Tape down one edge, then pull the fabric as taught as you can and tape down the other sides.
Step Two
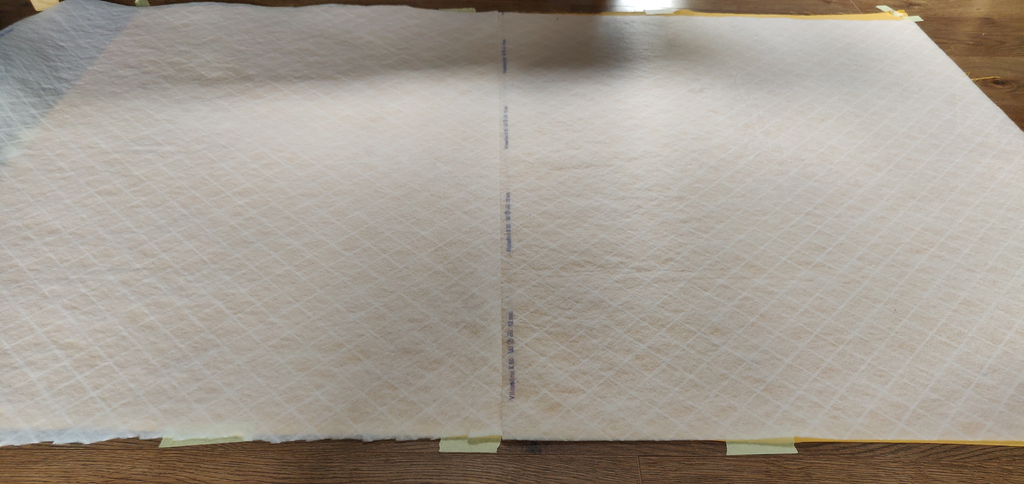
Once the backing is taught, place your wadding (batting) on top of it. As you can see, my wadding wasn’t wide enough so I used two pieces. Simply hold them together and stitch down the join using a zig zag stitch on your machine. Alternatively you can get seam tape, but there really is little point when the stitching works perfectly fine and only costs you the time it takes to stitch it!
Step Three
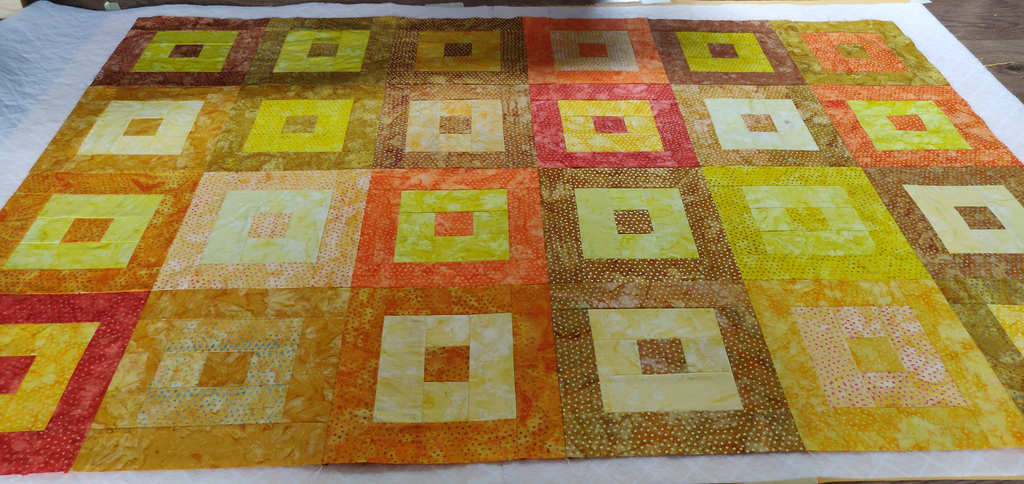
Now add your quilt top, which you’ve already pressed, right side facing up.
Step Four
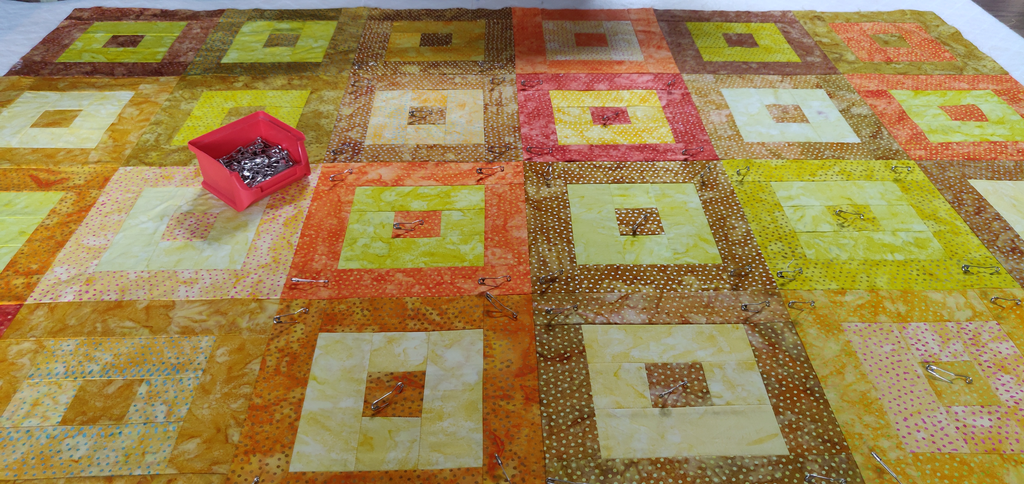
Smooth out any bumps, working from the centre out. Take your quilter’s pins (they’re curved for easy pinning) and begin adding them through all layers. You may want to have a think about how you plan to quilt the quilt before you start pinning so you can place the pins in places you know you won’t be stitching. Add as many pins as you can as the more there are, the less the quilt layers will shift. It can be quite time consuming, but will result in a much better finish when you’re not having to unpick because you’ve snagged the fabrics wrong while quilting.
Step Five
Stitch length will depend on the type of quilting you are going to do. If you’re planning to quilt within the seam lines, or directly either side of them, set your stitch length between 2.5 and 3mm. If you want to free-motion quilt, you’ll need to drop your feed dogs and set your stitch length as low as it will go (mine goes to 0.2mm so that’s what I use).
For the geo-applique horse quilt, you’re most likely using a decorative stitch as suggested in the pattern. Your machine will set the length etc automatically.
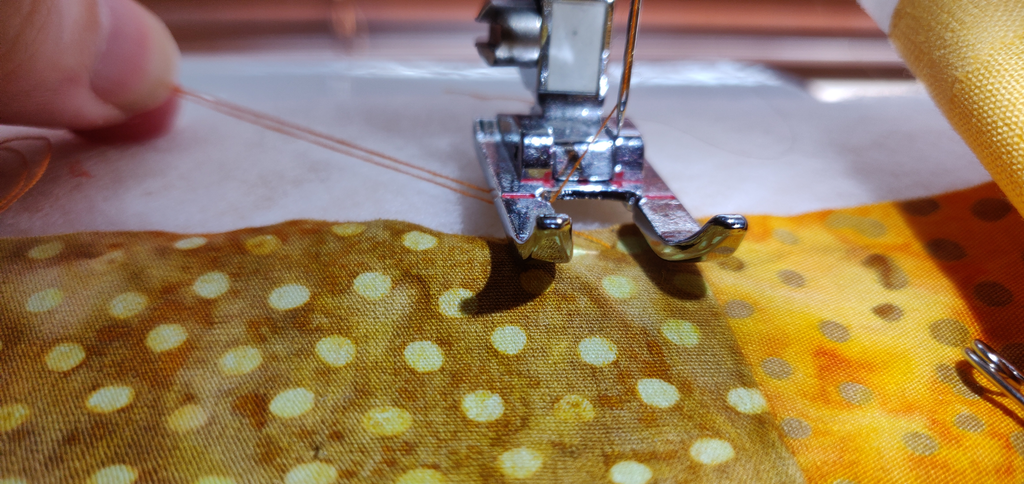
Before you start, holding your top thread, rotate your sewing machines wheel toward you to lower the needle, continue until it raises back up, all the while slightly tugging at the top thread. This will bring your bottom thread up.
You should always begin quilting in the centre of a quilt, or as close to centre as you can. This will allow any movement in the fabric to move outwards instead of bunching up.
Fitting a quilt under your machine
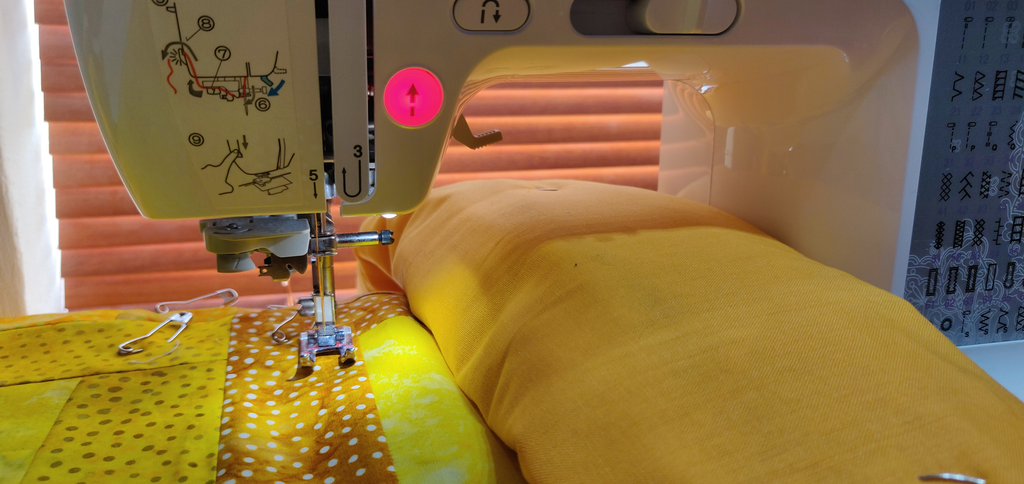
Most home sewing machines have a small throat (the space between the needle and the right side of the machine). This is fine for QAYG quilts as you only have a little section of the quilt under your machine at any one time. However, for larger quilts, it can be a little bit of a struggle. To combat this, once your quilt is pinned together, carefully roll up the right side of the quilt as tightly as you can. It should then allow you to slip the roll under the machine.