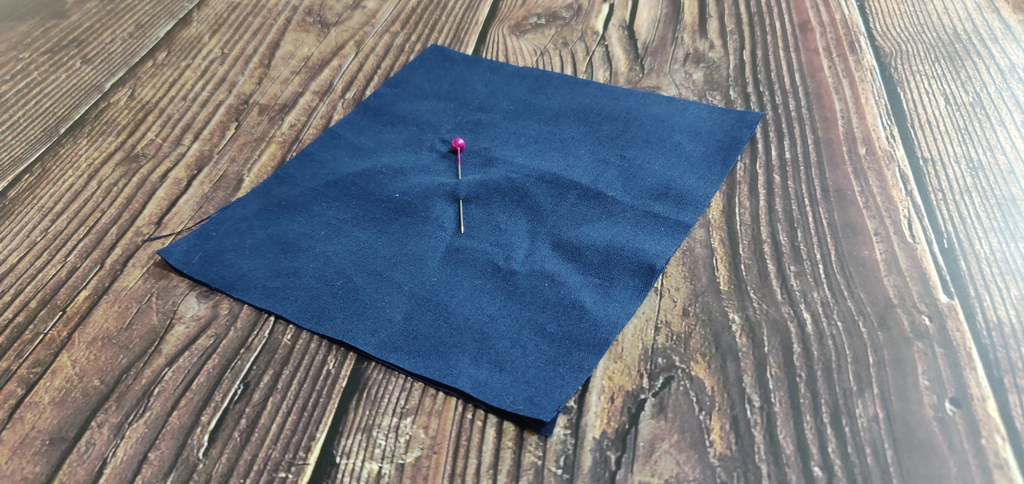
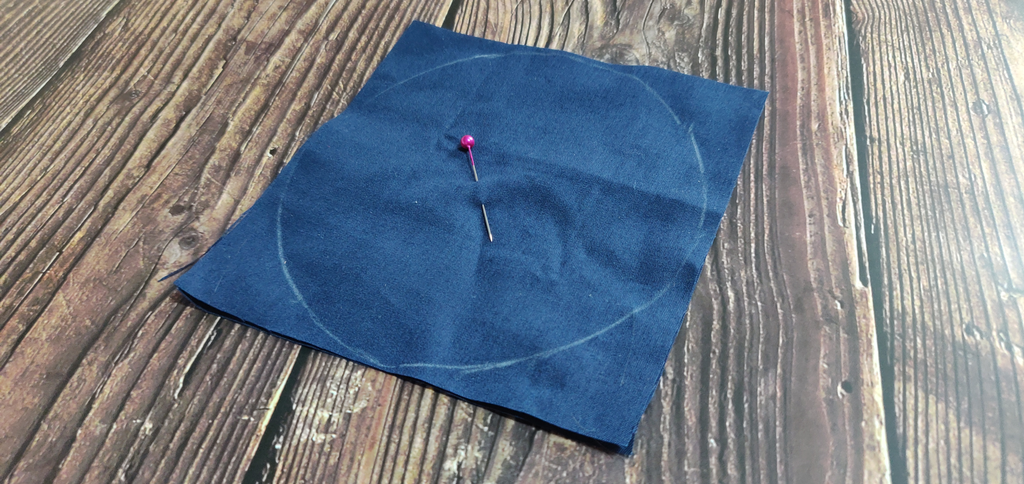
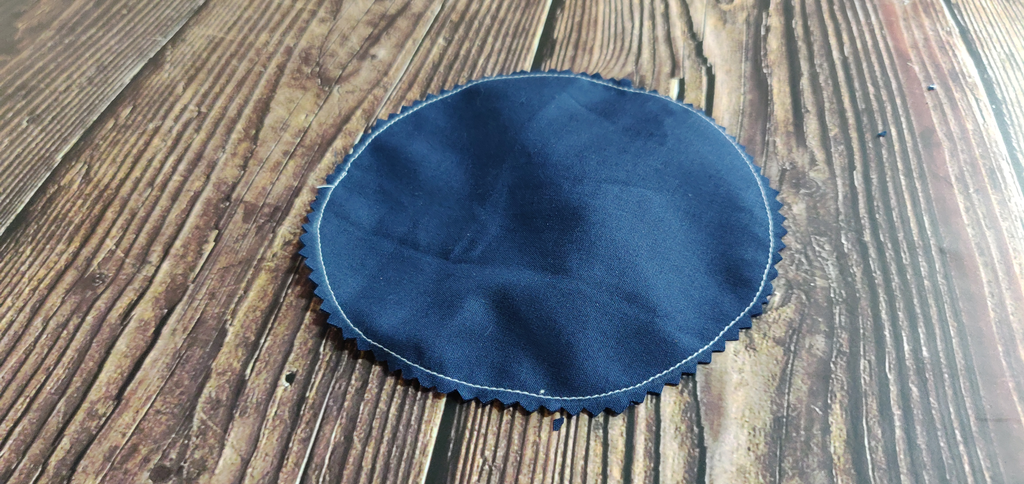
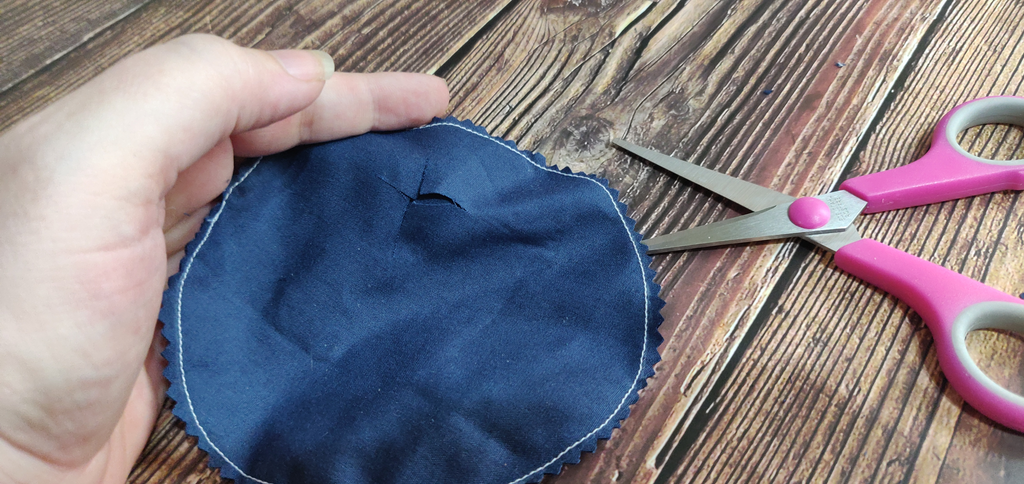
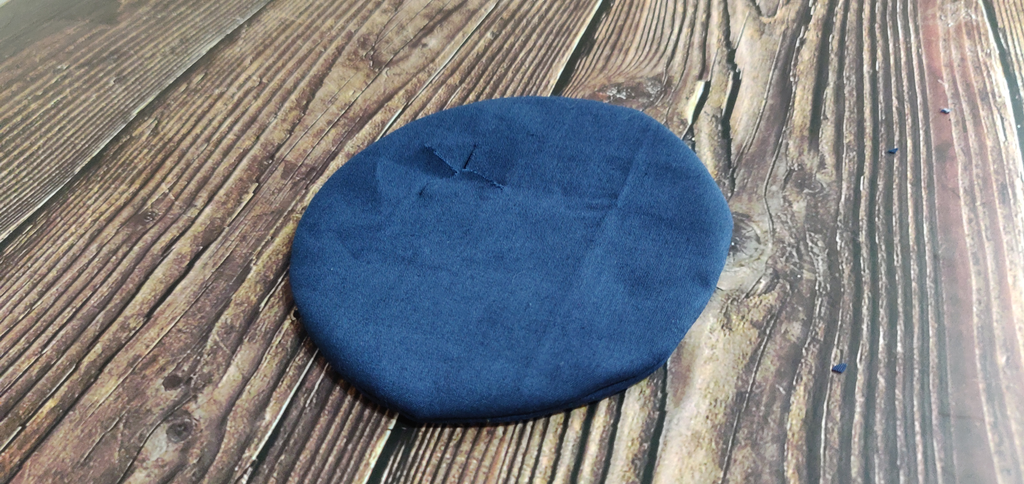
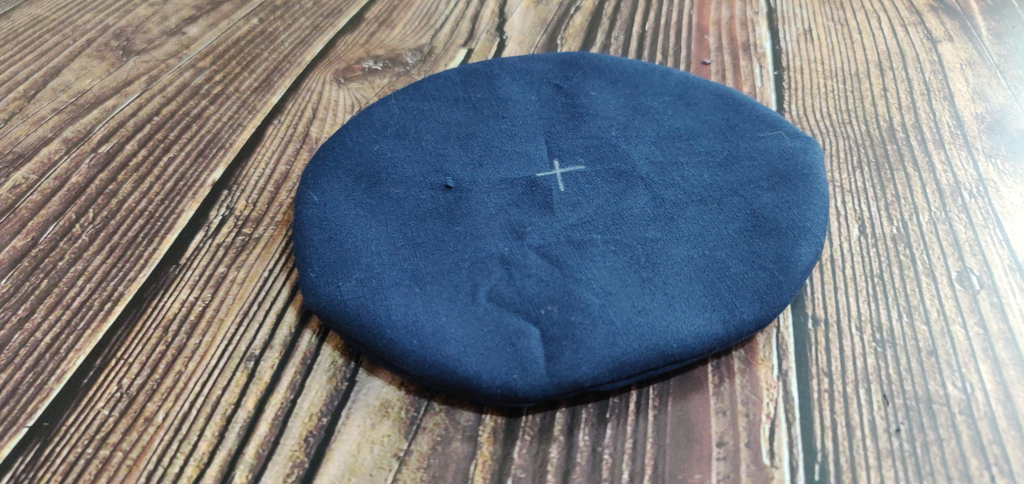
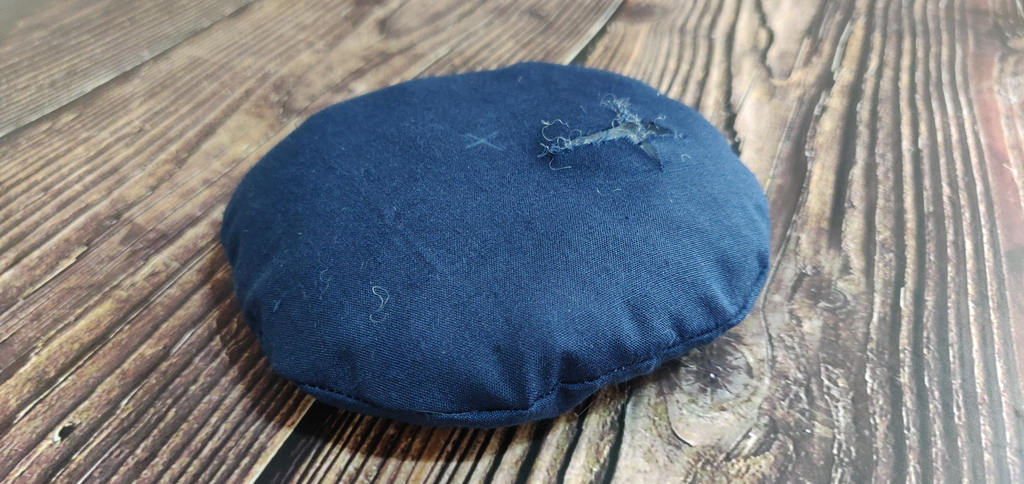
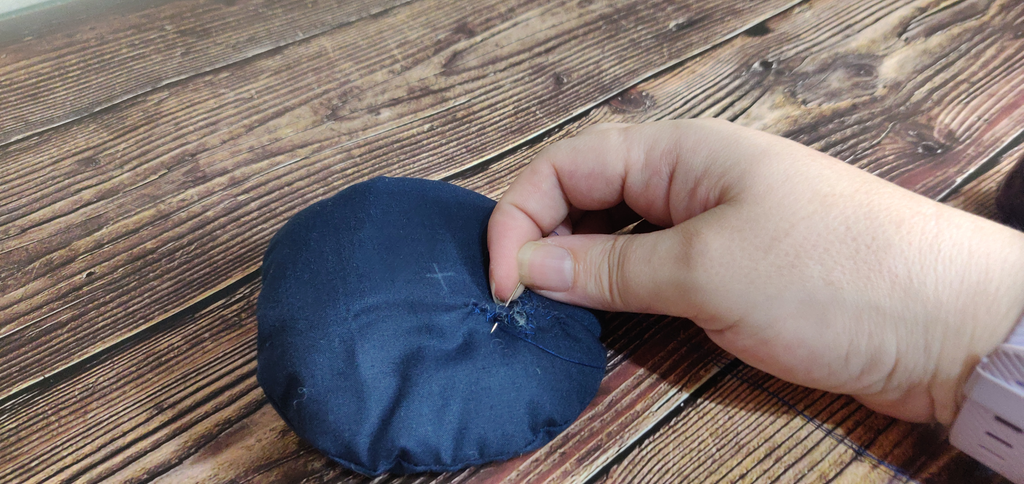
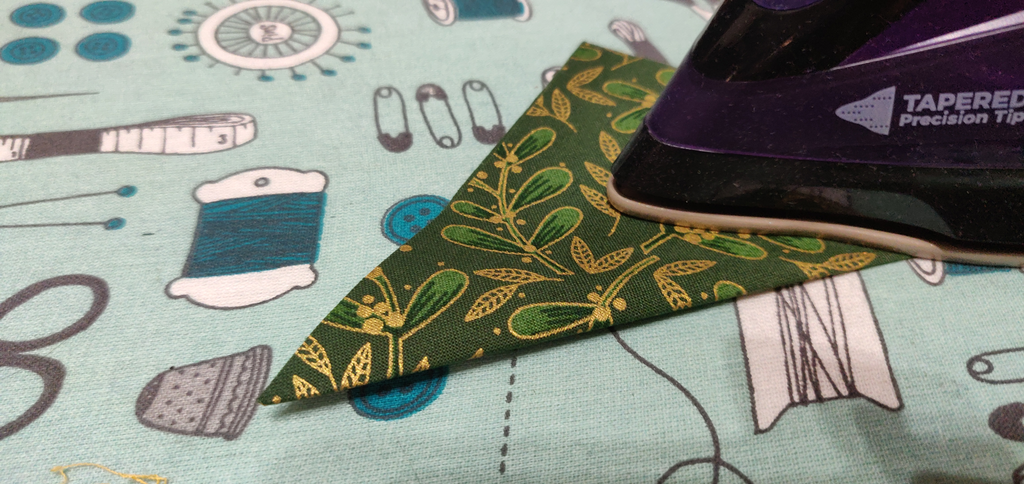
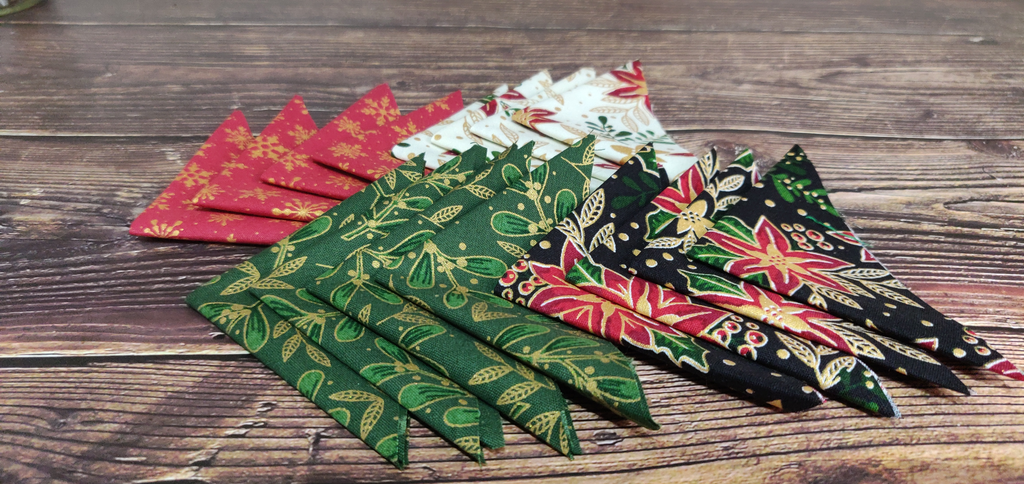
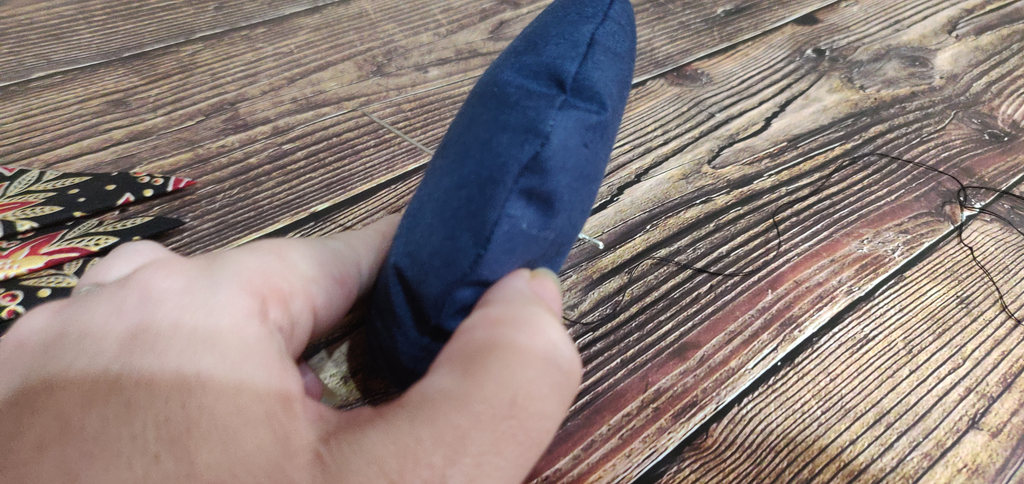
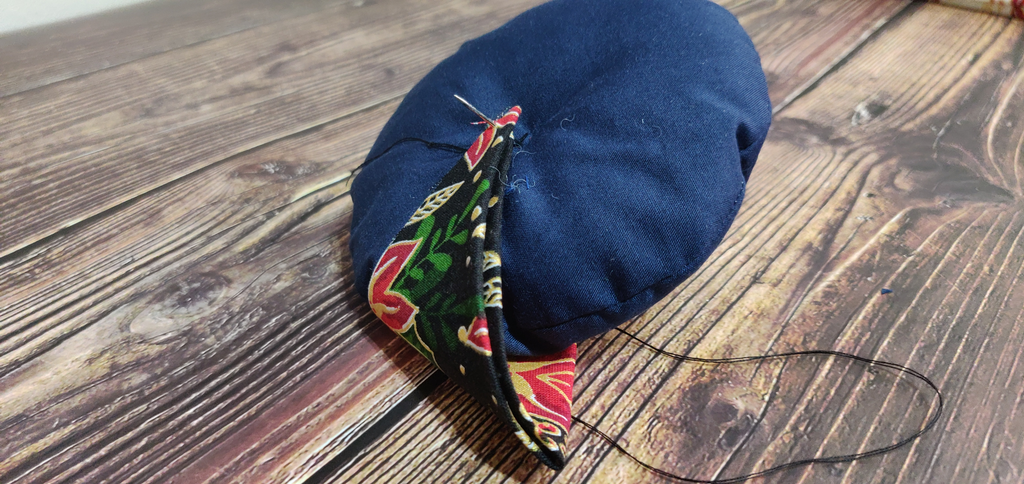
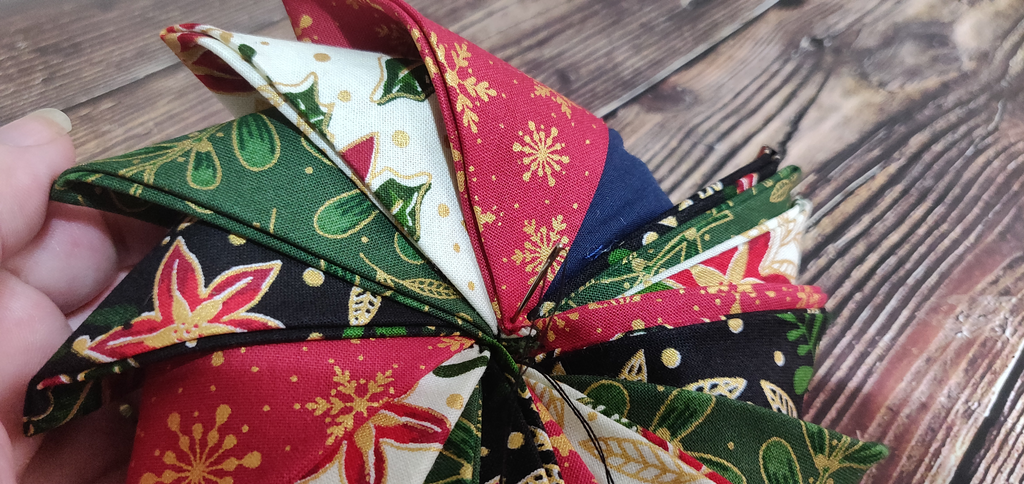
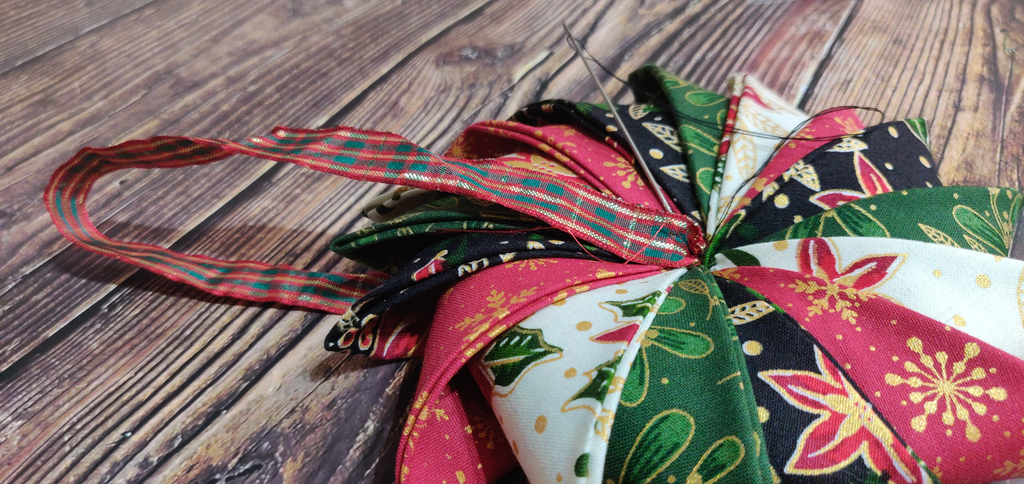
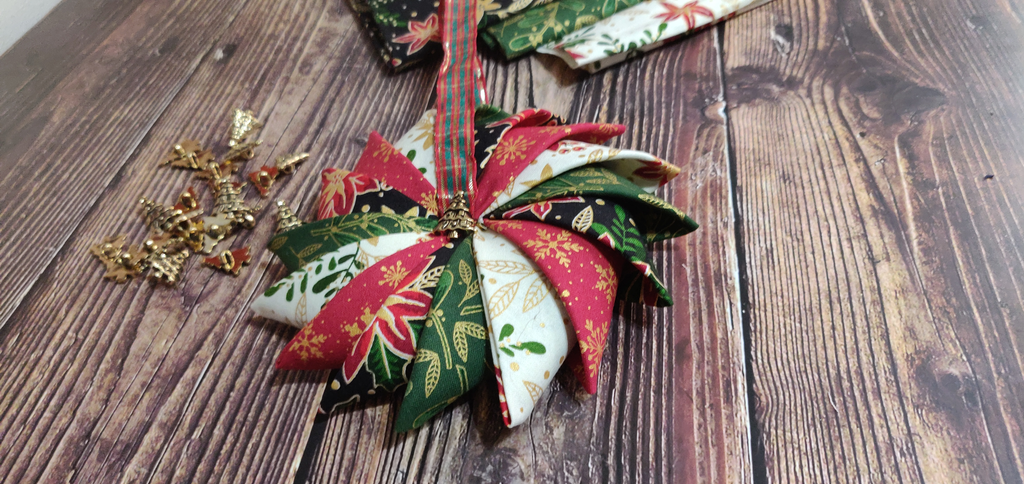
Place your two scrap fabrics on top of one another. Don’t worry about any print, none of this centre fabric will be on show at the end. Pin. Use the template (or your own method) to draw a 4.5″ circle in the centre of the fabric. Stitch directly on your mark, all the way around. Pink the seam allowance to around 1/4 inch. If you don’t own pinking shears, cut the seam allowance to 1/4″ and then clip all the way around, every half inch should suffice. Pull the two layers of fabric apart a little and cut a small X to the right hand side in one layer of the fabric. Turn right side out using the hole you cut. Mark the centre of the circle on both sides. Add a little stuffing until the circle is slightly puffed but do not overfill. Close up the opening using any stitch you like. Fold each 5″ square wrong sides together corner to corner. Press. Fold again along the bottom straight edge. Press. Repeat for the rest of the 5″ squares. Now we come to attaching the prairie points to the centre. Pop your needle (use the longest you have) through the centre of the “cushion”. Place the corner (raw edge) onto the needle and stitch in place, taking your needle back through to the other side of the cushion. Fold the prairie point over so that the other raw edge lies in the centre and stitch through that. Now add a second prarie point and sew in the same way. Repeating until you get to the final point. Slide the final prarie point slightly under the first and stitch as before. Knot the end of the thread, but don’t cut the excess. Sew the ribbon in the centre on both sides of the ornament. Then knot the thread and snip off the excess thread. Now sew a button to both sides right in the centre. Carefully slide the prairie points so they’re evenly spaced. And there you have it! Beautiful Christmas ornaments!