It’s beginning to look a lot like Christmas! I’m normally pretty much sorted with Christmas shopping by now, or at least I used to be. I’ve found less and less time each year as we get busier and busier. Covid meant time off work for most, but for us we saw a spike in orders and there was the inevitable slow down of postal services all over the world, so an increase in queries! We’re getting used to the additional work now, and I’m finding a little more time to work on these posts as we get used to what’s becoming the new norm and find our groove. Which I’m really happy about, given that actual sewing is one of my favourite things to do.
Cut 1 – WOF x 14.5″ Scattered Foliage Fabric for backing.
Cut 2 – WOF x 2.5″ Scattered Foliage for sides
Cut 2 – 14.5″ x 2.5″ Scattered Foliage for top and bottom borders
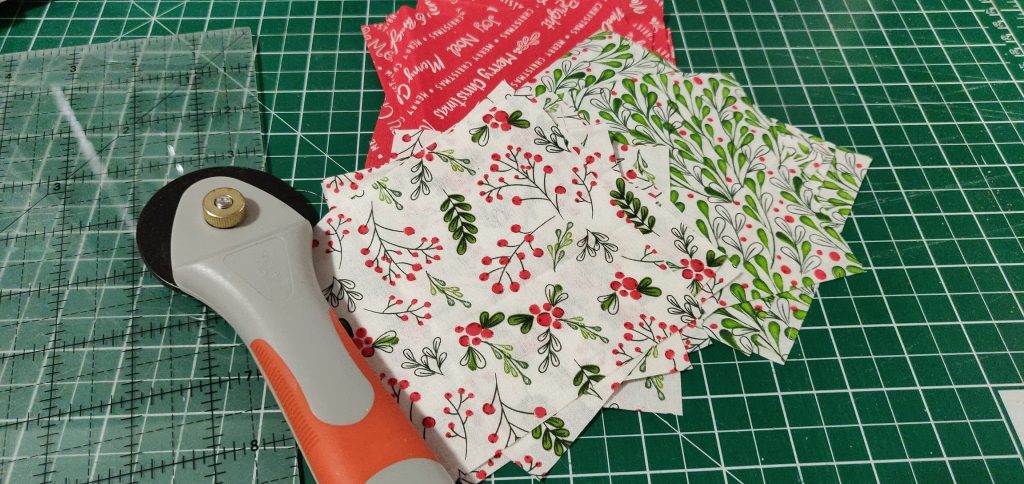
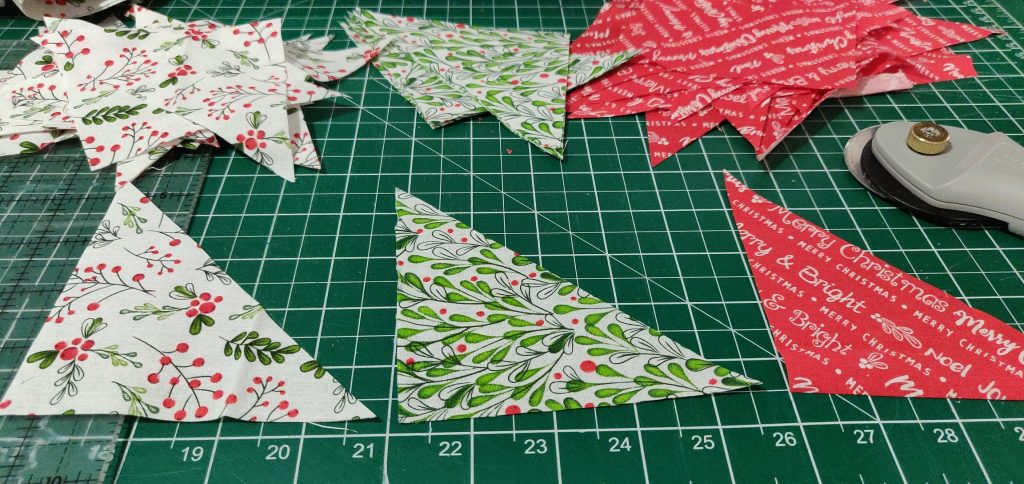
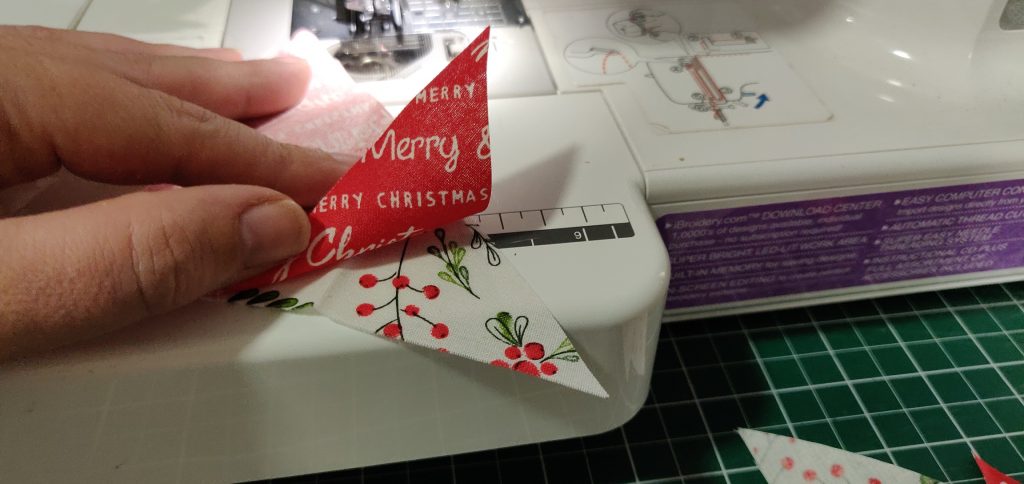
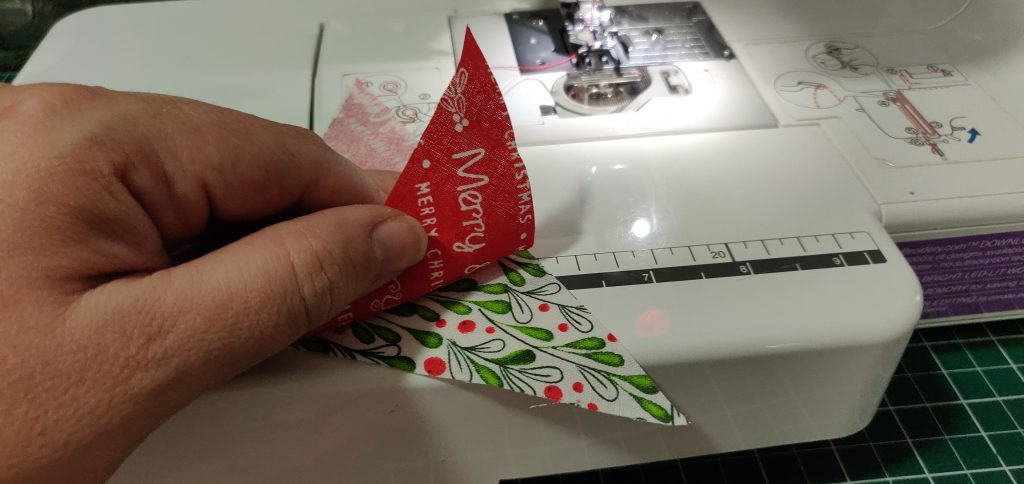
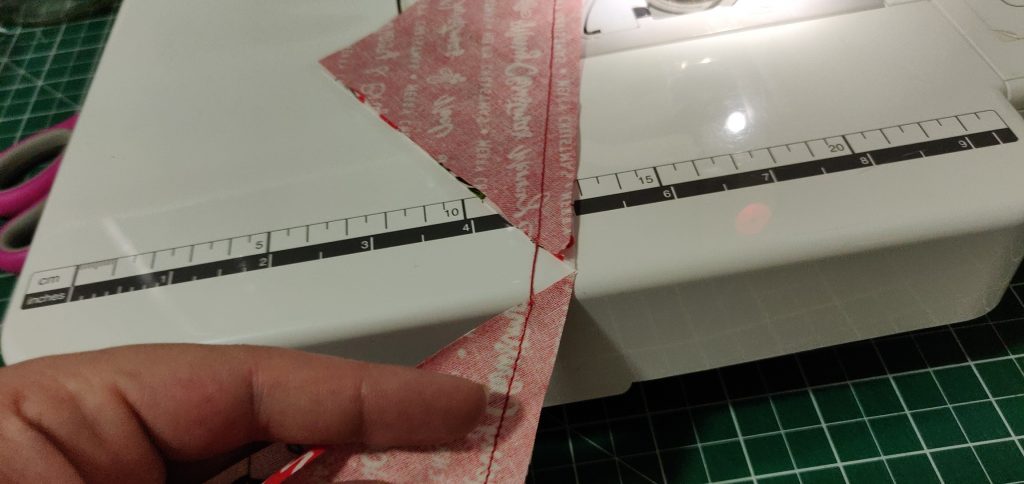
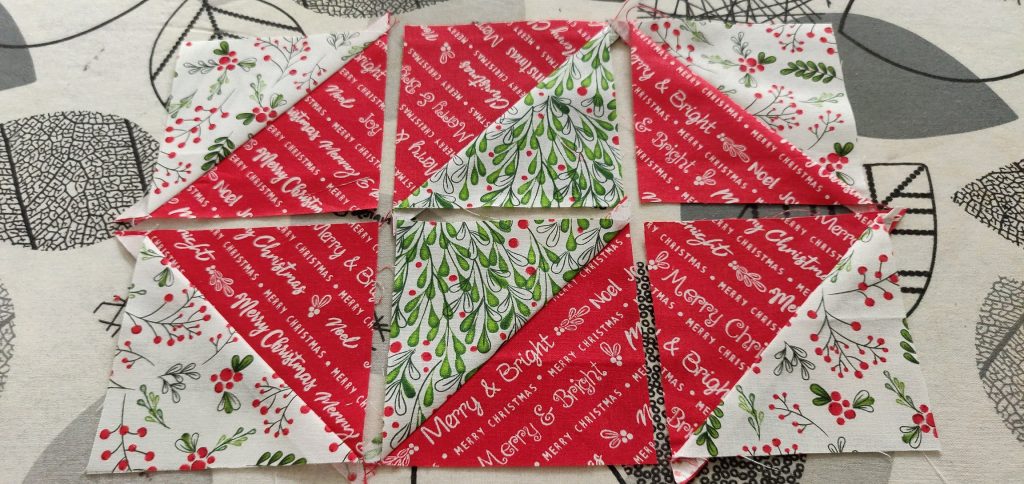
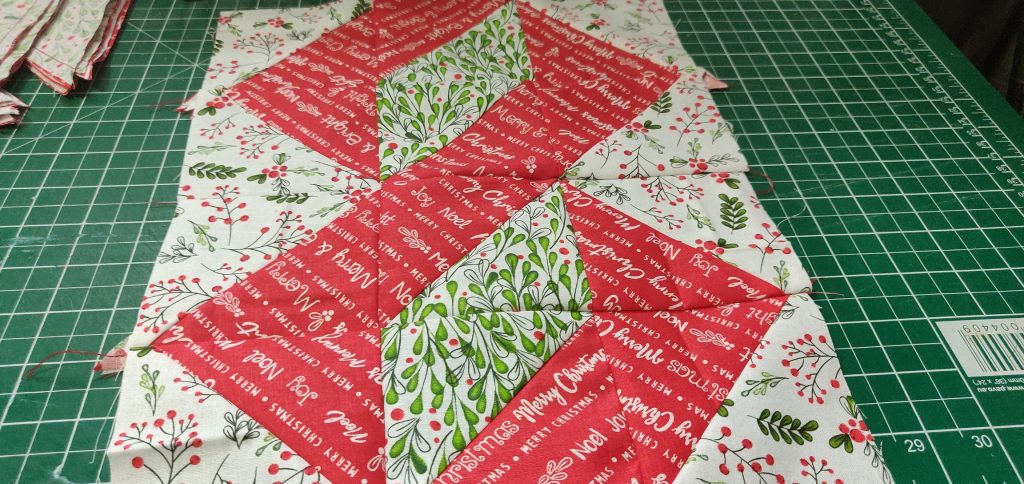
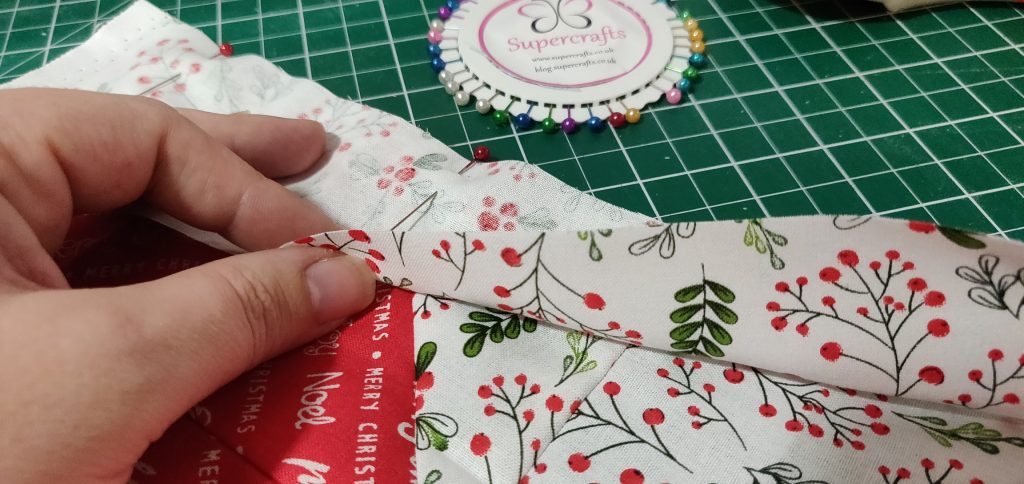
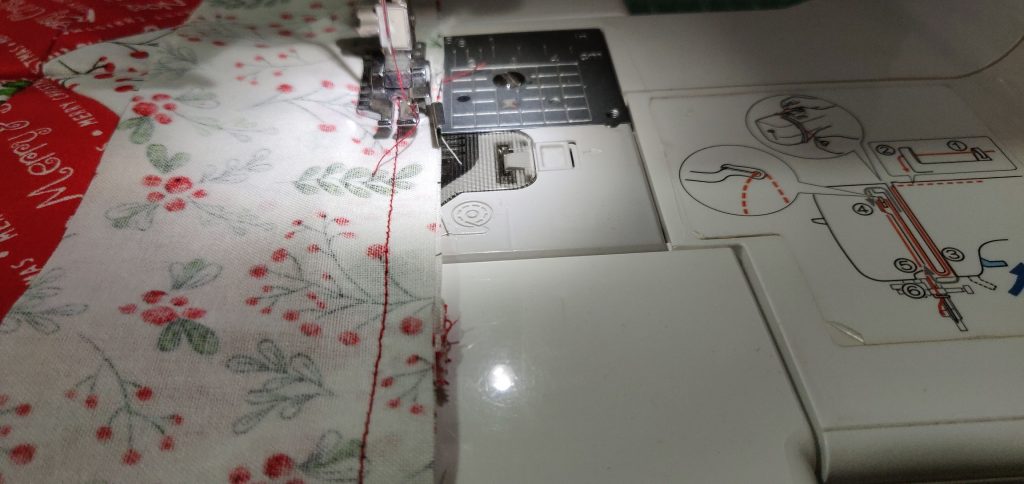
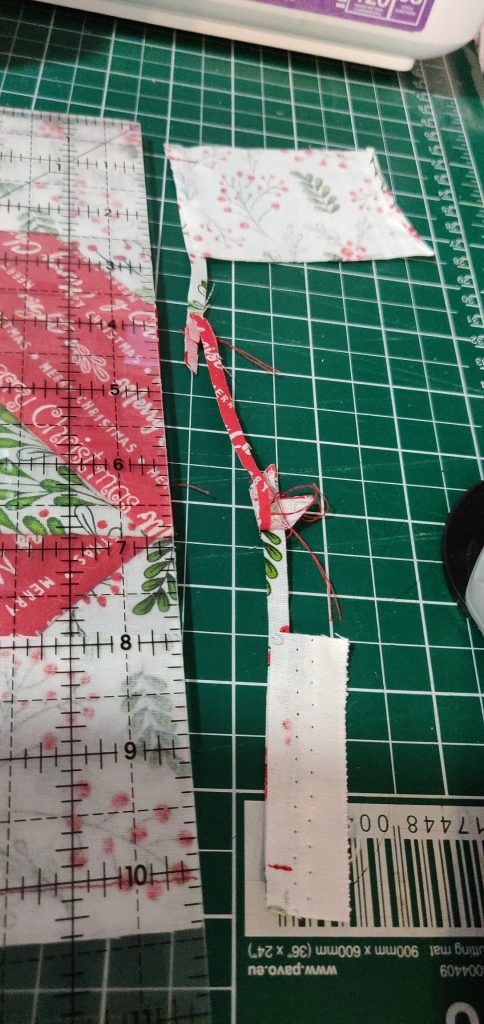
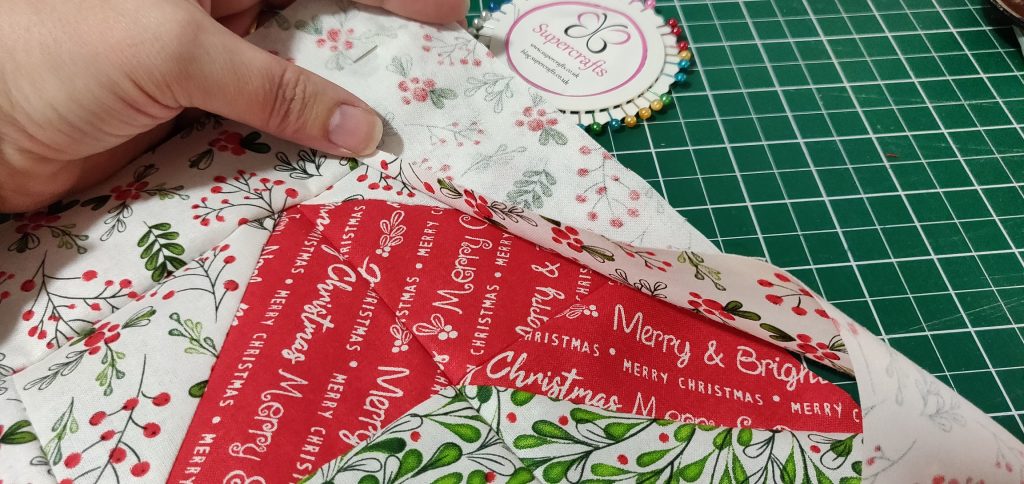
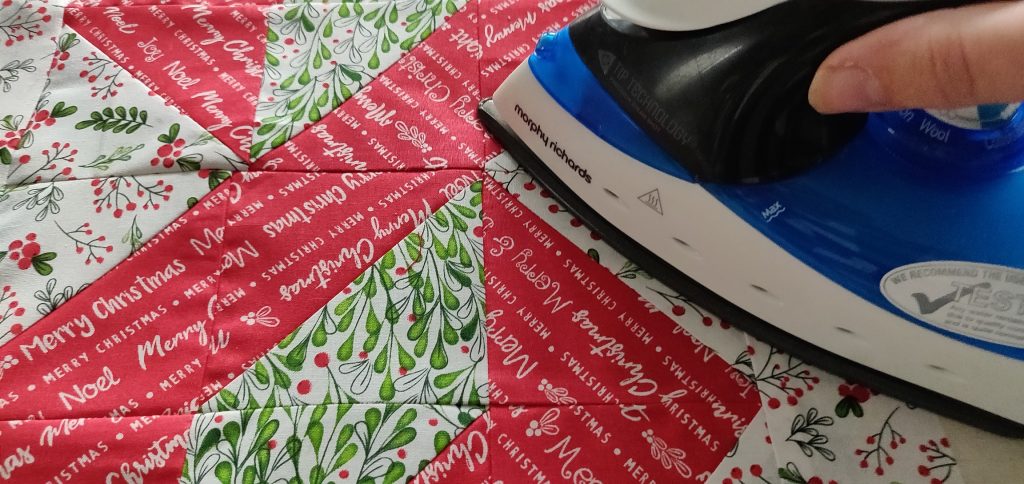
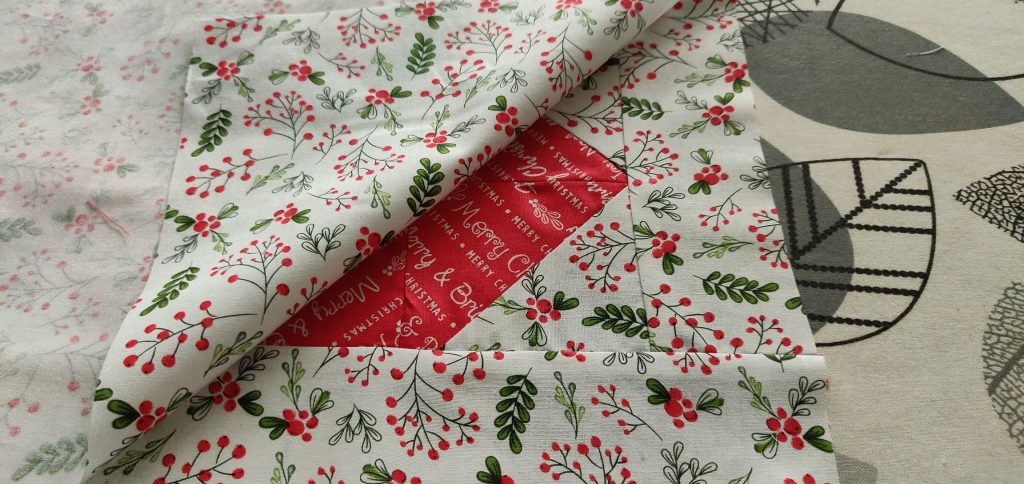
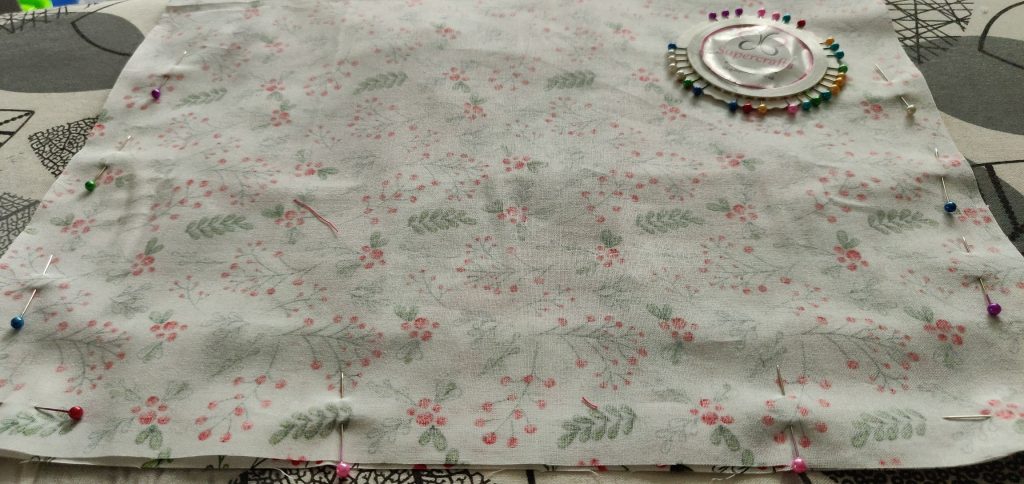
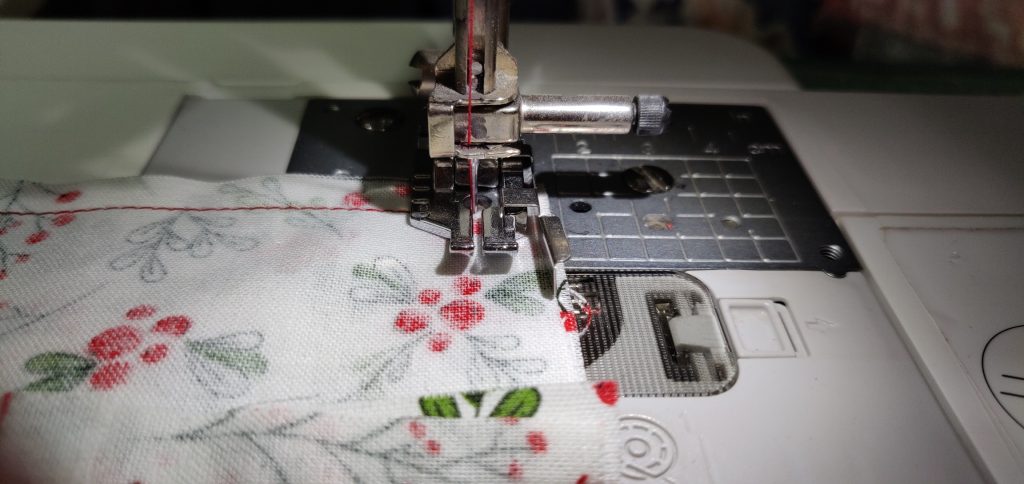
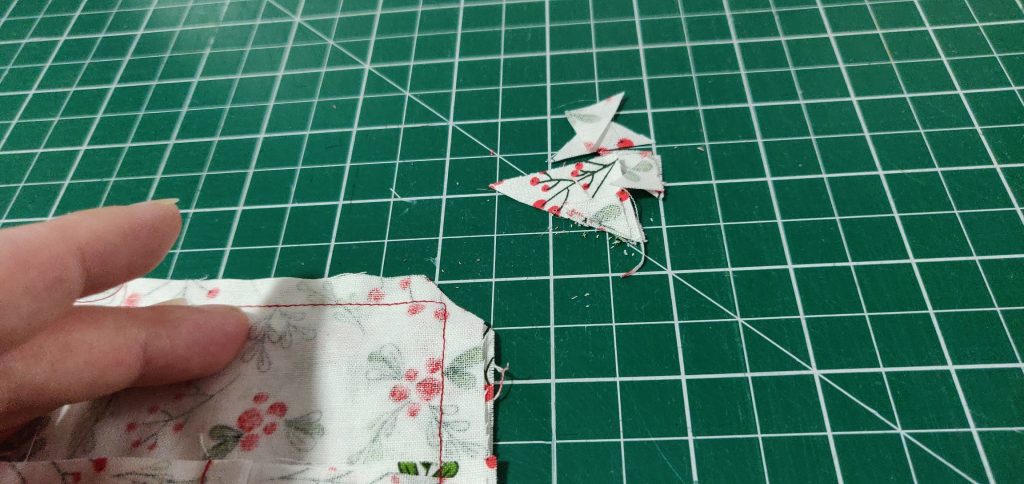
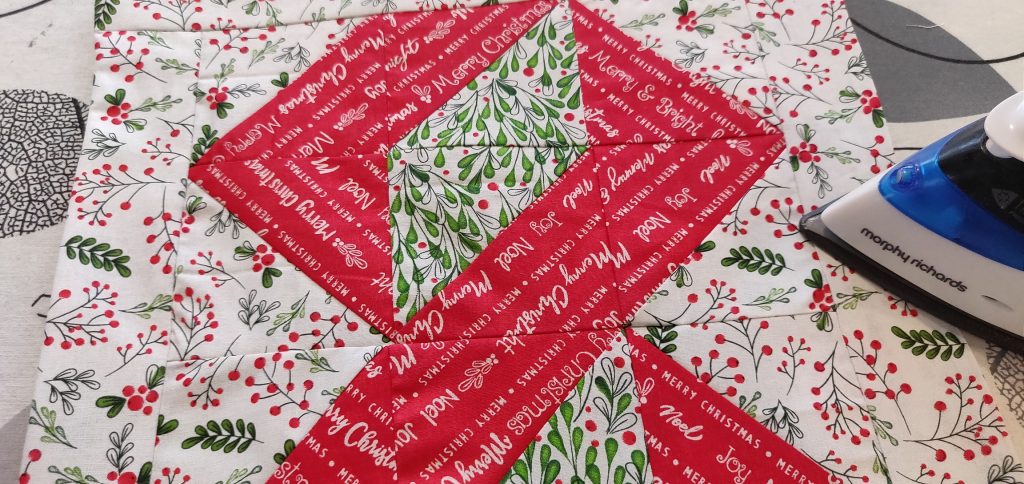
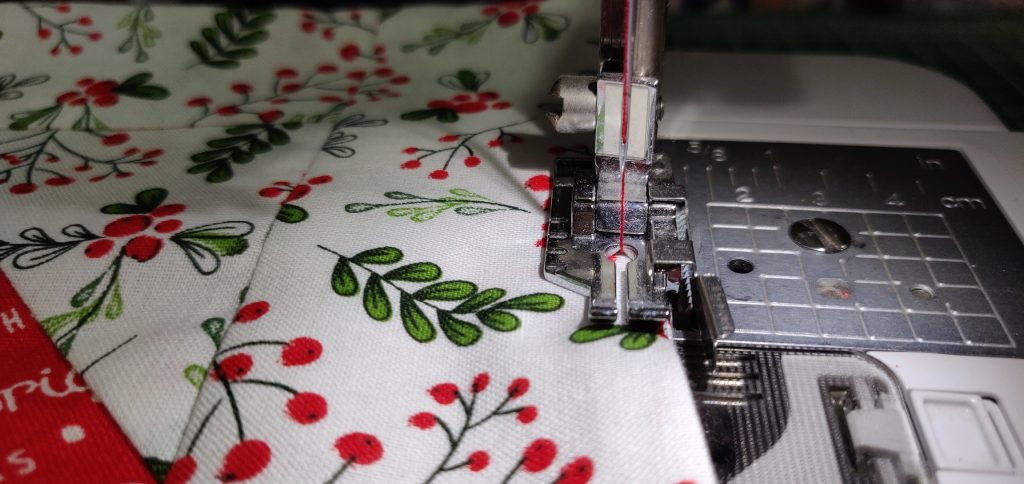
STEP 1: Cut all fabrics using the list above. STEP 2: Cut all squares on the diagonal. STEP 3: Sew 1 scattered foliage and one red script together (4 times). Use a 1/4 inch seam allowance. STEP 4: Sew 1 red script and one sprig together (twice). Use a 1/4 inch seam allowance. STEP 5: Repeat steps three and four an additional 5 times, being sure to keep each set seperated into 6 squares. This will make it easier when you come to sew the sections together. Chain piecing works well here. STEP 6: Press seams to one side, or open if that’s your preference. Then sew each set of 6 squares together in the order shown. Sew the top three together, then the bottom three, then join the two together.STEP 7: Once pressed, sew each of the 6 sections together as shown. Again, use a 1/4 inch seam allowance. Clearly, I didn’t press this, but you get the idea, right? 🙂Step 8: Take the two long strips of Scattered Foliage fabric. Pin to either side of the panel you’ve created so far, right sides together. Then sew using a 1/4 inch seam allowance. Step 9: Trim the ends of the runner straight. Step 10: Take the two smaller pieces of Scattered Foliage fabric and pin them to the top and bottom of the runner as shown. Sew using a 1/4 inch seam allowance. Trim any excess. Step 11: Press the entire project. Step 12: We aren’t using wadding as glasses/mugs can become unstable and as we’re using candles on the table, it’s not something we wanted to risk falling over! Lay your panel right side up on a flat surface. Then place your backing fabric right side down on top of it. Pin in place. Your fabrics must be right side to right side as shown. Pin together, placing a few pins in a different orientation about 5 inches apart at one end. This makes it clear where to start and stop sewing. Remember to backstitch at those two points.Step 13: Using a 1/4 inch seam allowance, sew around the runner, leaving an opening of about 5 inches at one end for turning. Remember to backstitch at the beginning and end. Then snip the corners. Step 14: Turn right side out and poke out the corners. Press. Step 15: Top stitch around the edges, including the opening. Be sure to fold in the raw edges where the opening is so they get enclosed inside. The easiest way to do this is to tug on either side of the opening. The fabrics generally want to fold in on themselves when you do that. Use a scant 1/4 inch allowance.
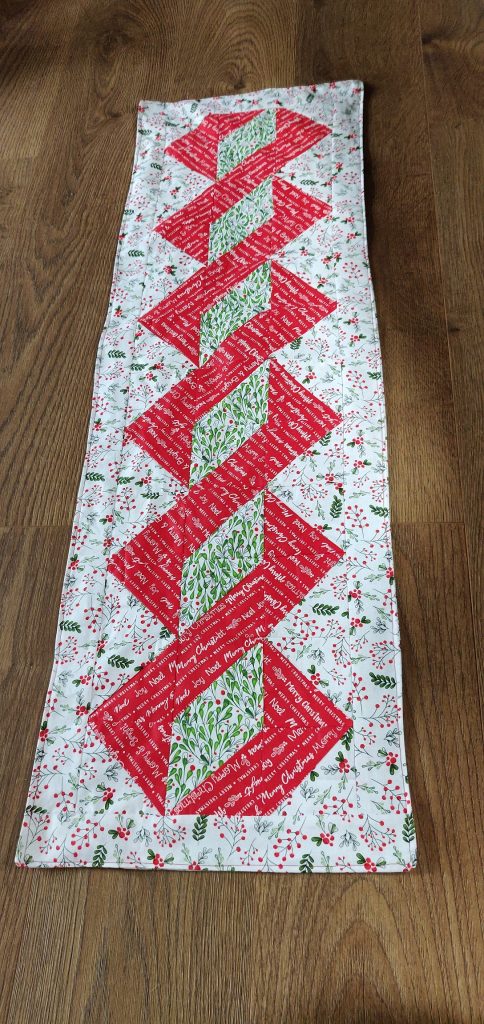
Voila! And the best bit is… you can flip it over if for some reason you want a change…
As with the placemats, I will update the main image on this post when everything is ready and I can get a complete image.