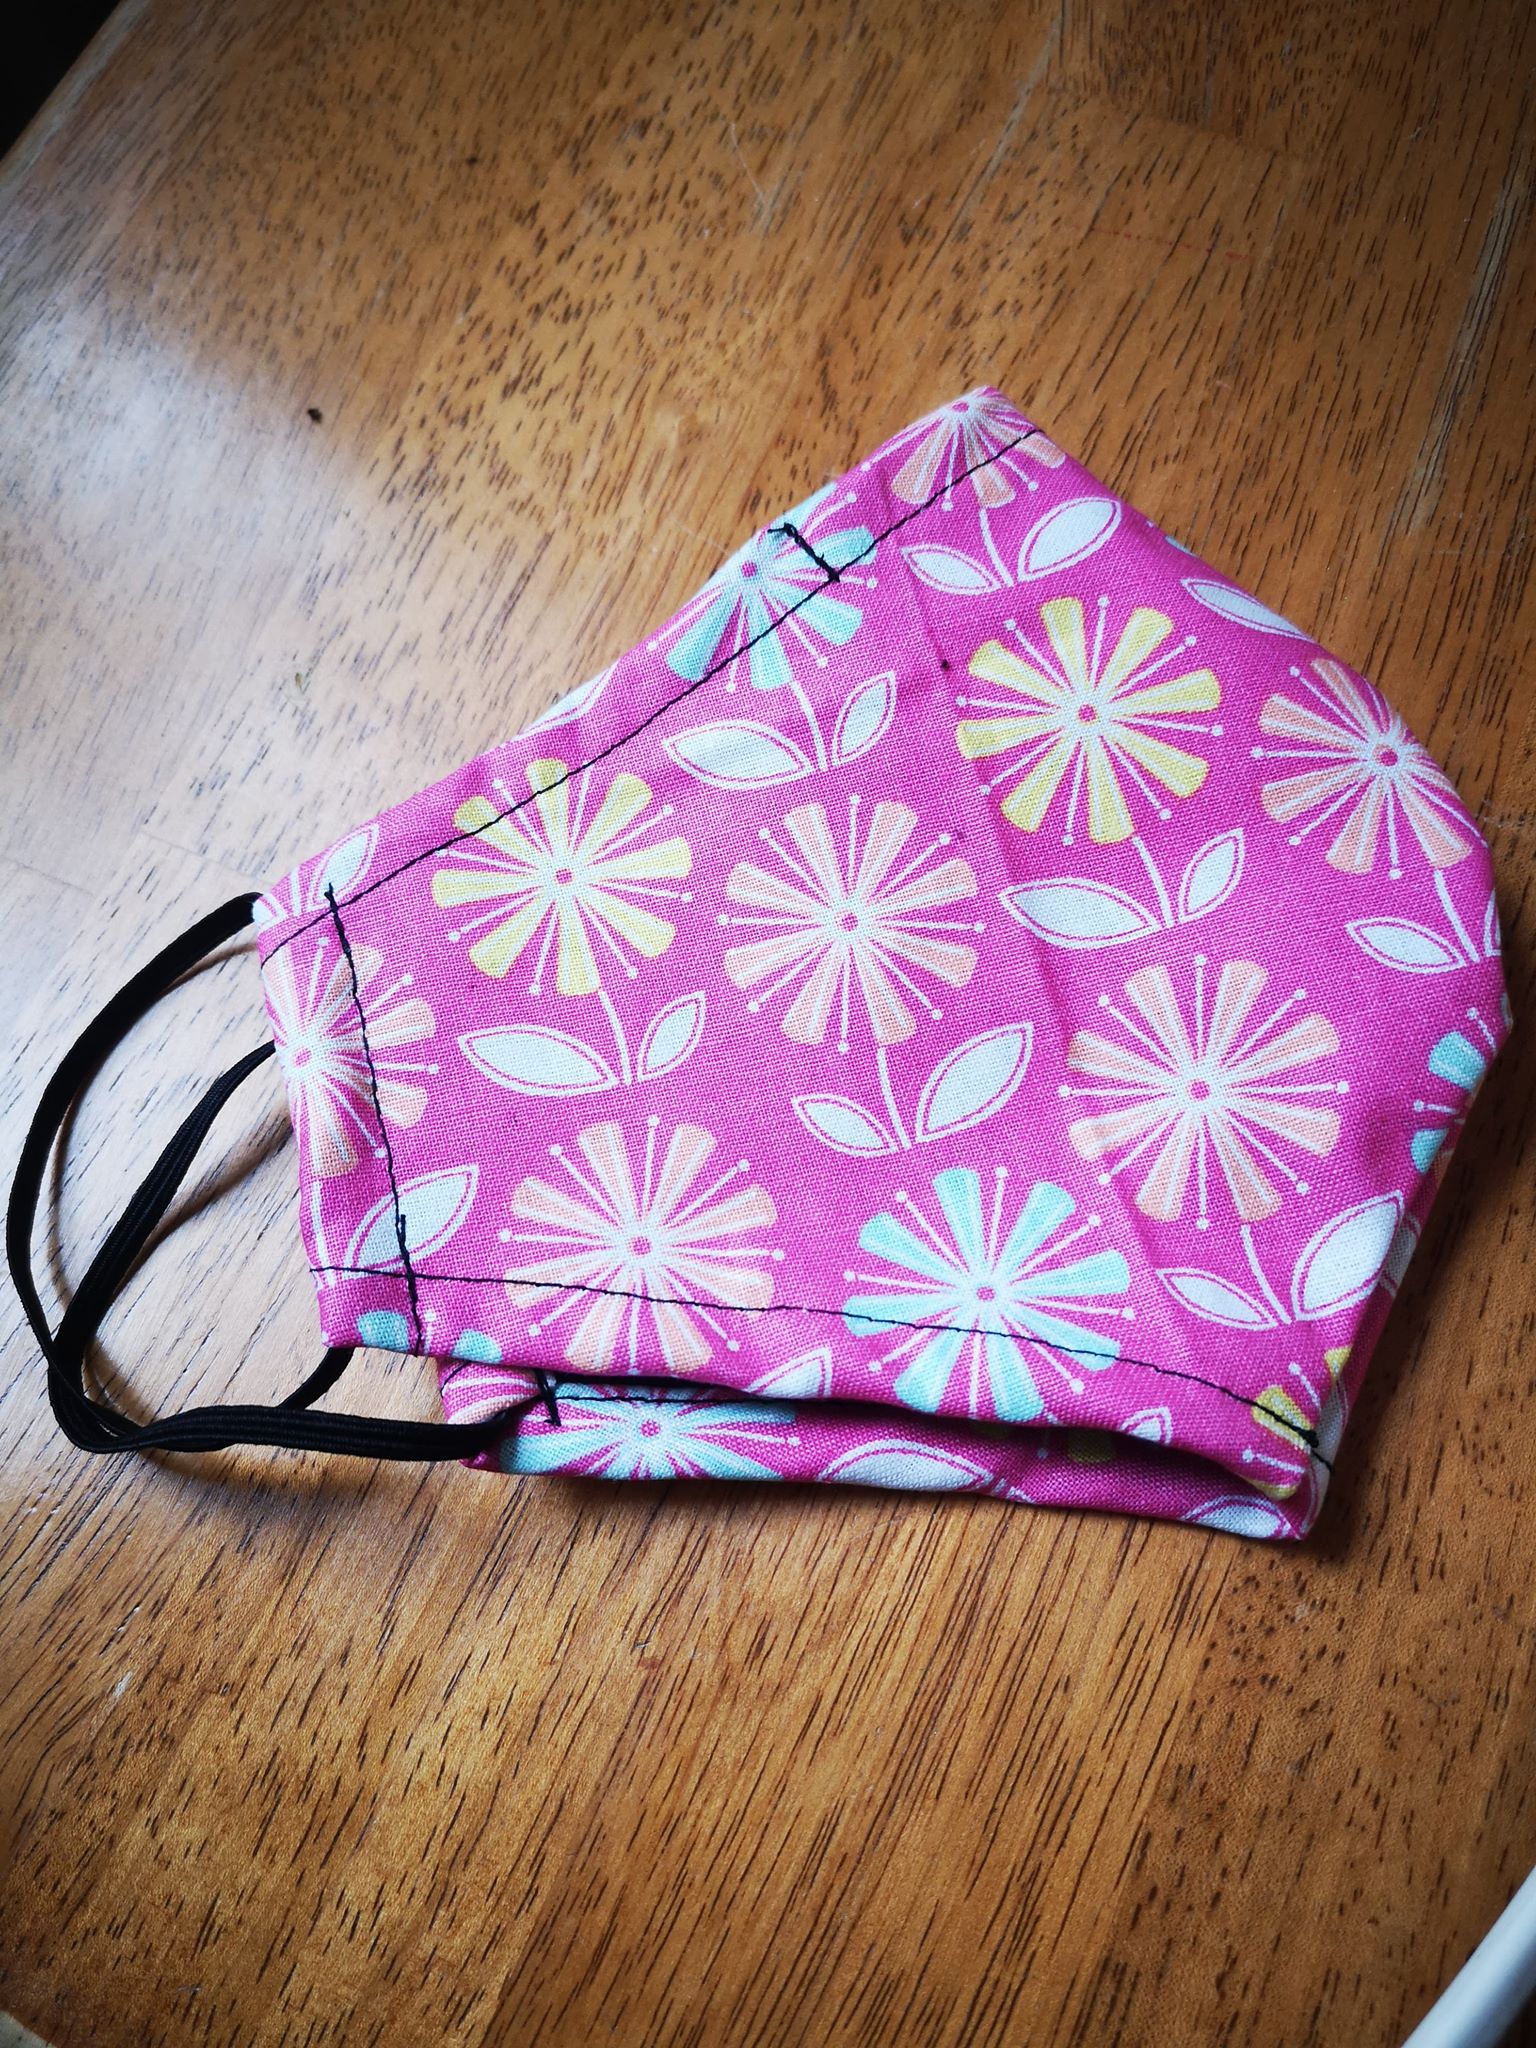
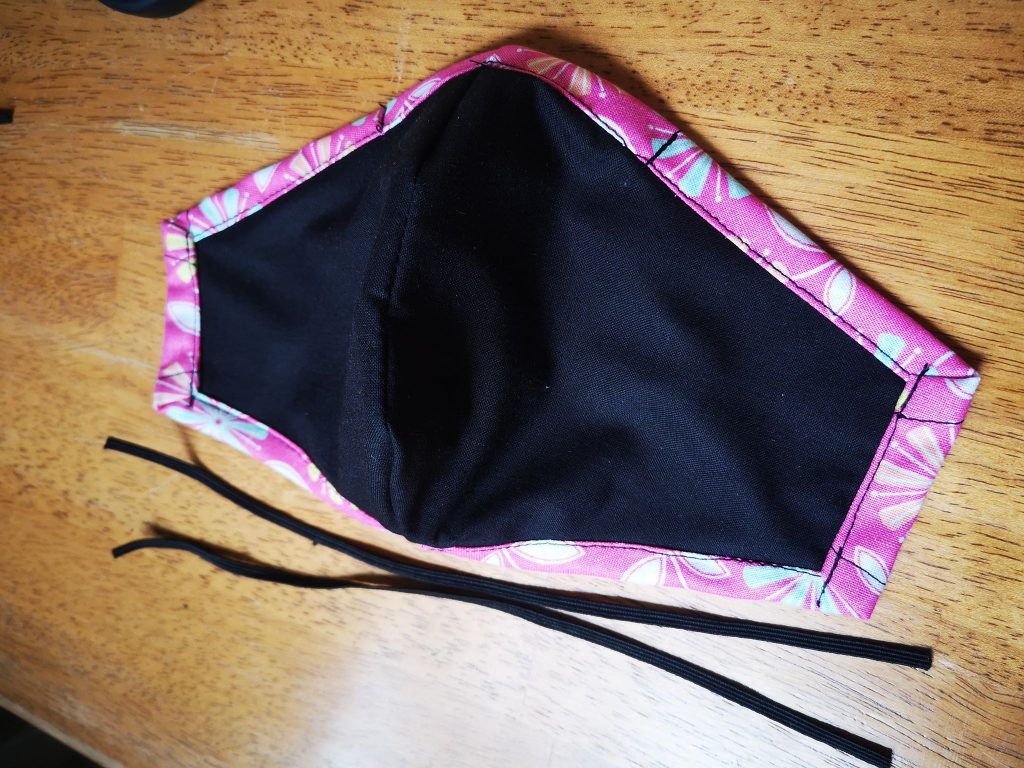
Since the Covid crisis began many of us have resorted to wearing a mask for protection. There are so many different styles and designs out there but I find this one fits very well with no gaps. There are so many patterns on the Internet you could be spoilt for choice. This one I downloaded but tweeked the pattern for a better fit. It fits flat on the side of the face and has a piece of wire which you can adjust over the nose. This mask has 3 layers of cotton fabric, I have been using ‘fat quarter’ fabrics because its perfect. Any fabric that has little or no light showing through it when held up to the light is a good choice.
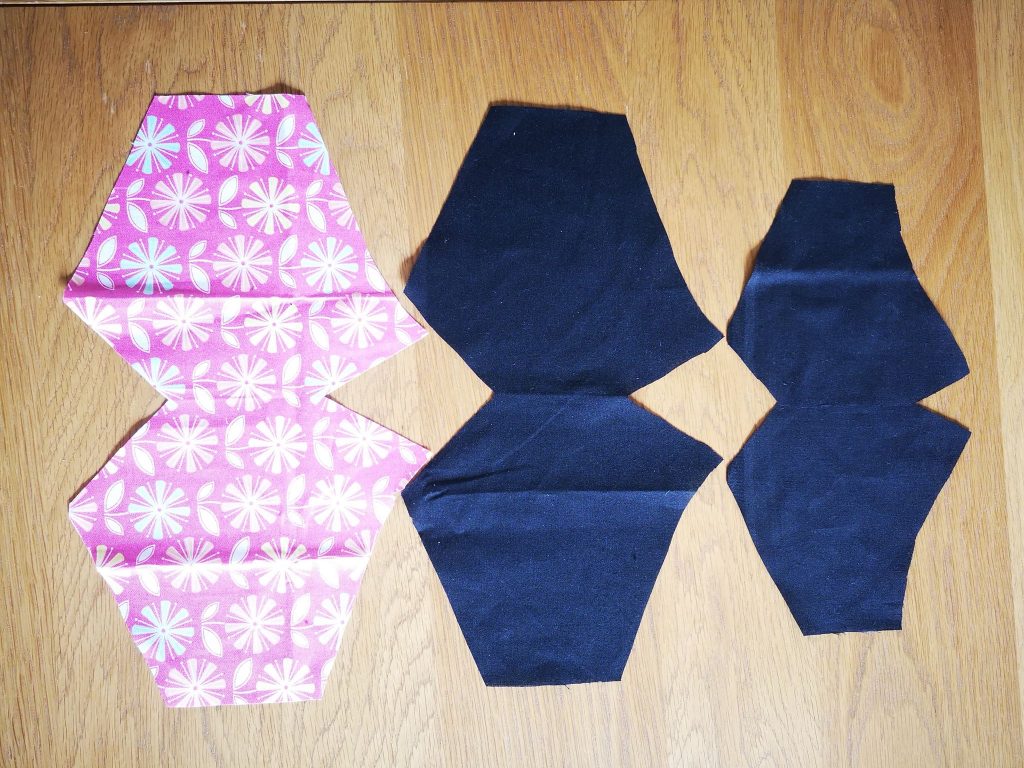
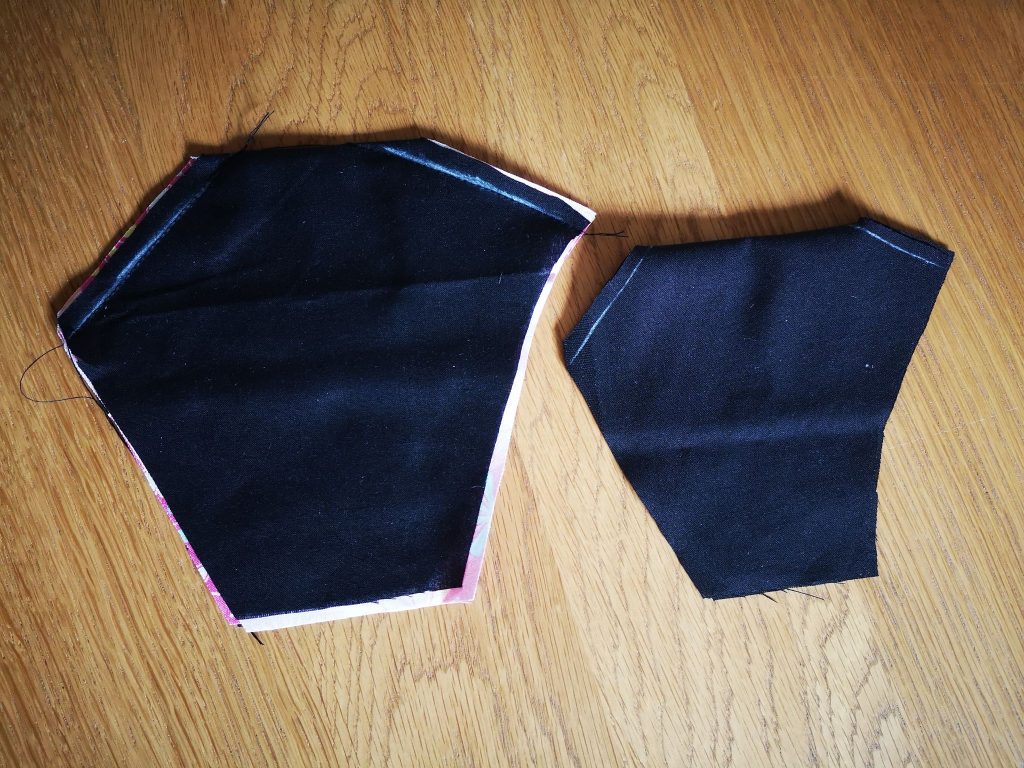
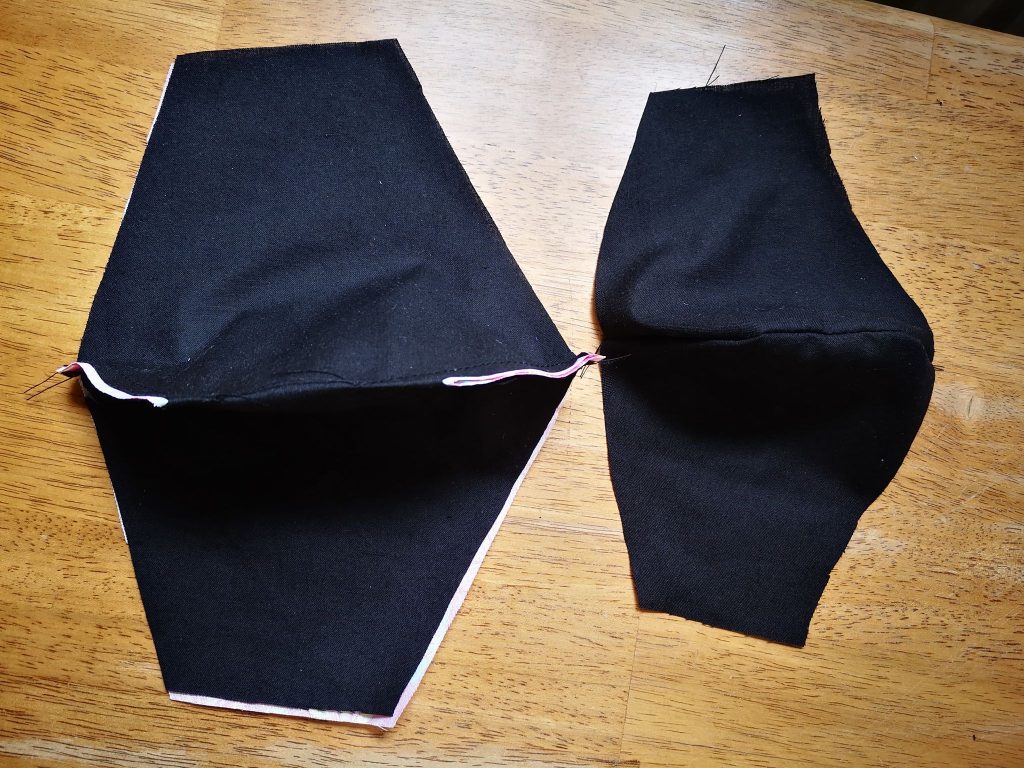
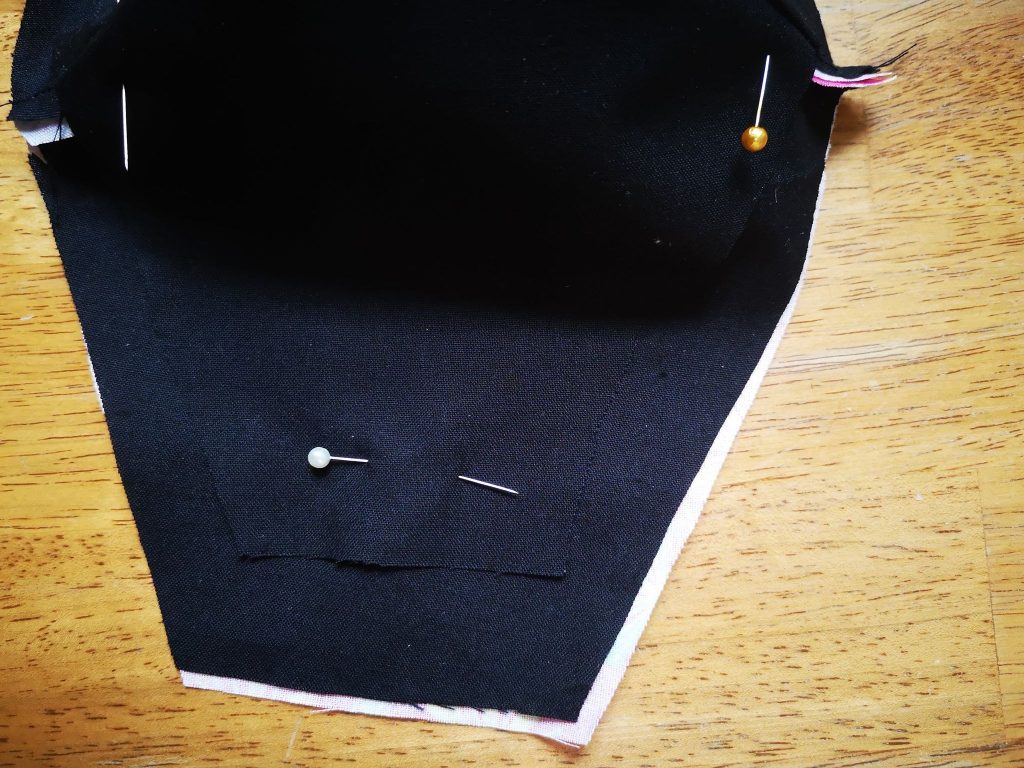
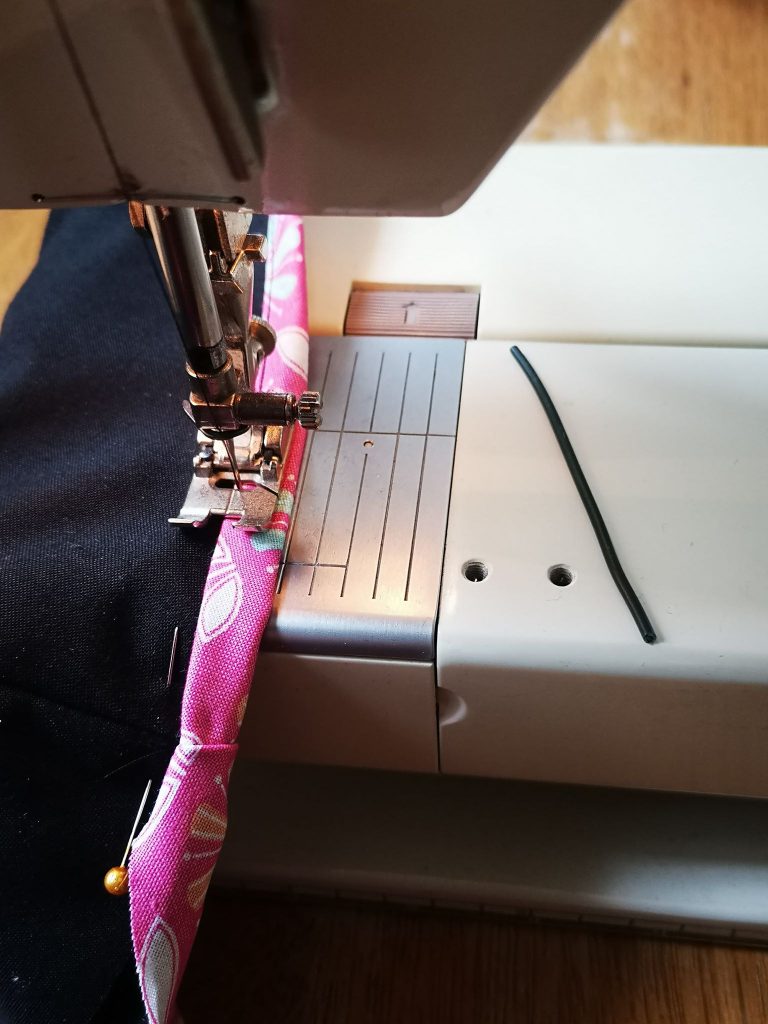
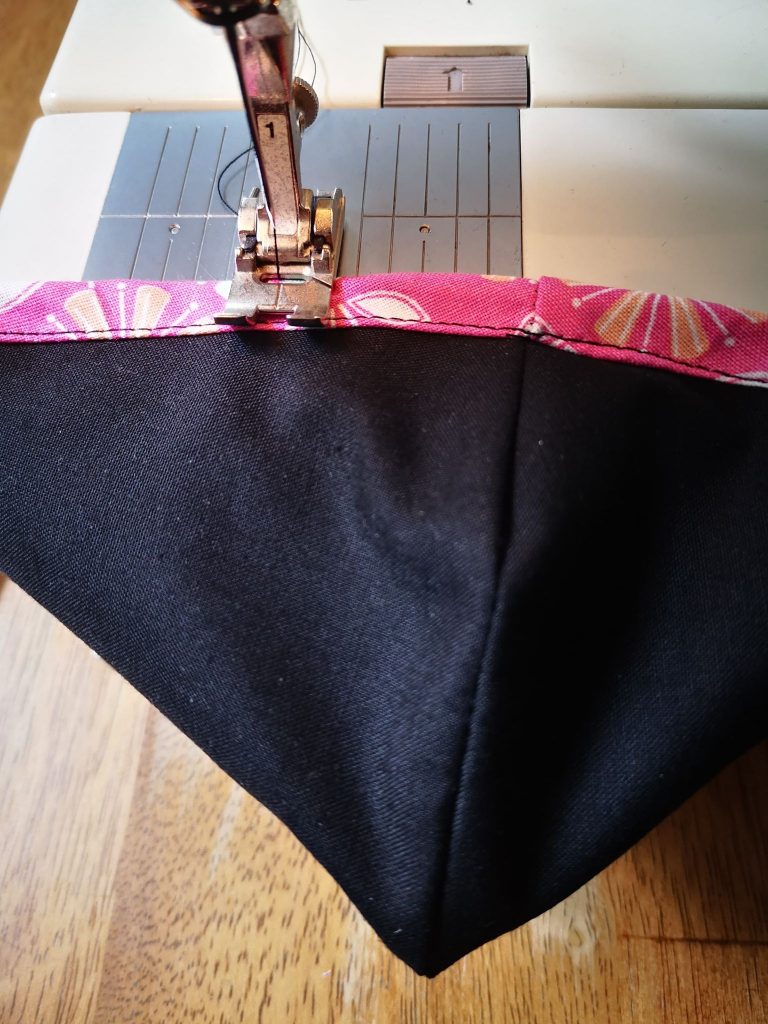
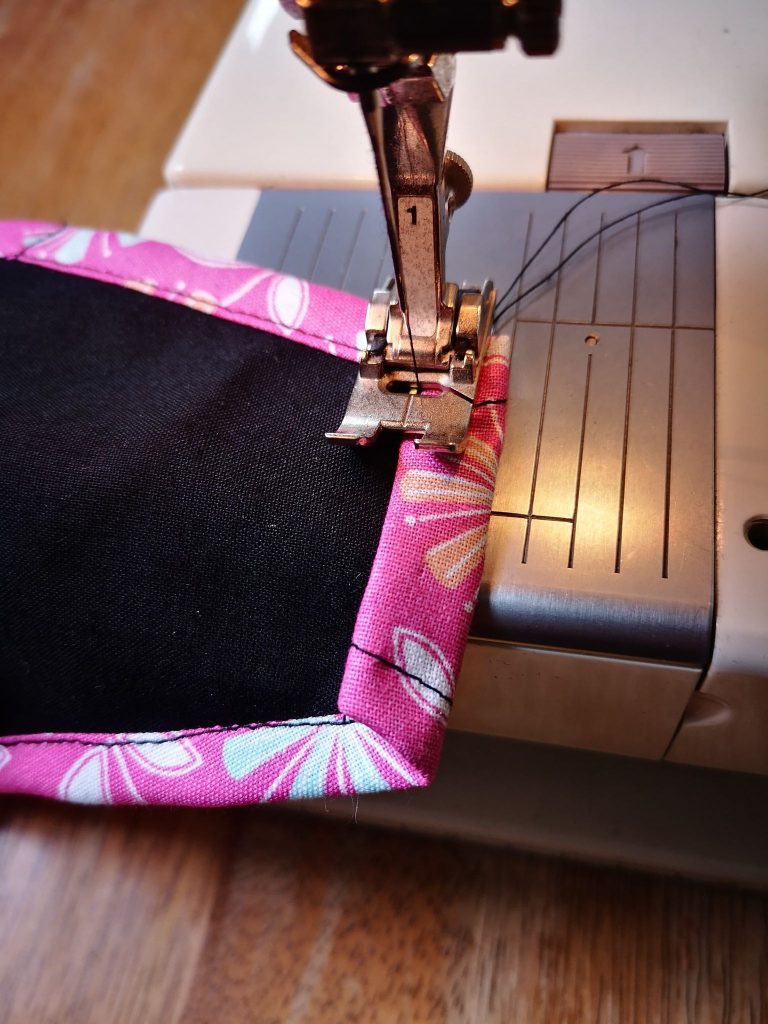
Using the attached pattern, cut three from your chosen fabric (the inner parts don’t need to be anything fancy, a plain fabric will be fine). You can, if you’d prefer, cut the inside piece slightly smaller. Place the 2 larger pieces on top of each other (right sides together) and fold in half down the centre. Then sew (1/4 inch) where the chalk can be seen in the above picture. Repeat this for the inner piece.You should be left with two pieces, each with darts now sewn in.Take the larger piece and have it facing wrong side up. Lay the smaller piece (right side up) on top of it, and pin in place as shown.With the pieces pinned together, turn the edges in by 1/4 inch and then again by another 1/4 inch to enclose the raw edge of the fabric. Stitch this down as close to the inner edge as you can. Please see the following step before completing the stitching around the nose ridge.At the ridge of the nose, you’ll want to add a piece of wire to allow for the mask to be formed around the nose properly. I simply used garden wire as it’s what I had to hand. You’ll need about a 7cm length. Pop this into your seam before you stitch it down.
Sew a few stitches either side of the wire.
This will stop the wire slipping out of place.
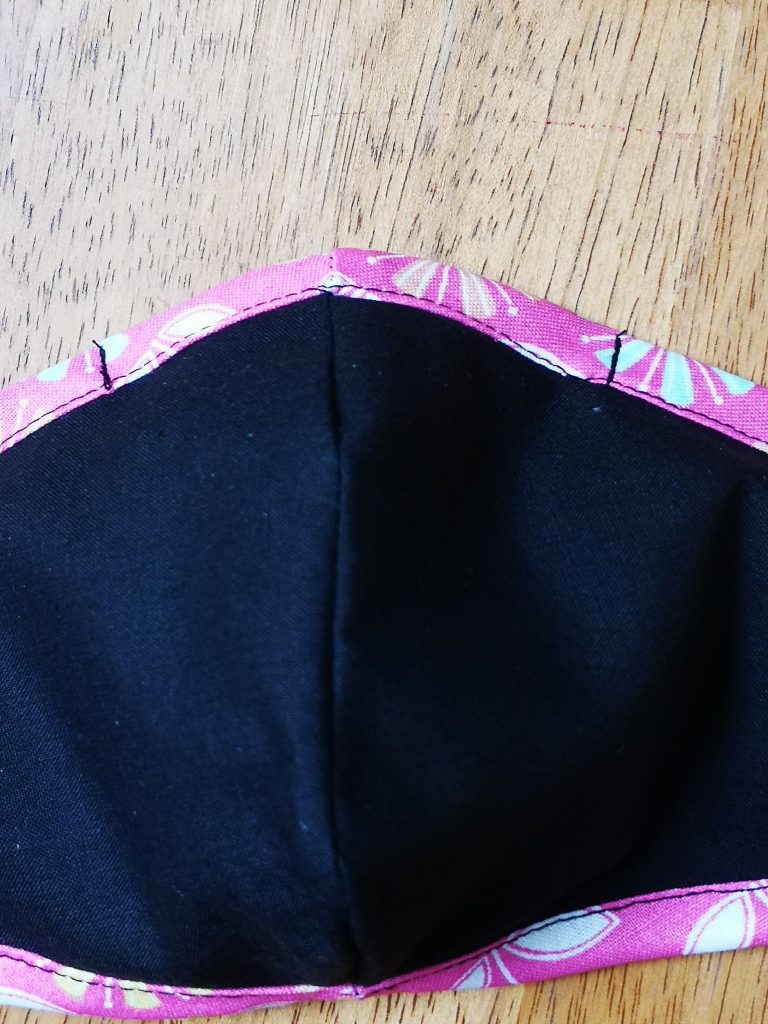
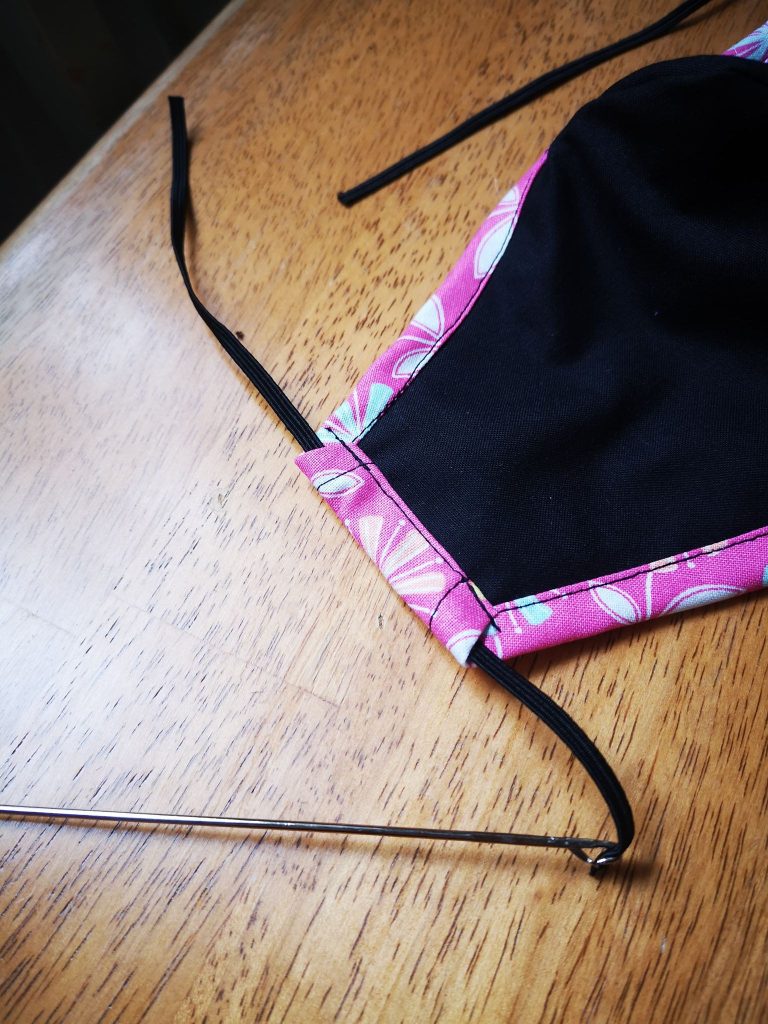
Now to add the elastic pocket – You’ll need to roll over the end of the fabric by about 8 mm and then fold again to hide the raw edge. The raw edges are encased in order to allow the masks to be washed over and over without risk of them falling apart or fraying.
Again, sew this as close to the inner edge as possible (as shown above).You’ll need roughly 22cm of 5mm wide elastic on either side.Using a loop turner (or safety pin if you don’t have a turner) pop the elastic through one end and out the other. Repeat this on either end of the mask. Knot the two loose ends together and rotate the elastic a little so that the knot is encased in the fabric. And there you have it. A wonderfully fitting mask that covers your nose and mouth correctly and is not only comfortable to wear, but can also be washed without risk of coming apart! Thanks to our Guest Post Writer, Marie Crean for her wonderful work. We’re swamped just getting all your orders out to you at the moment so having someone else write this was a huge, huge advantage for us. The best part – Marie is a wonderful seamstress so she certainly knows what she’s doing! Thanks, Marie. We do know much work goes into these posts, so we really appreciate it.