Played around with some new napkins for this years Christmas table. Whilst I love these and they look really cute, I do wish I’d used a bigger plate! I’m not going to change the post at all, but I do recommend using a larger circle. If you have a pin, some string and a pencil, I’d recommend using these to create a larger circle using some paper. Mine was just under 11 inches and I think it can stand to be at least 14 inches in diameter instead. Just something to bare in mind before you start cutting up that glorious fabric!
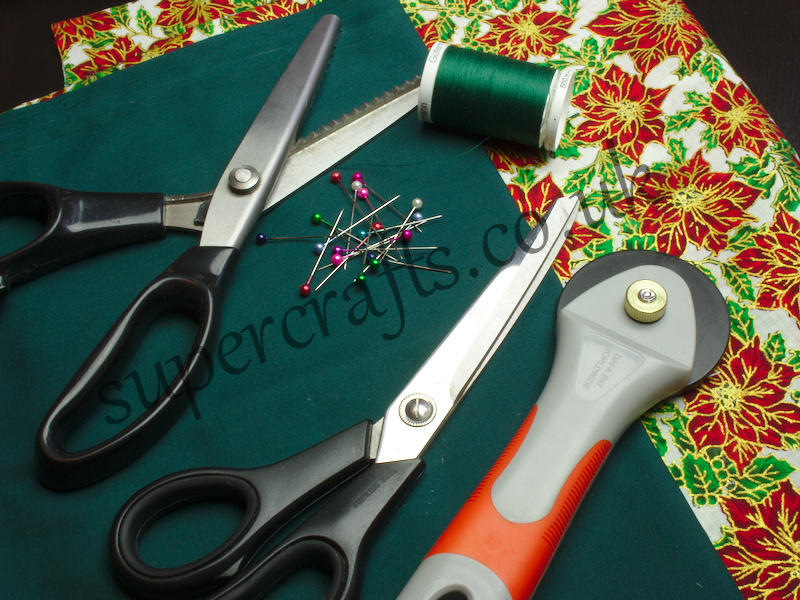
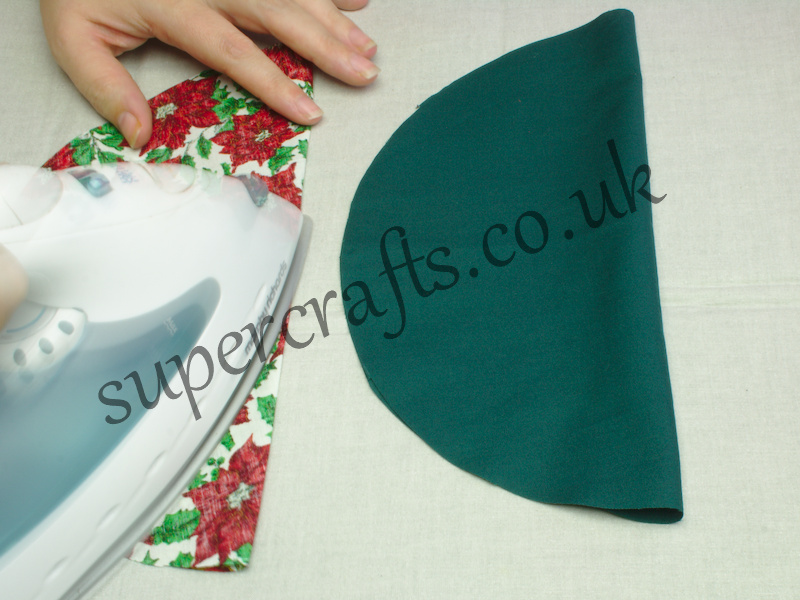
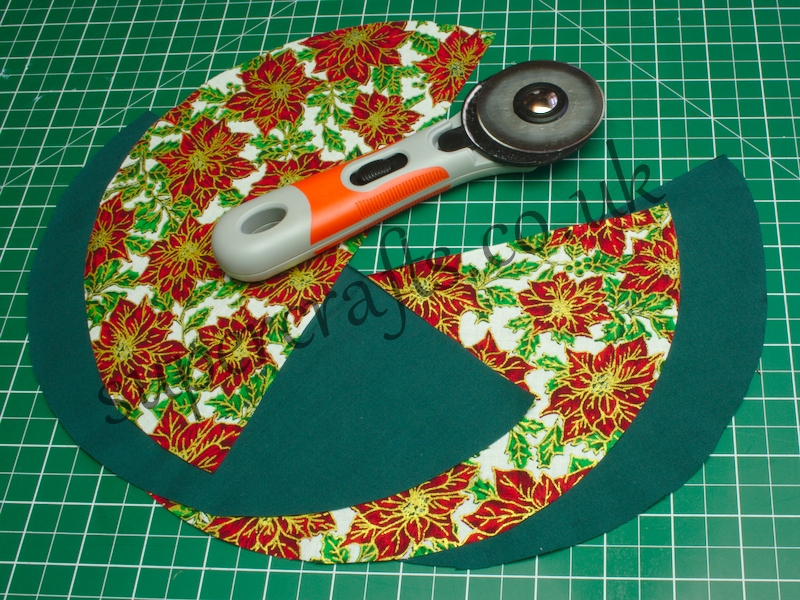
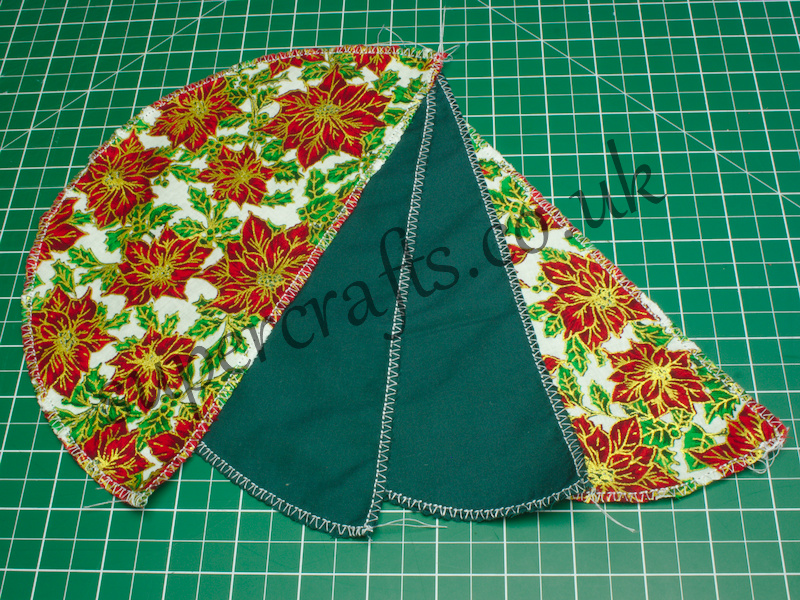
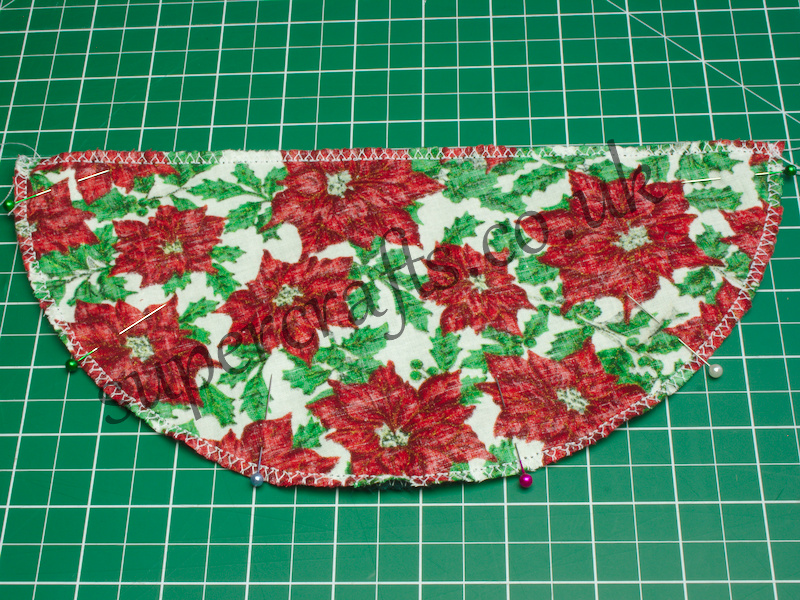
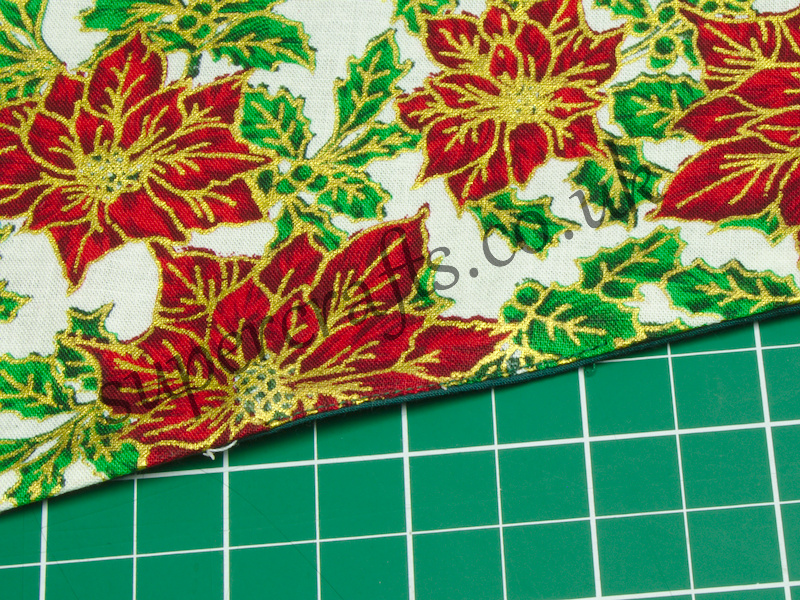
Gather the materials listed above. Each circle created at the beginning makes 2 napkins.Place your fabrics in a stack on top of one another and then hold the plate (mine measures just under 11inches) in place on top of those. Carefully use the rotary cutter to cut around the plate. If you would prefer, you can mark around the plate and then cut using scissors. We use a rotary cutter here as it skips a step and means the make is quicker 😉Fold each circle in half with right sides together and iron down the centre. Cut along the line you just ironed so you end up with four half circles.Now, either serge all the edges of the fabric, use a zig-zag on your sewing machine if you don’t have a serger, or simply trim them with pinking shears. This will help to stop the fabric from fraying.Take one piece from each fabric and lay them right sides together. Pin or clip these together.Using the sewn line as a guide, stitch the two fabrics together from the centre of the straight edge, remember to backstitch a couple fo stitch for stability. Sew around the entire half circle, leaving 2 inches as you get to the end. This will be used to turn the napkin right way out. Remember to backstitch here too.Tidy up time. Clip off threads and both corner points.Turn the napkin right side out and press it flat.Close up the opening using either a straight stitch or put it back under the sewing machine and sew close to the edge using a matching thread.
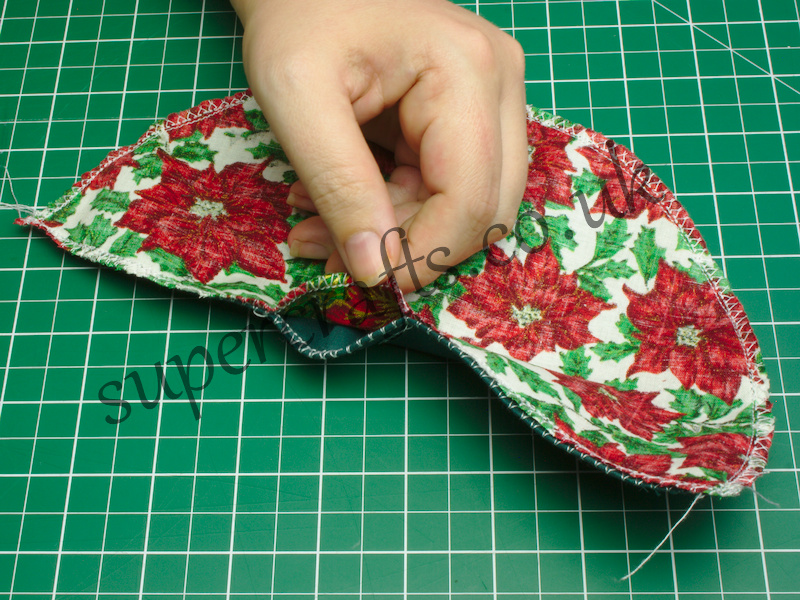
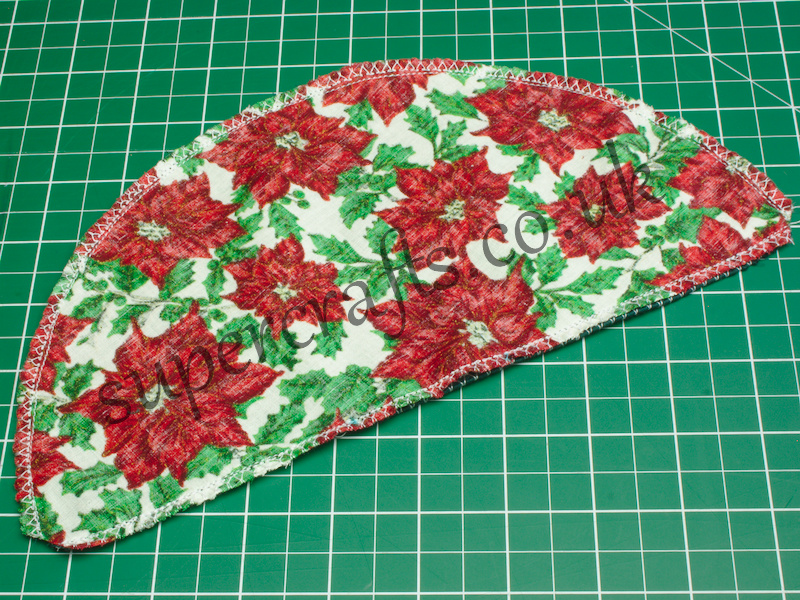
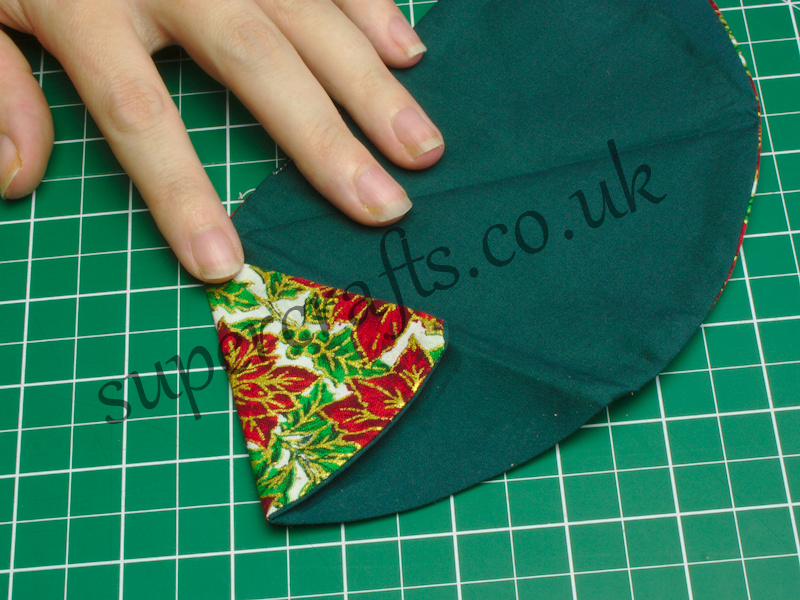
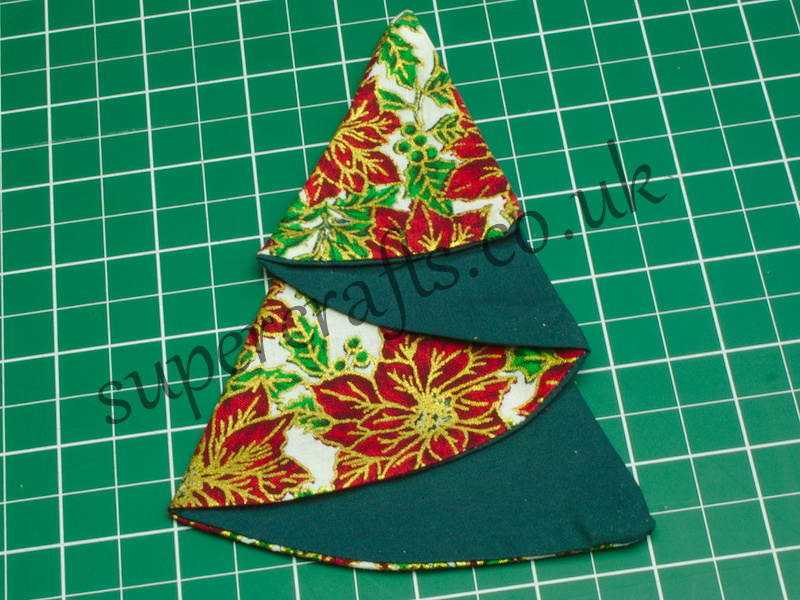
Almost finished! Time to fold the fabric into the correct shape. You may find you need to do this a few times to get the right design for you. Photos are just to show how I folded it, but play around until you’re happy.
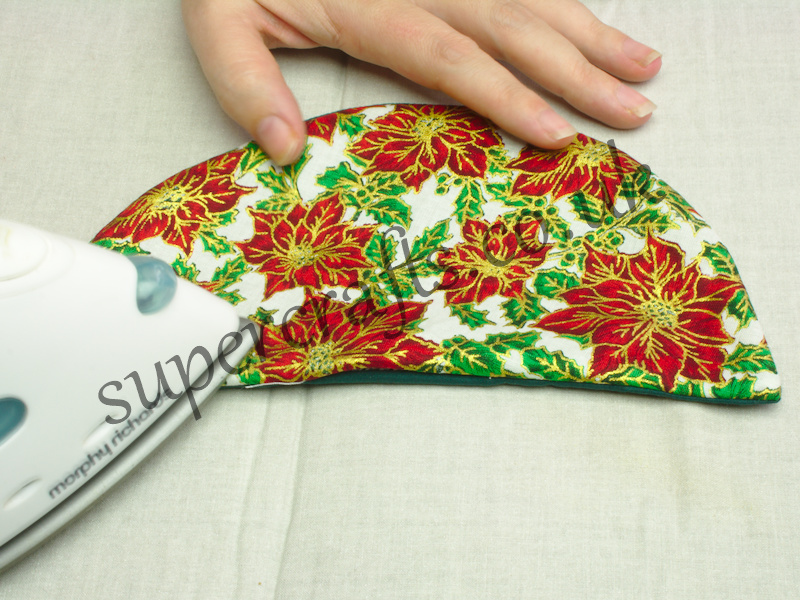
Once you have the napkins just right, press them firmly. This will force them to keep their shape. And there we go – all sorted ready for the table. Coming up next I’ll be adding a candle mat for the centre of the table so look out for that one. It’s a little more time consuming than this post, but really worth the effort!