Hey guys! So… I’m part of many sewing groups and one question I’ve seen come up a few times this past week is “How do I prepare a quilt for quilting”. With that in mind, and limited time for blog writing at the moment, I thought I’d put together this simple tutorial.
I’m not preparing a full sized quilt in this tutorial as I know at least one of you readers is in a rush to get a project finished by this weekend for your dear Mum’s birthday!!! Eek!! AND it’s your first quilt! Crazy… but such a loving gift. The main aim here is to have a link to share with those asking that covers the basics in as simple a way as possible. I’m “preparing” a couple of off-cuts for the sake of speed.
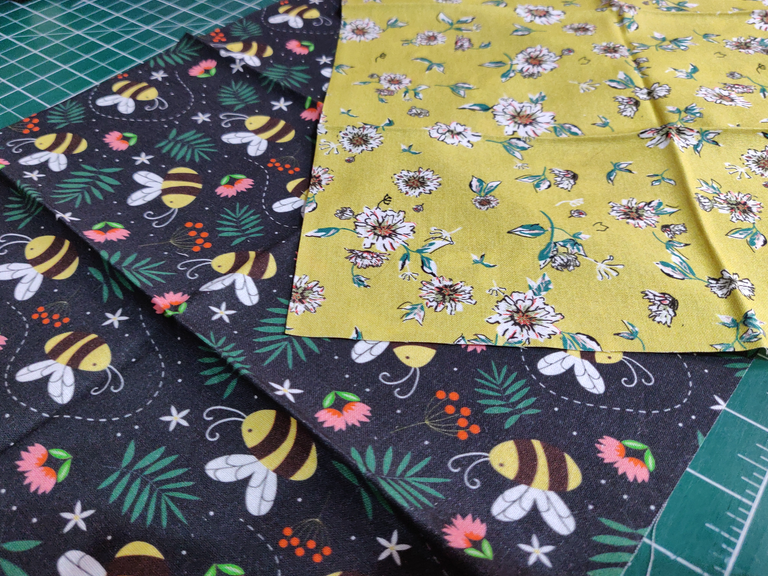
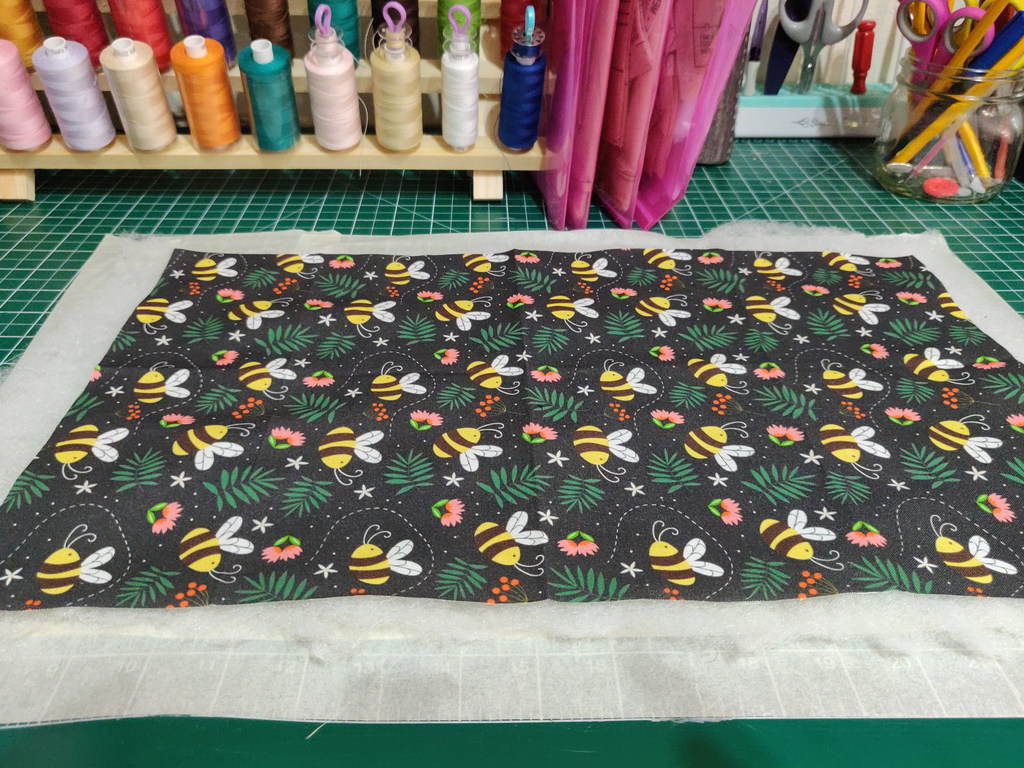
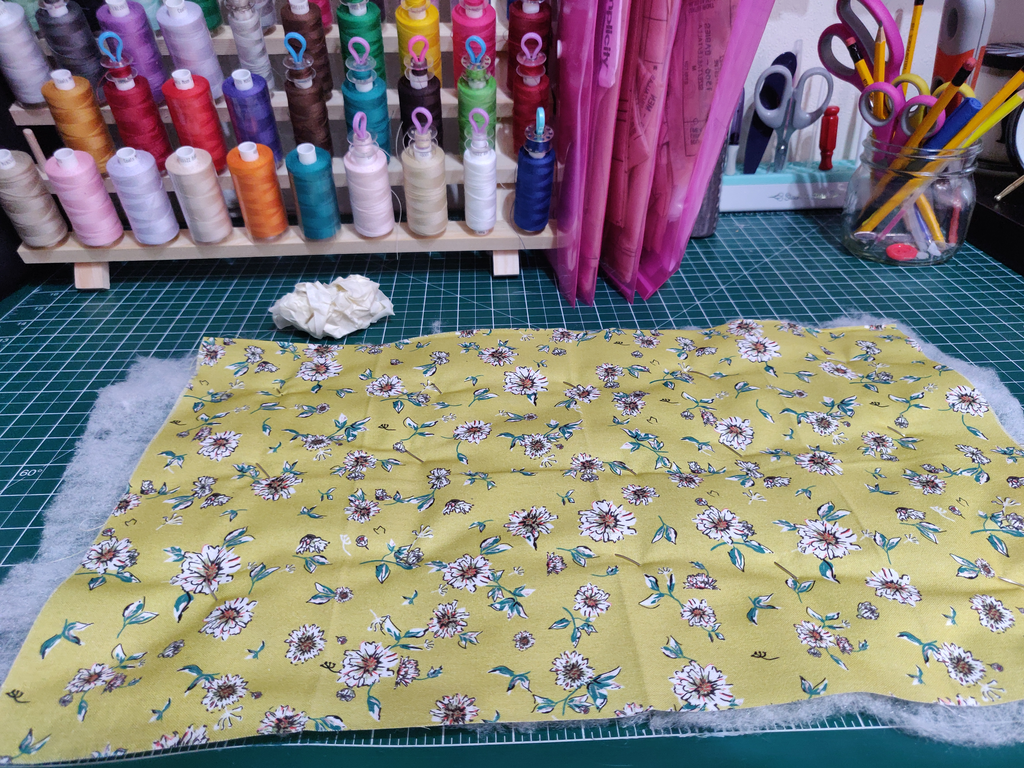
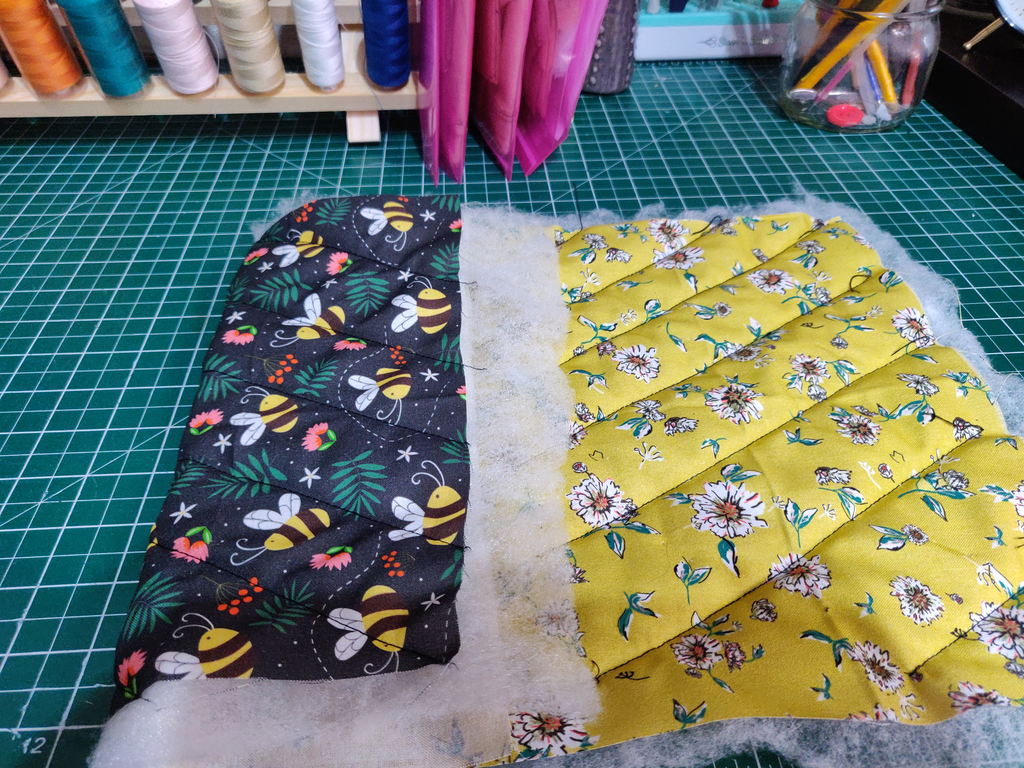
For the purpose of this tutorial, I’m using a black print, and a yellow/mustard print. The back is the yellow. Wadding is added for volume. FYI: I’ve made a loooot of quilts now, and I’ve always used 2oz wadding with no issues. It looks quite thin when it arrives, but once it’s quilted between two layers of fabric (back and front) it’s always been perfect.
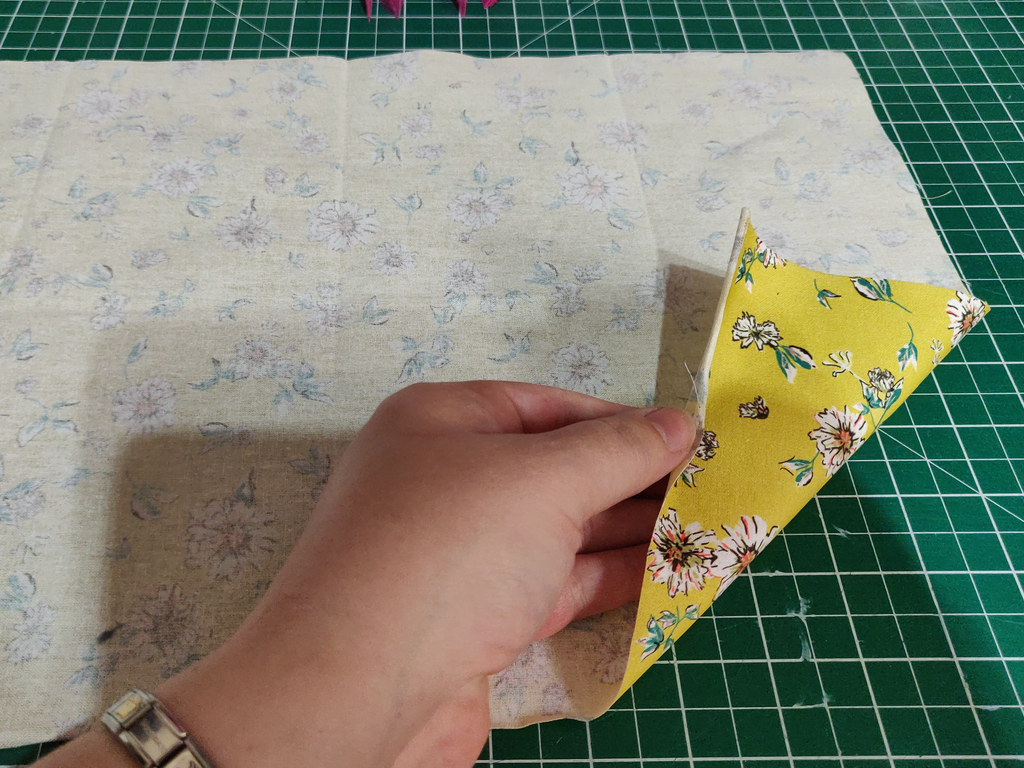
Here we go! We are assuming the fabrics have been ironed and are ready to layer. Your backing fabric should be slightly bigger than the front fabric – same goes for the wadding.
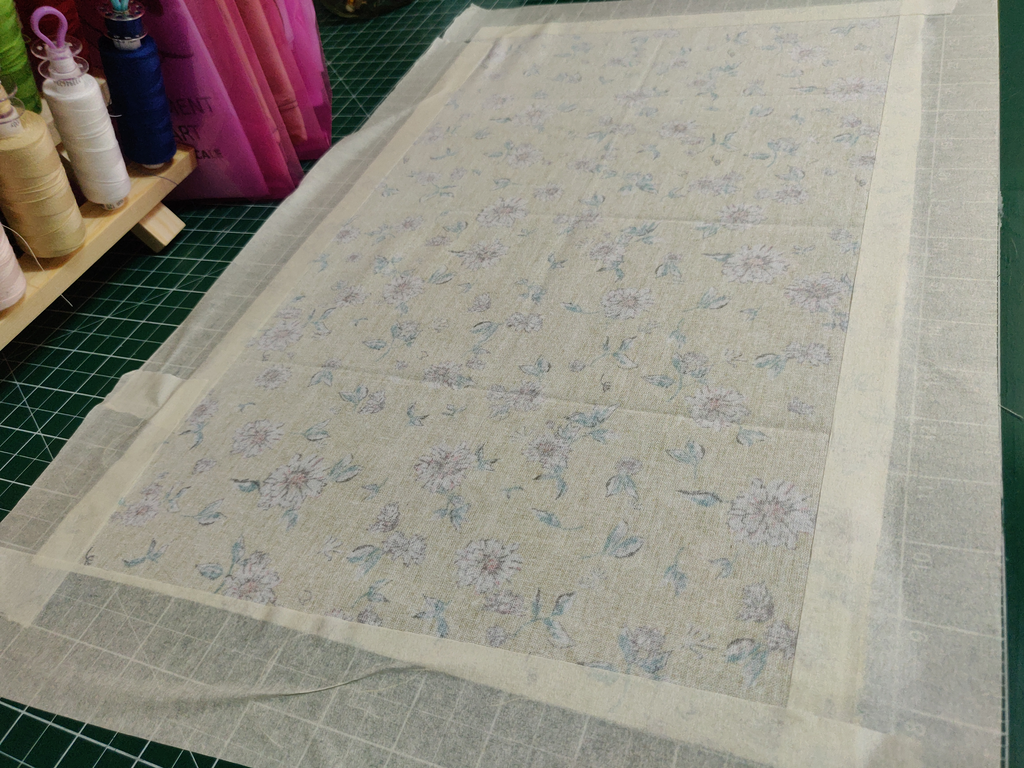
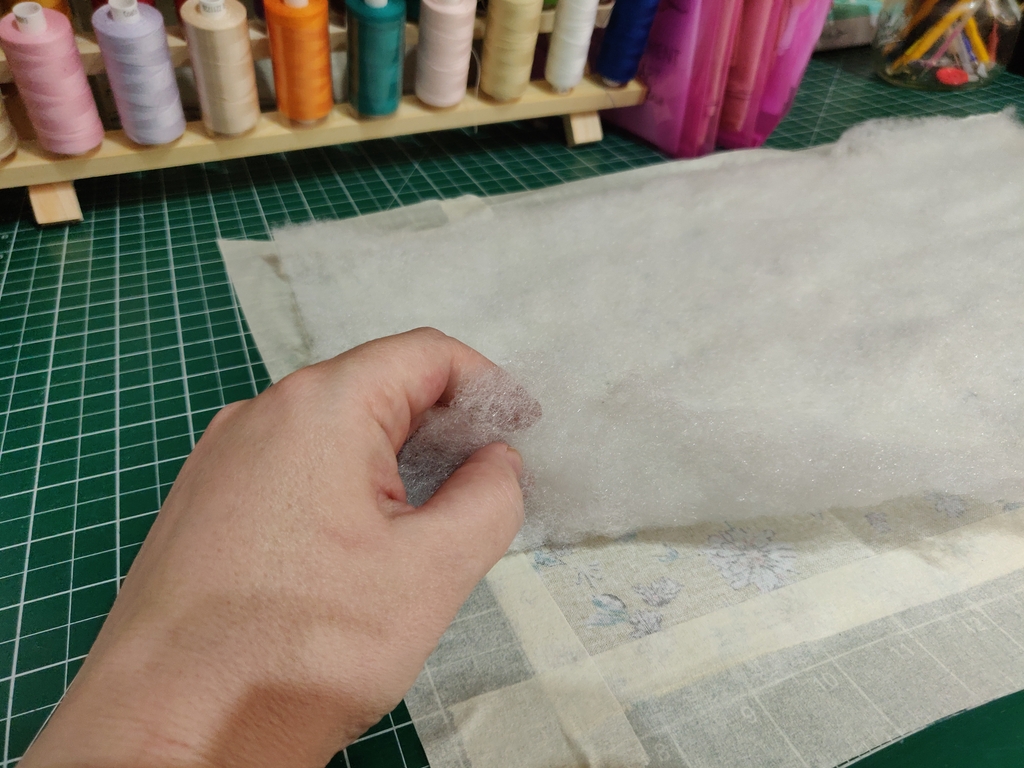
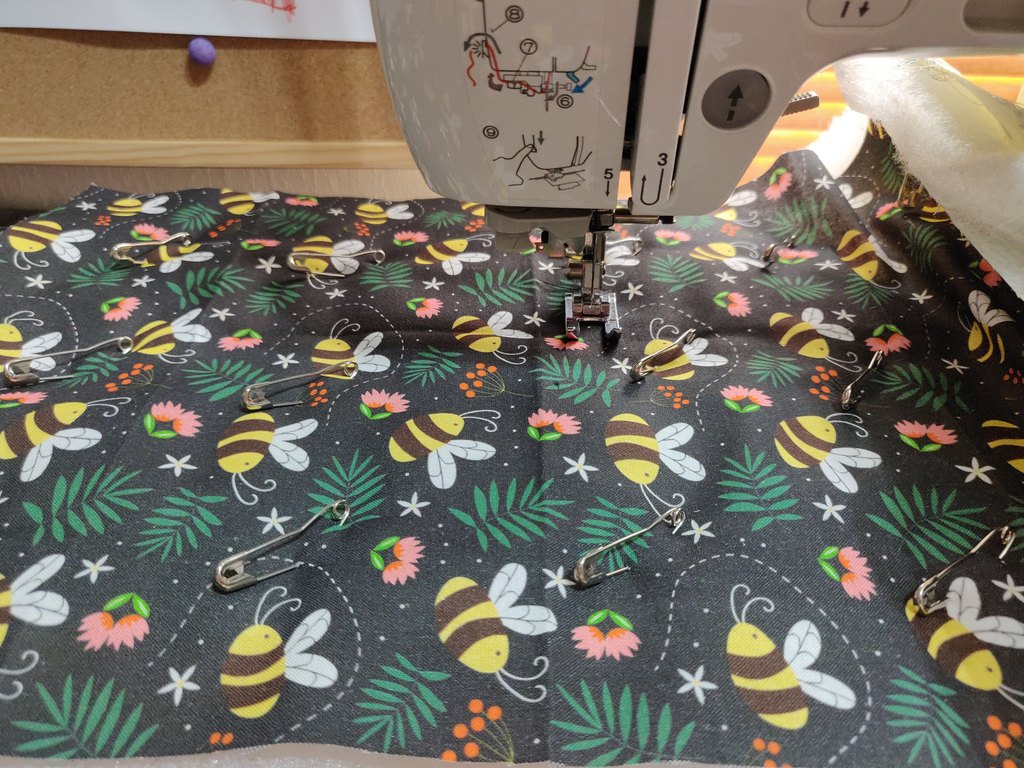
Take your backing fabric and lay it on a clean flat surface with the pretty side facing the floor. Tape it down, making sure it’s nice and taught and that there are no creases or bumps in the fabric. Once satisfied, lay your wadding on top. Now place your “quilt” front on top of the stack, making sure the pretty side is facing you. Smooth it out with your hands to make sure there are no bumps/folds etc. Take your quilter’s pins (they’re curved for easy pinning) and begin pinning from the centre. The more pins you put in, the more stable the stack will be. Remember, you’ll be moving this thing through your machine and tugging etc, so it wants to be as stable as possible from the start. Here’s a pic of the back of the quilt. You can just about see the pins.
One thing to note is how you plan to quilt. For this, I’ll stitch Straight lines at an angle, so I want to avoid placing too many pins around the areas that the lines will run. This helps reduce the amount of time you spend pulling out pins.
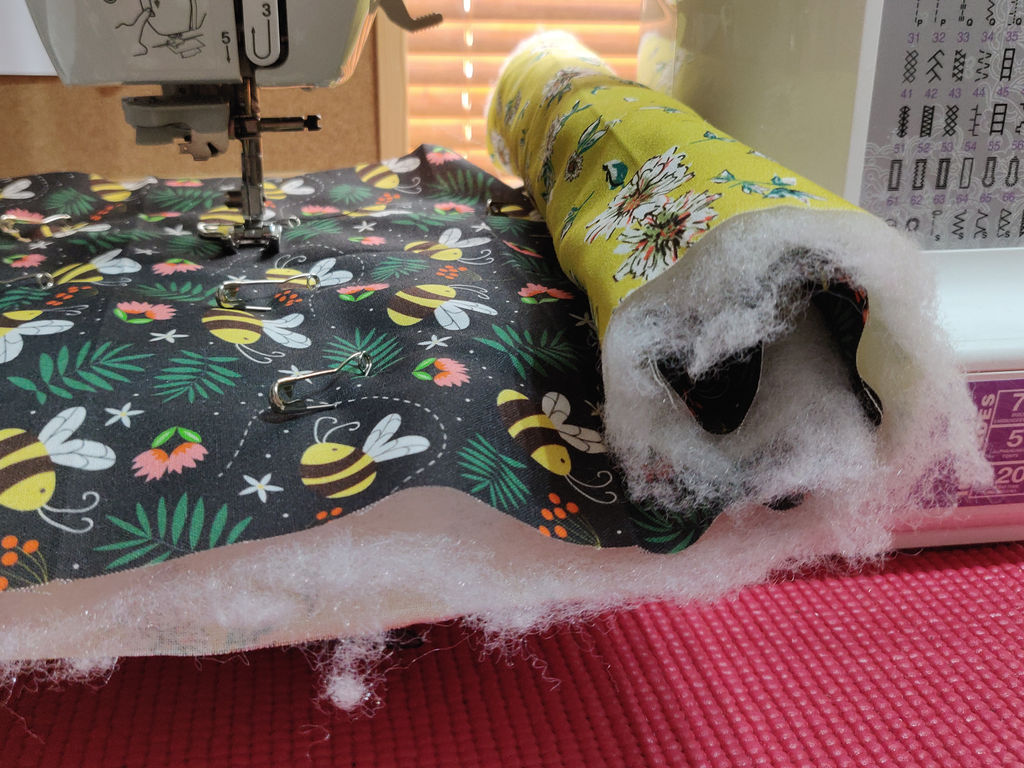
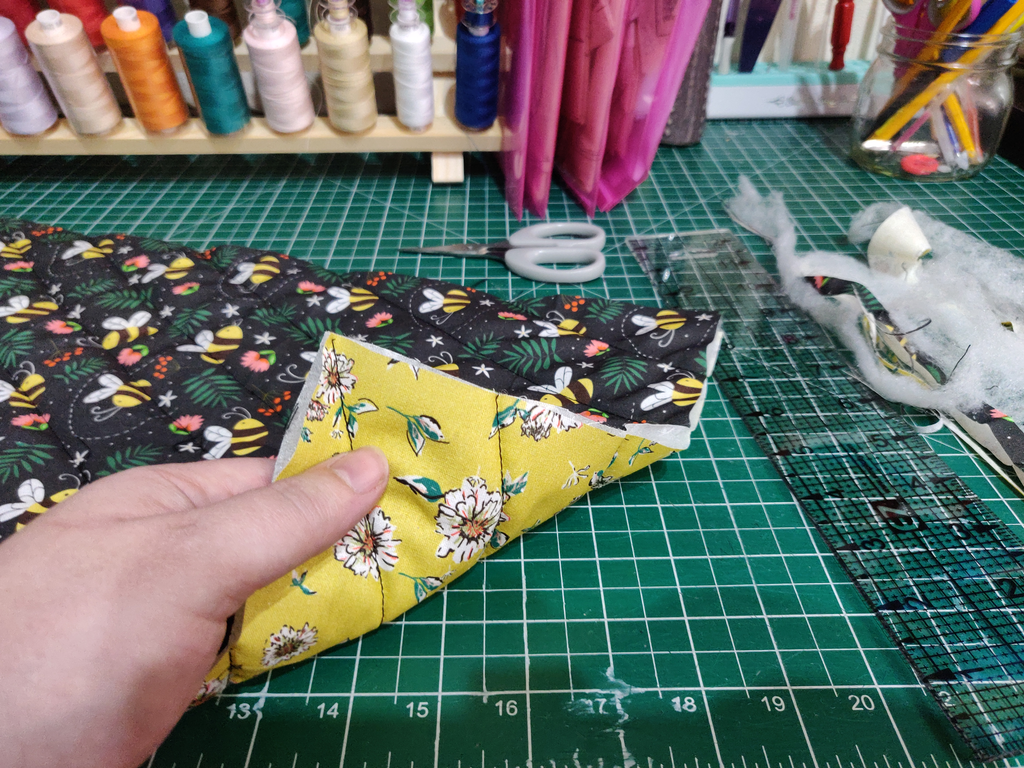
Always start quilting from the centre of the quilt. This reduces movement and stops the fabric from bunching in the middle. I set my stitch length to somewhere in the region of 2.5 to 3. You’ll want to practise on an offcut of fabric first to be sure you’re happy with the look. If your machine has a relatively small “throat” – Carefully foll up the quilt from one side to the centre and slide it under. When you’ve quilted that side of the quilting process roll up the opposite side and repeat. Obviously it wasn’t an issue with this tutorial piece, the image is just to show what I mean.I used black thread, again, just to make the process clear. You should always use a thread that will blend in, assuming you want the stitch lines to blend in. If you want to emphasize the actual stitches, use something that works with the coloours of the quilt but stands out. It’s all personal choice. Once it’s all quilted. Level all sides (I use a rotary cutter for this as it allows you to be more accurate!).
Then apply your binding. I have an earlier tutorial for creating binding here, and another for attaching it using the sewing machine here. I detest hand sewing, I’m too lazy for it!
Hopefully this has helped someone. I’ve kept it as basic as possible, but… in the coming weeks I have a few quilts to start work on, so will create a more in-depth post, time permitting.