


Last year I made a few folded star ornaments and a folded star wreath. The idea came as I’d been working on a folded star cushion; that being said, if you google it, I’m sure it’s already been done! That’s why I don’t tend to google things now! I see someone has already produced something and think, well what’s the point? So, google aside!
I’m using the Stuart Hillard designed “Merry & Bright” range of fabrics, hence the name of this post. We’ve had them on order since April and it’s been driving me insane waiting! They finally arrived last week so I’m over the moon and super-exited to get going!
The following requirements are based on making one wreath using the Merry & Bright Fat Quarter Bundle.
What You’ll Need
- 350mm Polystyrene wreath
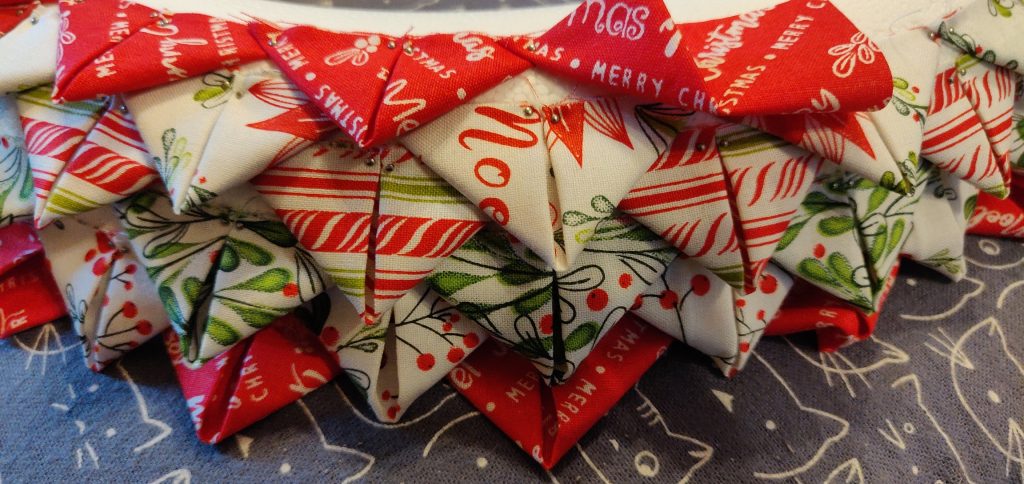
- 1 Fat Quarter Bundle of the Merry & Bright range cut into 144 squares measuring 2.5” x 2.5”. You need about 18 for each round. So the first three fabrics used get repeated (just remember to cut more of those than the others).
- Standard dressmakers pins (around 600!)
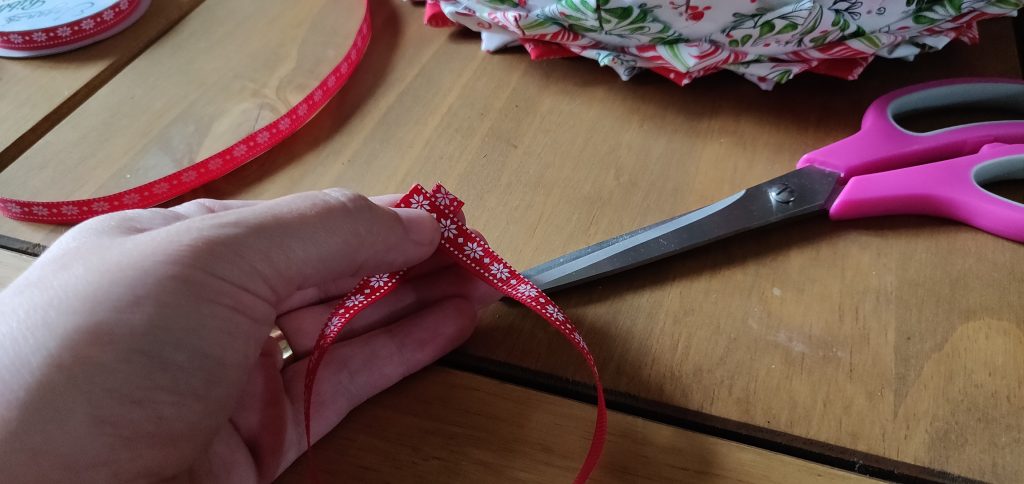
- Piece of Ribbon for the inside of the wreath
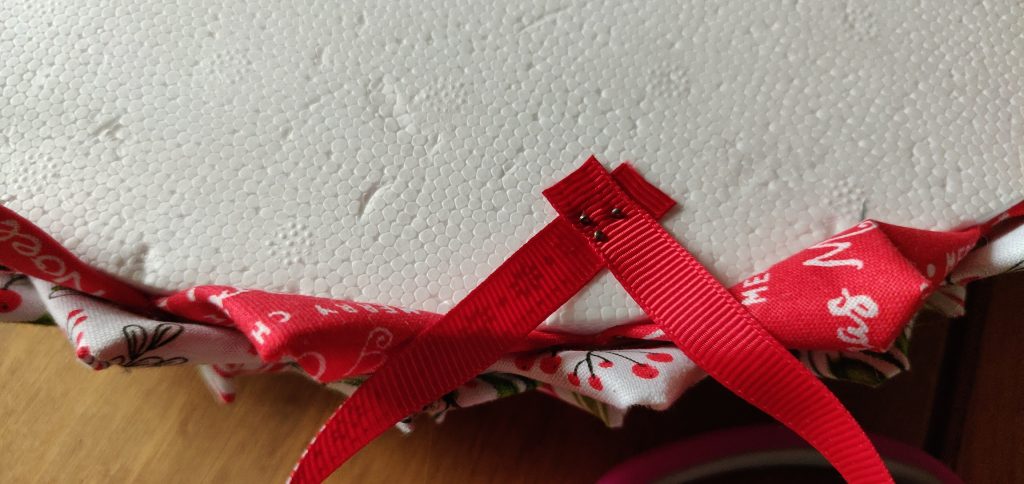
- 7” piece of ribbon for the hanger
- Rotary Cutter and Mat
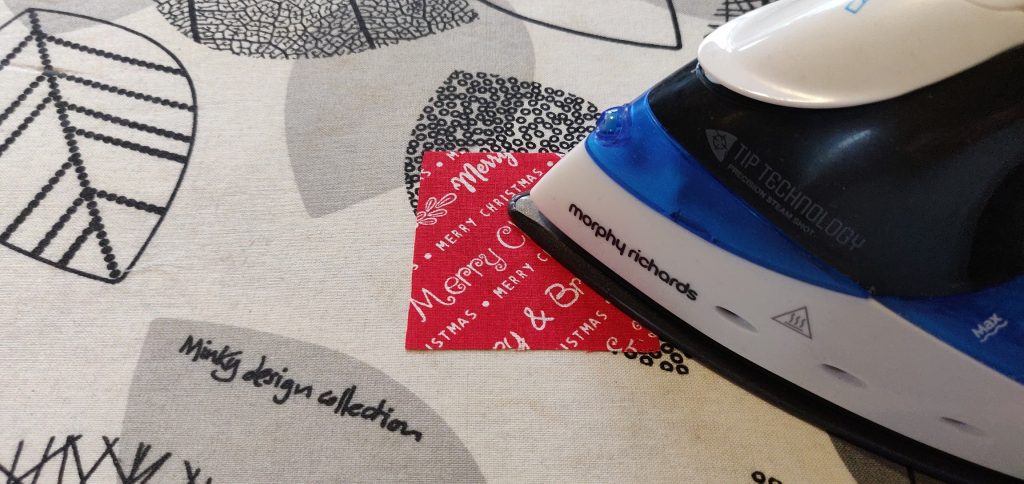
- Iron
- Thimble (RECOMMENDED!!!!!)
The first step is to cut the fabric. I prefer to do all this first as it’s not my favourite part and so gets it out of the way early on. Go ahead and cut 18 squares measuring 2.5 x 2.5 inches from each fat quarter in the bundle. Then cut an additional 18 from the first three. You’ll end up with 144 squares.
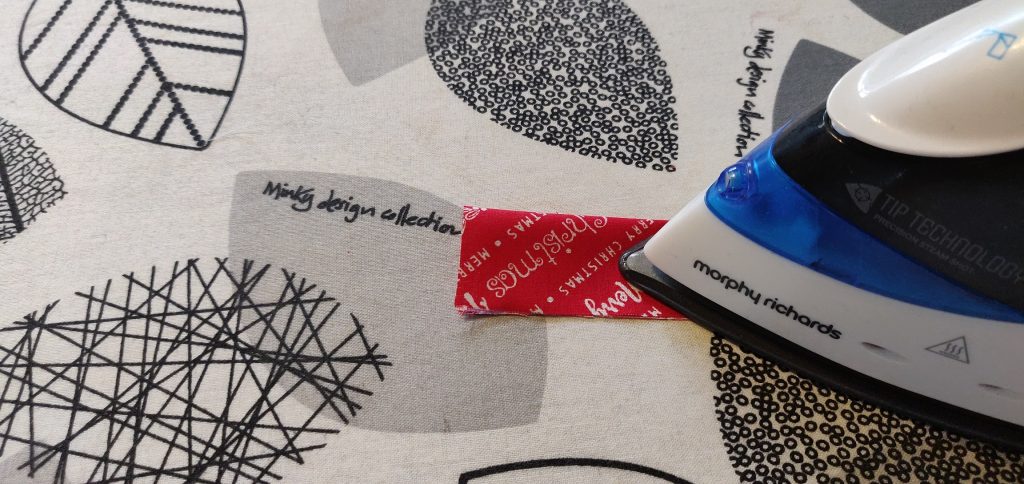
The next step I detest equally as much as cutting! (If only I knew going into this hobby that the bulk of my time would be spent measuring, cutting and ironing I may not have started. So glad I didn’t realise!).
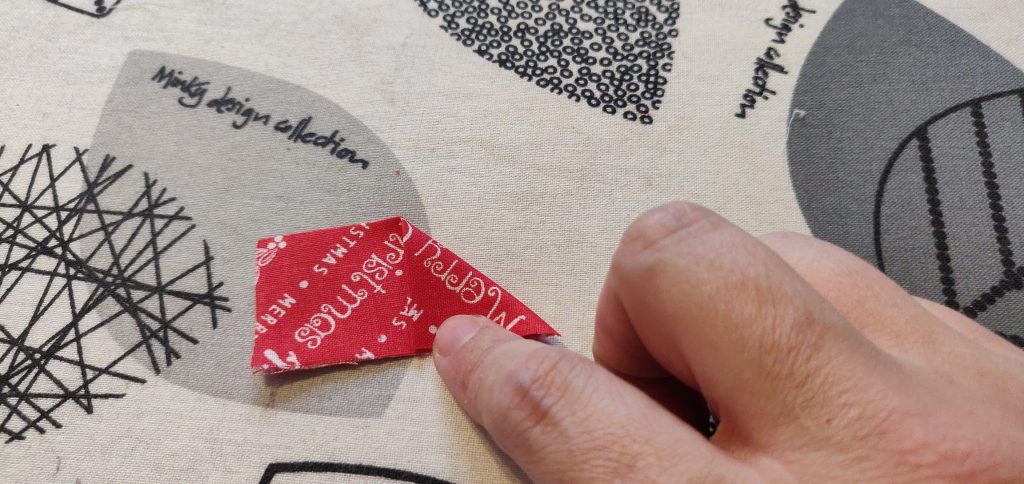
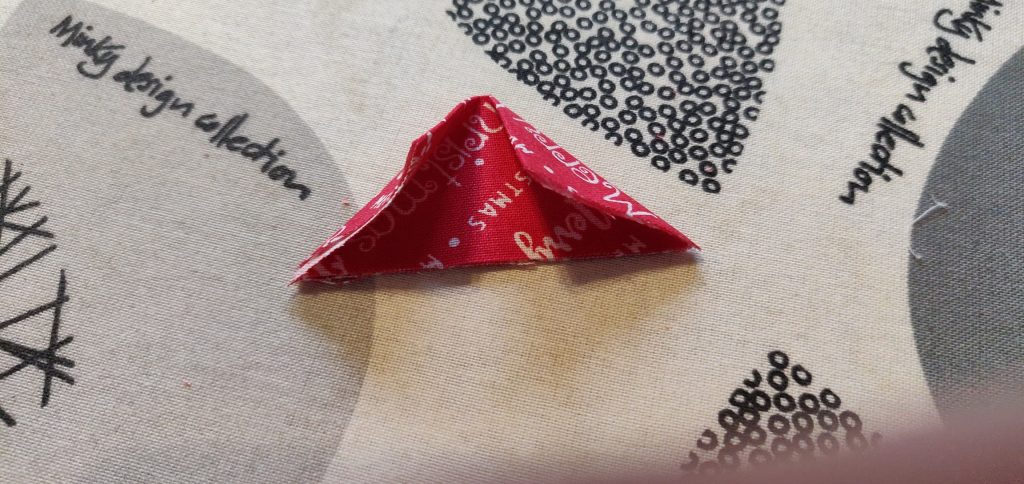
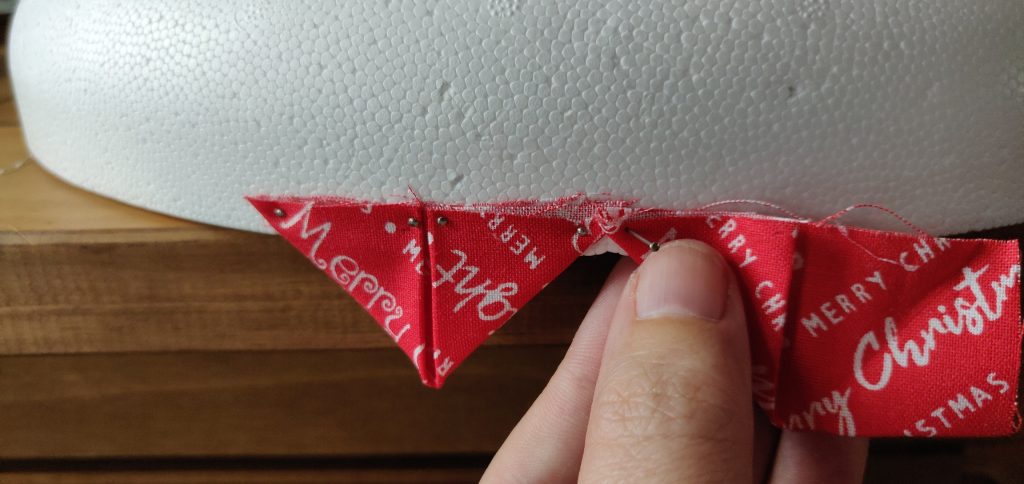
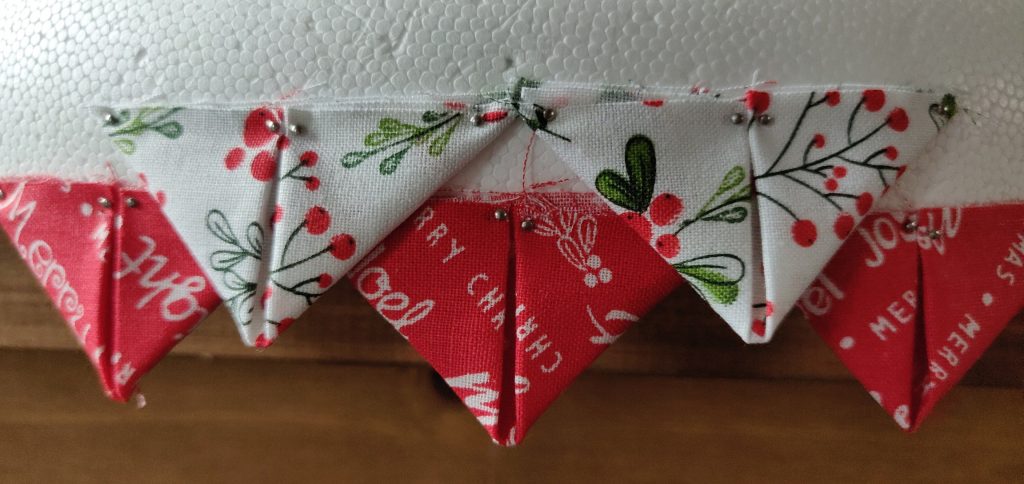
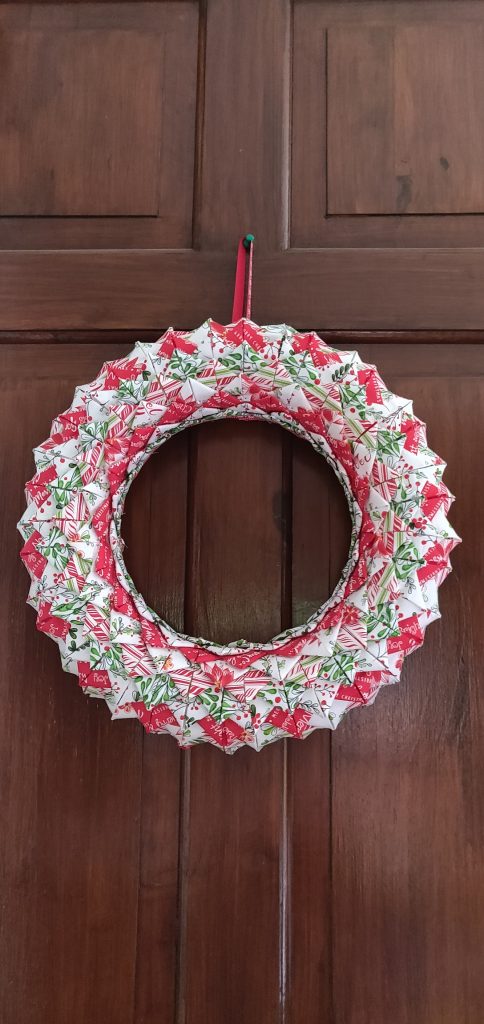
Here comes the fun part. It starts to come together really quickly. You may want to use a thimble – it’ll save your finger! I promise.


Thank you Anita. Its a lovely wreath. Looks manageable to do. I love it.
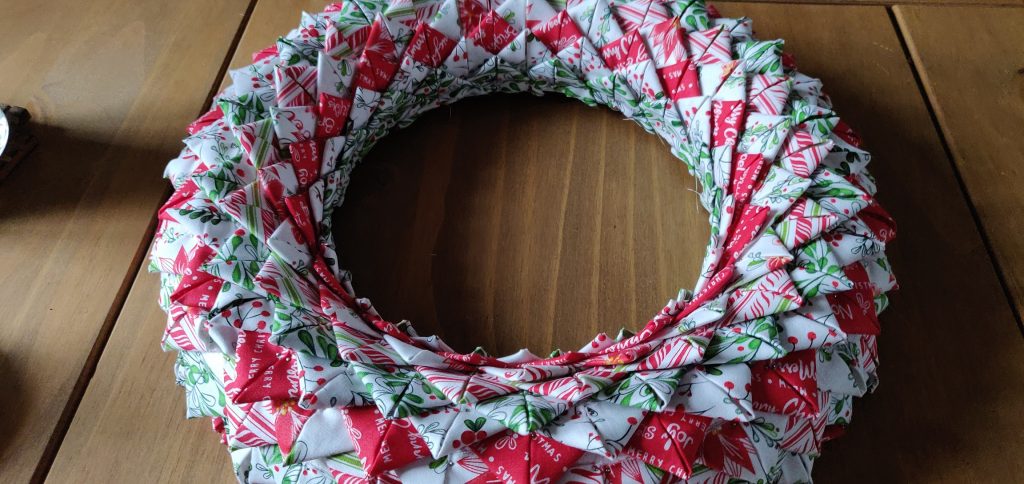
Takes a little time, but was totally worth it!