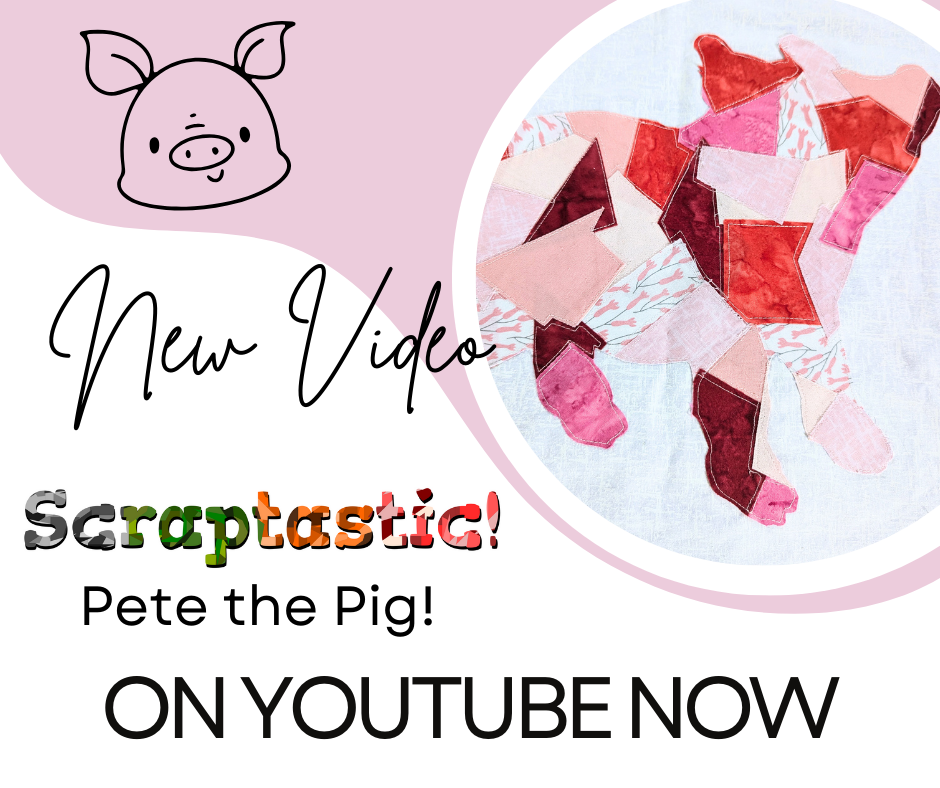
Good morning everyone! I’ve spent a fair bit of time creating designs for the Scraptastic! range of late and I can finally release a few. Rather than providing long winded written instructions, I opted to make a video showing how to produce the Pete the Pig design using the Scraptastic! method.
Here’s a link to the current patterns (I’ll be adding more to the page over the coming weeks, so check back regularly). The patterns should be printed on A4 at “Actual Size”. The panels are designed to be used for a 20″ cushion insert.
https://supercrafts.co.uk/179-scraptastic
The fusible webbing I use can be found here.
Here’s the video
And here’s the transcript incase you need to translate the video
Hi everyone! I hope you’re all well. This week I’m going to introduce you to Scraptastic! – a super simple, super easy method for creating appliqués quickly. This produces stunning results and best of all, it uses scraps of fabric!
The method is so simple and so quick, you’ll wonder why you’ve not been doing it this way before! Now, obviously because of the way this works, it’s more scrappy than regular appliqué, in which you cut specific shapes to form an image. Rather than trying to explain, let’s just crack on with the video and show you.
Grab your fabric scraps and apply fusible webbing to the back of them. I’m using some offcuts from the unicorn cushion design I did a few videos back, and some left over from the highland cow cushion. Both will work for this little Pig we’re going to be making. The paper side of the fusible webbing should be facing the ironing board at this point. We want to stick the webbing side to the back of all the fabrics.
Now, I’ve been making these for a while and always cut the fabric pieces and then tear off the paper. It never occurred to me to remove the paper and THEN cut the pieces down into random shapes. Likely because I was filming and realised it was taking a while. So learn from my mistake. Remove the paper and THEN cut the pieces down to suit you.
The smaller the pieces, the more scrappy your finished project will be, but remember, for each edge, that’s a line of stitching you’re going to have to do… but we’ll come to that.
Now, take a piece of greaseproof paper, standard kitchen greaseproof paper and trace the pattern onto the none-shiny side. Pencil is fine, pen is more obvious, it really doesn’t matter what you use as long as you can see it through the paper. For those in other countries, you may refer to the paper as parchment paper. You don’t need to tape the template pieces together if you’re confident onf placing each piece correctly. But if you want to, go ahead and attach them where the pattern indicates. I should say, you don’t HAVE to trace the patterns, you can simply cut them out and draw around them if that’s easier for you.
Now we can get randomly creative! And I do strongly suggest you do this on an ironing board as you’ll need it once they’re all in place. Take those fabric scraps and peel off the backing paper, unless you’ve been smart and done that already! Place them randomly to cover your drawn template. The fusible webbing should be facing the paper, and the fabric should be facing up. Continue until the entire image is covered. We want the pieces to overlap one another so there are no gaps anywhere.
Once you’ve covered the image, you can go ahead and apply heat from a warm iron. Don’t roll the iron over the pieces. Use a lift and press down motion. See here there’s a small gap that I hadn’t noticed, so I’ll just add another random piece of fabric to cover that up.
Once everything is securely in place, you can slide the iron over it.
I’ll show you in another video how you can cover the entire thing to get two panels out of one design, so keep an eye out for that.
Anyway! Now you can turn over the paper covered fabric and cut around the image. I’m using two pairs of scissors, a large pair for the easy cuts, and a tiny pair for areas where it’s just easier to use a small set.
I plan to use a bunch of different animals to create a quilt, but these were designed to work for a 20 inch cushion. One tip for this, if you’re struggling to see where to cut, draw around the lines again on the paper side in a thicker marker just to make it a bit more obvious where to cut.
I’m going to apply the Scraptastic! appliqué to a textured blender fabric. So, peel off the paper and place it fusible side down on your backing fabric then iron in place.
Sewing time.
If you have the means, and by that, I mean a machine where you can drop the feed dogs and you own an open-toe quilting foot, free motion is by far the easiest option here. Simply sew around the edges of all your fabric pieces. If you don’t have that foot, straight line stitching will work fine, but will take a little longer to complete. Also, a size 9 to 11 needle, I find at least, gives the best result. For people in other countries, this would be between 65 and 75. I’m doing both stitch methods and I’ll explain why I prefer one over the other…
See the difference? Unless you’re used to free motion quilting, the results can be a little deflating. Of course, practice makes perfect and if you’re willing to run with it, good on you. Me, I prefer the straight line stitching. It takes longer, but the end result looks so much neater. In my opinion! I’m sure some will prefer the other method. But the world would be boring if we were all the same!
Once everything is stitched, you can stitching around the entirety of the image using a decorative stitch, or even a satin stitch, which will envelop all of those edges neatly. I didn’t bother with the pig one, I think he looks super-cute as is, and I don’t mind a little fraying eventually appearing around the edges.
That’s the panel done, and I love it. I previously completed this squirrel too. There are lots of designs coming up so keep your eyes peeled for those.
If you do want to make this into a cushion, check out the highland cow video which I’ll link in the description of this video as it walks you through adding the back to a 20” cushion cover.
I hope you enjoyed the video!
Until next time, happy sewing!