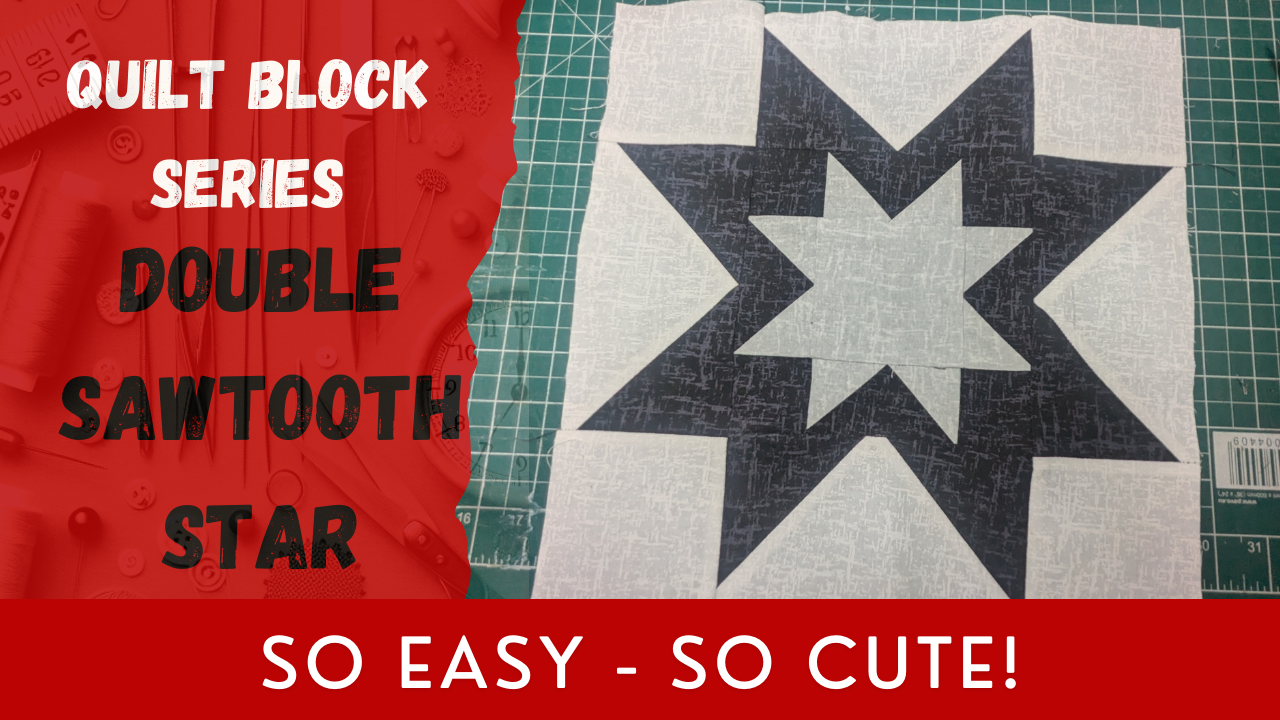
Hey guys! Last of the quilt blocks in the series this week. This is a different take on a previous block we did in the series, block 9 – but, this is a DOUBLE sawtooth design. And it comes out so cute.
There are a lot of cuts for this one, so to make this easier, here’s a list, and below that is an image of the layout.
Grey (centre star)
- 1 measuring 3.5 x 3.5 inches.
- 8 measuring 2 x 2 inches.
Black (outer star)
- 8 measuring 3.5 x 3.5 inches.
- 4 measuring 2 x 3.5 inches.
- 4 measuring 2 inches.
White (background)
- 4 measuring 3.5 x 6.5 inches.
- 4 measuring 3.5 x 3.5 inches.
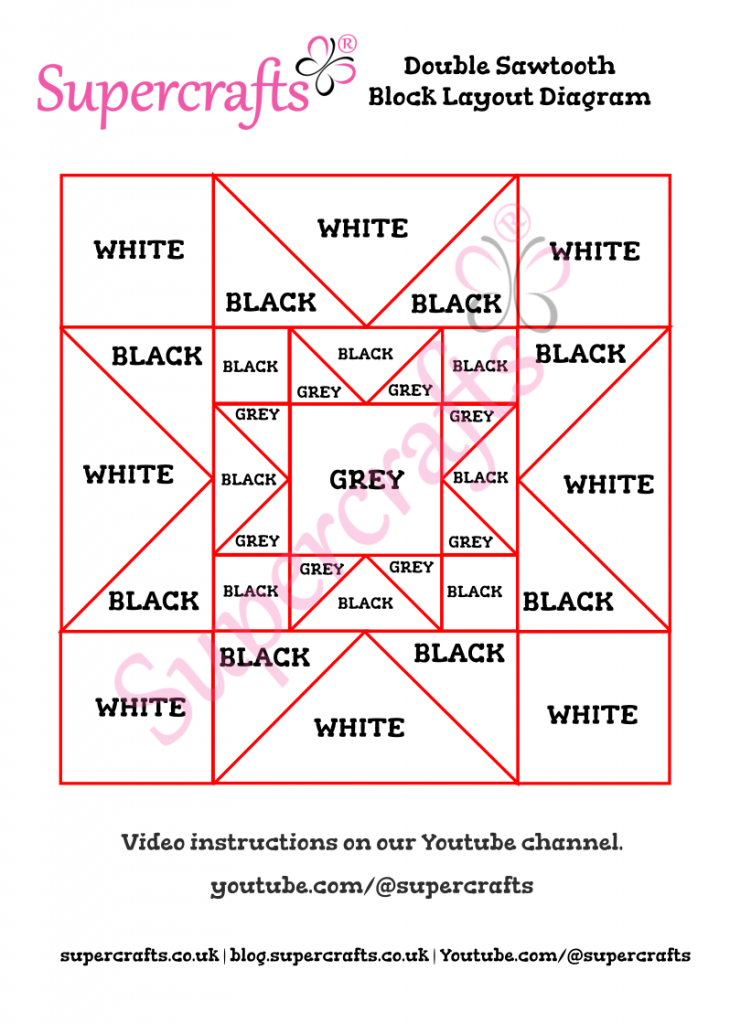
Layout Diagram
(right click and choose save image)
Fabrics & Tools Used
Grey (silver) Textured Blender
Transcript
Hey everyone. Remember block 9 from the series? The Sawtooth Star? Well, for the final block in the series, we’re going to make a double sawtooth star! This looks so complicated, but really isn’t! To continue with my “only use three colours throughout” rule – a rule I set myself by the way, you can use as many colours as you like. Anyway, to keep to that self-imposed rule, I’m using grey for the centre, black for the outer star and white in the background.
You can see a full list of cutting measurements on the blog, which I’ll link to in the description. But quickly…
From the grey, one square measuring 3.5 inches and 8 measuring 2 inches.
From the black, 8 squares measuring 3.5 inches, four rectangles measuring 2 x 3.5 inches and 4 squares measuring 2 inches.
From the white, 4 rectangles measuring 3.5 x 6.5 inches and 4 squares measuring 3.5 inches.
I’ll add a link to this image on our blog for you as it’ll make understanding the cuts and layout much easier.
Take the 2 inch grey squares and draw a diagonal line from one corner to the other on the back, so, on the wrong side of the fabric.
Place one of those on the left side of one of your black 2 x 3.5inch rectangles. The fabrics should be right sides together. The line you drew should start at the top left and go in towards the middle of the rectangle.
Stitch down that line.
Now trim away excess fabric. Be careful here to cut the excess and not the patch you’re creating! If it helps, open up the fabric so you can visualise it first.
Now repeat that on the other side of the rectangle. This time, the line should be top right, down to the middle of the rectangle…
Sew, cut the excess and press.
You need to create four of these patches.
For the next step, you’ll need the 2 inch black squares. Lay out all your pieces for visualisation purposes! You all know I like to do this and why, but for anyone that hasn’t been watching… if you do this, you’ll be less likely to sew patches together wrong.
Take the two inch squares of back fabric and place them right sides together on either end of the flying geese section here. Sew them together using the standard ¼ inch seam allowance. Press the seams outward.
Repeat for the bottom row.
Now for the middle row, we use two of the flying geese sections and your grey 3.5 inch square.
So when I added the second patch, I didn’t lay them out to see the correct orientation as I normally do. And guess what? Yup! I sewed it together the wrong way round! Told you it’s important to check these things! So I unpicked them. However, I unpicked the wrong one, so ended up having to unpick both! Clearly left my brain elsewhere when I was doing this one.
So here we can start that bit again. Lay them out, flip the right patch and clip, then flip the left and clip. Now I can’t possible get it wrong!
Then press those in towards the middle patch.
That’s the centre patch completed. It’s literally the same as the sawtooth star we made previously, just on a smaller scale!
I’ll give this all a run over with the iron.
Now align the seams from your middle patch with one of the outer patches. Pin them together.
Then sew down the seam to join them.
Repeat with the other patch.
You should now be left with one block. We’re going to increase the size of this now.
Take the 3.5 inch black squares and draw a diagonal line from one corner to the other on the back, so, on the wrong side of the fabric.
I’m just going to do two to show you.
Place one of those on the left side of one of your white 3.5 x 6.5 inch rectangles. The fabrics should be right sides together. The line you drew should start at the top left and go in towards the middle of the rectangle.
Stitch down that line.
Now trim away excess fabric just like we did before. Press the seam open.
Now repeat that on the other side of the rectangle. This time, the line should be top right, down to the middle of the rectangle…
Sew, cut the excess and press.
You need to create four of these patches.
Take the 3.5 inch squares of white fabric and place them right sides together on either end of the flying geese sections. Sew them together using the standard ¼ inch seam allowance. Press the seams outward.
Repeat for the bottom row.
Now for the middle row, we use two of the flying geese sections and that lovely sawtooth star block we just made in the middle.
Flip the flying geese section over on the right hand side and sew together. Repeat on the left hand side for the other patch.
Then press those in towards the middle patch.
Now align the seams from your top and bottom patches with your middle patch.
Sew using a ¼ inch seam allowance and then press. Repeat on the other side. Press again.
Flip the block over and give it a good run over with the iron from the top.
And there we go! Doesn’t this one look intricate!
This is the final block in the series. I will be adding a video explaining how to square up your blocks. However, the next video will be my retake of the Christmas candle Mat. So it won’t be until at least after that one.
Thanks for watching, and if you haven’t already, please consider liking the video and subscribing to our channel!
Until next time, Happy Sewing!