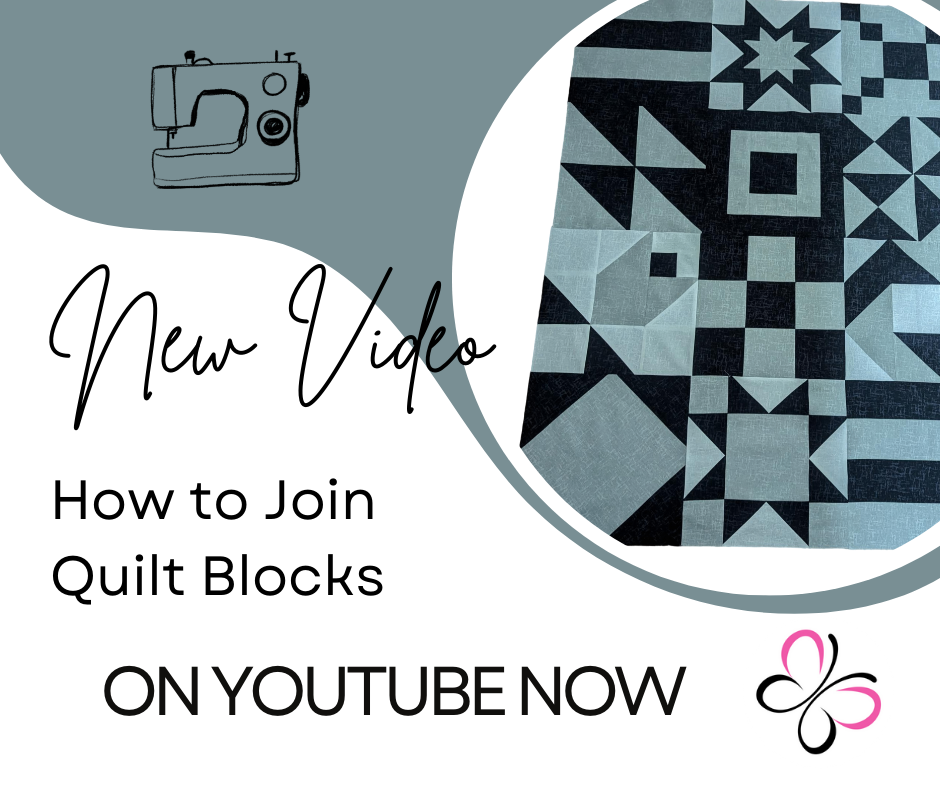
Well hello there lovely readers! It’s so warm here at the moment. I’m in the middle of half a dozen projects and the heat is making it difficult to concentrate. But, I have a new video for you. Another quilt block for the series, we’re actualyl only one away from being finished now. It’s taken a while hasn’t it? Sorry about that.
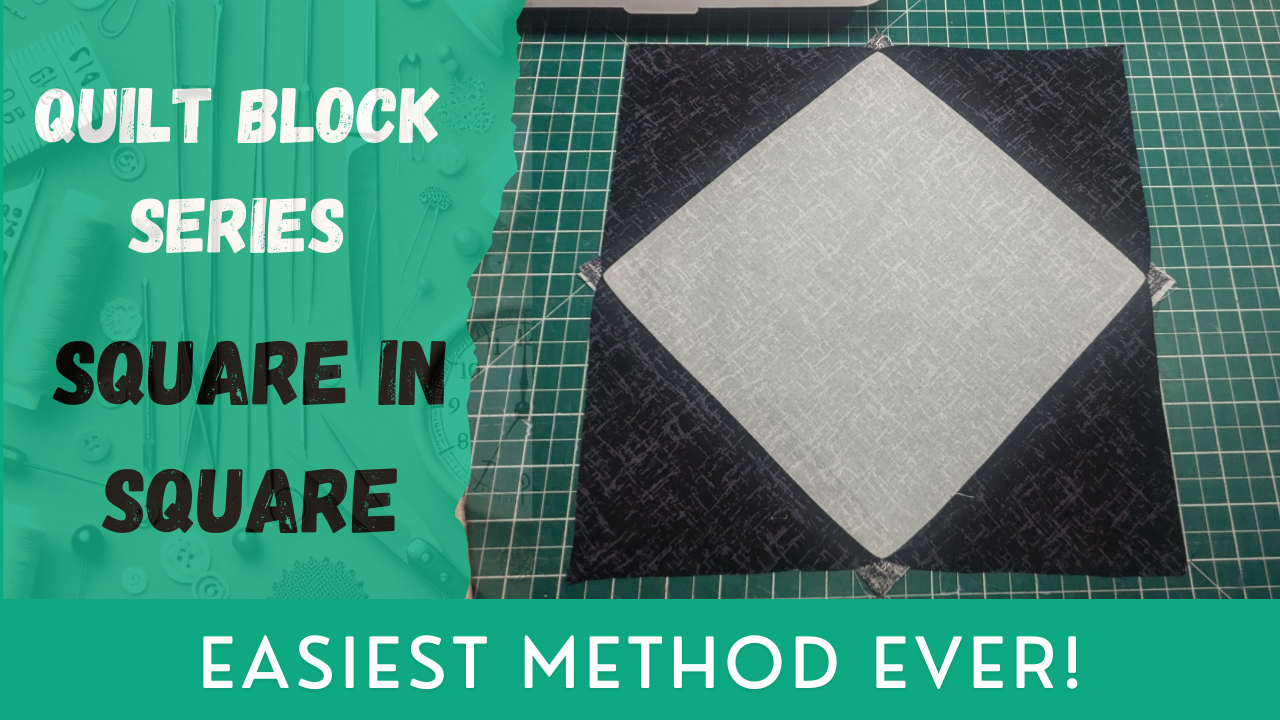
This weeks block is a square in square block, and it’s so simple I wish I had spare time to whip up a full quilt, but alas, other projects are now calling.
You’ll only need two pieces of fabric for this one, each cut at 9×9. As usual for this series, I’m using textured blenders in black and grey. You can get there here.
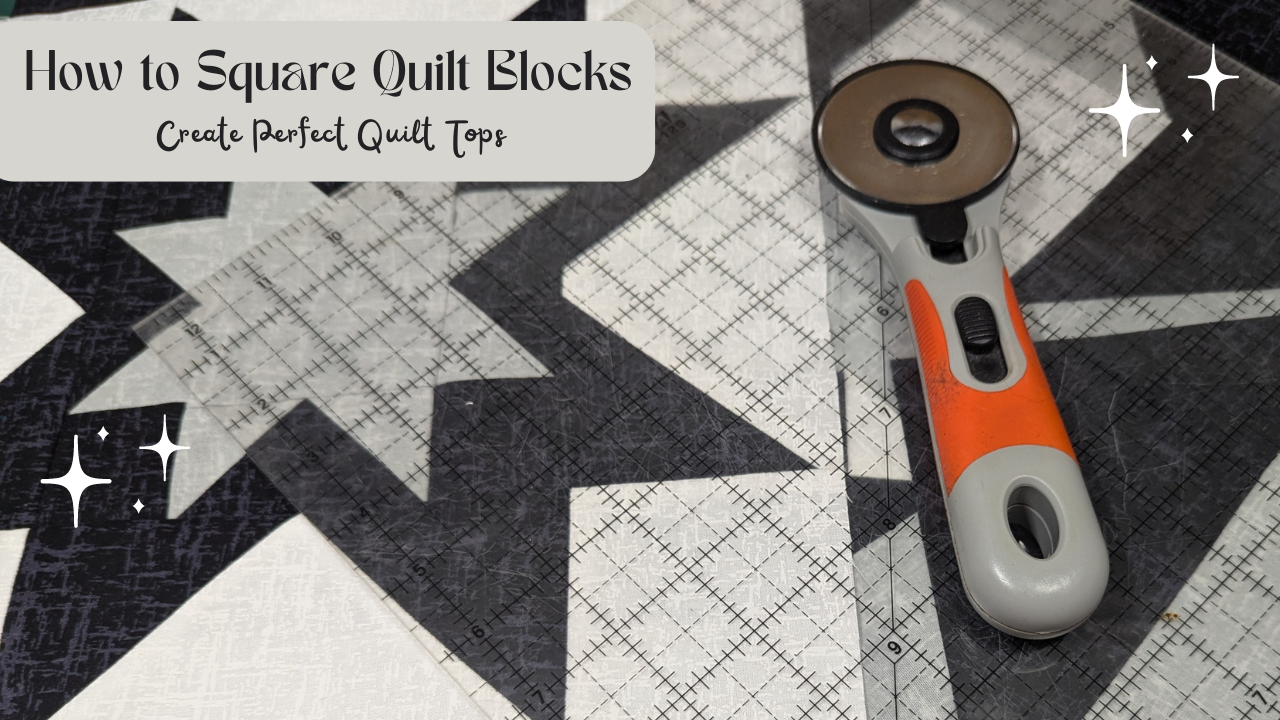
I used very little in the way of tools for this one too, just a seam ripper (no, I didn’t mess up!!), a small pair of snips, scissors, ruler and heat erasable pen. Oh! And my adorable “Hoot” ironing pad. Although, I’m so annoyed that it’s lasting so long now, because we recently got in the version pictured below and those Sloths are so adorable!
Anyhoo! Moving on! Here’s the transcript from the video incase you’re needing to translate it.
Hey everyone. I hope you’re all well. This week I’m showing you another quilt block, this is block 11, so only one more to go after this! I’m going to show you the quickest way to create a square in square block. You’ll cut two squares of fabric measuring 9 inches by 9 inches, so prep is easy! Quick side note, apologies if you can hear the fan – it’s hot here at the moment and unlike other countries, we don’t all have air con!
Give these a quick run over with the iron. My grey fabric is ever so slightly larger, so I’ll sew on the black side as I know that’s the correct 9×9.
With your fabrics cut, place them right sides together and pin if you need to.
Sew a quarter inch seam all the way around the fabrics.
Place a ruler from one corner to the other and mark a line.
Rotate the block, or the ruler, and add a second line between the other two corners.
Pull the front and back fabrics apart. We’re going to poke a hole in the middle, but onl want the black fabric to be cut.
Poke n a hole, then snip at one of the lines to create access. Hole isn’t large enough… that’s it. Snip a little to gain access with a larger set of scissors. Obviously, ou can just cut this will the smaller scissors, it’ll just take a little longer.
Cut to the corner, but stop just before you line of stitches. Don’t cut into the stitches.
Repeat on all the marked lines.
Now press around the perimeter to set the seams.
Then one at a time, press the seam out.
Press the top…
And that’s it. This has to be the simplest block we’ve done so far. And it uses a small amount of fabric too. You could whip up an entire quilt top in a few hours with this method.
As I said earlier, there’s only one block left in the series, so keep an eye out for that appearing shortly.
Thanks for watching, and if you haven’t already, please consider liking this video and subscribing to our channel!
Until next time, Happy Sewing!