.
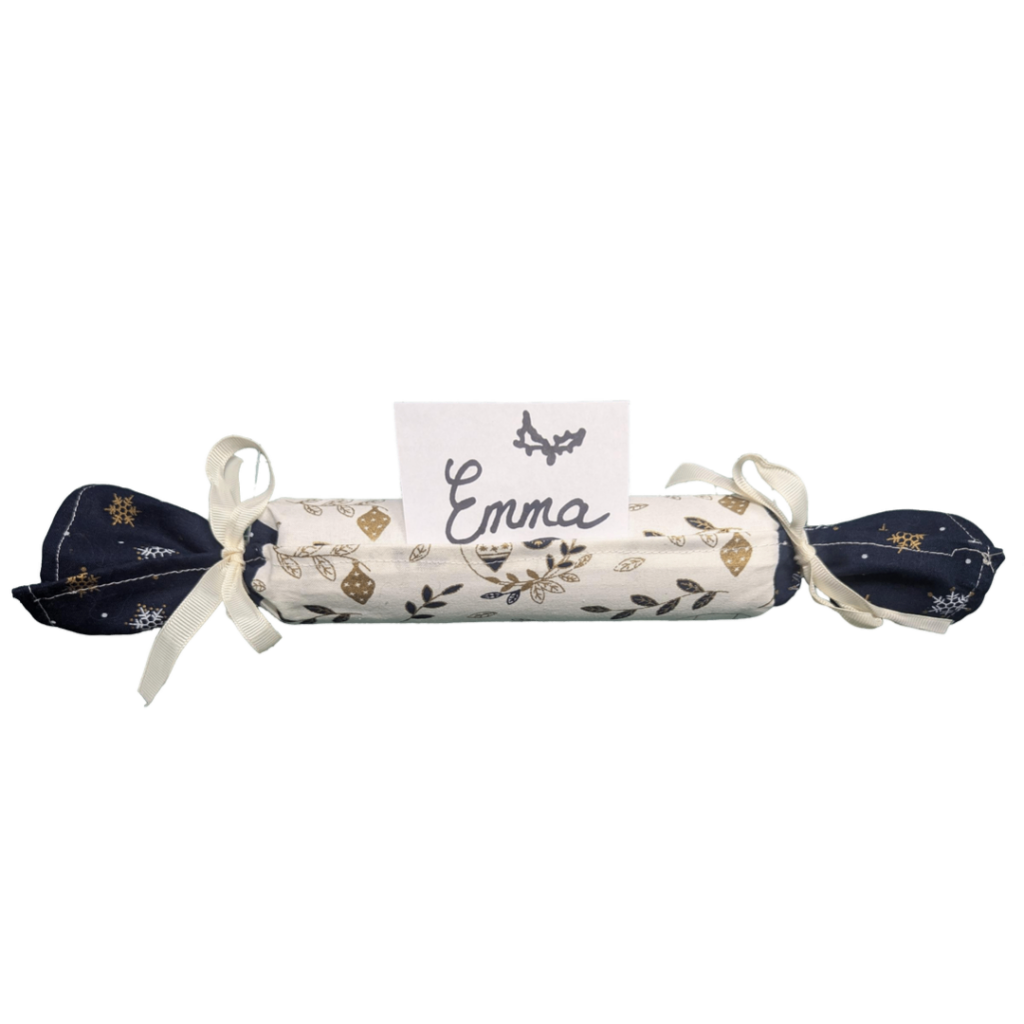
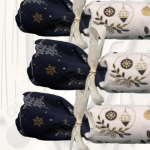
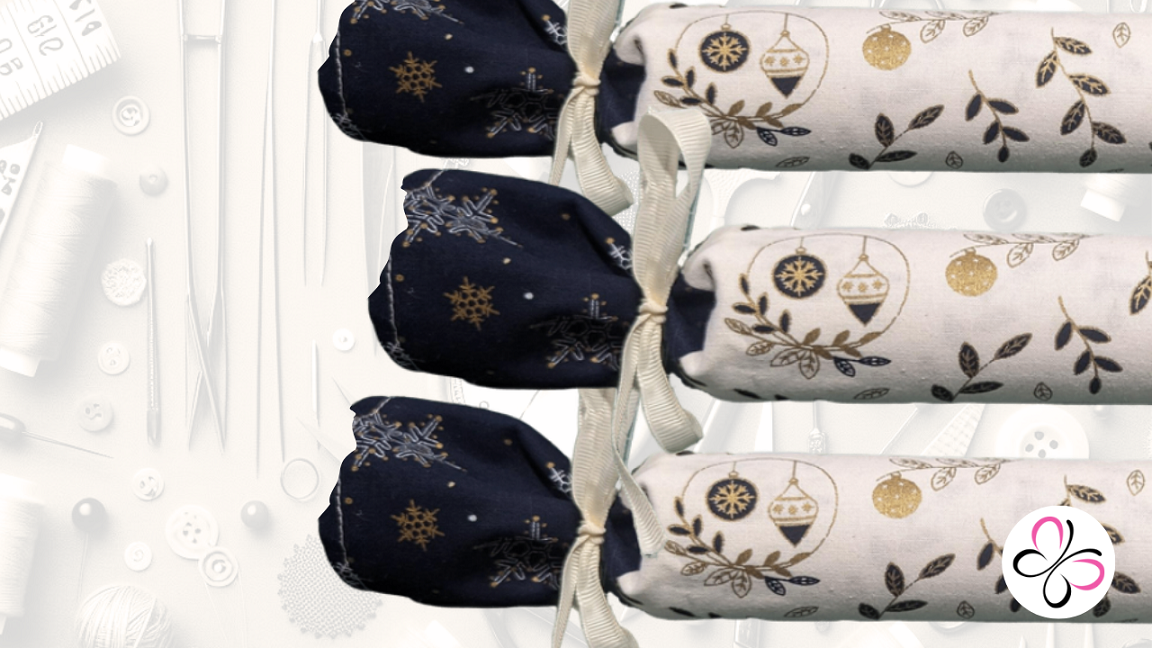
In this weeks Youtube video I’m making no-noise Christmas crackers! I love the idea of these, they’re wonderful if you have someone in your family who can’t tolerate loud noises. We don’t want anyone to be over-anxious on Christmas day! That added noise of additional family members is enough. This is especially importanif the affected one is a child.
You need very little in the way of fabric for these and as you’re making them, you can pop in suitable little toys or trinkets. There are a couple of printable PDFs at the bottom of this page that you can print out and use, one is a black and white version and one has a more colourful image with each joke.
Because of how these are rolled, you can also use them to hold place names on your Christmas table, should you be expecting enough guests to warrant it!
I used two fat quarters (with extra of each left over) from the Bauble and Sprig range here
The Transcript
We grew up having a cracker on the table on Christmas day, and I understand it’s not a normal thing to have in other parts of the world, but it’s just always been a thing here. Pull the cracker, mess with the crappy little toy inside, pop your paper hat on and enjoy your Christmas dinner.
Well, all those bangs aren’t the most pleasing to everyone. Anyone who startles easy or those who have medical conditions that make them anxious or scared when encountering loud noises will surely love this as an option. No, you can’t “pull” them like regular crackers, but you still get the little gift or toy, and we’ll be making hats to go in these in the next video, too.
You’ll need a couple of contrasting fat quarters, an old kitchen roll tube and two pieces of ribbon.
First cut your fabrics. You need one piece for the main body of the cracker, this should be 12 x 8 inches.
Then you’ll need two pieces for the ends, these need to measure 12 x 4.5” each.
When you cut the fabrics, ensure you take into account the direction of the fabric. Both fabrics should be cut so the longest edges run up and down the print.
Lay out the main fabric and place one of the end pieces on the right hand side so that the fabrics are right side together.
Pin in place, or clip depending on your preference.
Sew using a 1/4inch seam allowance.
Now repeat that to add the other end piece to the left-hand side.
As this will be opened and reused in future, I would suggest at the very least, cutting along both these seams with pinking shears to reduce fraying.
Press both those seams open.
Fold one of the edges over by ¼ inch, doesn’t matter which. Press it. Then fold again by half an inch. Press again.
Now you can sew this using a ¼ inch seam allowance.
Repeat this on the opposite edge. Then repeat again on the remaining two edges of fabric.
Pop the tube on the bottom centre of the fabric. Slide in your gifts and hat (and maybe a joke, because we all like a groan at the crappiness of those Cracker jokes!) And because I went to the trouble of creating a sheet of them for you to print.
Carefully roll up.
Tie the two ends with ribbon.
And that’s it! They really don’t take much time to make, and you can reuse them next year, so a bonus saving!
I hope you enjoyed the video! And if you did, please consider liking it and subscribing to the channel.
Until next time, Happy Sewing!

