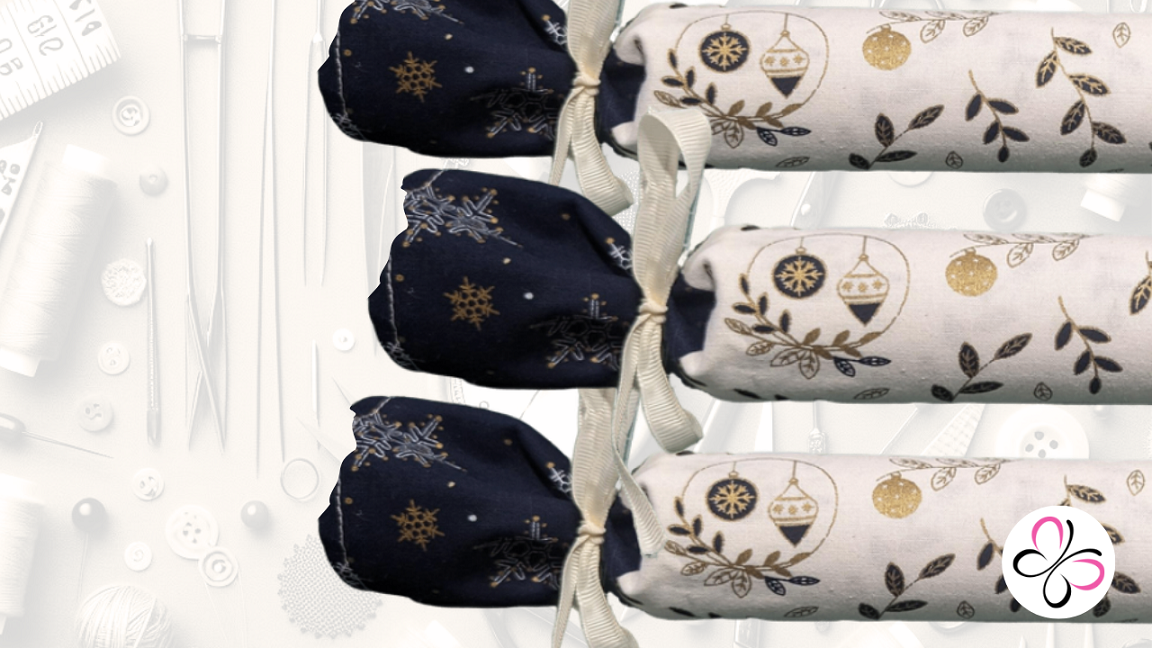
Hello! Here’s the first of my Christmas posts for this year. I played around a little in order to get the pattern right – it was too small, then the heel was too big, the toe too small… anyway! I got there in the end. These use very little fabric, you’d easily get 5/6 from a fat quarter. As with other recent videos, I’ve also added the transcript of the video so if it’s needed, it’s already there.
I used a fat quarter from the Bauble & Spring bundle and a little of the contrasting white from the same bundle. The thread is a polyester Coats thread.
Enjoy! And please rememeber, we can only continue providing free templates and tutorials as long as you keep buying from us 🙂 Even the smallest orders help.
The Pattern
Print at “Actual Size”.
Transcript
Every year I make more stockings, and every year I say it’s going to be my last for a while. Well, I’m sticking to that this year. BUT… I’m going to make some mini stockings for gift cards! See.. I’m not breaking the rule, I’m bending it ever so slightly!
These are brilliant if you’d prefer not to be buying yet more gift card holders this year. And they will hold a little extra something, a chocolate or a candy cane maybe?
Fold your stocking fabric in half with right sides together and draw around your template. The template by the way is free on our blog. I’ll post a link in the video description so you know where to get it.
Pin the layers and cut around the lines through both layers of fabric. That gives you two pieces.
Repeat those steps with the cuff fabric and pattern piece.
Sew a ¼ inch seam down both shorted ends of the cuff. Then carefully fold over one of the longer edges by ¼ inch and sew around that. This will create a nicely folded edge.
Set that aside and now sew around the main stocking pieces – remember the fabrics should be right sides together. And you need to sew all around, leaving just the top open. Remember to back stitch when you start and when you end.
Now trim the excess seam allowance using pinking shears. If you’ve no pinking shears, at least clip the curves in the stocking.
Cut your ribbon to 8 inches long. Fold it in half to form a loop and put the two raw edges on the heel side of your stocking, one on each side. Temporarily clip that in place.
Now slide the cuff over the top of the stocking. Align the seams and the top edge as best you can, The previously stitched side needs to be facing down the stocking, so the edge across the top is the raw edge. Clip in place.
Sew around that top edge to secure the cuff. It can be a little fiddly. So if you prefer, you can always hand sew this closed. I’m just lazy and don’t like hand sewing! I recently redid my very first youtube video, which meant I had 12 buttons to add to the Christmas candle mat, it was so annoying. But I guess I was able to do it while watching something on Youtube so not al bad.
Now turn the stocking right way out and poke out the edges as best you can. The edge and point turner I use frequently works really well as you can run it down the seams.
Fold the cuff down. This also releases the hanging loop too.
And there we go. You can give it a press at this point – I didn’t… clearly.
Pop in your chosen gift card, maybe a note, and a little chocolate or sweet and that’s a gift sorted! Hang it on the tree to use as a decoration until you’ve gifted it.
Hope you enjoyed that. I’ve a quilt block coming up and then I’lkl FINALLY release my redo of the Christmas candle Mat. So please do ensure you’re subscribed so you can see the updated version 🙂
Until next time. Happy Sewing.


