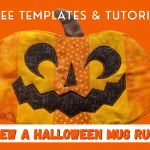
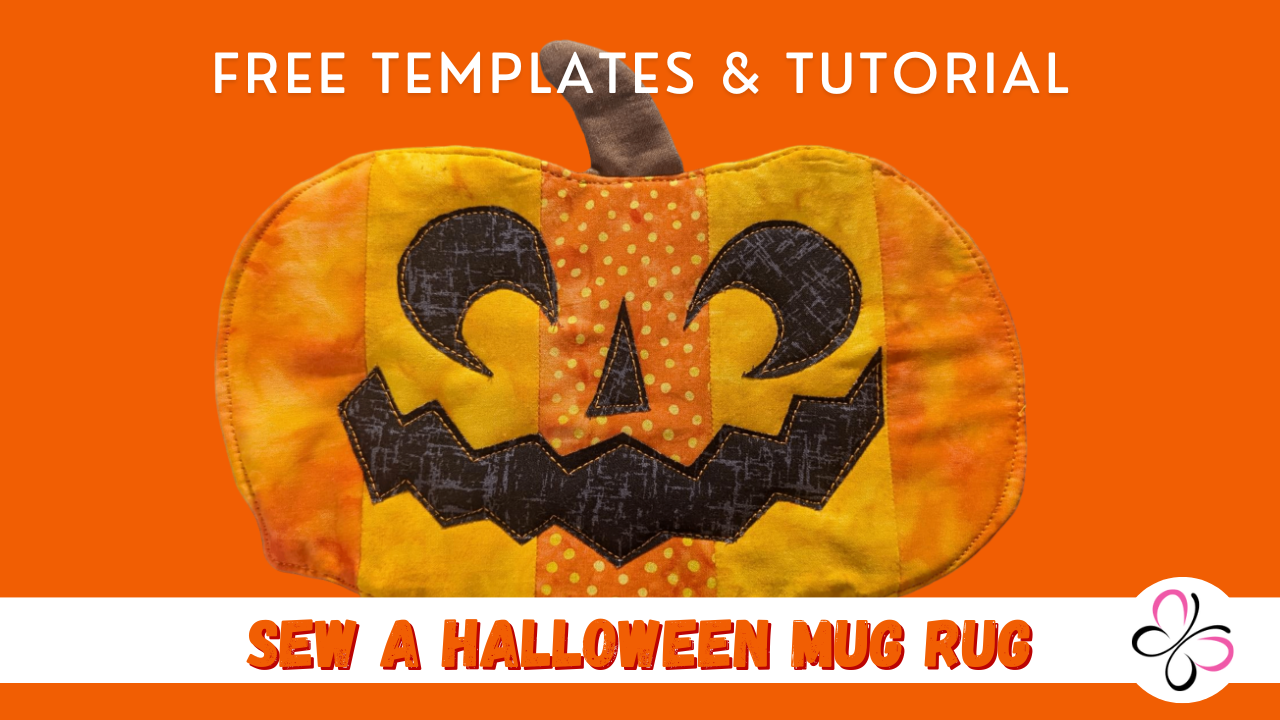
Hey! This week I’ve released a new video, this time for Halloween. Loved making this, and it came out looking so adorable. Below I’ll add a list of the items I used, along with links. The free templates, which you’ll need to print at 100% on A4 sized paper. The transcript of the video for anyone wishing to put it through a translation tool and follow along with the video and finally, the video itself.
Fabrics & Tools Used
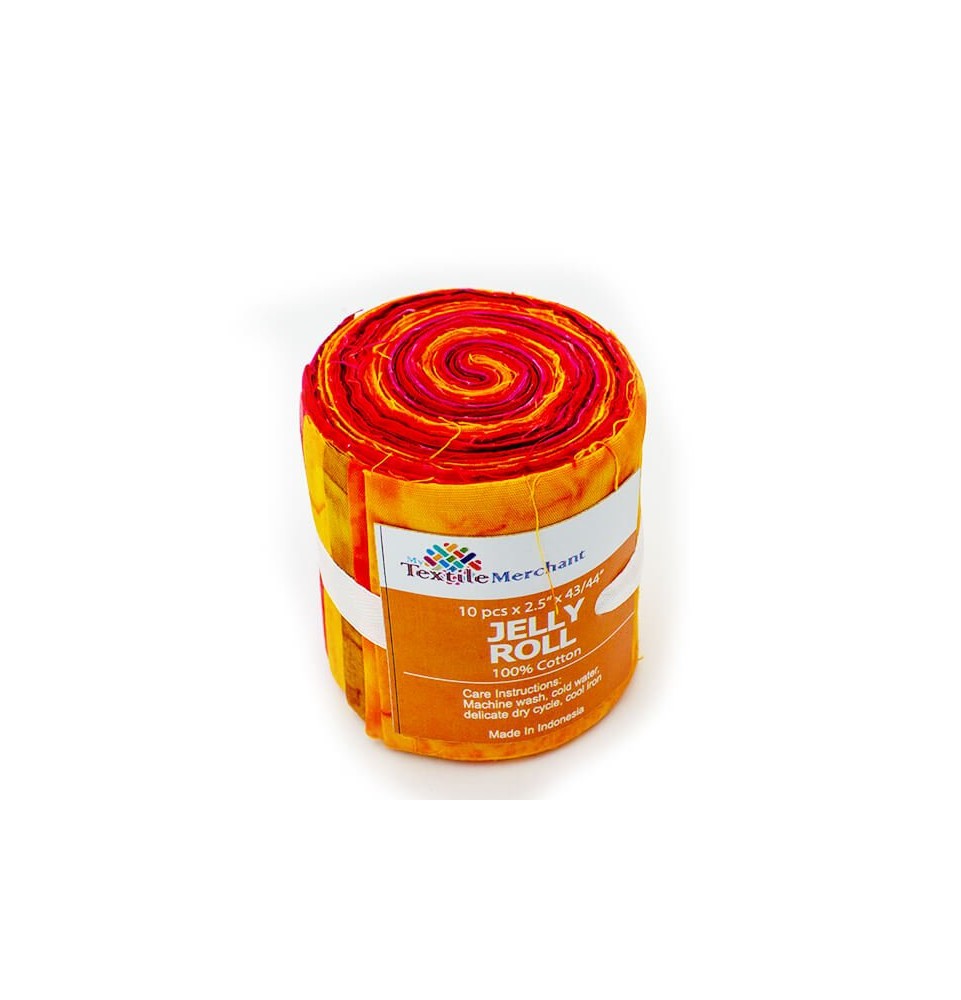
Scraps of Orange fabric, taken from the Bali Batik Jelly Roll.
Bosal Poly-thermal Fleece (you can use wadding if you prefer).
Small scrap of brown fabric, I used plain cotton in Brown.
Black fabric, I used a small amount of textured blender in black.
Fuse-a-web, I prefer to use the Lite version.
Pins.
Bobbin Buddies (currently only £2.99 for 30!)
Ironing Mat (also available with Sloths!)
Coats Polyester Thread M097.
Templates
These should be printed on A4 paper at 100% or “Actual Size”.
Transcript
Hey everyone. A little Halloween make for you this week. These mug rugs come out looking adorable and they’re actually much easier than they look.
For this one, you’ll need pieces of fabric that are at least 8.5 inches long. The widths can all be different, that’s fine, but they need to cover the length of the template properly. The fabric I’m using is from a jelly roll, which I’ll link to in the description of the video.
Once you’ve determined you have enough strips, take a piece and lay it right side up. Add another piece pretty side down on top of that so they’re right sides together. Sew together using a ¼ inch seam allowance.
Press the seam open.
Continue doing this until you have enough pieces together for the “body” pattern piece. So at least 10.5 inches, encroaching on 11.
Repeat again to create another piece the same size for the back. Alternatively, you can cut one solid piece of fabric for the back.
Just a quick note on templates and patterns, we can only provide these free if you keep supporting us, whether that’s a like, a share or a subscribe, all of which are free to you… or whether you become a member, or simply buy from our shop. All of these things allow us to continue doing what we’re doing.
Sorry… anyway, you should have two pieces of fabric, whether it’s solid or another FrankenFabric.
Place them right sides together and pin in the middle.
Draw around the body section of the pattern, the pattern should be faced down towards the fabric.
Add more pins to keep them from shifting, and cut around the pattern you drew.
Cut one piece of wadding or Bosal poly-therm fleece, I’ll link to that in the description, cut one the same size as your main body section.
Take the fabric you chose for the stalk and cut two using the provided template. The easiest way is to fold the fabric right sides together, draw around the template and cut. Both pieces being cut at the same time means they’re more likely to be identical. I’m uswing a standard plain cotton fabric for the stalk. Again, I’ll add a link below.
Leave the pins in, and sew around the template, leaving the bottom open.
Clip the curves.
Turn that right way out, poking out the edges as best you can.
Give it a press.
Flip the top body section off to the left. If you’re using a solid for the back, ensure your “top” that you’re moving is the frankenfabric one.
Place the stalk section with the raw edges pointing upwards and the top angled to the left. Place it in the centre and clip in place.
Add the thermal fleece or wadding on top.
Now place the frankenfabric piece on top of that, right side down. Ensuring everything is aligned.
Sew around leaving a 3-4 inch gap on the bottom for turning.
Clip the corners, or use pinking shears around the entire thing.
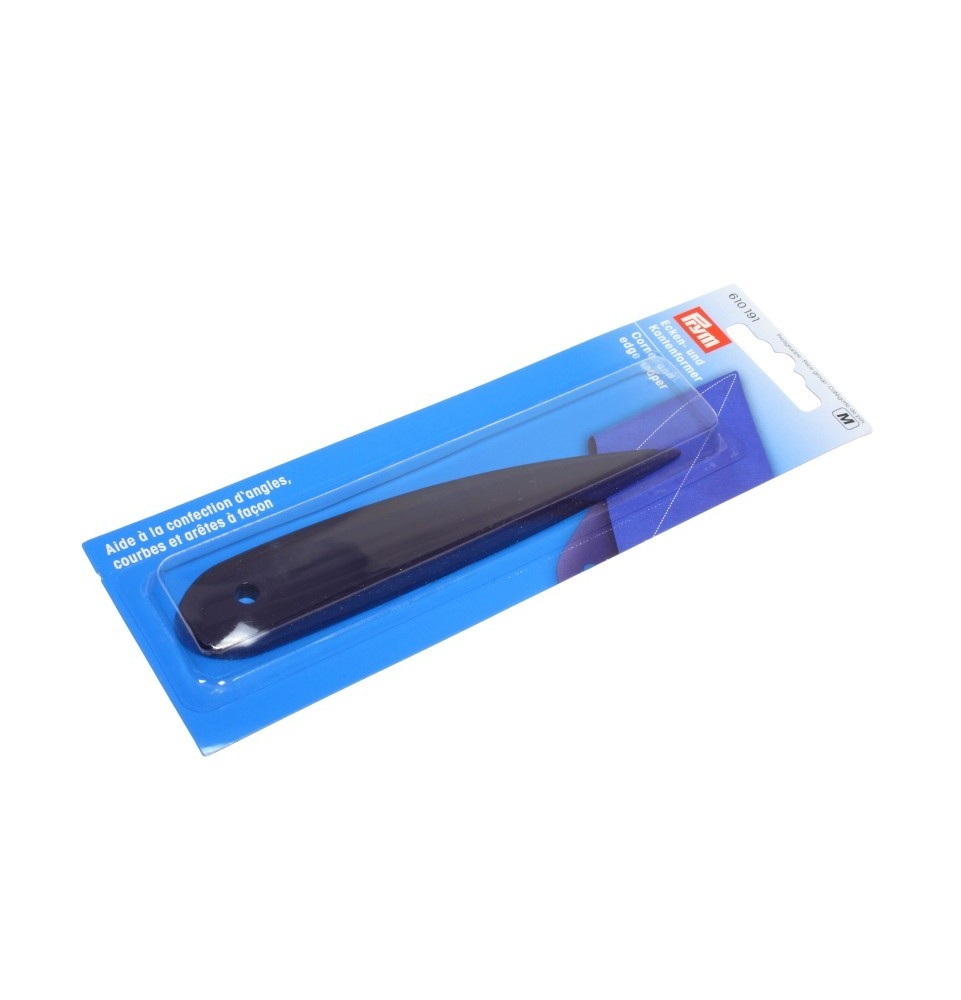
Now turn right way out. Using your favourite turning tool to make sure it’s turned out as much as possible. My corner and edge shaper is brilliant for this. I’ll add a link to that in the description of the video.
Once that’s turned out, tug either side of the opening to force the fabrics inside. You can press them in if you want to.
Top stitch across that opening, and I actually prefer to top stitch around projects where openings are closed in this manner as it looks less like an afterthought and more planned.
Now comes the creation of the carved sections. I’m using a small offcut of the textured blender in black for this. I’ll link in the description. You need to add fusible webbing to the back of you chosen fabric, again, I’ll add a link.
Pop the webbing on the back of the fabric, with the paper side facing you and apply heat from a warm iron. Leave the paper in place.
Now choose the template you want to use for the “carved” sections and draw around that template on the paper side of the fabric. The template should be face down.
Carefully cut that out.
Remove the paper and place the piece or pieces on the frankenfabric side of your pumpkin. If you used frankenfabric on both sides, the stalk should be pointing left on the side you need to place the carved pieces.
Apply heat to adhere in place.
Sew around all the pieces using whatever stitch you like, straight will work fine.
I’m using orange thread for this, it’s number M097 in the Coats range.
Snip off any loose threads and there we go! Love this! So cute.
Hope you enjoyed this one! And until next time, Happy Sewing!
The Video

