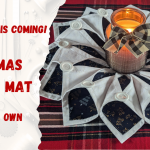
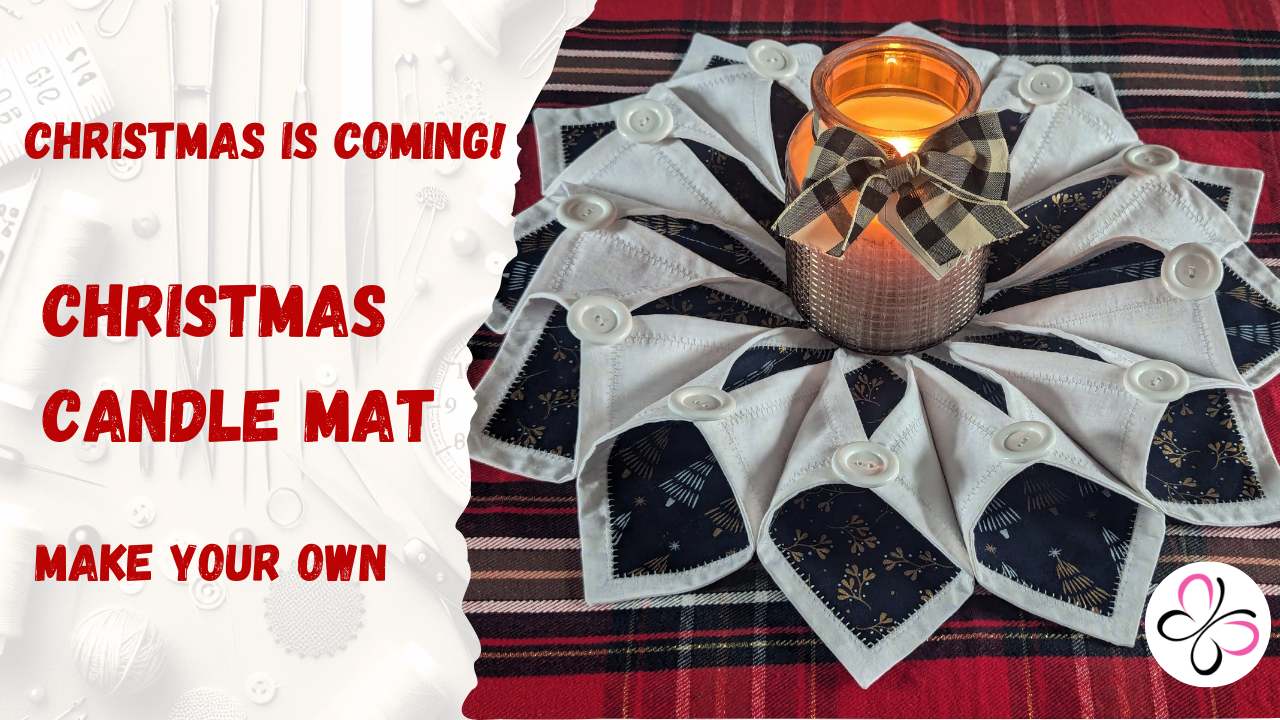
Another Christmas make for you this week. This time we’re making a reverse applique Christmas table mat, or runner. Before you go off and watch the video, I just wanted to point out that if you don’t intend on placing hot items on the mat, you don’t really need the wadding. I’ve added it to the tutorial because it’s easier to omit it when you’re sewing than it is to explain it without actually adding it.
Anyway, as usual, the transcript is below incase anyone needs to translate it. The free templates, a list of the fabrics and tools I used, and at the botttom you can find the video.
Enjoy!
Fabrics & Tools Used
- Textured Blender (white) | 10.5″x10.5″ (cut 4) | 11″xWOF
- Tartan | 7″x8″ (cut 4) | 2″xWOF (cut 6) | 1″x10.5″ (cut 3)
- Wadding | 11×44″
- Glue Pen
- Scissors
- Coats thread
Free Templates
The templates should be printed on A4 paper at 100% or “Actual Size”.
Transcript
Hi everyone. This week we’re back in Christmas mode. We’re going to make a gorgeous little reverse appliqué table runner. I’ve provided free templates on the blog for this, which I’ll link to in the description. You’ll need 4 Squares measuring 10.5 x 10.5 inches. For this I’m using a textured blender, plain would work just as well. You’ll also need fabric for the inner pieces of the appliqué, for the patterns supplied, this will need to be around 7×8 inches. If in doubt, cut out the pattern and place it on the inner fabric and cut about half an inch out from the edges.
Cut out your pattern pieces.
Draw around them using a heat erasable pen, or other marking tool you’re confident will be easy to remove.
With a sharp pair of scissors, cut out the inner section of fabric.
Add glue around the back of that.
Place the applique fabric on the back faced down. Press down a little.
Turn over and iron from the top.
I’ll do one more…
So I’ve got two more to do, which I’ll do off camera, then I’ll bring you back for the next bit.
Now all four are glued in place, I need to stitch them down.
I’m going to use sttitch 44 for this one.
Looks cute, but aI also want to show you a straight stitch will look fine too, so that’s what I’ll do wioth this one.
There we go, you can make up your own mind which you prefer.
I’ll go off and repeat that on the remaining two and when I come back, I’ll show you how we join all the blocks together.
Now cut 3 1” x 10.5 inch strips of fabric, after careful consideration, and asking hubbys opinion, I decided to use tartan to join them. These are going to bring the top of the table runner together. Just to point out. You can add more blocks if you have a longer table, or just want the runner to BE longer. However, this needs backing towards the end and 4 blocks means it’s just about right for a normal width of fabric.
Anyway! Place one of the strip right side DOWN on the right edge of your first block. Sew down that edge using a ¼ inch seam allowance.
Fold open, and place the second block right side DOWN on top of the opened sashing. Sew this again.
Open the two up and you can see a little of the sashing and the two are no joined up. Repeat to add the other blocks.
Now measure the length, it should be aroun 44 inches. You’ll need a piece of fabric measuring 44 x 11 inches. You’ll need the same in batting.
Place the backing right side down, add the wadding, then complete the sandwich by adding your runner top. I like to do this at the ironing board as it hangs over the edge and gravity does some of the work.
Carefully pin the layers together.
This part is up to you. I’m just going to use the straight lines within the runner top to stitch through all the layers. But feel free to experiment… maybe even do a little free-motion quilting.
Now there’s just the binding. As I’ve used a plain fabric blender as my primary, I’m going to take bits from the patterned fabric and form a roll of binding. The binding needs to be 108 inches long. I know that sounds huge, but it’s about 5 strips from a standard fat quarter. The strips need to be 2 inches wide. So, 2” x 108”. Also, I ALWAYS make a little more than required incase of any issues, so I cut 6.
I’ve shown binding creation in previous videos, but I’ll run through it again here as it’s normally from a couple of longer pieces.
Place them right sides together like this.
Sew from the top inside corner to the bottom outside corner. Trim the excess and fold open. Repeat until all the bits are together.
Now press with an iron all the way along.
Then fold in half and press again. This will give a nice folded edge.
And now we can add the binding to the runner. We need a tail left unsewn on either end so we can join the binding together – we’ve a super-easy way to do this… but we’ll get there!
We’ll be working on the backof the project. Place the raw edge of the binding against the raw edge on the back of the runner half way down one side. Remember to leave a 10” tail unsewn at the beginning.
Pin or clip the binding in place all the way down to your first corner.
Begin sewing using a ¼” seam allowance. Backstitch at the beginning a few times to reinforce the stitch. Remove the clips (or pins) as you sew.
Sew all the way down to the first corner until you’re around 1/4” away from the edge. If you’re struggling to visualise ¼”, measure and mark the ¼” directly on the binding edge. When you get to that point, stop sewing with your needle still down in the fabric, lift the presser foot and pivot your fabric as shown. Stitch over the edge.
Remove from under the presser foot. Now take your binding and fold it up and away from you.
Then fold it back down as shown.
Begin sewing from ¼” down. You’ll be able to feel the additional fabric underneath the corner but if you feel happier marking, you can do so before you put the fabric back under your sewing machine. Sew from ¼” all the way down to the next corner and repeat.
Once you’ve passed all corners, you’ll eventually get to the side you started with. Sew down that side until you’re roughly 10 inches away from your first stitch.
Trim the ending tail so it overlaps the starting tail by 12 (ish) inches.
If you have to, rewatch this part a few times until you fully understand what’s happening so you don’t mess up your cut. This method is, in my opinion, by far the easiest method! And… as long as you cut from the correct side – it’ll fit perfectly every time. Firstly, make a little mark roughly halfway between your two binding tails. The mark won’t be seen on the finished project.
Snip a small piece of the binding you have left so we can use it to determine the correct cuts.
Flatten out your starting tail and mark in the same place as your previous mark.
Lay your off-cut of binding with the centre against the mark as shown. Draw across the edge of that off-cut on the side where your tail end is.
Trim any excess past that line. Repeat this for the other tail end using the same centre mark.
Mark binding, place off-cut, mark cut line (again, using the tail end to make sure you cut the correct side!), cut.
The tails will now sit 2.5 inches over one another.
Because the tail ends have been cut to the correct size, there’s no more measuring (Phew!)
Fold your runner up a little. It will help you manoeuvre the tail ends together. Place the ends right sides together (RST) – your outer crease lines should be face to face.
It can be fiddly to hold them together, so pop in a pin once you have them lined up.
Sew corner to corner from the left down to the right.
Pull your runner flat to check the binding sits correctly. Once you’ve checked and are happy… cut the excess off the back of the binding down to ¼”.
Take back to your machine and sew using that 1/4 inch seam allowance as before. Stitch from where you finished, all the way back down to where you started. See that lovely angled join. Perfect!
Now the binding is joined up and completely stitched to the back of your runner, we need to secure it on the front. This time you’ll need to start at a corner. I promise this all gets easier each time you do it. Be sure to use a bobbin thread that will blend in to the back of your runner. As we sew it down to the front, there will be an additional line of stitches on the back. They shouldn’t touch the binding, so swap out your bobbin thread for the same colour you used to quilt the rest of the runner. Fold over one edge of the binding as shown.
Now fold the following edge over to cover the first. If folded correctly, it will create a perfect mitred corner. Hold this in place and put under your presser foot. Sew slowly until you’re confident the corner is stitched (backstitch a little too!)
Continue folding the binding over to the front of your runner and stitching as close to the edge as you can.
When you get to the corner, fold down the side you’re currently stitching on.
Then fold the binding from the next side over the top of it. It should create another perfect corner as it did with the first. You’ll need to hold this in place as you stitch so it doesn’t shift. I don’t recommend pinning here as by the time the machine has stitched enough to hold the corner, you’ll have gone over the pin, which is never good!!
Continue stitching, repeating the steps for the corners until the entire runner is bound.
Give it a good iron over and there we go!
Hope you enjoyed watching,m and that you go on to make this for your Christmas table! Until next time, Happy Sewing!


